


Most of you have probably had a CV boot that looks like this at some point and had a shop quote you around $250-$300 per side


Don’t wait for your CV joints to go bad. If you have some basic mechanic skills you can replace this boot for ~$20 and at most 2 hours of your time, if you’re experienced probably under an hour.
Tools needed:
-Torque wrench
-Breaker bar
-Ratchets or Impact Driver
-Chisel/Screwdriver
-Wire Cutters
-17mm Allen Socket
-10mm Allen Socket
-17mm Socket
-2x 16mm Socket/Wrenches
-13mm Socket/Wrench

I bought my CV boot kit from FCPEURO. I like this Rein kit because it comes with the new axle bolt, snap ring, and metal spacer in addition to what a normal CV boot kit comes with.

1. Before you get ahead of yourself don’t forget to take off your center cap and break loose the axle bolt with the 17mm Allen socket and your lug nuts before jacking up that side of the car and take off the tire

2. Remove the 16mm bolt on your tie rod end

3. Remove the 13mm bolt on top of the tie rod, use a chisel/screwdriver the help spread the knuckle

4. A 10mm Allen socket/wrench fits in the top of the tie rod end, you can tap on it or twist it some to help get it out.

5. Next use two 16mm sockets/wrenches to remove the bolt holding in the upper control arms in the knuckle


6. Use a screw driver or chisel to help spread the knuckle here also

7. Make sure the 17mm axle bolt is completely removed. Turn the knuckle and you can slide the axle out the back side. Don’t let the knuckle just hang because it pulls on your brake line and wiring, I like to slide one of the upper control arms back way in enough to hold it upright.

8. Reinsert the 17mm hex bolt into the CV joint and make sure it is straight in line with the axle shaft. This is designed so it will remove the CV joint from the snap ring when you tighten it down. I used my impact driver but it can be done with a breaker bar.


9. Before removing the remaining portion of boot from the axle shaft wipe off enough grease to note the position of the spacers on the shaft

10. Now remove the snap ring from the axle shaft and the remaining portion of the old boot.

11. Clean up the axle shaft and CV joint after everything has been removed. Put the new boot on the shaft with the clamps, orient the new metal spacer (should be concave side pointing towards you), orient and reuse the plastic spacer (tapered end towards you) and place them on the axle shaft. Lastly push the new snap ring on the shaft.


12. After cleaning up the CV joint, fill the axle shaft hole with the supplied grease (this will pack the CV joint with grease when installed on the axle shaft) and put a healthy amount on the CV joint.

13. Double check that all of your parts are on the axle shaft as needed when installed. Fill the bolt hole with grease on the CV joint, this will pack the CV joint with grease when you install it.

14. To get the CV joint seated back over the snap ring. Screw the 17mm Allen bolt into the CV joint so all of the threads are engaged and tap it into place with a hammer, it doesn’t take that much so don’t be beating on it, if it doesn’t go on relatively smoothly there is something misaligned.
15. Now put any remaining grease in the pouch into the CV boot for good measure. Slide the CV boot over the CV joint and crimp the clamps. Now your New CV boot is installed and you can put everything back together in reverse order.

16. Re install the upper control arms, I have found it easiest to put some upward pressure on the knuckle with a jack while spreading the knuckle holes with a screwdriver if they don’t want to slide in all the way.

17. Re install the tie rod. I like to tap it in with a rubber mallet until I can get the 13mm bolt in the top to pull up the rest of the way.
18. Tighten down the NEW 17mm Allen bolt on the axle
19. Put your wheel and lugnuts back on, and put the car back on the ground
20. Torque the NEW axle bolt with the 17mm Allen socket to 148ft-lb. Torque your lug nuts and replace your center cap on the wheel
21. Remove your wallet from your back pocket so you can sit comfortably (because it’s still so fat with cash).
22. Go for a test drive by the shop that originally quoted this job and laugh


 Reply With Quote
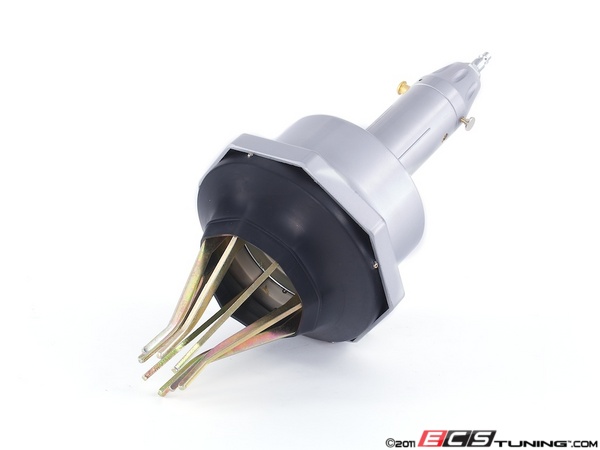


Bookmarks