


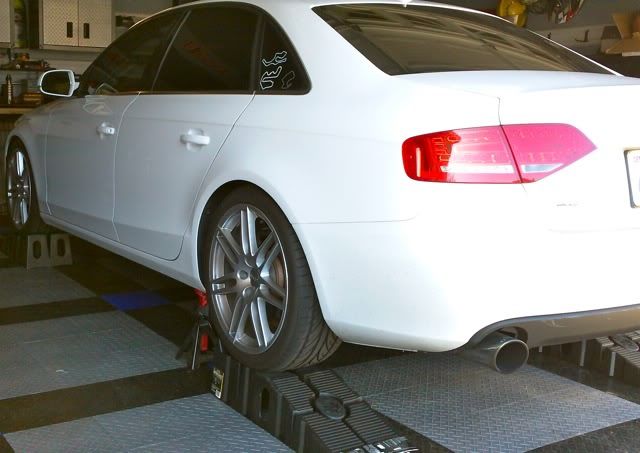
The performance difference between the stock bars and Hotchkis is huge. After my install, I took my car for a test drive to see how it felt. My Audi is my daily driver so I didn't want to have my cars ride feel solid as a rock like driving around a cement mixer. I didn't notice any real difference as far as comfort goes which was one of my biggest concerns. I took my car down a few bumpy roads and didn't notice any bounce or jarring on uneven surfaces, even with the front on the stiffest setting. Performance wise, the biggest gains I noticed was on sharper, lower speed corners (think quick U turn or a hairpin). The car feels much more stable and planted, especially on initial turn in. Just turn the wheel and the car goes there. I had the opportunity to take my car out to Laguna Seca following the installation and the gains were very noticeable, especially in the tighter and slower speed sections such as turn 11 or the corkscrew. As soon as I receive some pictures, I'll post them for you to see. Until then, heres a video http://www.audizine.com/forum/showth...19#post7127919.
This set up is probably one of the most inexpensive mods with the biggest amount of gains. Although the instructions that Hotchkis provided were very easy to follow, I'll include a DIY for this and include 1 or 2 items that mights help you out.
Tools I used: 13mm socket, 2x 16mm socket, philips head screw driver, 55-Torx, pry bar, floor jack, ramps, WD40
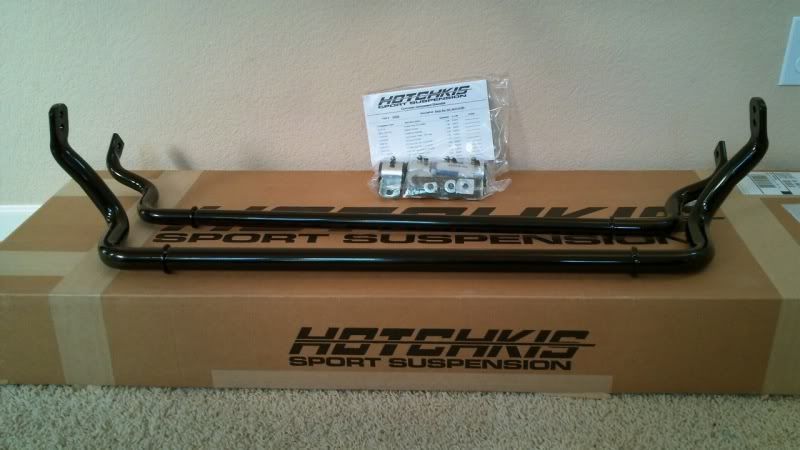
Clean, simple, and stealthy. The front is 32mm diameter and the rear is 25.5mm.
Hotchkis recommends installation on flat ground. My car is too low to use ramps so I had to jack my car up to put the ramps underneath. From there you'll need a philips head screwdriver to remove the plastic splash shield.
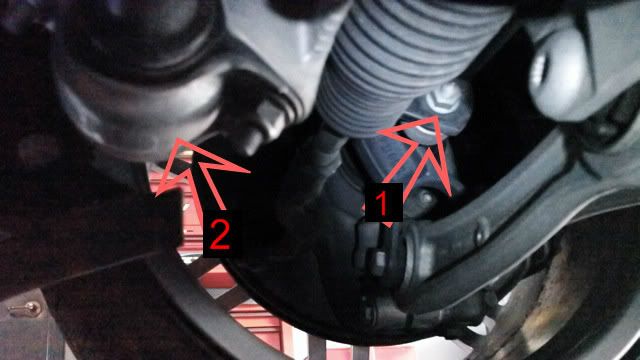
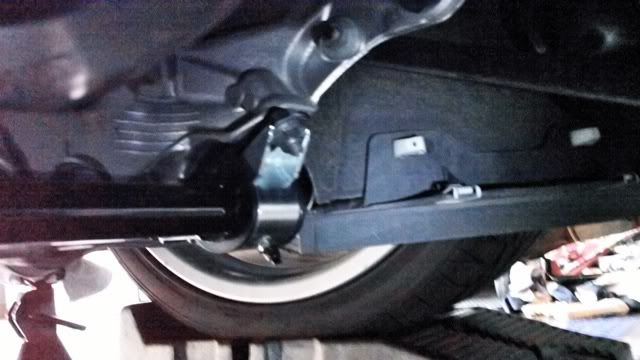
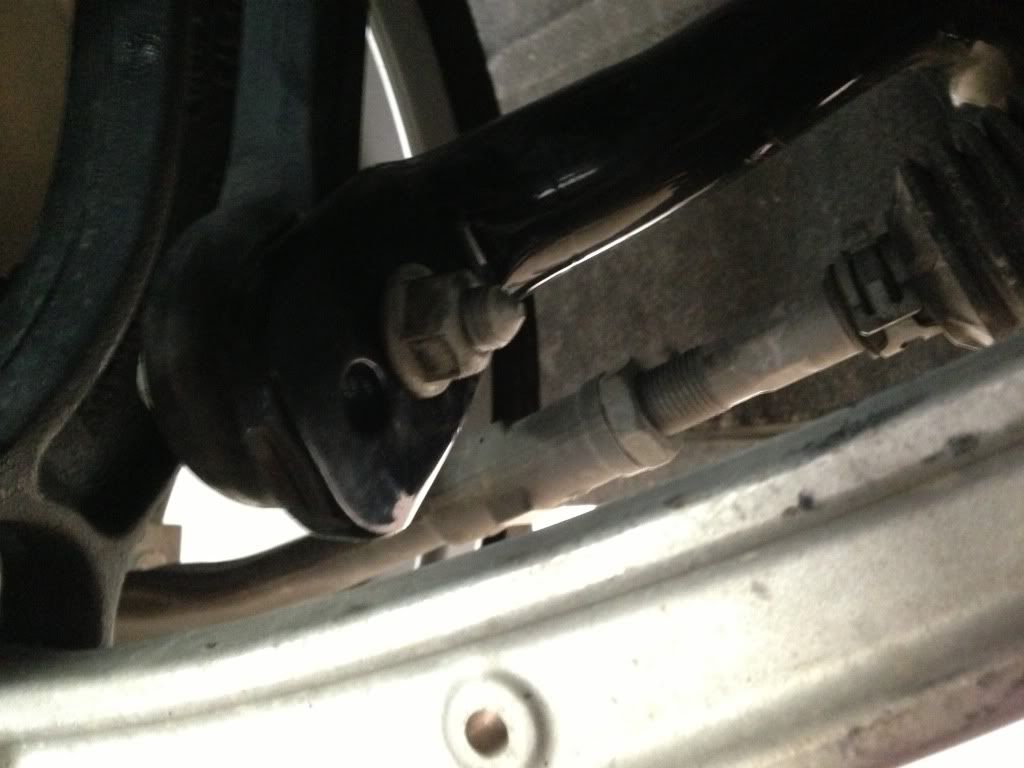
With the splash shield gone, you can see the stock sway bar and the areas where its bolts in the chassis. Removing the stock sway bar and installing the new one here was pretty straight forward. The 16mm bolts on the edges are a little tight but came off easily. Last, I removed the 13mm bolts and the stock unit came right off. Time to put the beefy 32mm Hotchkis bar on!
You'll need to lube the urethane bushings (lube is provided) and place them on the ARB. From there, your ready to install the Hotchkis unit. There are two settings on the front bar. The first bolt hole is 45% stiffer than stock, the 2nd is 75% stiffer. I went with the stiffest setting which is the 2nd bolt hole on the end. With the ends bolted on, I attached the new aluminum mounts.
The backing plate goes over the stock mount and the new greasable bracket goes over it. From here, make sure your flat washers are set up per the provided directions.
It should look something like this when everything is together. Installing the front was much easier than expected and only took 30-45 minutes
Moving onto the rear...
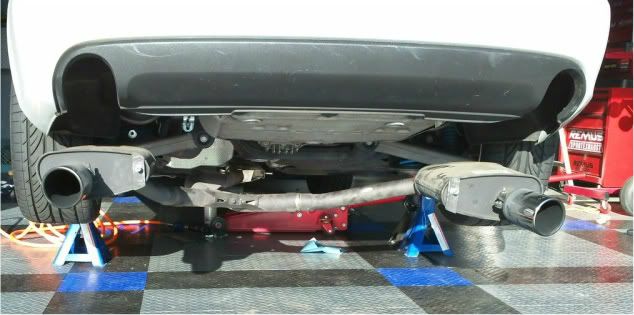
Taking a look at everything before hand, I could tell there is no way the bar was coming out with my dual exhaust in the way. I got a floor jack and gently supported the exhaust and removed the 13mm nuts holding up the mufflers. I then got some WD40 to lube the rubber hanger underneath and it popped right off. From there, I slowly lowered the exhaust to a point that it was out of the way.
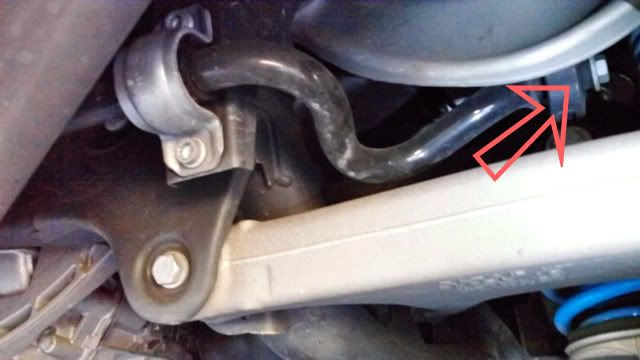
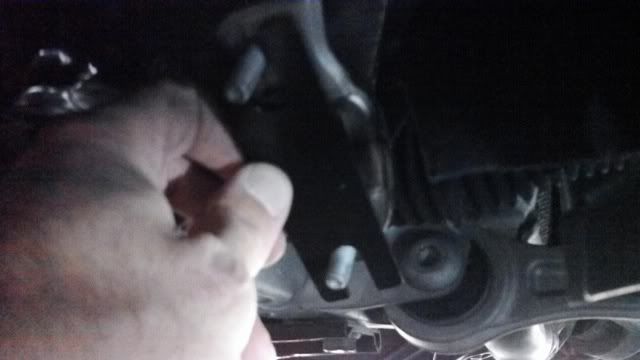
Removing the stock bar and installing the new one was a little more difficult due to the tight fit here. As you can see, there are 16mm bolts and triple square bolts. With the 16mm bolts removed, I also loosened the 16mm bolt on the ARB mount to loosen it up. I've seen a few other DIY's that remove them, but I found that not to be necessary. I found the triple square bolts came off with a 55 Torx without any issue. With all the bolts removed, I used a pry bar on the upper control arm to gently create some space to wiggle the stock ARB out. *use care doing this... if you bend your control arm your in some deep trouble!*
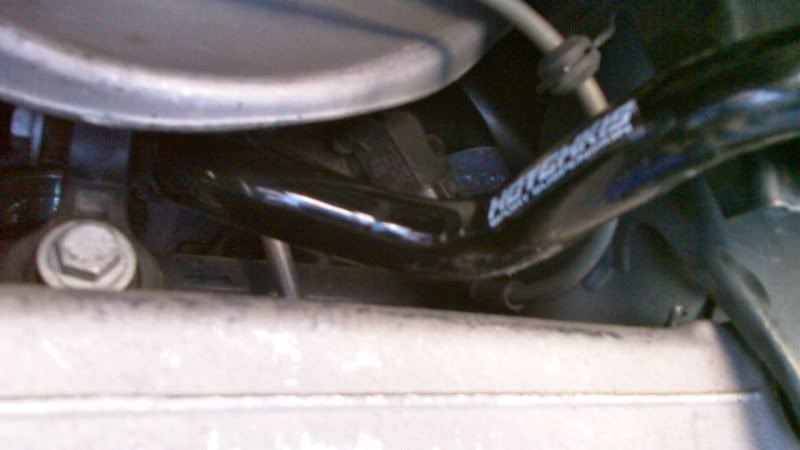
Installing the new bar in the rear was probably the most difficult part of this process but I got it to work. Getting the bar to slide into place was a little challenging. I used the pry bar again to create some space to slide the new bar into place. From there, I bolted the 16mm bolts on the end and installed the new aluminum bracket which bolted on very similar to the front. With my new sway bars installed, I bolted the exhaust back on.
The entire install took me around an hour and a half which wasn't bad at all.


 Reply With Quote


 ), Awe quad tip exhaust w/ res. downpipe, Alu Kreuz DTS Bar, Hotchkis f+r sway bars, KW V2 coilovers, BC Forged rims, OSIR rear valence, PODI gauge+pod, Blackvue dash cam, Escort Passport 9500ix, Rhoplate plate relocator,


Bookmarks