


Mine: 2008 Ibis White Titanium Pkg S-line A4 Avant 2.0T
Hers: 2018 Ink Blue Metallic Q7 Prestige


Vorsprung durch Technik

Mine: 2008 Ibis White Titanium Pkg S-line A4 Avant 2.0T
Hers: 2018 Ink Blue Metallic Q7 Prestige

2oo5 B6 Sedan Q | Dolphin Gray | SE | Platinum interior | 1.8T | Tiptronic
2oo4 B6 Avant Q | Silver | Platinum interior | 1.8T | Tiptronic
SOLD 03 1.8T A4 Avant 5MTQ.....and already missed!!
BetaAlphaTau member #19
-CP
2008 2.0t S-Line Ti 6MT Avant
2017 Q7 3.0t
SOLD -- 2012 Q5 2.0t - Stock Mommy Missile with new timing chains
Former USP CLUB MEMBER #136
2004 A4 1.8TQ 6MT USP - APR Stage 1+ - FSI Coils - BKR7EIX-11 - B6S4 Front + B7A4 Rear Brakes - 034 Street Trans Mount
SOLD -- 2006 A4 2.0TQ Avant Tiptronic
BetaAlphaTau member #19

~Chris
I sold my Audis and bought a Touareg... Catch me over at Club Touareg
My B6 Avant GT2871R build
Tumblr
"Robert Bosch don't fuck around"
BetaAlphaTau member #19
BetaAlphaTau member #19
Costco 92 Octane Gas - MANN Air Filter - 235/35/19 Tires w/ 36 PSI (cold) Tire Pressure - Grey Plastic Valve Stem Caps - 0° Front Toe - Rotella T6 5W-40 - 2 OEM B6 Keys - 18x8" Spare - Coin & Pen Filled Center Console - Rain-X on all 8 windows & Napa Cold Temp Washer Fluid - Bosch Wiper Blades (Valeo wipers suck big time!) - S4 Trunk Latch - Craftsman Tire Pump w/ Automatic PSI Shutoff - Belly Pan Delete (Weight Savings) - 3D Printed Rear Warning Triangle latch - 174,000 Miles & Counting

Last edited by old guy; 10-28-2011 at 04:59 PM.
'03 A4 5-MT Motoza tuned Frankenturbo F21L With full supporting mods. Sold (and missed dearly).
'13 A5 6-MT Needs more Fun Stuff: Neuspeed PM / 3.0 TDI Intercooler / H&R OE Sport Springs / Bilstein B8 Shocks / TyrolSport Brake Stiffeners / ECS Short Shifter / S5 Side Skirts / RS Grille
vorsprung durch technik
2004 Audi A4 1.8T USP quattro TIP
OEM+


-CP
2008 2.0t S-Line Ti 6MT Avant
2017 Q7 3.0t
SOLD -- 2012 Q5 2.0t - Stock Mommy Missile with new timing chains
Former USP CLUB MEMBER #136
2004 A4 1.8TQ 6MT USP - APR Stage 1+ - FSI Coils - BKR7EIX-11 - B6S4 Front + B7A4 Rear Brakes - 034 Street Trans Mount
SOLD -- 2006 A4 2.0TQ Avant Tiptronic
vorsprung durch technik
2004 Audi A4 1.8T USP quattro TIP
OEM+
Some Go, No show
02 Qtip, Apr II+ 93Oct, tt-225 injectors, Ecode fmic, W/M Injection, Magnaflow 16601,TT225 Down Pipe, VMR test pipe, APR TIP, Forge 007, Vag-Com, Podi V2, RS4 LSB, ECS Snub, USP front lower, S4 Front Brakes, Slotted/Dimpled Rotors f/r, SS Lines f/r, 19x8.5 & 19x9.5 RPM 505's, RNS-E
Wish List
Custom fab intake heat shield, Custom fab system in trunk, Adjustable Coilovers, S4 blades, DTH side skirts

-CP
2008 2.0t S-Line Ti 6MT Avant
2017 Q7 3.0t
SOLD -- 2012 Q5 2.0t - Stock Mommy Missile with new timing chains
Former USP CLUB MEMBER #136
2004 A4 1.8TQ 6MT USP - APR Stage 1+ - FSI Coils - BKR7EIX-11 - B6S4 Front + B7A4 Rear Brakes - 034 Street Trans Mount
SOLD -- 2006 A4 2.0TQ Avant Tiptronic
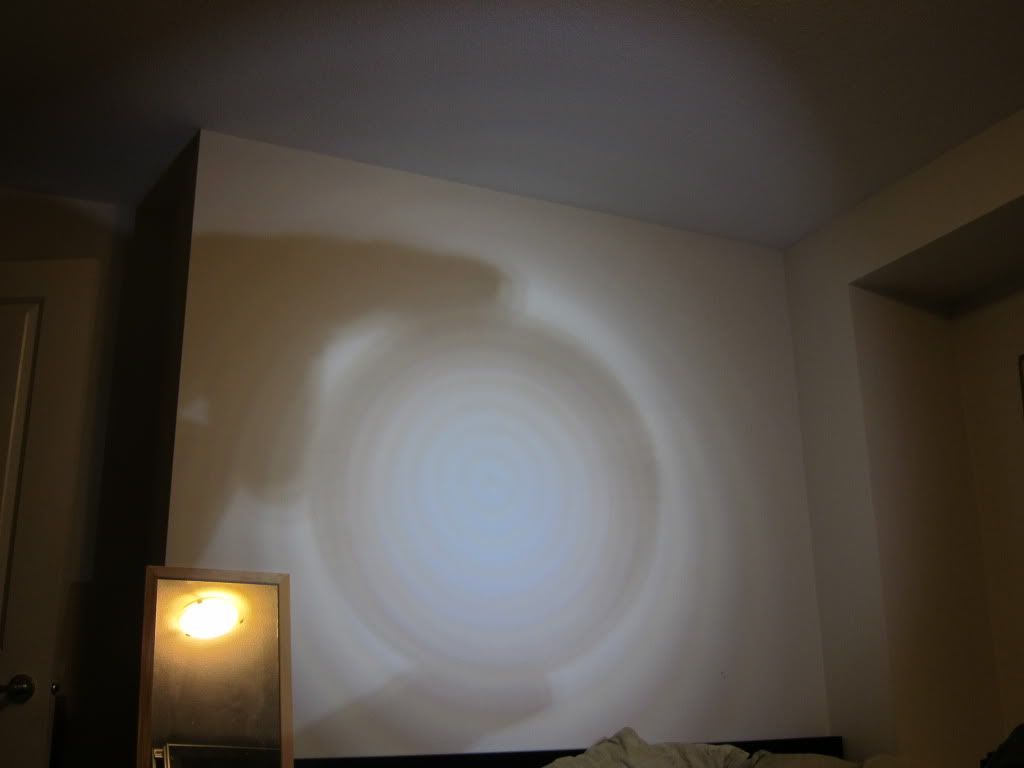
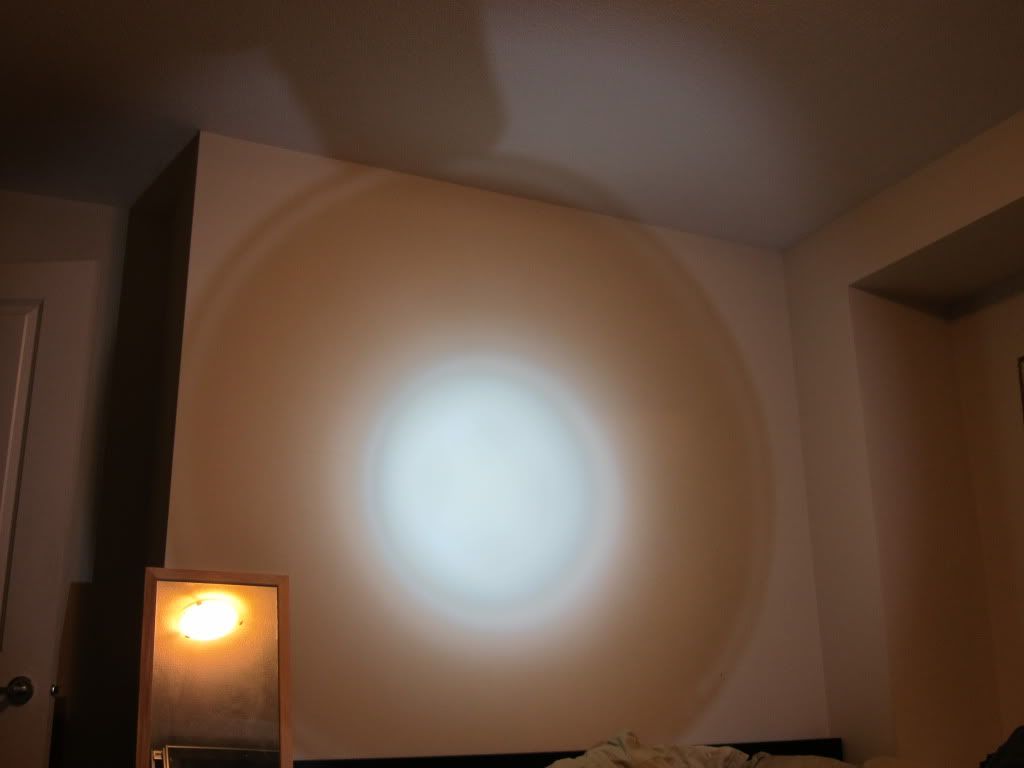
 Ohhhh my, that is an insane deal you snagged there, well done! I was trying to think of a way to mod my H7 Osram +50 bulbs to work but never got around to it. Let me know if you every figure out a way to get those in there, I can't really find any solid H10 bulbs for the high beams.
Last edited by francis_a; 12-06-2011 at 09:16 AM.
2oo5 B6 Sedan Q | Dolphin Gray | SE | Platinum interior | 1.8T | Tiptronic
2oo4 B6 Avant Q | Silver | Platinum interior | 1.8T | Tiptronic
-CP
2008 2.0t S-Line Ti 6MT Avant
2017 Q7 3.0t
SOLD -- 2012 Q5 2.0t - Stock Mommy Missile with new timing chains
Former USP CLUB MEMBER #136
2004 A4 1.8TQ 6MT USP - APR Stage 1+ - FSI Coils - BKR7EIX-11 - B6S4 Front + B7A4 Rear Brakes - 034 Street Trans Mount
SOLD -- 2006 A4 2.0TQ Avant Tiptronic
2oo5 B6 Sedan Q | Dolphin Gray | SE | Platinum interior | 1.8T | Tiptronic
2oo4 B6 Avant Q | Silver | Platinum interior | 1.8T | Tiptronic

Last edited by Trev; 12-06-2011 at 11:12 AM.
Some Go, No show
02 Qtip, Apr II+ 93Oct, tt-225 injectors, Ecode fmic, W/M Injection, Magnaflow 16601,TT225 Down Pipe, VMR test pipe, APR TIP, Forge 007, Vag-Com, Podi V2, RS4 LSB, ECS Snub, USP front lower, S4 Front Brakes, Slotted/Dimpled Rotors f/r, SS Lines f/r, 19x8.5 & 19x9.5 RPM 505's, RNS-E
Wish List
Custom fab intake heat shield, Custom fab system in trunk, Adjustable Coilovers, S4 blades, DTH side skirts
-CP
2008 2.0t S-Line Ti 6MT Avant
2017 Q7 3.0t
SOLD -- 2012 Q5 2.0t - Stock Mommy Missile with new timing chains
Former USP CLUB MEMBER #136
2004 A4 1.8TQ 6MT USP - APR Stage 1+ - FSI Coils - BKR7EIX-11 - B6S4 Front + B7A4 Rear Brakes - 034 Street Trans Mount
SOLD -- 2006 A4 2.0TQ Avant Tiptronic

Last edited by Trev; 12-11-2011 at 12:28 AM.
Some Go, No show
02 Qtip, Apr II+ 93Oct, tt-225 injectors, Ecode fmic, W/M Injection, Magnaflow 16601,TT225 Down Pipe, VMR test pipe, APR TIP, Forge 007, Vag-Com, Podi V2, RS4 LSB, ECS Snub, USP front lower, S4 Front Brakes, Slotted/Dimpled Rotors f/r, SS Lines f/r, 19x8.5 & 19x9.5 RPM 505's, RNS-E
Wish List
Custom fab intake heat shield, Custom fab system in trunk, Adjustable Coilovers, S4 blades, DTH side skirts
 Posting Permissions
|
© 2001-2025 Audizine, Audizine.com, and Driverzines.com
Audizine is an independently owned and operated automotive enthusiast community and news website. Audi and the Audi logo(s) are copyright/trademark Audi AG. Audizine is not endorsed by or affiliated with Audi AG. |

 |

 Reply With Quote
Bookmarks