


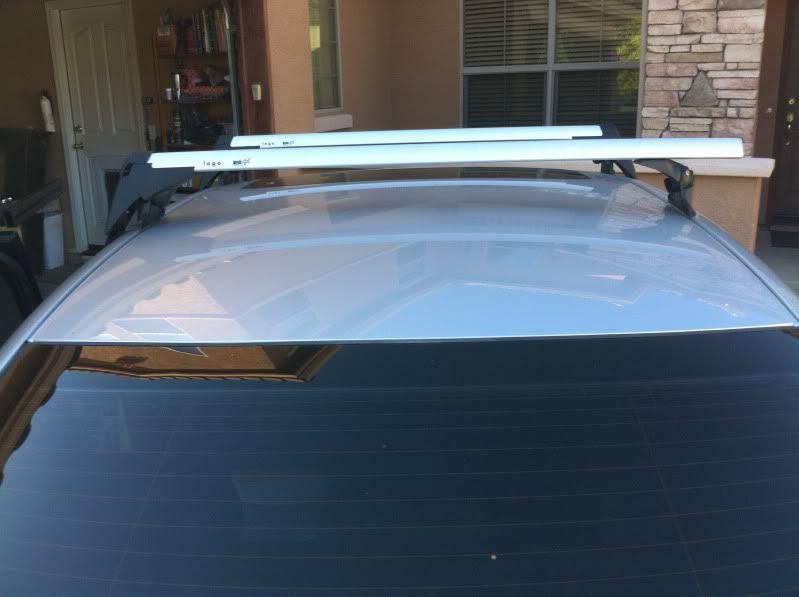
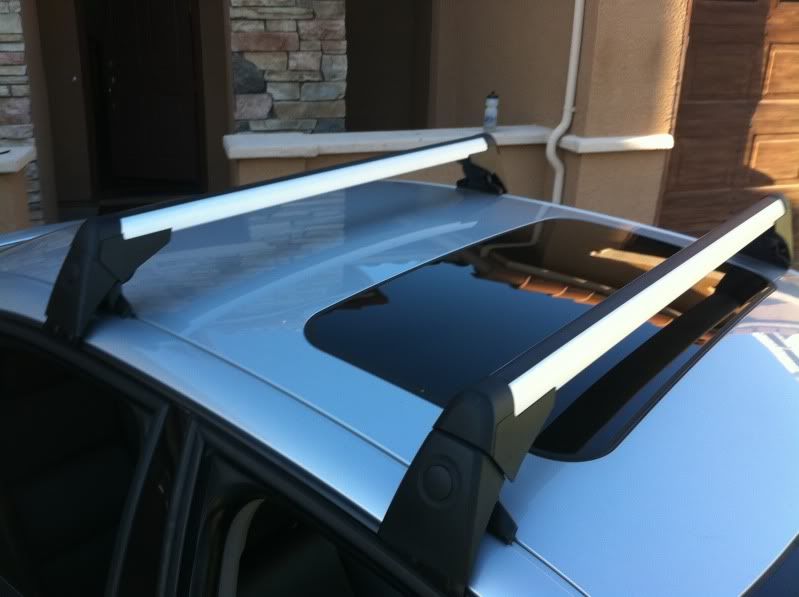
I got my rack from genuinevwaudiparts.com Rack *here* P/N 3C0071126
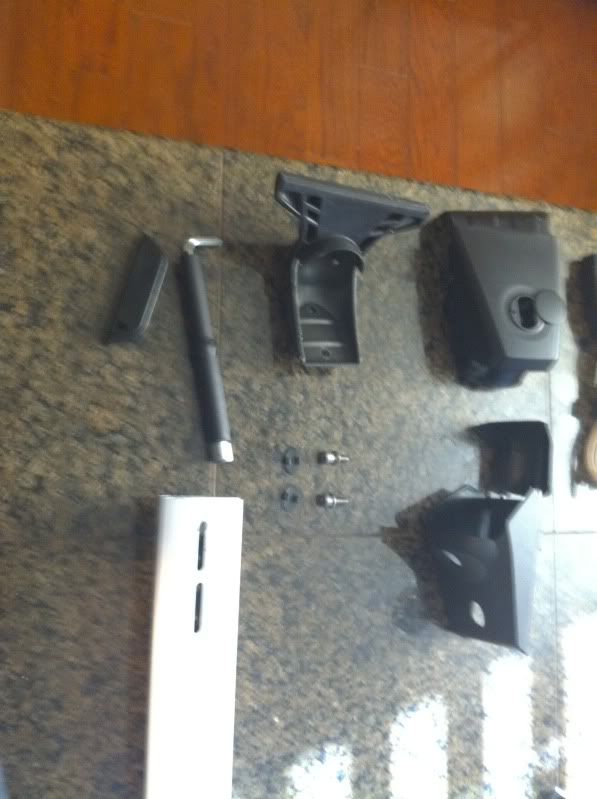
Tools needed
- rack tool (comes with rack has allen and special socket for the rack bolts)
- square
- punch
- hammer
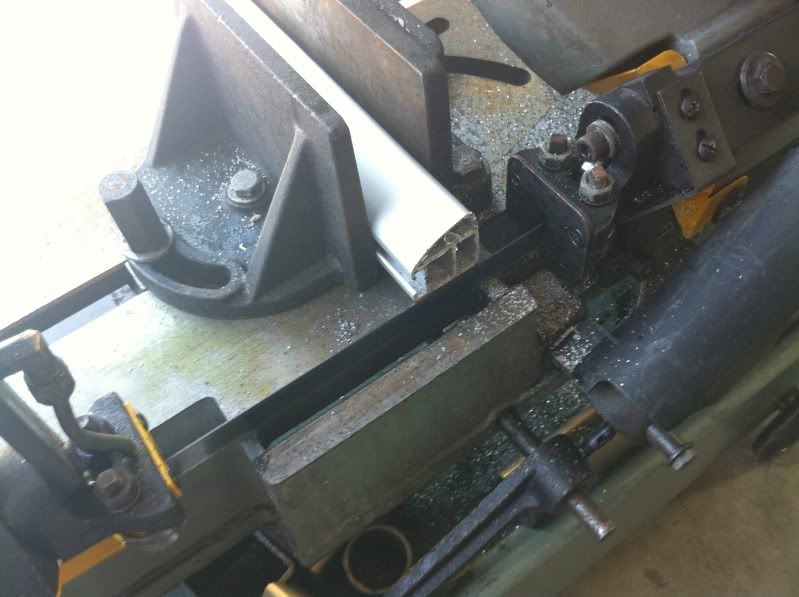
- scoring tool ( i used tungsten from my tig)
- some sort of saw (hack saw should work fine)
- flat heat screw driver
- drill or drill press
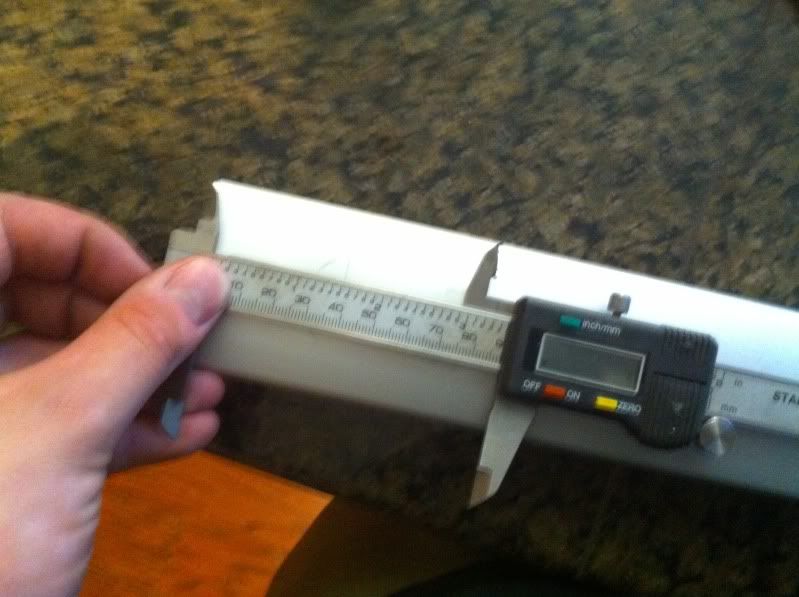
-measuring instrument (calipers, tape measure, ruler whatever you have!)
optional
- extra set of allen's
I used the measurements that dackler posted PDF file here Thanks for those makes things a lot easier! they were dead on!
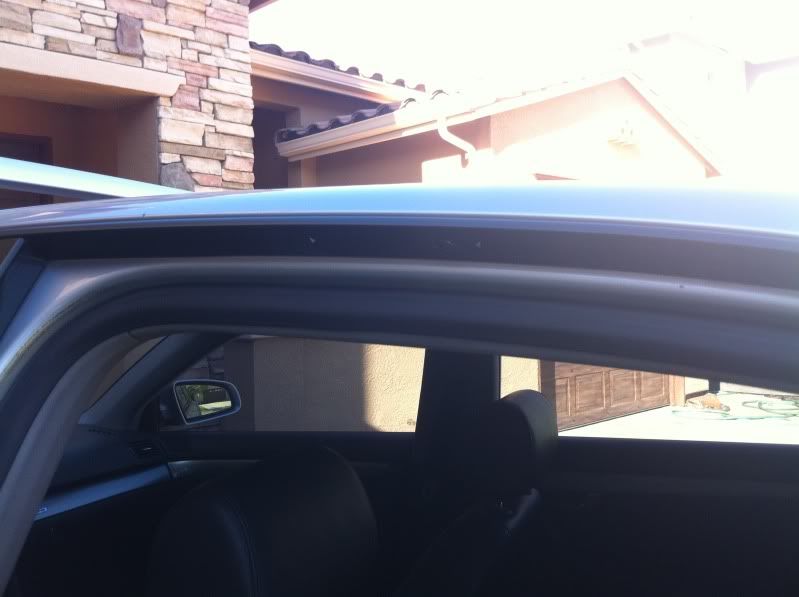
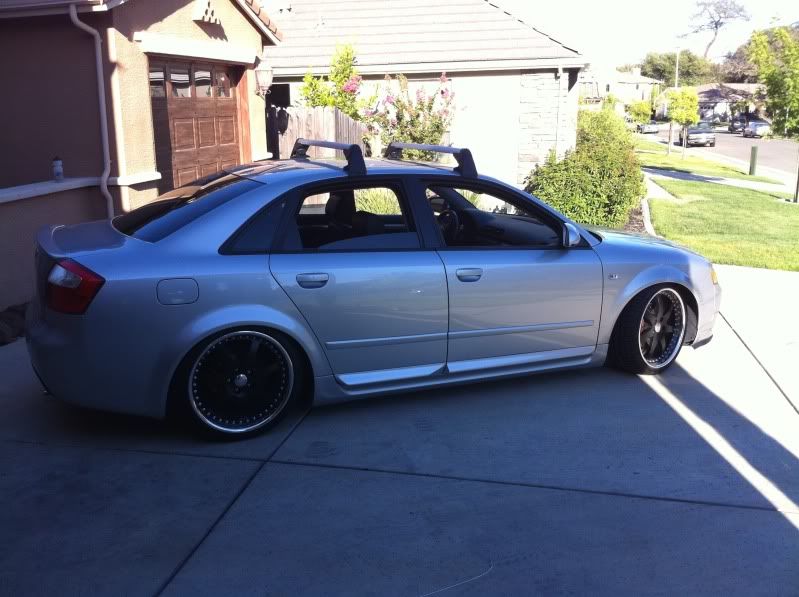
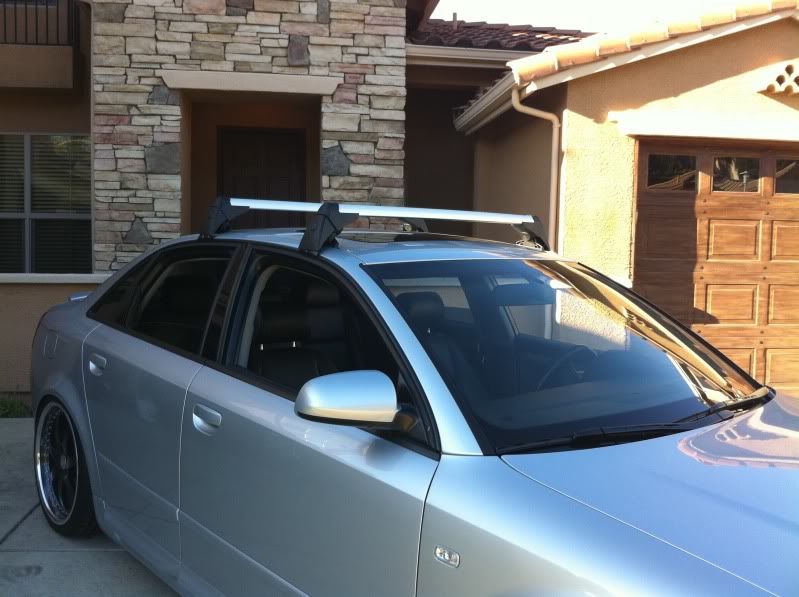
Ok so first thing is first i always worked from the right side of the racks that way i could retain the factor stickers on the bottoms telling you which front and rear.
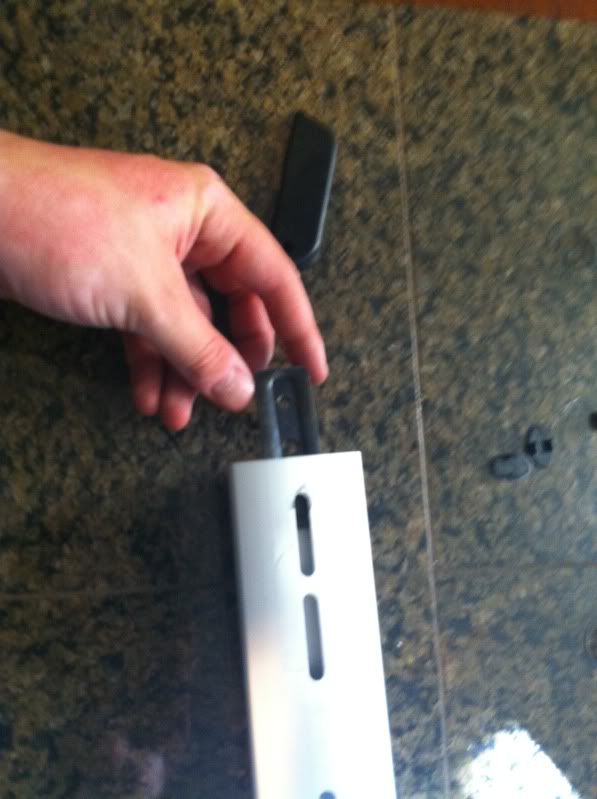
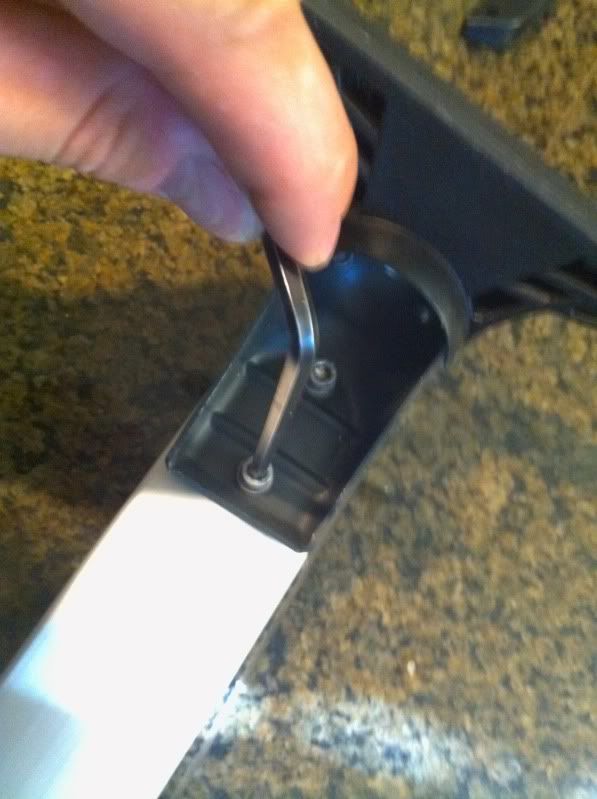
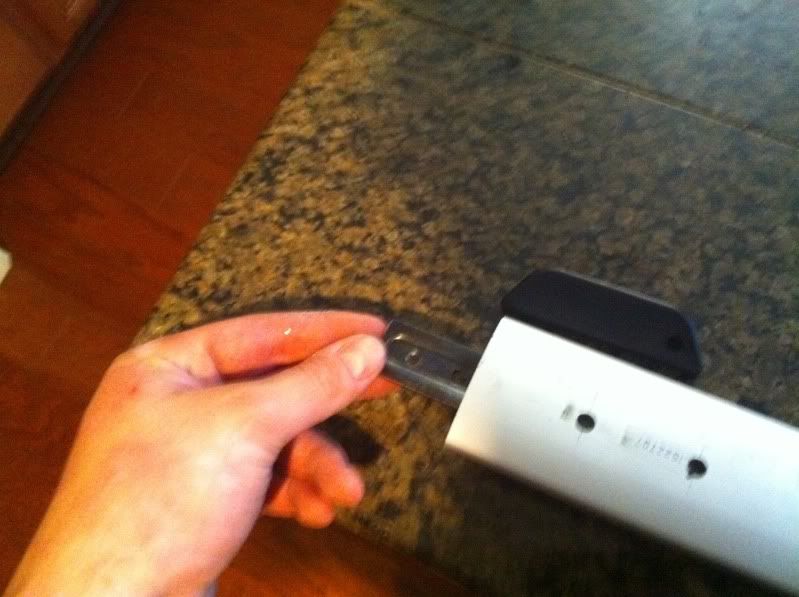
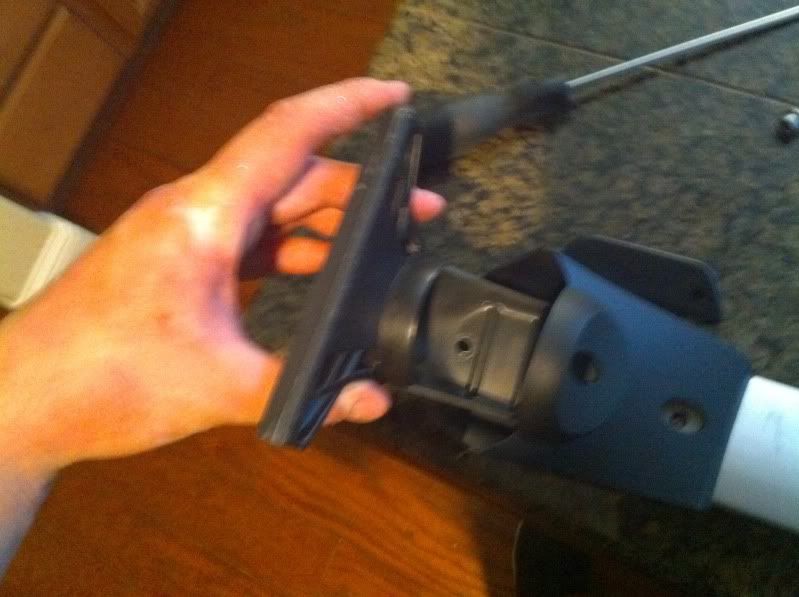
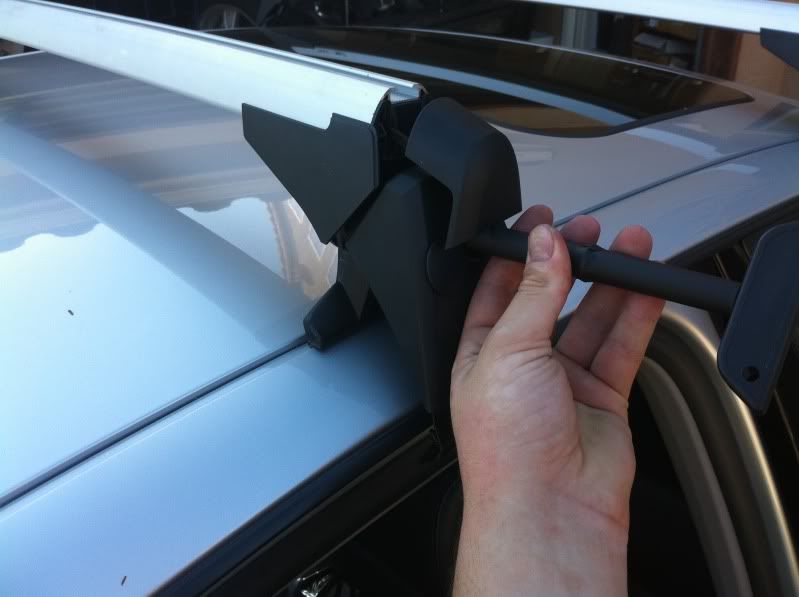
1: Start by first taking off the side mounts that clamp inside of the doors using the tool supplied with the rack.
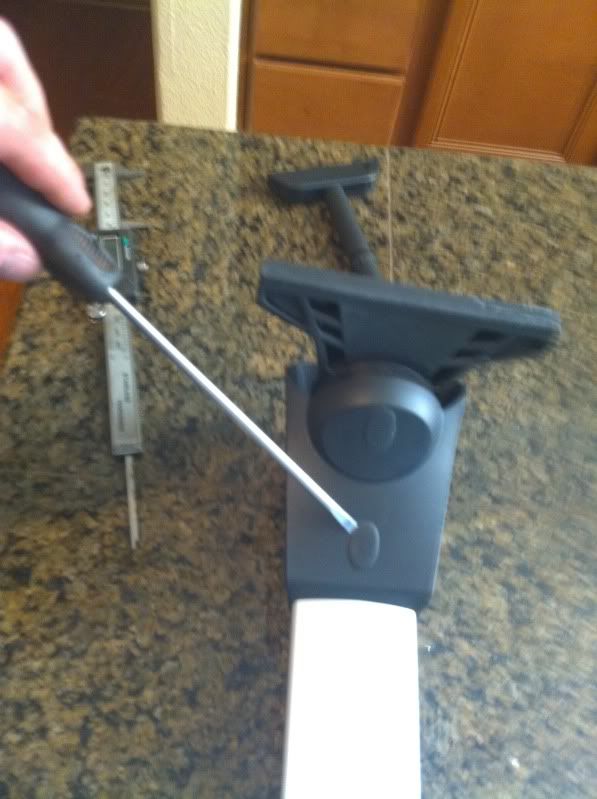
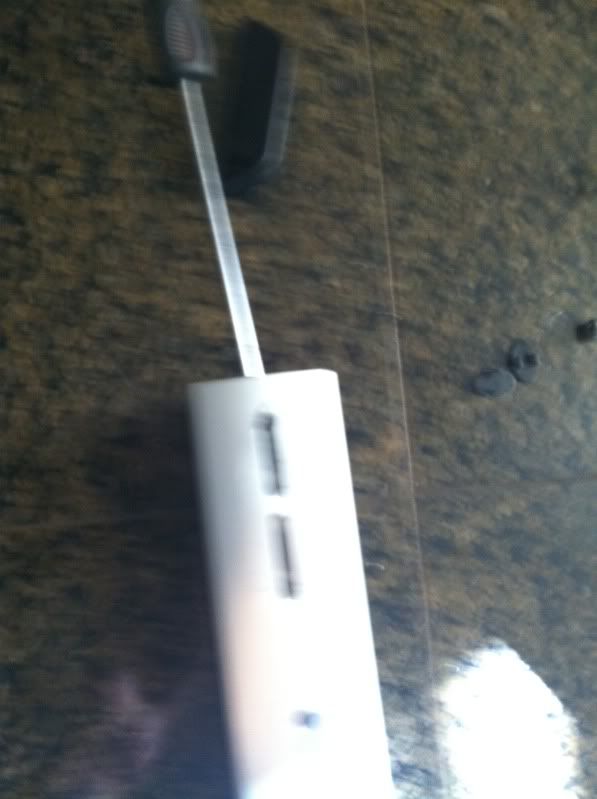
2: Then remove the small plastic plugs that are hiding 2 (5MM) allen bolts remove both bolts.
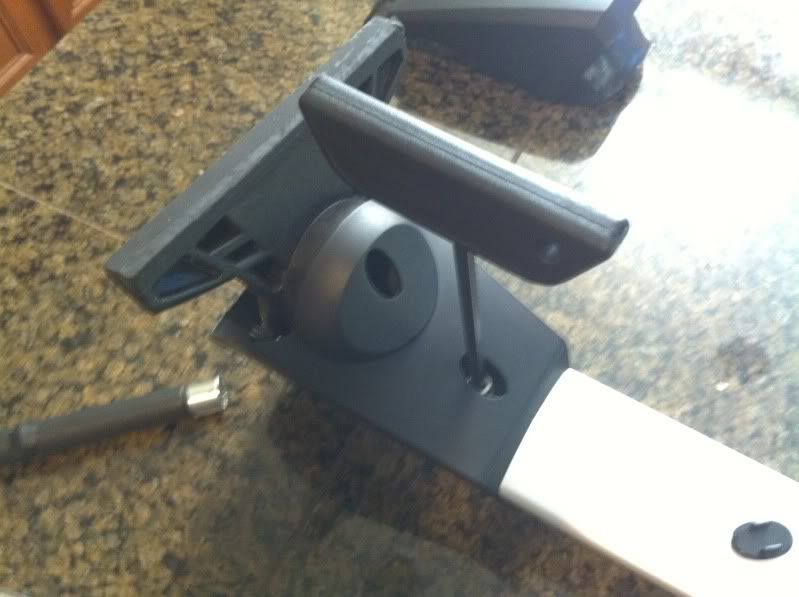
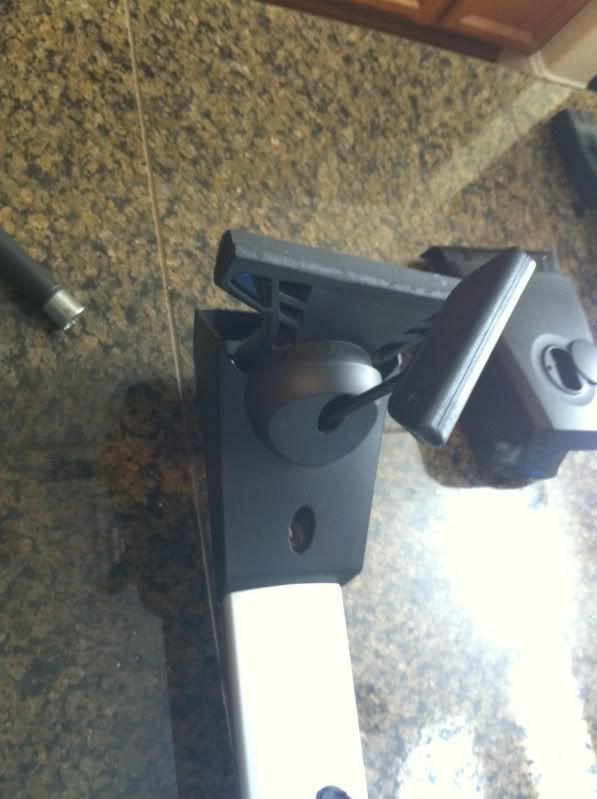
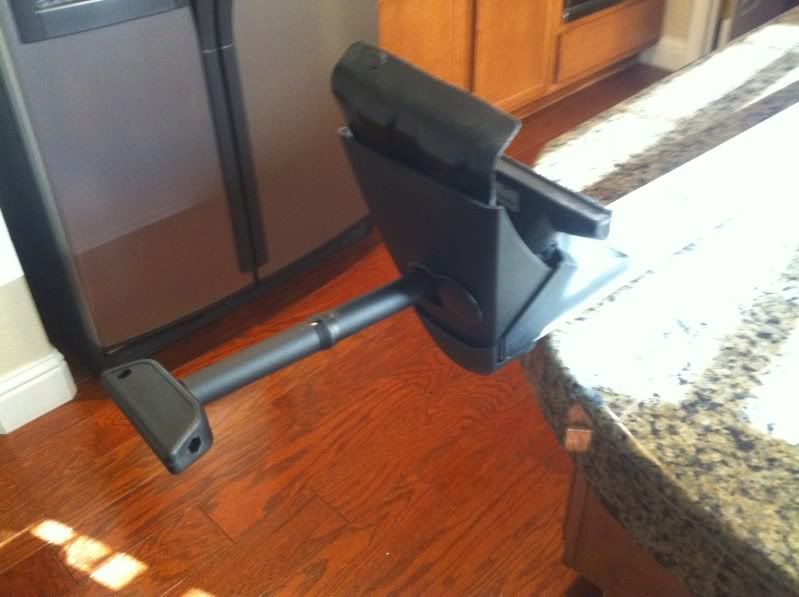
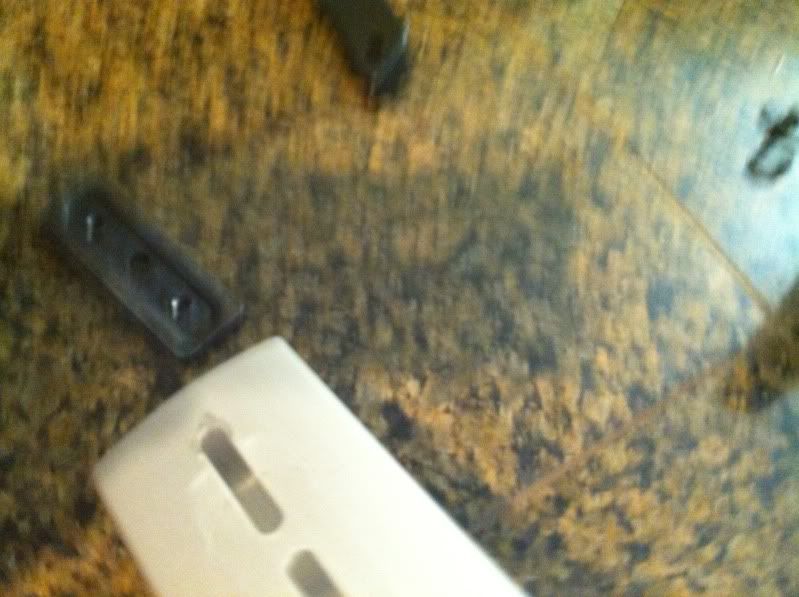
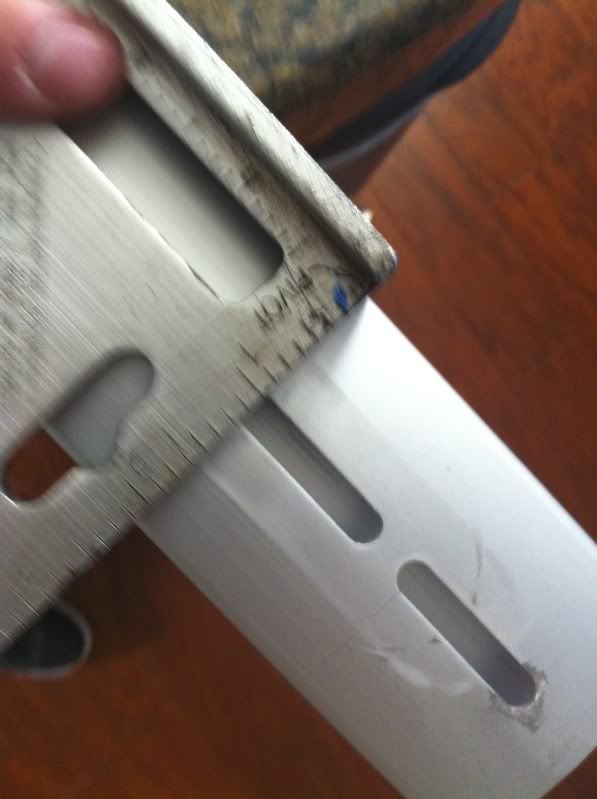
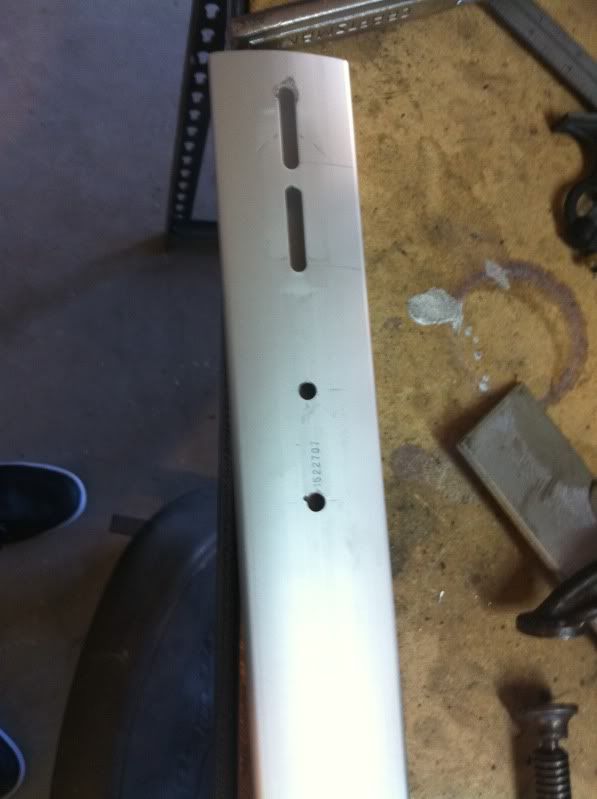
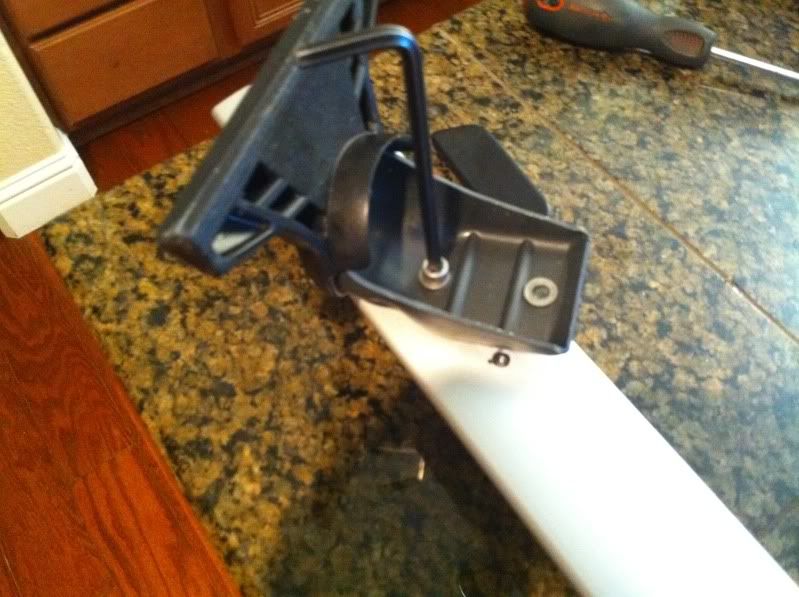
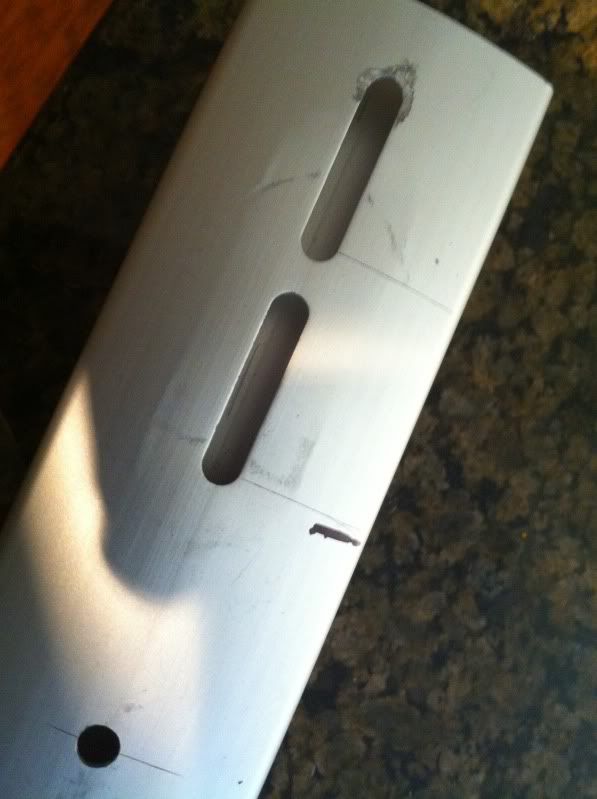
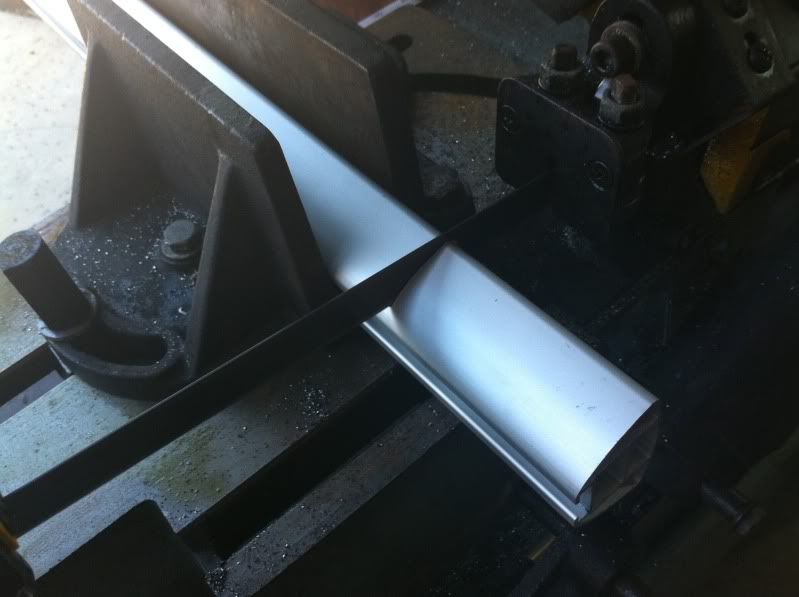
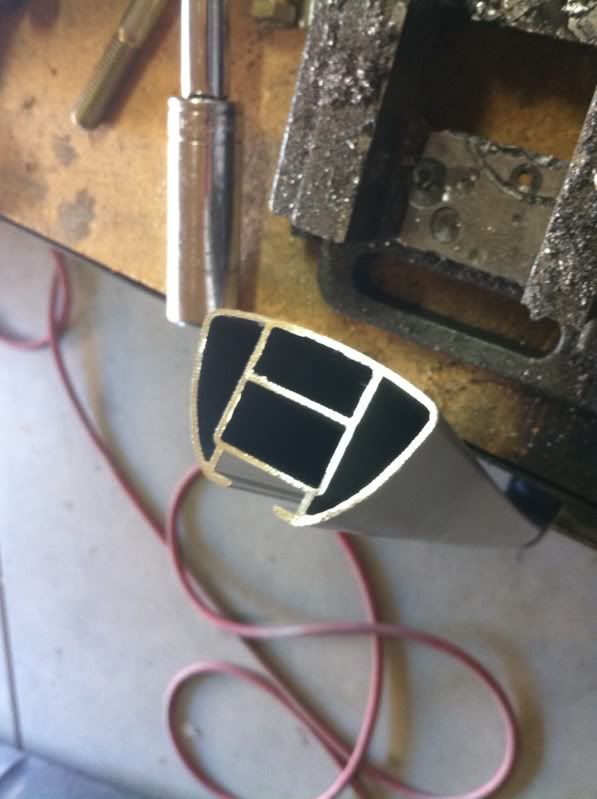
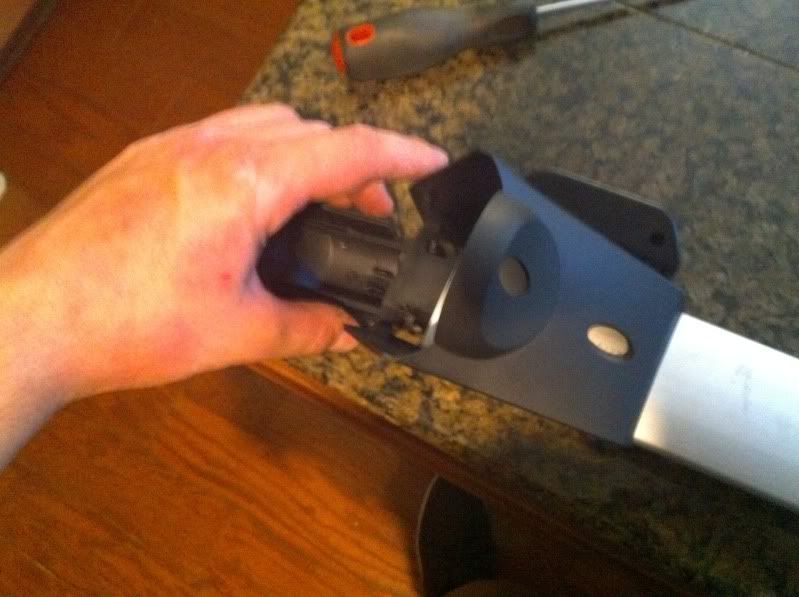
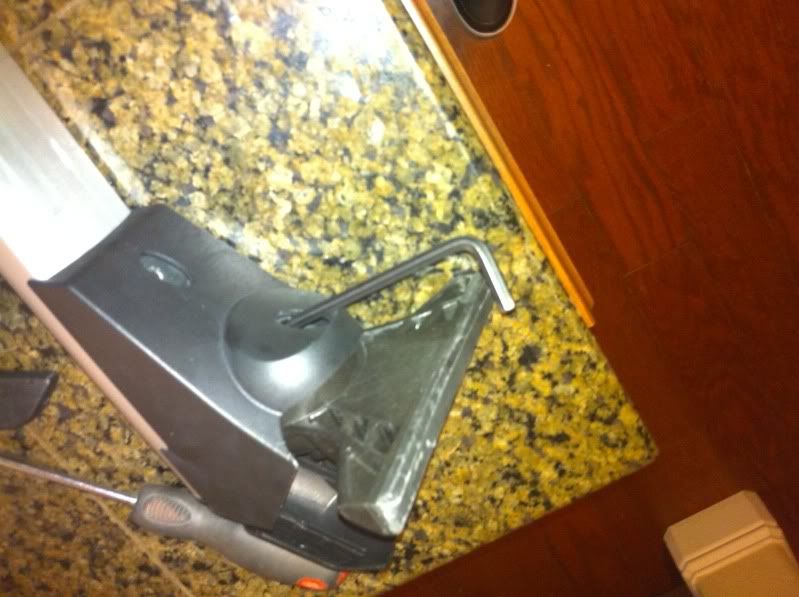
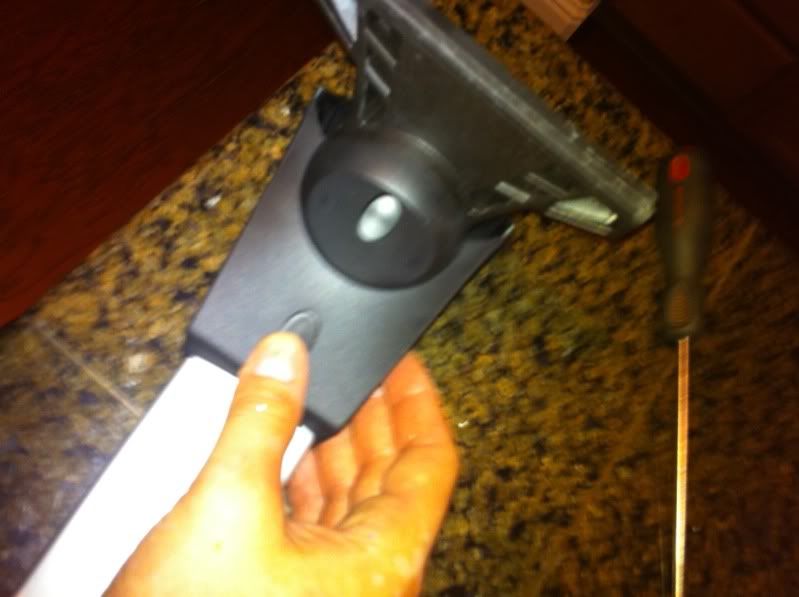
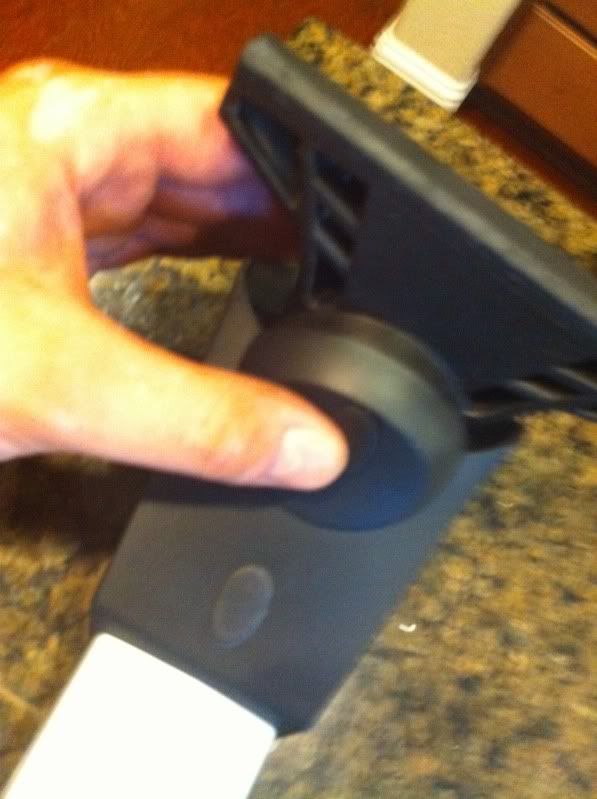
3: Then you are able to remove the inner supporting foot and cover, then side out the steel sliding block. the side of the rack should be fully disassembled.
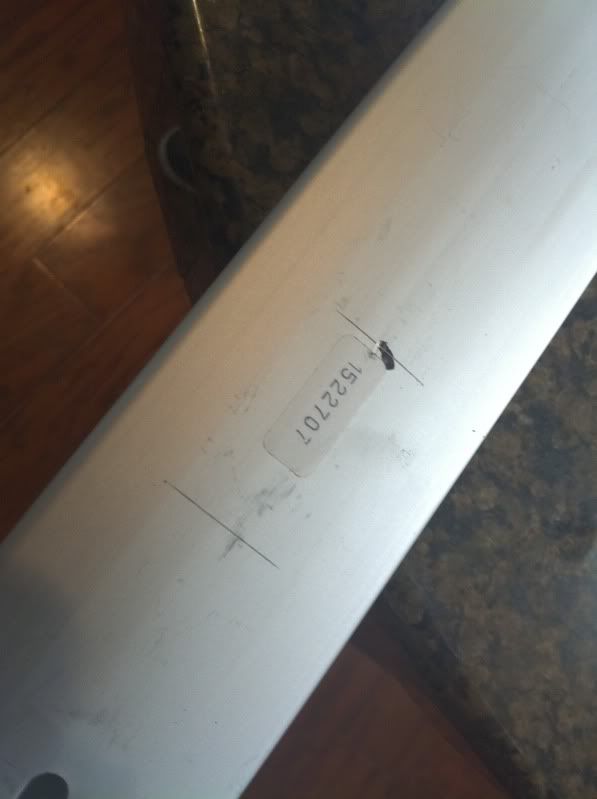
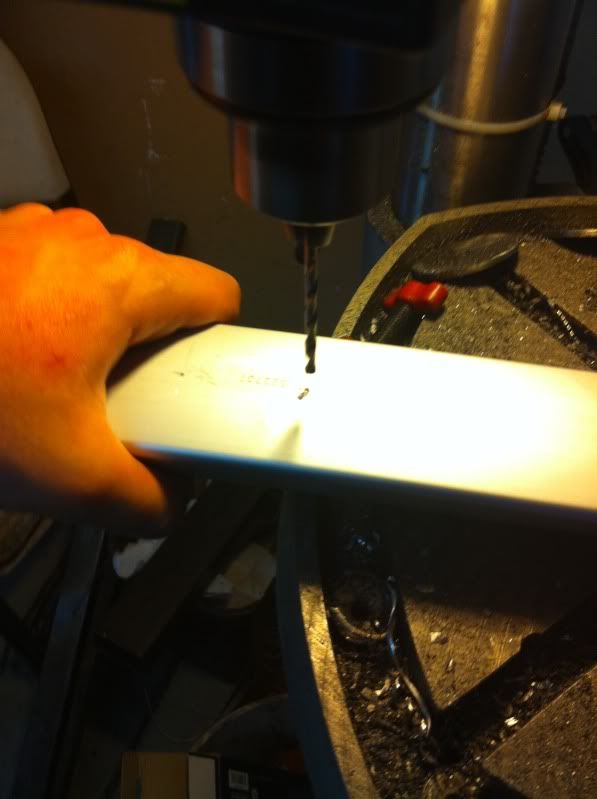
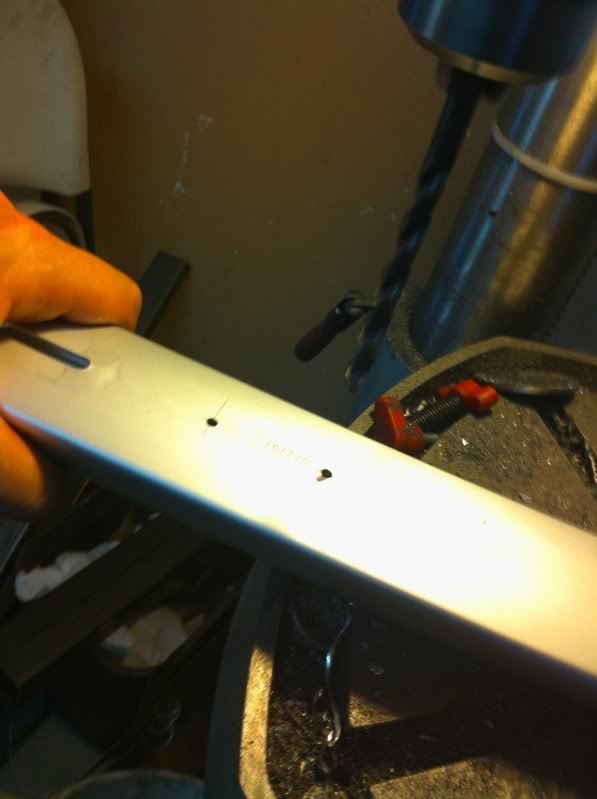
4: after the rack is all disassembled on the right side then its time to start making some holes! i used dackler measurements they are listed above.
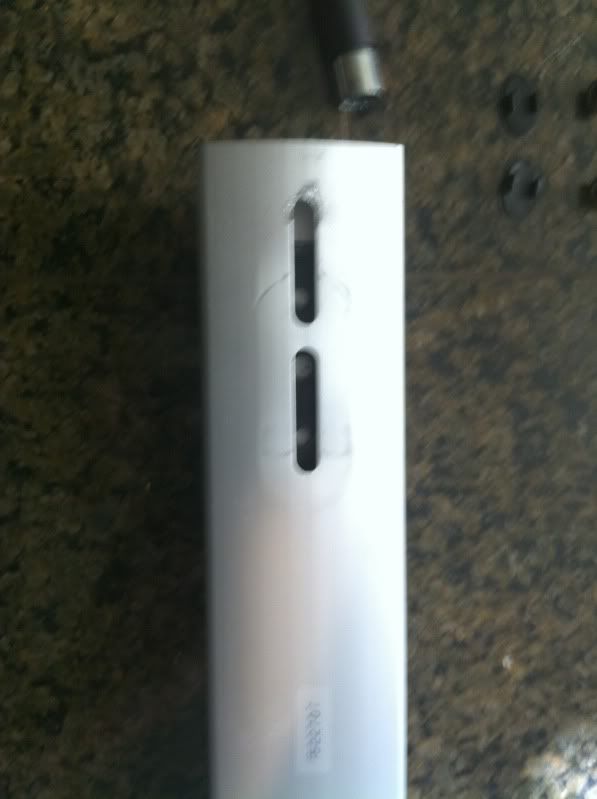
now for the front rack the holes need to be moved forward 55.0mm rear rack needs to be moved inwards 88.0mm these steps can be used for both just makes sure you use the correct measurements on the correct rack.
Now what i did was i used my square and lined it up with the factory slotted hole and covered up the radius part (just so that the slotted hole no longer had and radius showing) with the square then scored it. then repeated the same from the next hole.
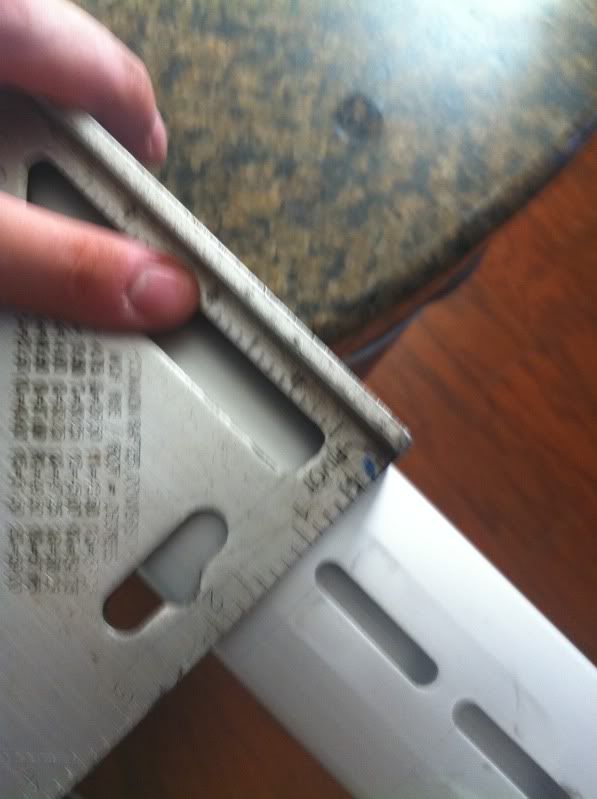
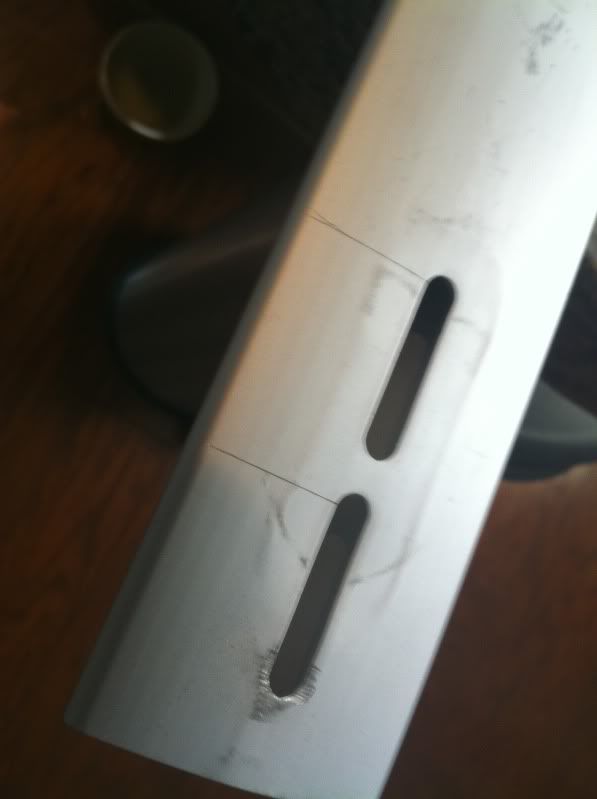
5: Next i used my calipers and set them to my measurements i need (front 55.0mm)(rear 88.0mm) then i used my square and measured from my original line that i scored moved inward on the rack till i moved the correct distance then scored the rack then repeated the same step for the next hole.
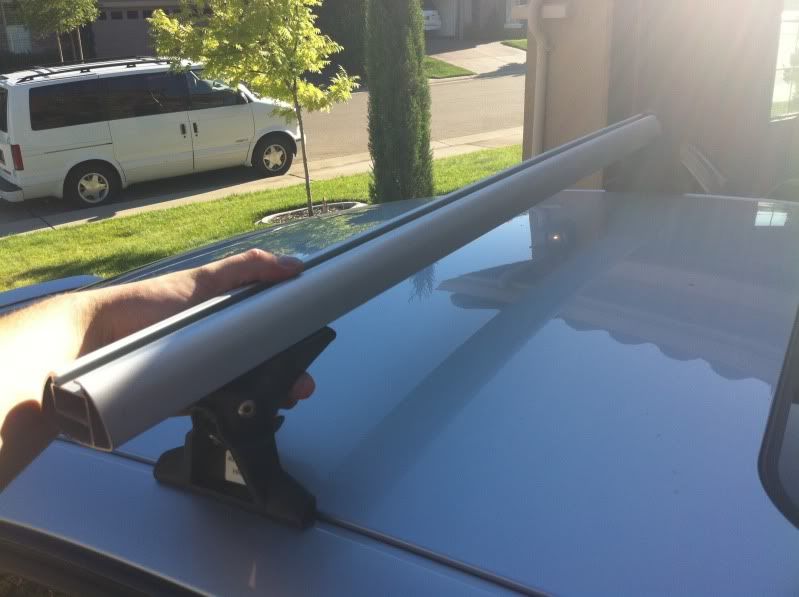
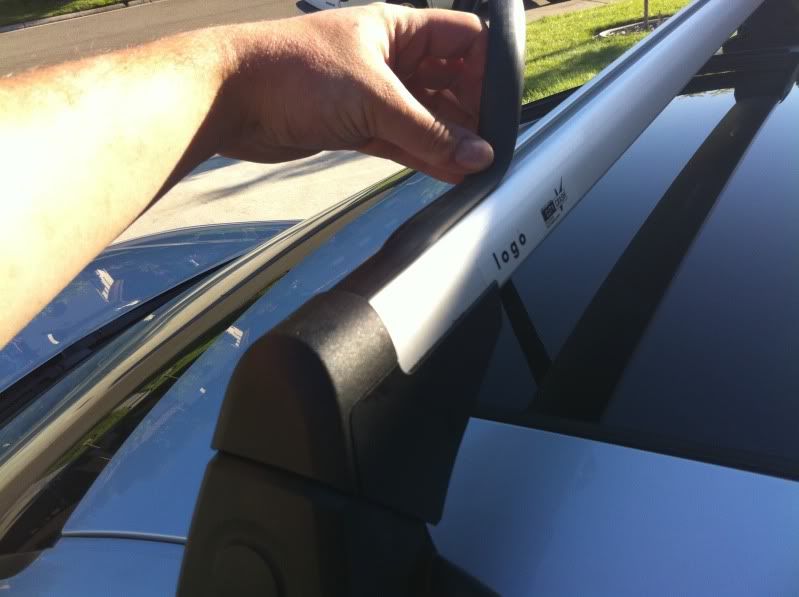
6: now at this point you should almost be ready to drill some holes but before i did i went and test fit the rack on my car i liked up the rack with the holes in the door and seat the right side support foot under lining it up with the gutters where it sits on the car then used a marker to mark the front hole to make sure i am where i need to be with my measurements
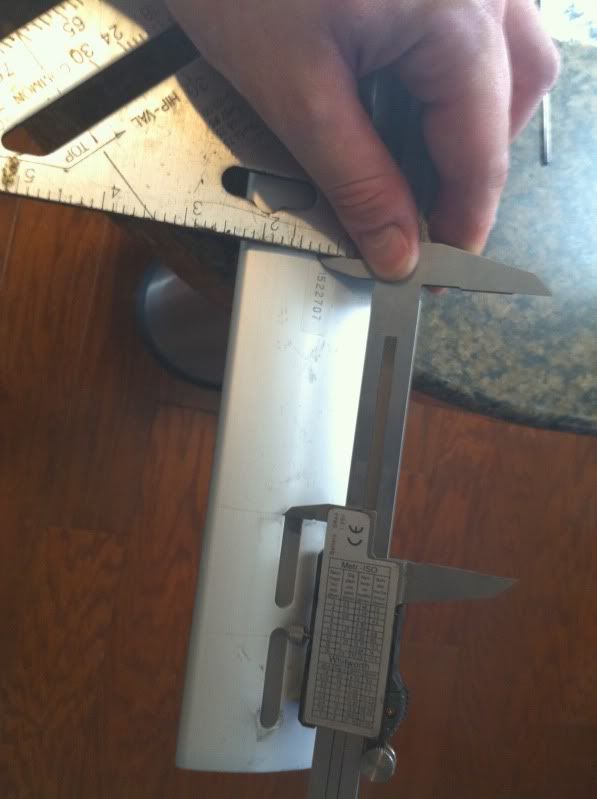
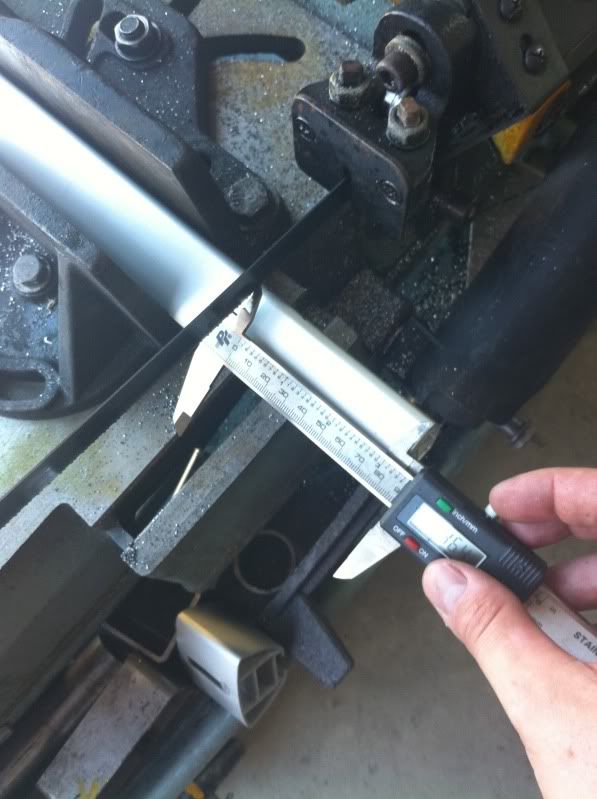
7: After you make sure you measurements are on target you need to find the center of the rack so you can use a punch to get you a nice punch to get you drill bit started the rack is 2.25" wide so the center would be 1/2 of that which is 1.125" using you square measure it out and score it on each spot where the new holes will be.


 Reply With Quote
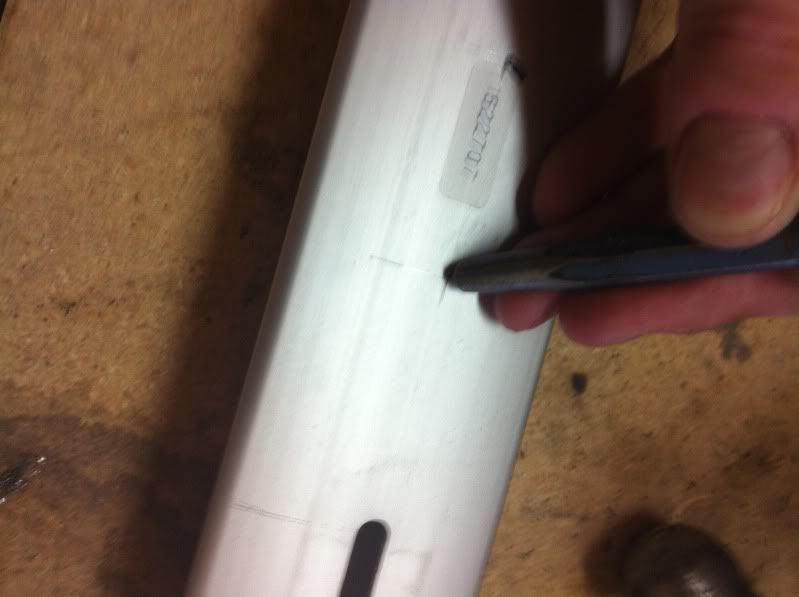


Bookmarks