


I had it done almost two years ago, and writing a DIY now. So, I may have missed some steps. I have tried my best to recall everything and put it together.
Why I did it?
-Halogens suck.
-Factory bixenons are expensive.
-Bixenon conversion harness is expensive.
-Morimoto mini H1s are good projectors and you can use any HID Kit. I had some DDT tuning kit left over from my other car so I used them. But I recommend you do your research on what you want to run, if not theretrofitsource.com does have nice kits.
Total cost:
Cost of projector
Cost of HID kit
Cost of shrouds
Cost of positap connectors
Glue, taps, paint.
Total time:
At slow pace about 6 hours. I did it over the weekend, just because I wanted the paint to dry and also was doing tons or trial and error. With these pictures as a guide it should take less time.
Do it at your own risk. I am not responsible for any personal harm or property harm caused by trying the process outlined below.
Preparation:
1. Remove the headlight housings from the car.
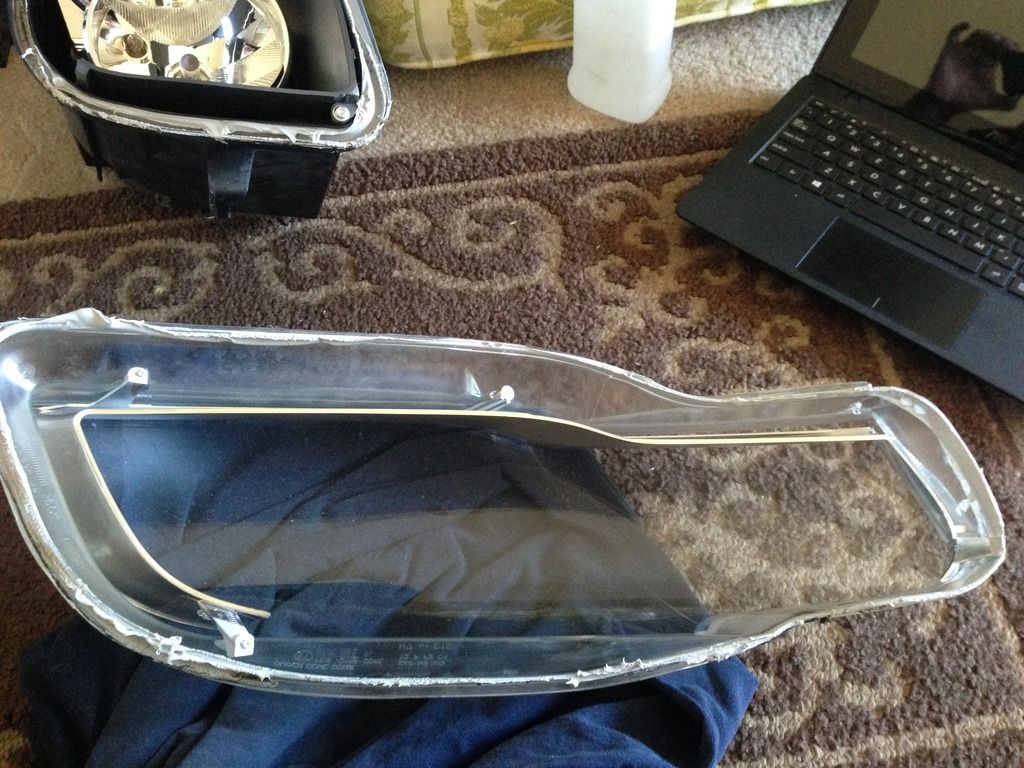
2. Open up one headlight at a time. Use a heat gun on the edges where lens meets the housing. Be careful not to heat up the same spot for long time, it will melt the housing/lens. Pry it open carefully. Try not to drop the sticky butyl rubber on the lens and bulbs.
Picture of lens removed:
3. Remove the bulb caps and bulbs.
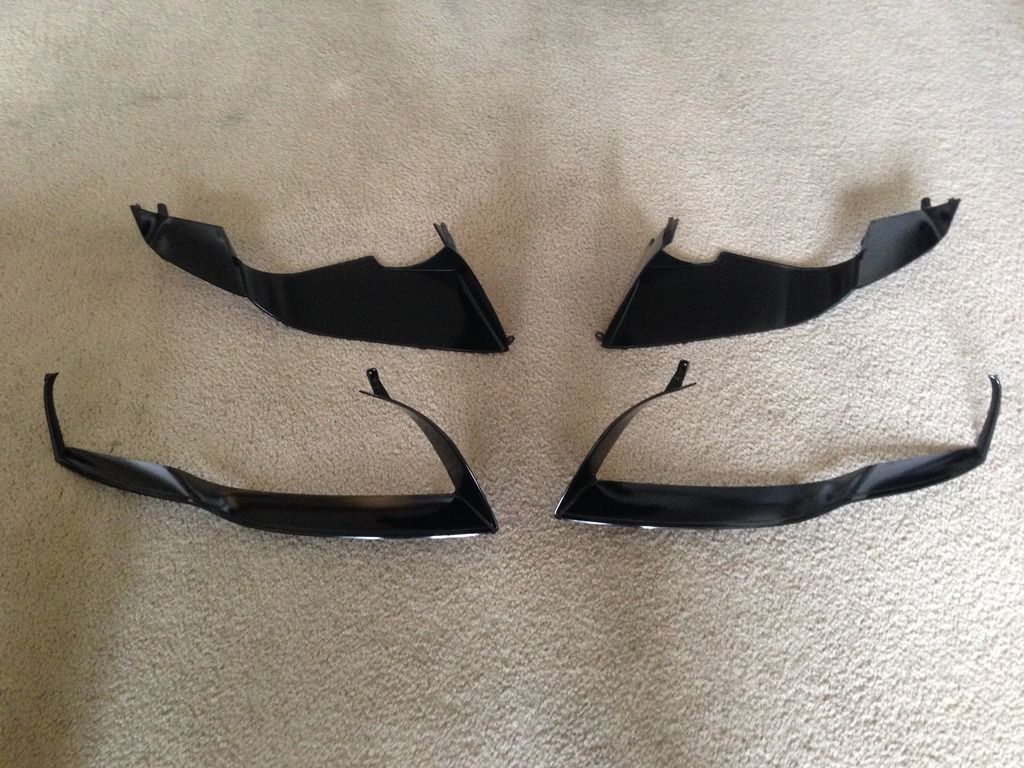
4. Remove the bottom plastic piece by unscrewing a couple of screws. If you want to paint it this is a good time.
Picture of painted pieces:
5. Good time to remove the orange lens cover from the turn signals too. Cut/grind/punch or use proper way to remove them. Up to you. Phil has a proper DIY on it. Dont forget to get the stealth bulbs if you are going this route.
Cutting and grinding:
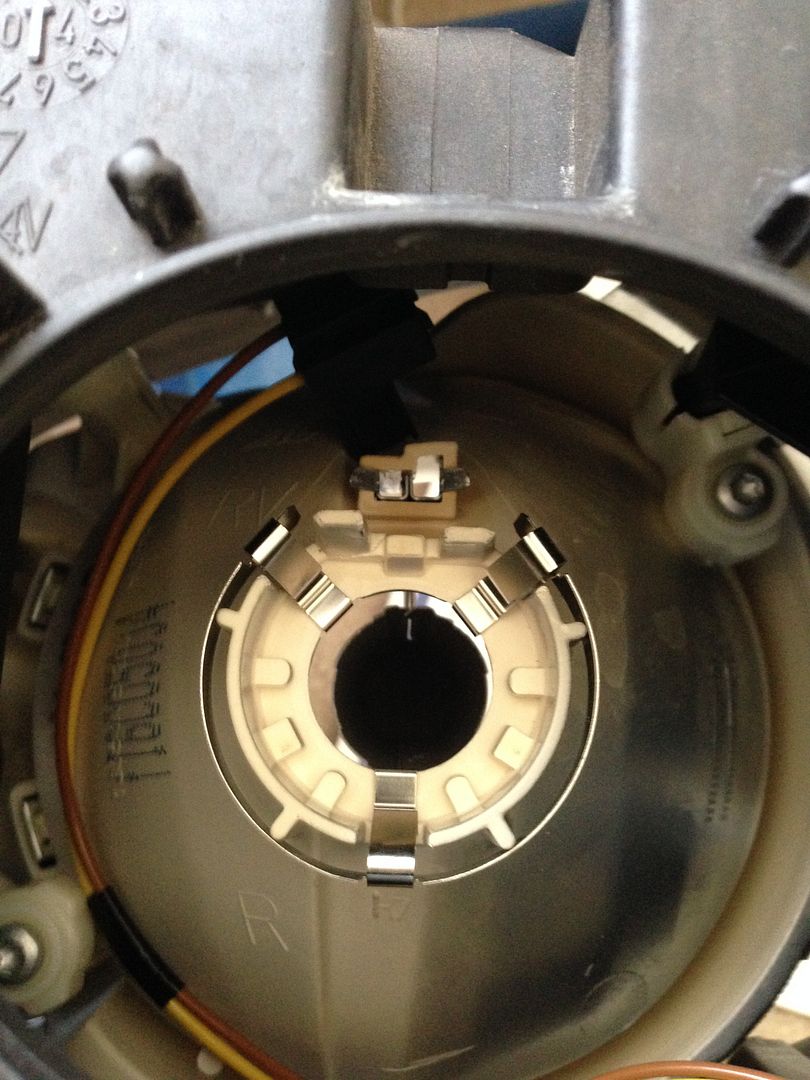
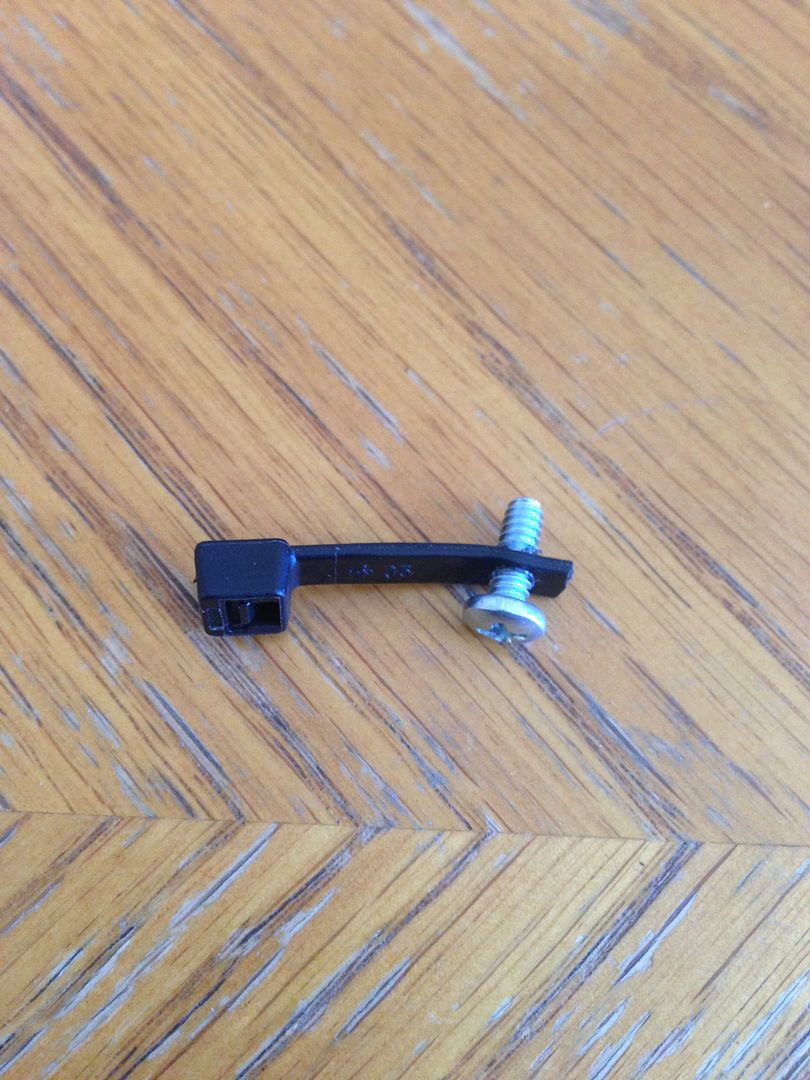
1. Remove the little metal bulb cover for the low beam by pinching the tabs from inside the headlight. You will be using this hole to fish the wires from projector for bixenon high beam functionality.
Picture of the tab:
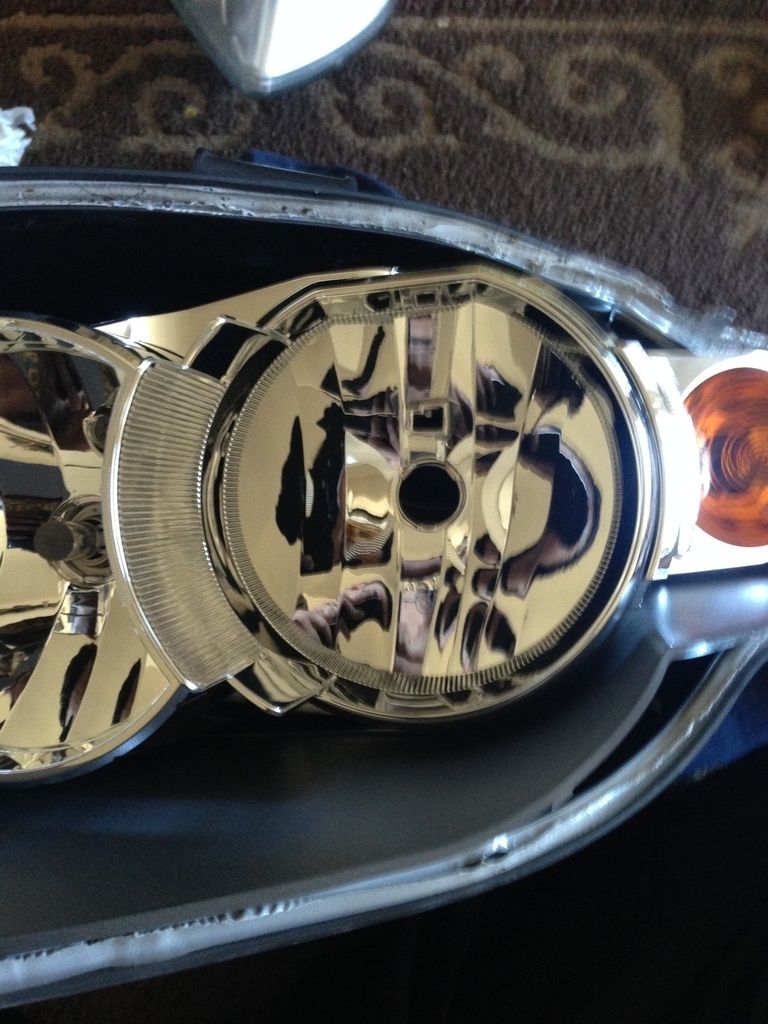
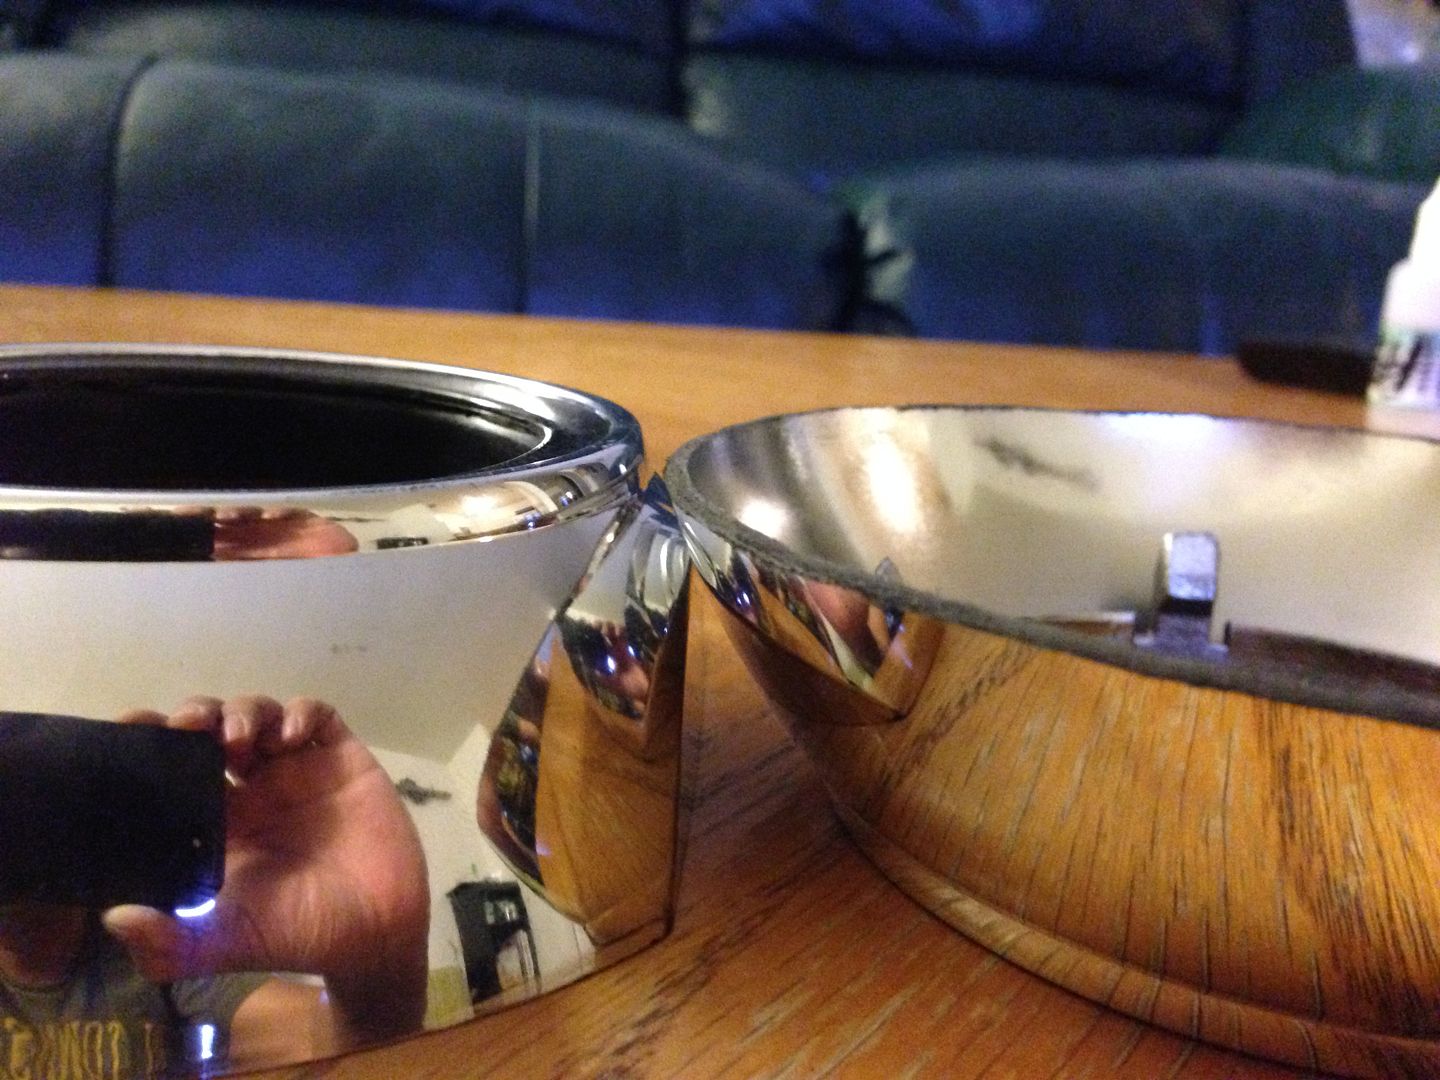
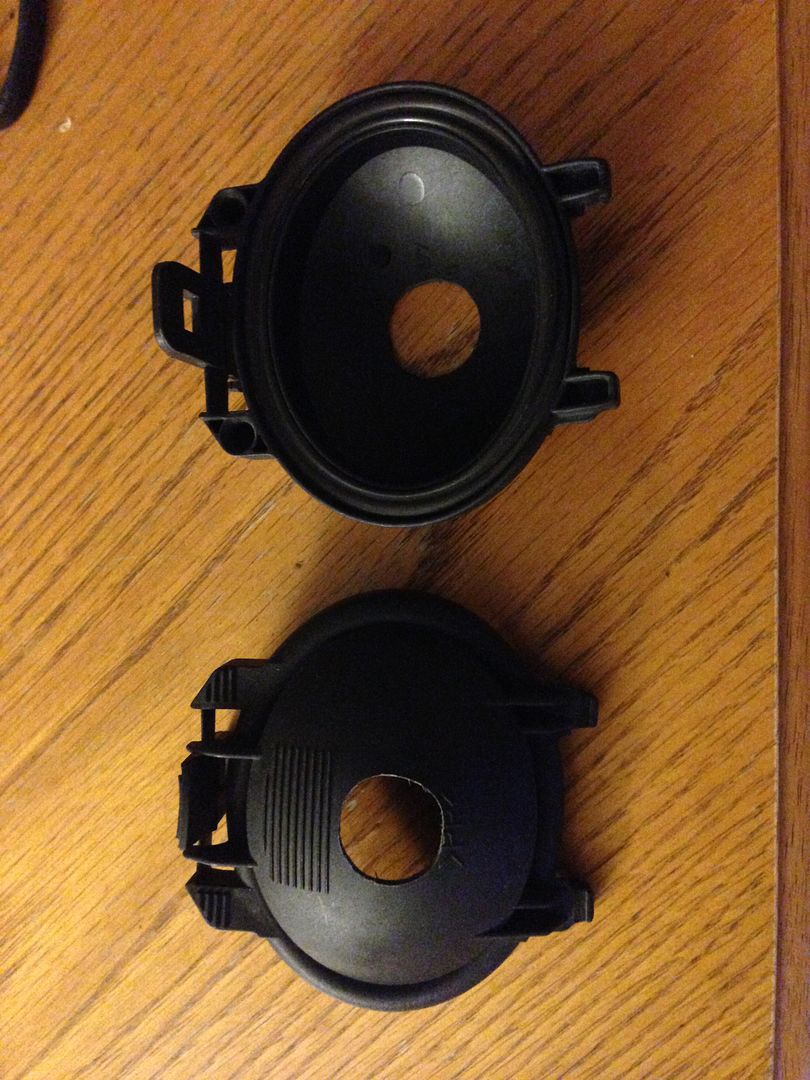
2. This step is necessary to make enough room for projector body to fit inside the reflector bowl properly.
Cut/grind the bulb cover hole on the reflector to almost flat to the surface.
Picture of uncut bulb cover piece:
Picture of cutting process:
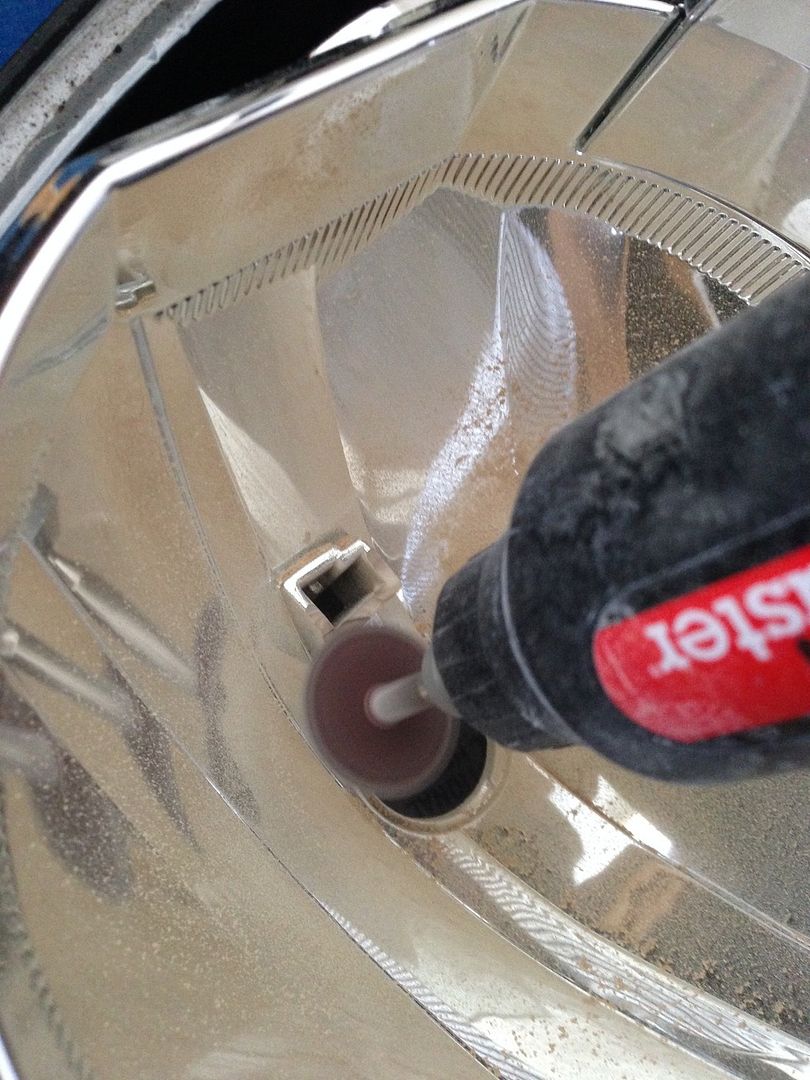
Picture of final result:
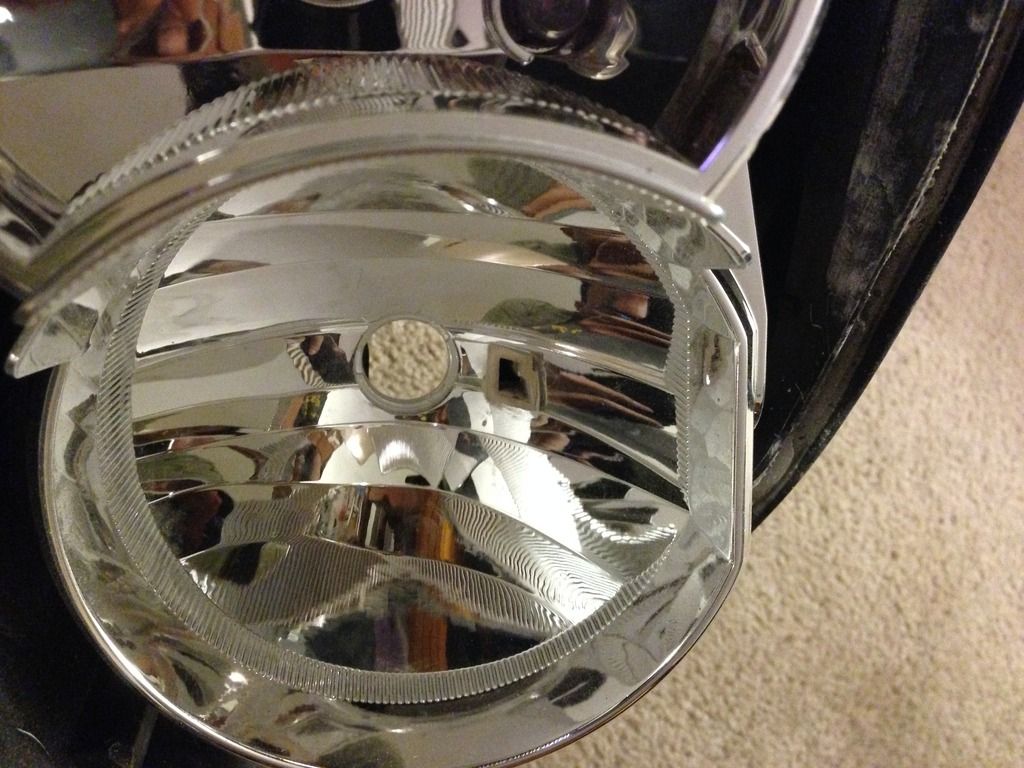
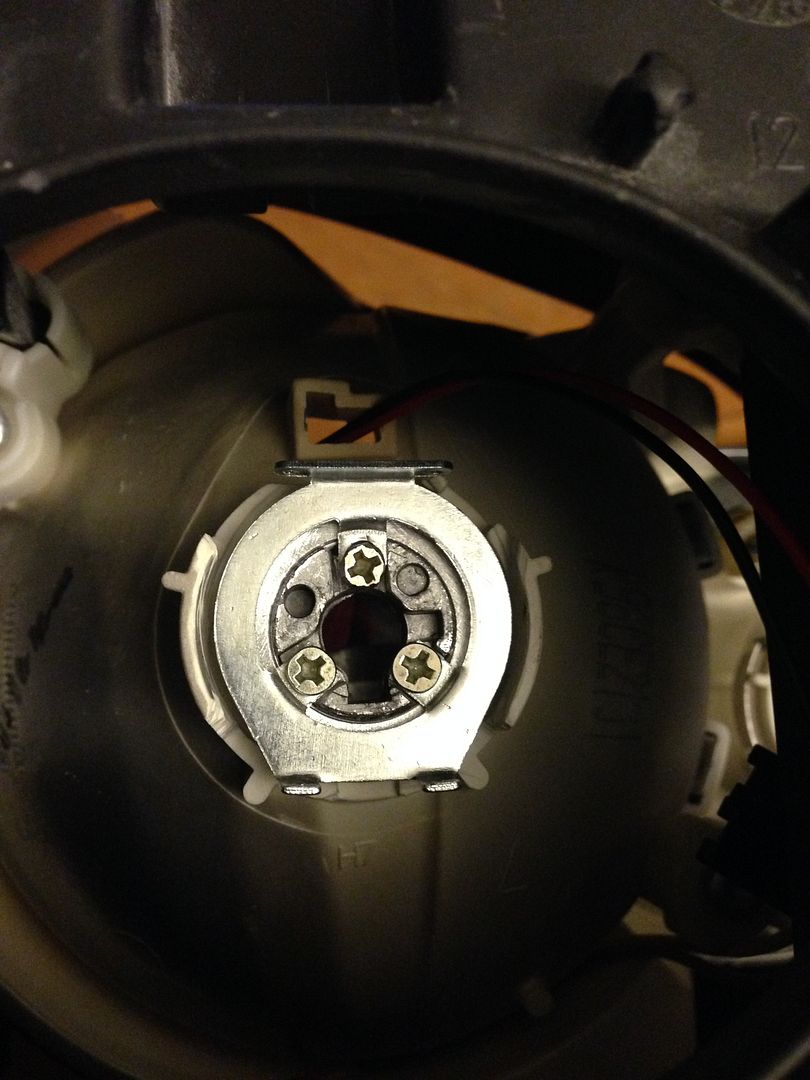
3. Remove the H7 bulb holder metal hardware with needle nose pliers.
Cut/grind the actual bulb holder until it looks like the following picture. Dont go gorilla on the grinding process. Take care not to grind too much, you will be in trouble if you do grind too much.
Picture of uncut bulb holder:
Picture after grinding/cutting:

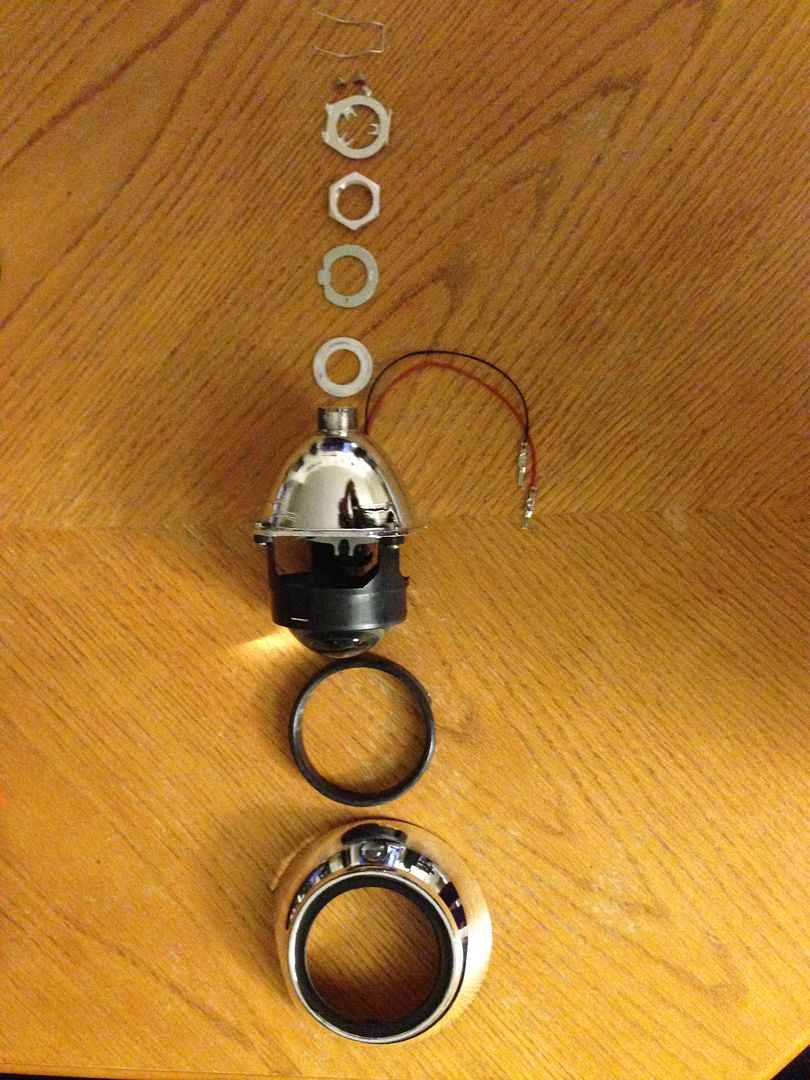
4. This is the sequence your hardware how it should be assembled.
Picture of assembly sequence
5. Assemble the projector to the reflectors. Use your judgement on how tight the screws should be. Dont go gorilla tight on them.
Picture of projector attached to reflector
If you are using iris shrouds from theretrofitsource.com, the will need a bit of trimming. Grind out about 4-5mm from the wide part like so.
Picture of original and ground shroud:
Electrical connections:
This part is totally up to you on how OEM like functionality you want. I wanted complete plug and play and factory functionality. So mine setup is much more complex.
Note:
- You should have already fished the wires from projector through the metal bulb cover hole before assembling the projector.
- I use posi taps and electrical taps extensively. Posi taps are very useful on this kind of project.
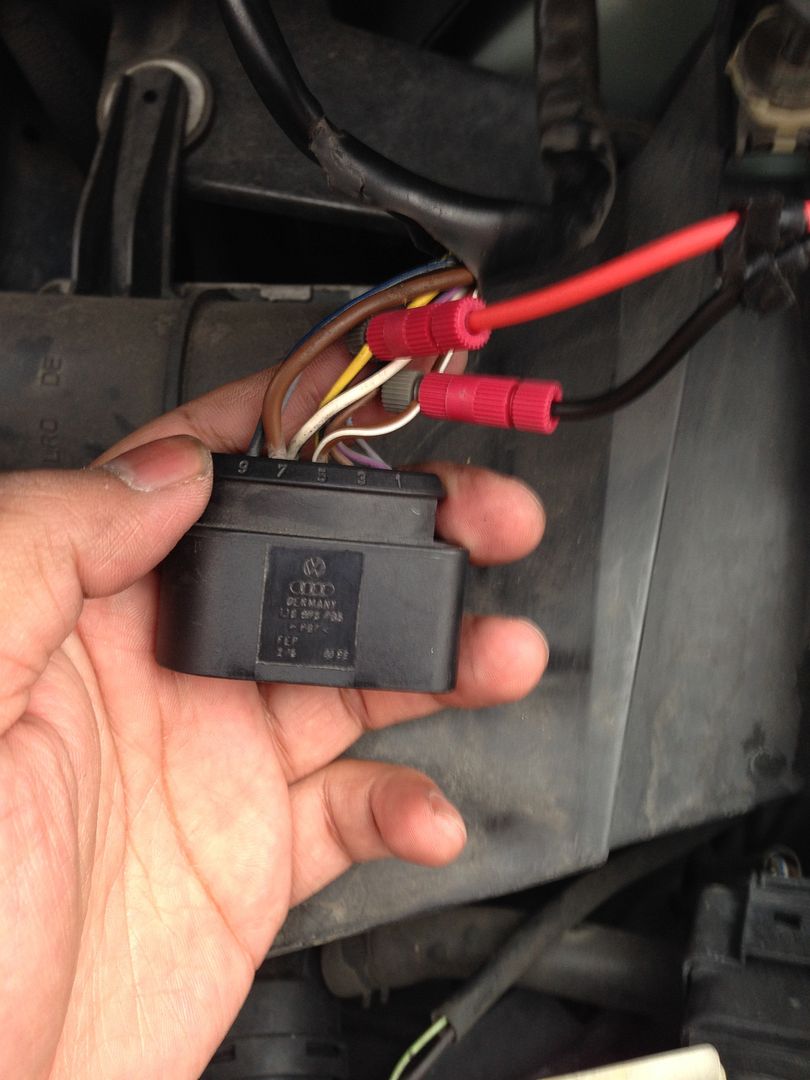
1. Cut the low beam wires from the connector/or just tie it somewhere if you dont plan on re-using that connector, I use this connector for something. H1 bulbs connect to the ballast directly so no need for this connector.
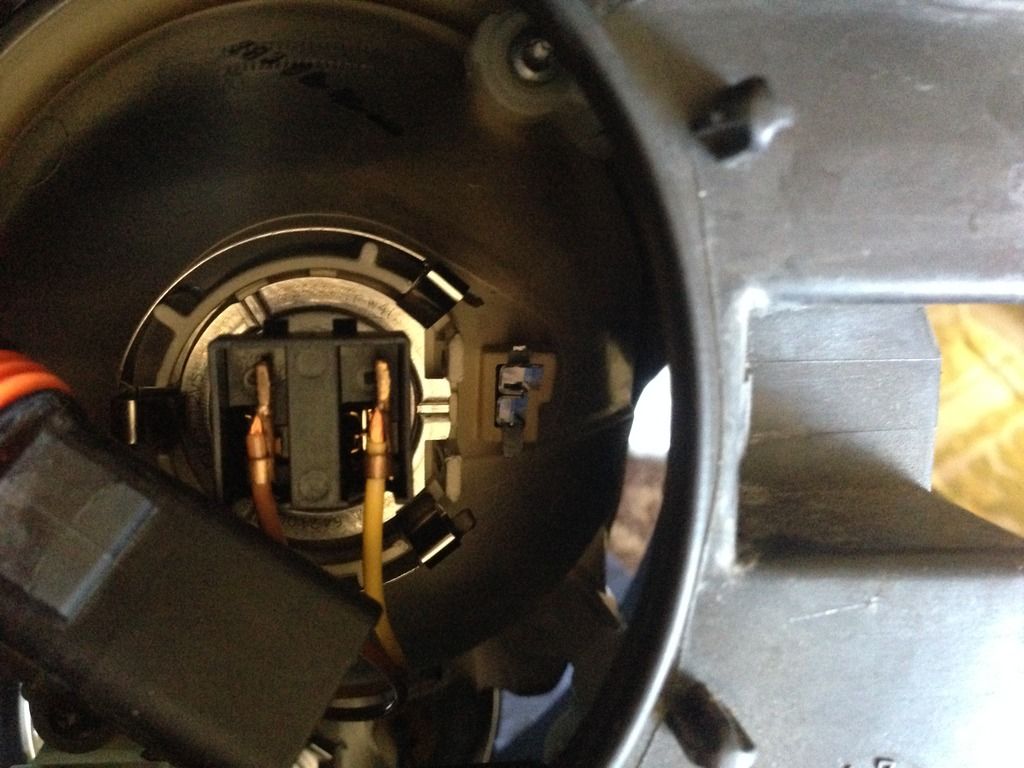
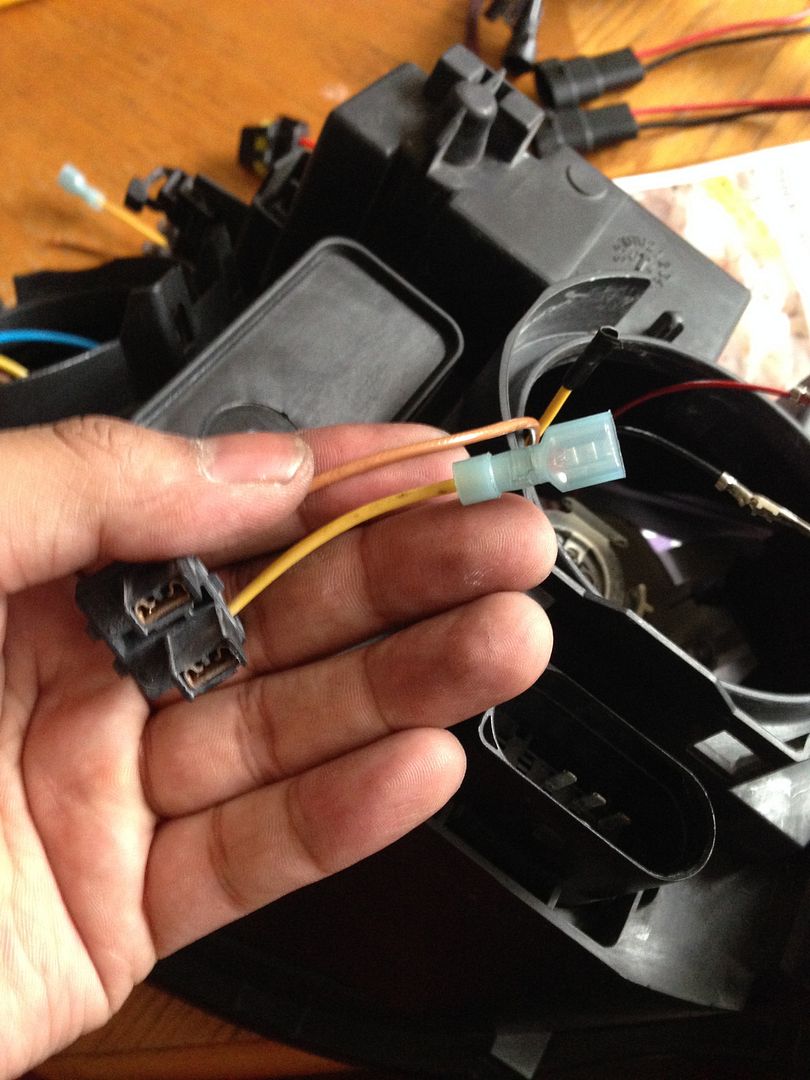
2. This step is for bi-xenon high beam functionality. Cut the signal wire (yellow) from the low beam connector. Connect the red wire for bixenon flap (coming from projector) to yellow end and black wire (coming from projector) to brown end. I already put a connector in the picture.
Picture of cut yellow wire from the low beam connector:
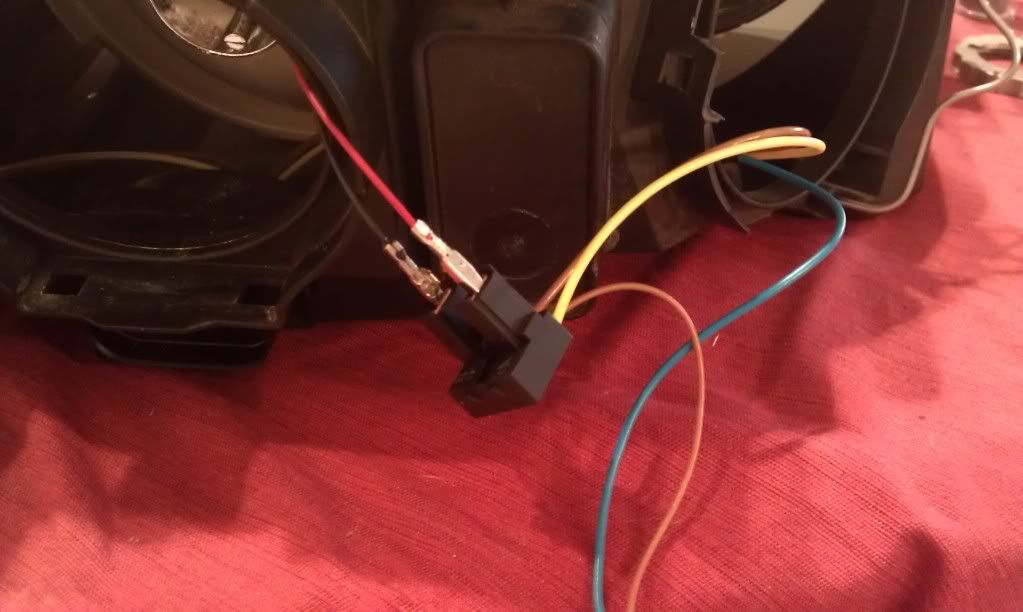
3. Connect red wire coming from the ballast end to the cut yellow wire that we cut earlier. Close off the black wire coming from the ballast end. We wont be using that ground.
Picture of connection to the bixenon shroud:
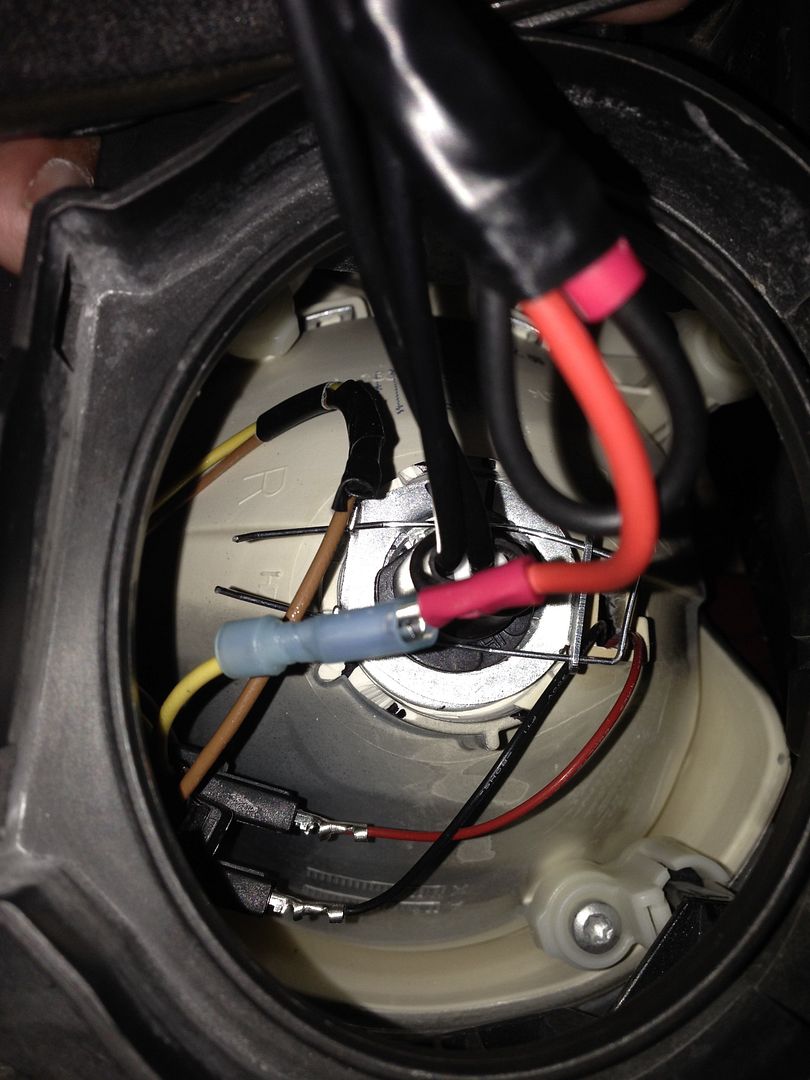
What this essentially does is, use the ground from low beam wire and just the signal from the ballast end to activate bixenon high beam. When you pull/push the stalk to activate high beam, bixenons activate along with the high beam bulb. My setup is different though. I have my high bulbs set only for DRLs, more wiring is needed.
Note: There are many ways to achieve different functionalities. What I did is to mimic the bixenon functionality along with DRLs and CH/LH function exactly as factory bixenon. I didnt put those steps in because honestly, I did it in multiple steps and I cant recall the signal diagrams. If I find it and someone wants it, I will upload them.
More cutting
1. Cut/drill/grind the holes on the headlight bulb caps just a hair smaller than the rubber washer on the h1 bulbs.
Picture or the bulb caps cut:
2. Use some glue like amazing goop to attach shroud to the concentric rings and to the projector body. Take care not to drop any glue on projector lens. Clean everything up with alcohol and assemble everything together.
Picture of assembled units:

Ballast mounting
Again, there are million places to mount the ballasts. I wanted easy access and removal of the headlight as single unit, hence, this option. So I made a bracket out of zip ties.
1. Cut the zip ties and drill small holes at the end like in the picture.
Picture of cut and drilled zip ties

2. Screw the zip ties on the two little holes behind the headlight housings.
Picture of cut zip ties screwed.

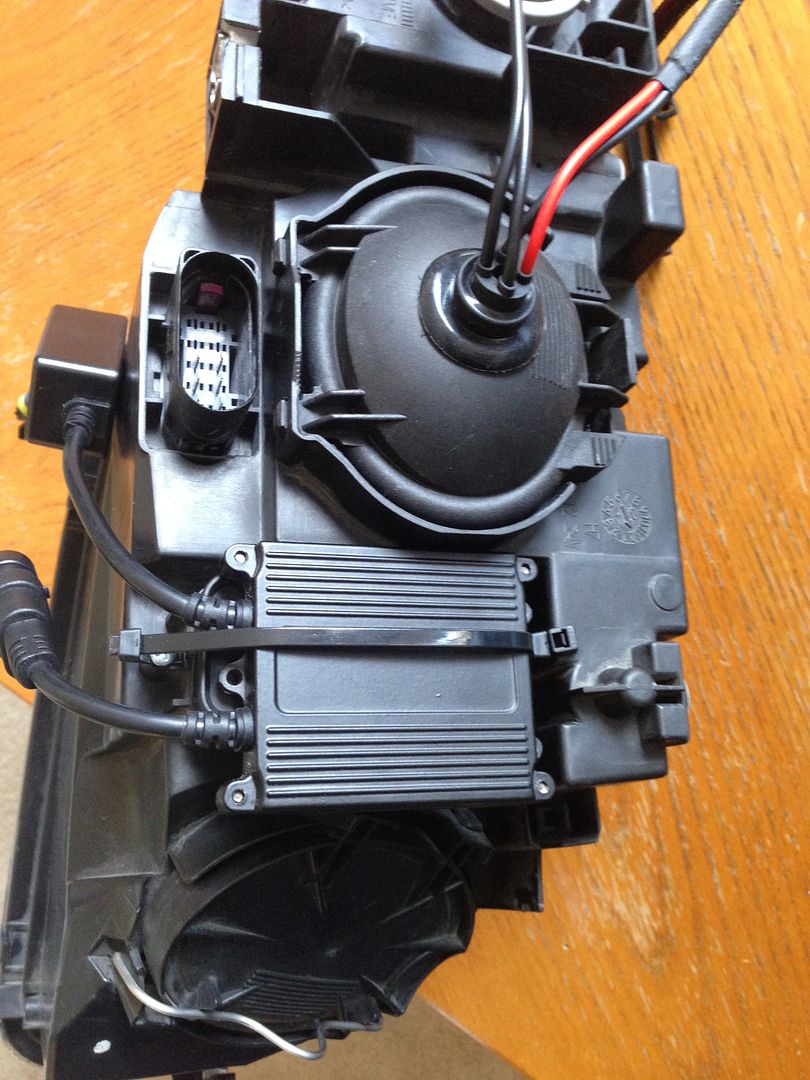
3. Put the double sided tape in the middle between the screwed zip ties and attach the ballast there. Use a third zip tie through the holes of those two and secure the ballast.
Picture of final ballast mounting:
Connections
1. Mount the headlights to the car, do not secure them with the screws yet.
2. Connect/tap the ballast end wires to the signal and ground wires at the headlight connectors.
I use taps at the end of the connection to make life easier.
Pictures of posi taps at the end of connectors:
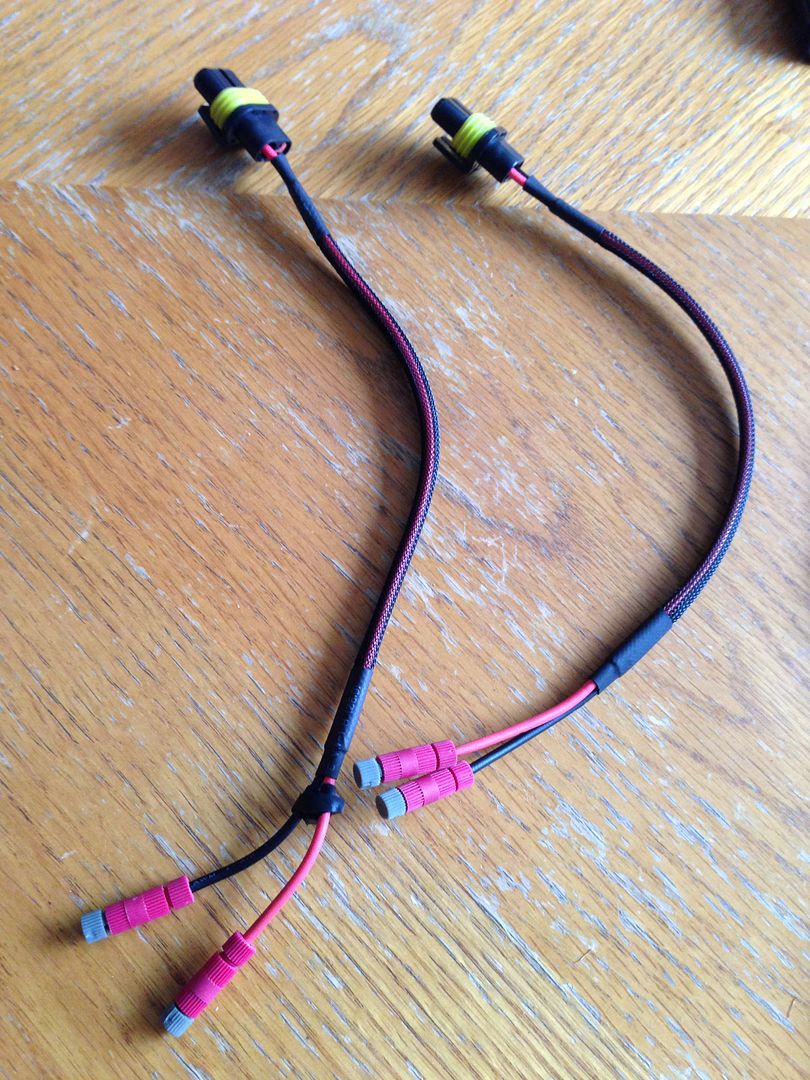
Pictures of headlight connector and ballast wires tapped to it:
3. Connect ballast to the bulb and bixenons. Make sure everything is secured and install the headlights properly.
Finally, clean everything up and put everything together. Snap close the lens to the housing, heat the edges and press lens to the housing firmly.
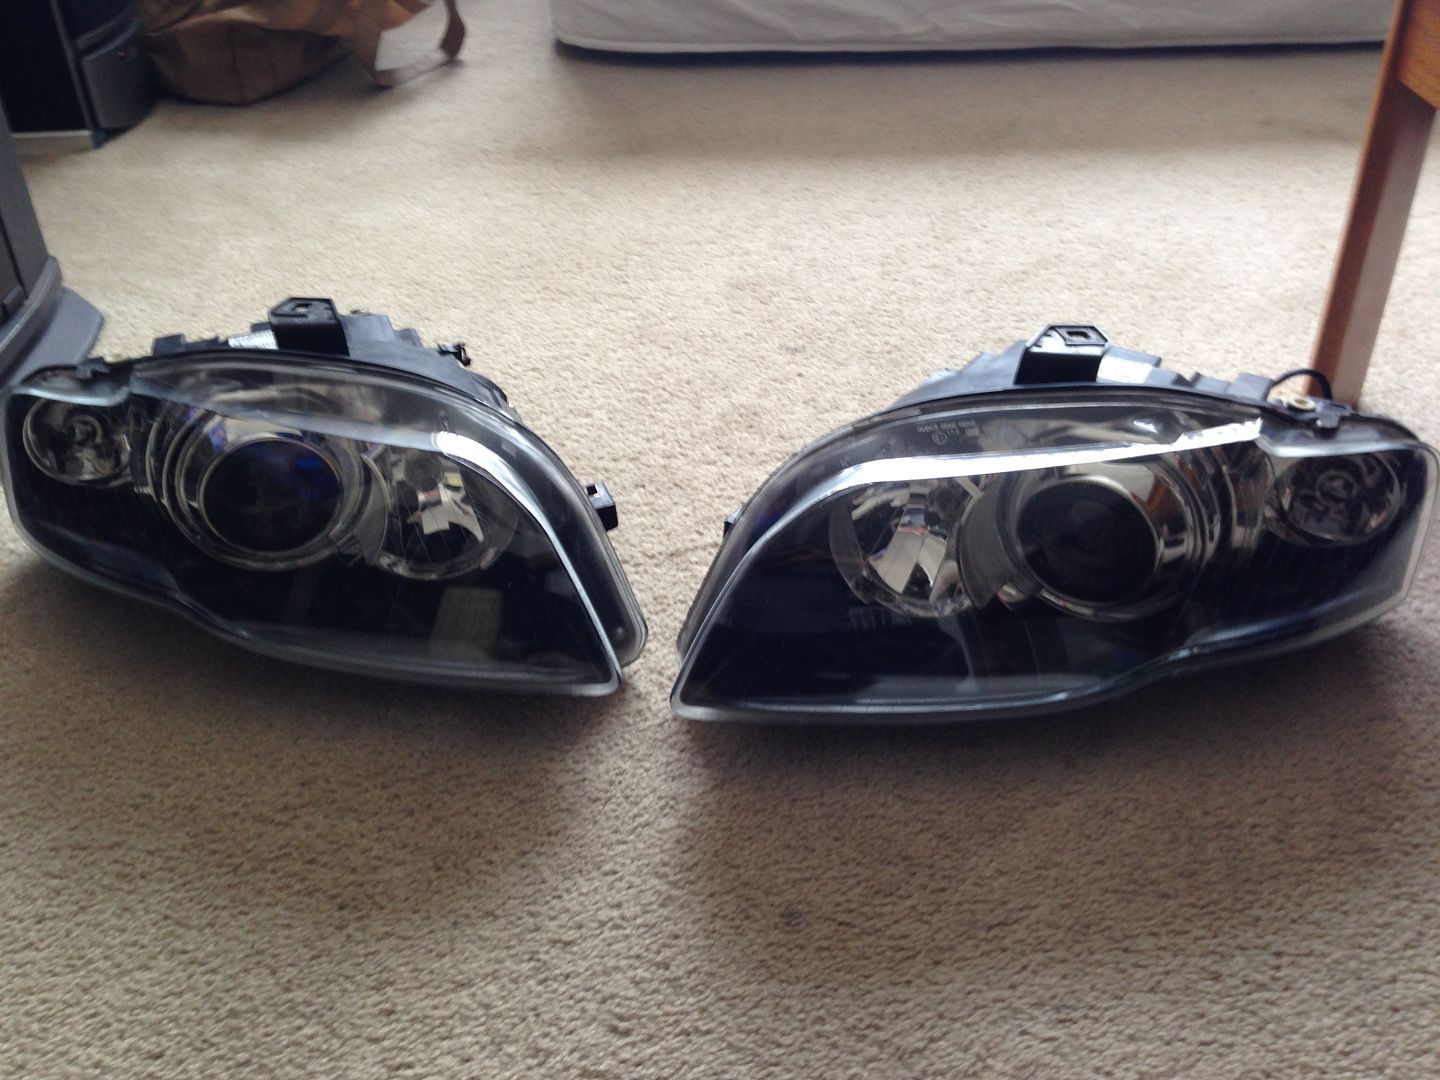
Final product pictures:
Coding and aligning
Code the car to accept xenons.
Dont be an idiot. Please align your headlights properly straight to the road and not on on-coming drivers face. Use a Philips screw driver or allen key to align the headlights.
Outer adjustment holes: left and right
Inner adjustment holes: up and down
Also if your cut off lines are not straight, remove the headlights, use some big flathead kind of tool or needle nose pliers on a notch just above the big nut holding the projector. Go slow, if needed, loosen the big nut.
Thank you Phil, Axis and other members for you insight and clear DIYs. I wouldnt have been able to put it together.
Edit: Check our Phil's DIY for removal headlight, clear corner, bixenon function retrofit.

 Reply With Quote


Bookmarks