It's not much too it.
I wish I had taken more pictures while doing it but here goes.
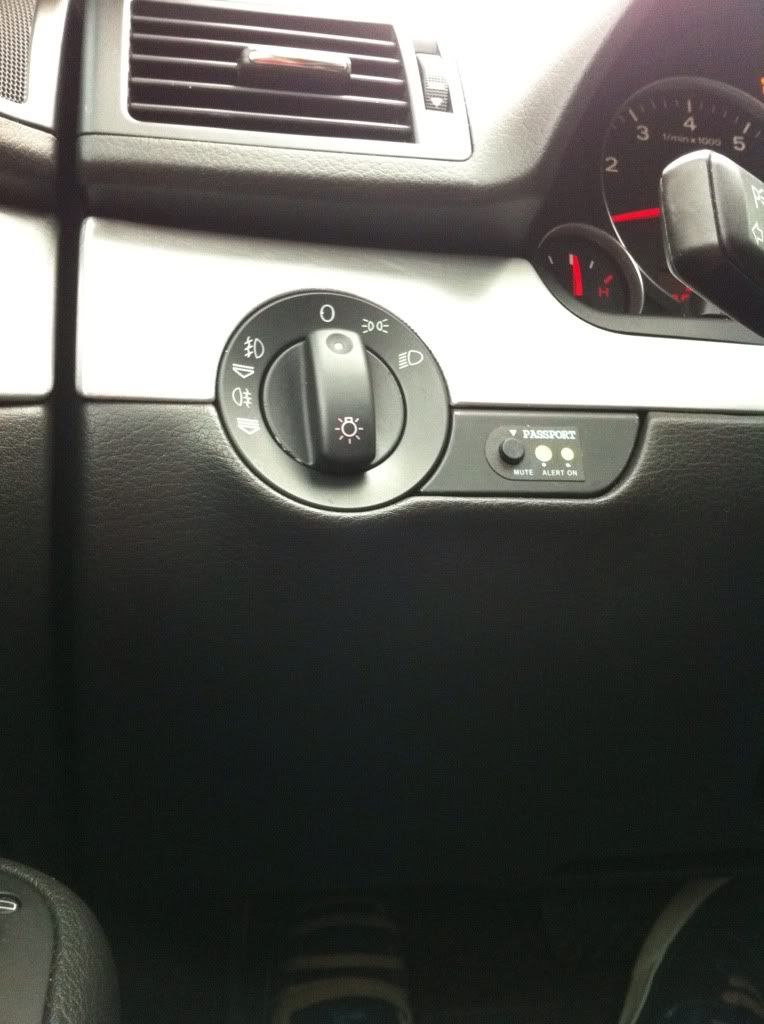
1) Take the button apart. There is a single screw that holds it in place. The Passport piece is sticky so it can be peeled off. Take it off and store it somewhere safe.
2) Take the button out of the plastic unit, find a drill bit that is as close as possible to the hole sizes. The large hole is bigger than 1/4 but smaller than 5/16th. 5/16th would be a safe drill bit to use, and the smaller two are I want to say 3/32 drill bit.
3) Get some masking tape and stick it over the buttons. I punched through the holes myself, but that's really optional. Get a sharpie, or a pen or something that will show up clearly. Mark the holes, and outline the circle button since it looks like [__) basically
4) Take your masking tape, line it up on the piece that you are using and carefully double, tripple quadruple check, once you drill it you drill it.
5) Make sure what you drilled lines up. The LED's are moveable to an extent, that helped me out a lot.
6) Get some stick tape. I used 3m double sided tape and the velcro it came with. I had a slight issue with the large mute button getting it aligned properly so I could press it in but what fixes this was packaging peanuts. yes, thats right. I shoved them in enough so that it kept the button PCB board pressed downward so I could press the button.
7) Extra step really ** Once it is in there for sure, glue it down. I used crazy glue on the pcb to the plastic piece so I know it's not going anywhere.
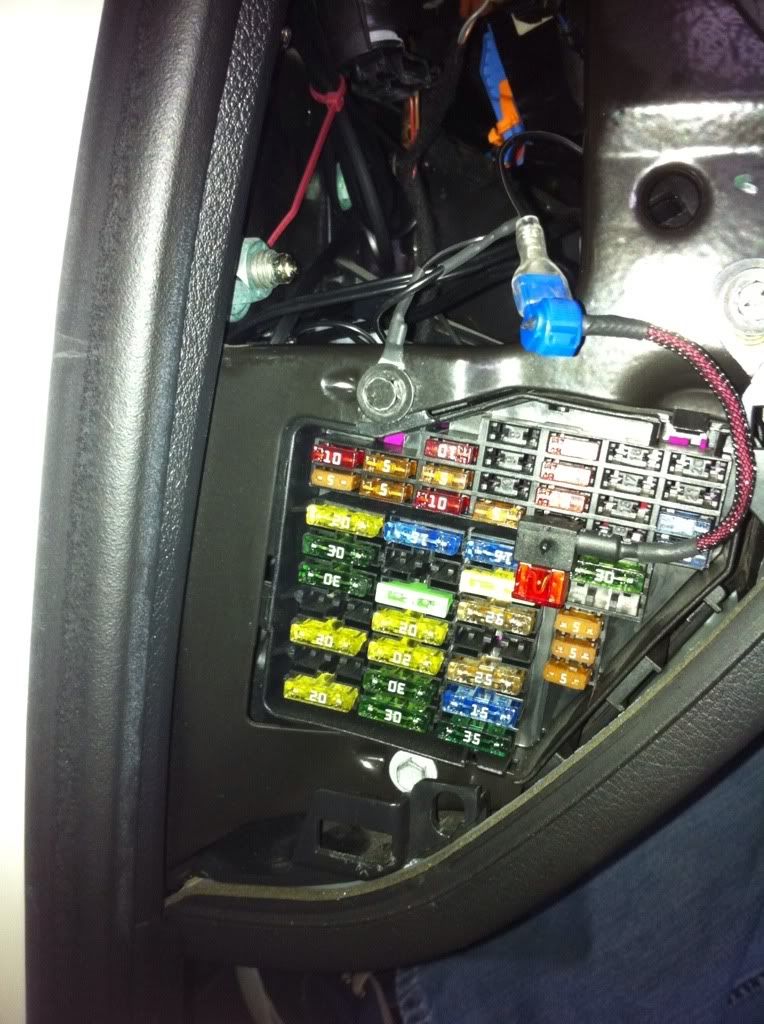
8) finish the hardwire.
Still need to know where to tap power. :)


 Reply With Quote


Bookmarks