


1. Remove Door Panel by removing to small philips head screws on the top left and right side of the door panel. Then unscrew the handle cover by the window control switch. Remove the handle cover by pushing down and pulling out towards the inside of the car. Remove the two screws behind that cover. The rear doors are exactly the same except there is one screw behind the cover and 1 screw at the top of the door. The door panel will lift up as you pull up and out. Be careful not to tug to hard as there are electrical connections. Disconnect all electrical connectors including the speakers and be careful not to break the connector clips.
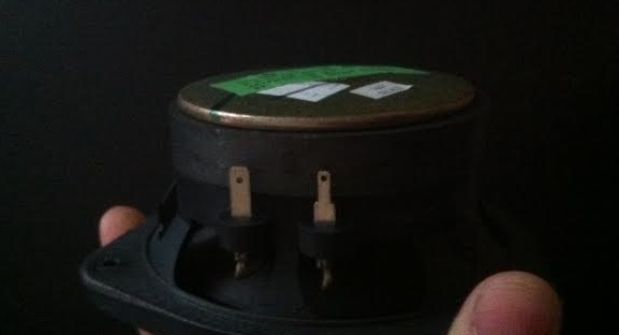
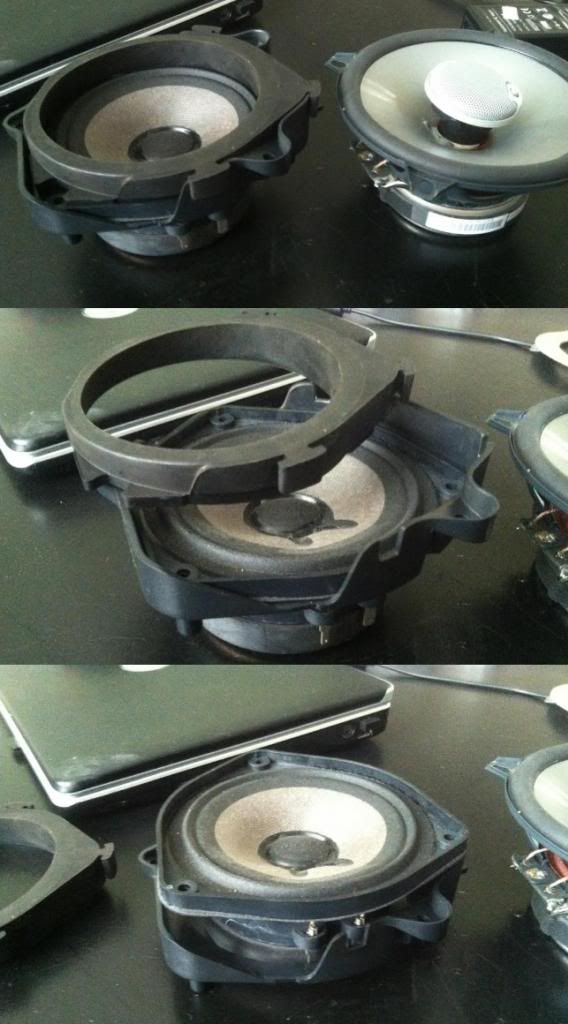
2. Remove the speaker from the door panel but removing the three red philips head screws. The speaker and mounting bracket will come off as one unit. Remove the three torx bolts on the front face of the speaker. This will seperate the speaker and mounting bracket.
3. The correct speakers to use for the front door panel are the infinity reference 4022i (4 inch) and the rear doors are the 5022i (5.25inch speakers) . They are 2 ohm speakers which is what the stock bose speakers are. They have a 3db base boost and a pivoting tweeter. 5.25 inch speakers would eclipse the front mounting bracket and wouldn't be able to be used unless you are seriously hacking up the speaker or using the adapter brackets available in england and possibly a different type from crutchfield. Same thing goes for the rear with 6.5 inch speakers, cant do it. This wiring will also retain the factory tweeter in unison with the new speakers in the front. If you do not want to use this feel free to cut the tweeter wires and insulate them to not cause problems.
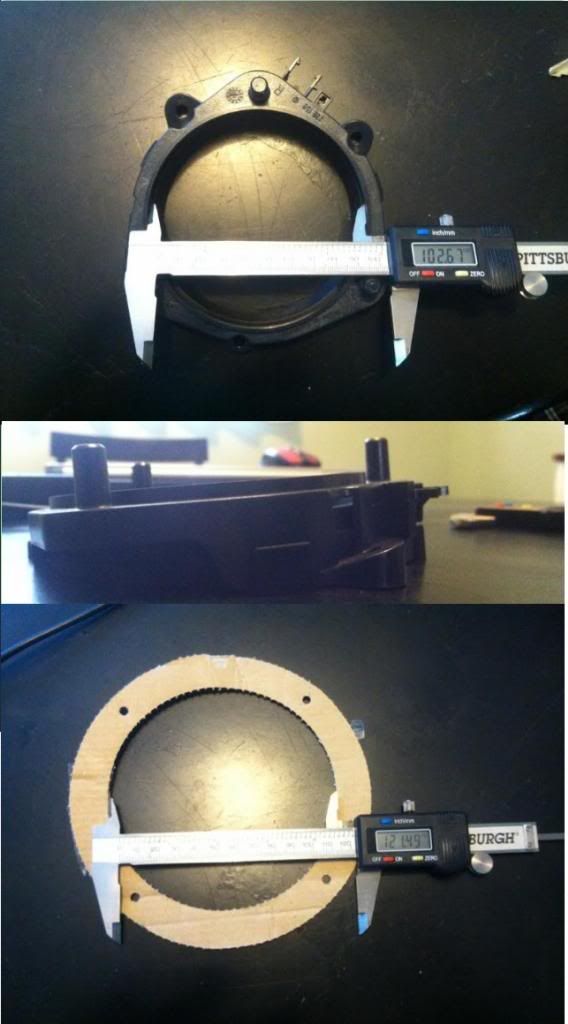
4. Start by placing the speaker as centered as possible in the front speaker mounting bracket. One of the original torx bolts will be reused as it lines up perfectly. The remaining two screws can be done multiple ways. This is the way I did it. I used the hardware that came with the speakers. I used the speed clipse and screws. I ended up drilling holes after teh first torx screw was in and placing the speed clipse around the edge of the bracket and putting a screw through both. Dont need to worry about plastic cracking from self tapping screws and issues down the line. This is as solid as it gets. I chose to cut a slot in the mounting bracket sidewall with a dremel to fit he speed clip in perfectly. You can also shave down the thin wall on the edge to have the speed clip mount flush. You can see it in the pictures why I did this. At the end I also dremeled the extra from the screws since they were quite a bit to long. I also used washers under some of the screws etc. You do not necessarly have to do this I just chose to for a reason I dont remember. The front speaker rubber isolator surround fits perfectly around the new speaker as well.
5. Afterward I chose to seal the speaker to teh bracket. Some use tape foam, spray in insulating foam. I chose silicone. Ran a bead around the speaker(your hole ampty space to fill is less than an 1/8 of an inch and mine came out very uniform). Then I just ran my finger to smoosh it through the opening some and flatten out the bead.
6. Let cure, and the reinstall the speaker and mounting bracket to the door using the red philips head screws you took out originally. Stock audi connectors fit but the negative connection(smaller female spade) needed to be crimped a little more with some pliers to make sure it didnt pop off as it was a very loose fit. The positive was very plug and play.
7. Rear speakers were even easier. I believe they are 4 red phillips head screws holding the speaker to the door. Then 3 or 4 torx bolts again. These speakers work easier as the bracket is fairly flat and just about perfect size for the speaker. I mounted them the same way. This includes the speed clip/screw combo and silicone again and spade crimping.
8. Reinstall door panels being careful to ensure all connections are made and that you watch out for the door pin that pops up when the door is unlocked. Reinstallation is reverse of removal.
9. Play and Enjoy. I believe running the speakers with the 3db bass boost button off. It just sounds better with my avic d3 using the middle range loudness setting in music studio environment. These are options in the avic d3. With the 3db bass pushed it is to much bass for the given mids and highs and not enough when the loudness setting is off. I aimed the tweeters upward and this seems to work well and I didnt need to adjust it. I also think it sounds best with the stock tweeters retained.
10. Enjoy and review pics for better reference/description.
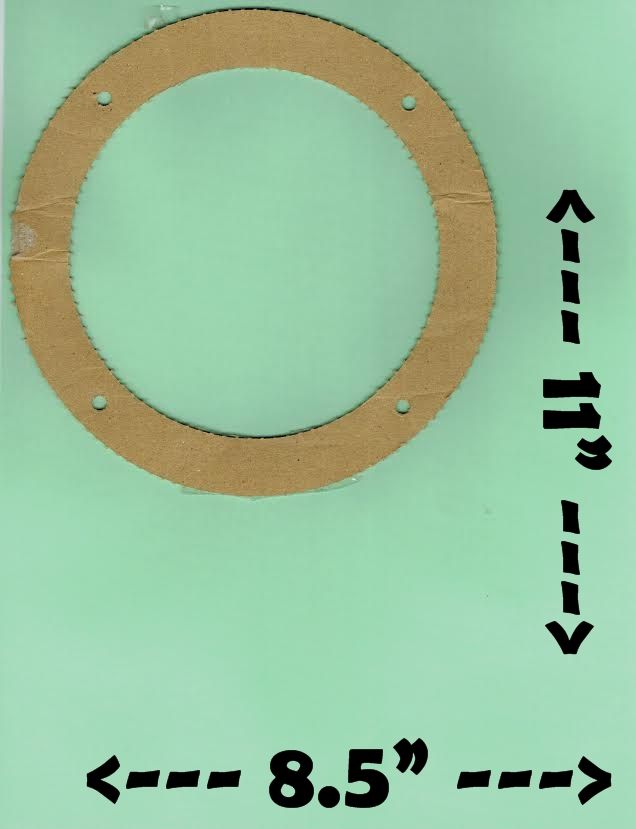
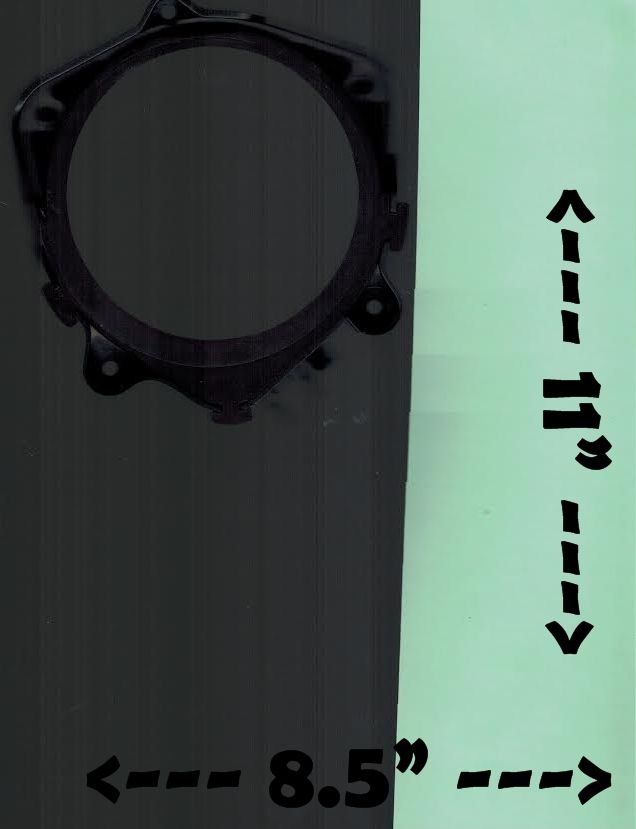
:Stock speakers and brackets pictured
:Final installed reference speaker pictures
:hardware pics
:Silicone pics
:stock torx screw reusing pics
:dremeled out pics


 Reply With Quote


 i even came inadequately prepared and he was able to help me out big time as well... thanks D...!!!


Bookmarks