


NOTE: This is for those who already have the Convenience Key Start/Stop Button already in their B8 and wants a cosmetic change.
I have to say, this isn't a huge mod but it's the little aesthetic touches that make it unique. I can't take full credit for this as I used the source below to help guide me and the OP there did an excellent job with details! Tried to take tons of pics and provide a How-To for the B8 DIY'ers as there are a couple differences.
http://www.a5oc.com/forums/audi-a5-s...l-line-s6.html
With the right tools and now that I've done it once, this mod can be done in about 15-20 mins for the mechanically inclined.
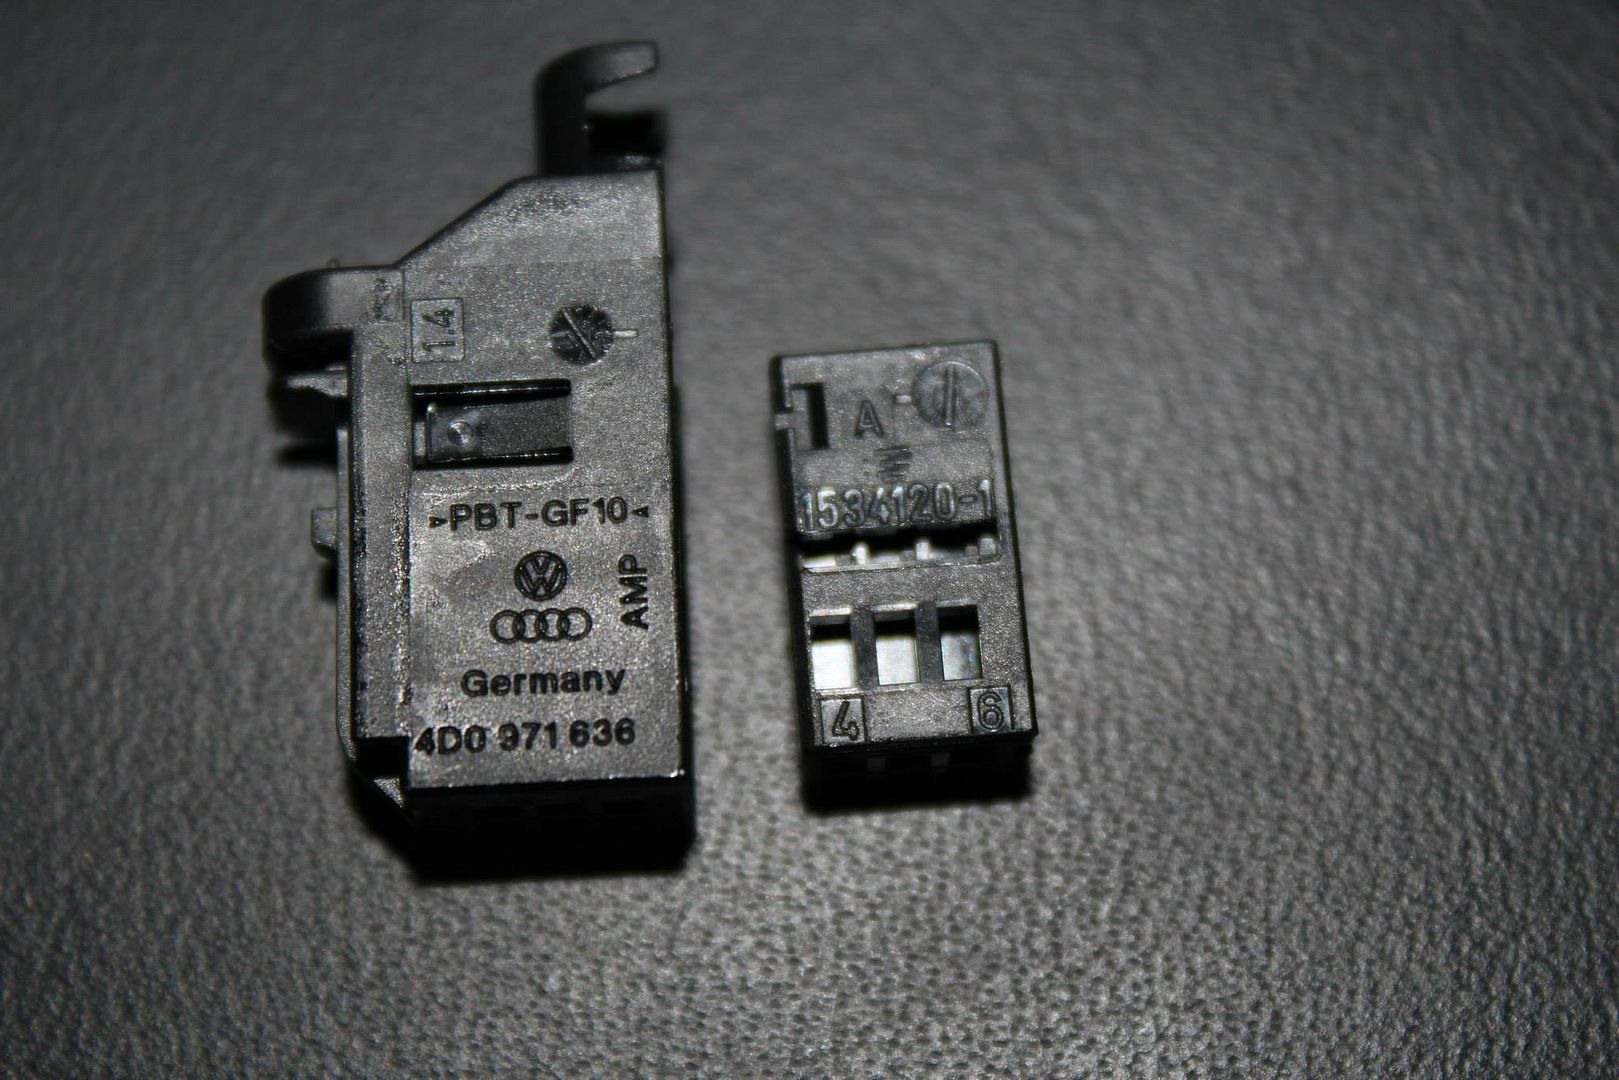
*ALL* B8 Owners need to order the RHD Start Button - 4G2 905 217 B and 6 pin connector - 4D0971636. The issue is that ALL B8 models have the Start Switch on the left side of the console. The S6/S7 models have the switch on the opposite side of the driver. So all B8 models need the RHD switch no matter what side the driver is on. *Ordered from Alex @ EuroPrice*
There are a few differences in the pin mapping for us compared to what is stated in the link above. I spent an hour and half trying countless pin configurations (No Exaggeration!) I was either getting the button to light up, but not start the car- Start the car, but the button wouldn't light up- Start the car with the light, and couldn't turn it off- Start the car without the light, and couldn't turn off- Or just nothing to work at all. After all that time spent I was about to give up right before I tried 1 more configuration and I was shocked that on my last try everything worked exactly how it should. What a pain in the ass, but it's done.
B8 "S4" Pin Mapping
OLD CONNECTOR >> NEW CONNECTOR
PIN 1 >> PIN 4
PIN 2 >> PIN 2 - Here is where the difference lies vs the mapping in the link above
PIN 3 >> PIN 5
PIN 4 >> PIN 3
You can go here to get directions on how to remove the MMI console. (Thanks David!)
http://www.audienthusiasts.com/Project_MMILED.html
Here is the OEM Start/Stop Button in the B8S4.
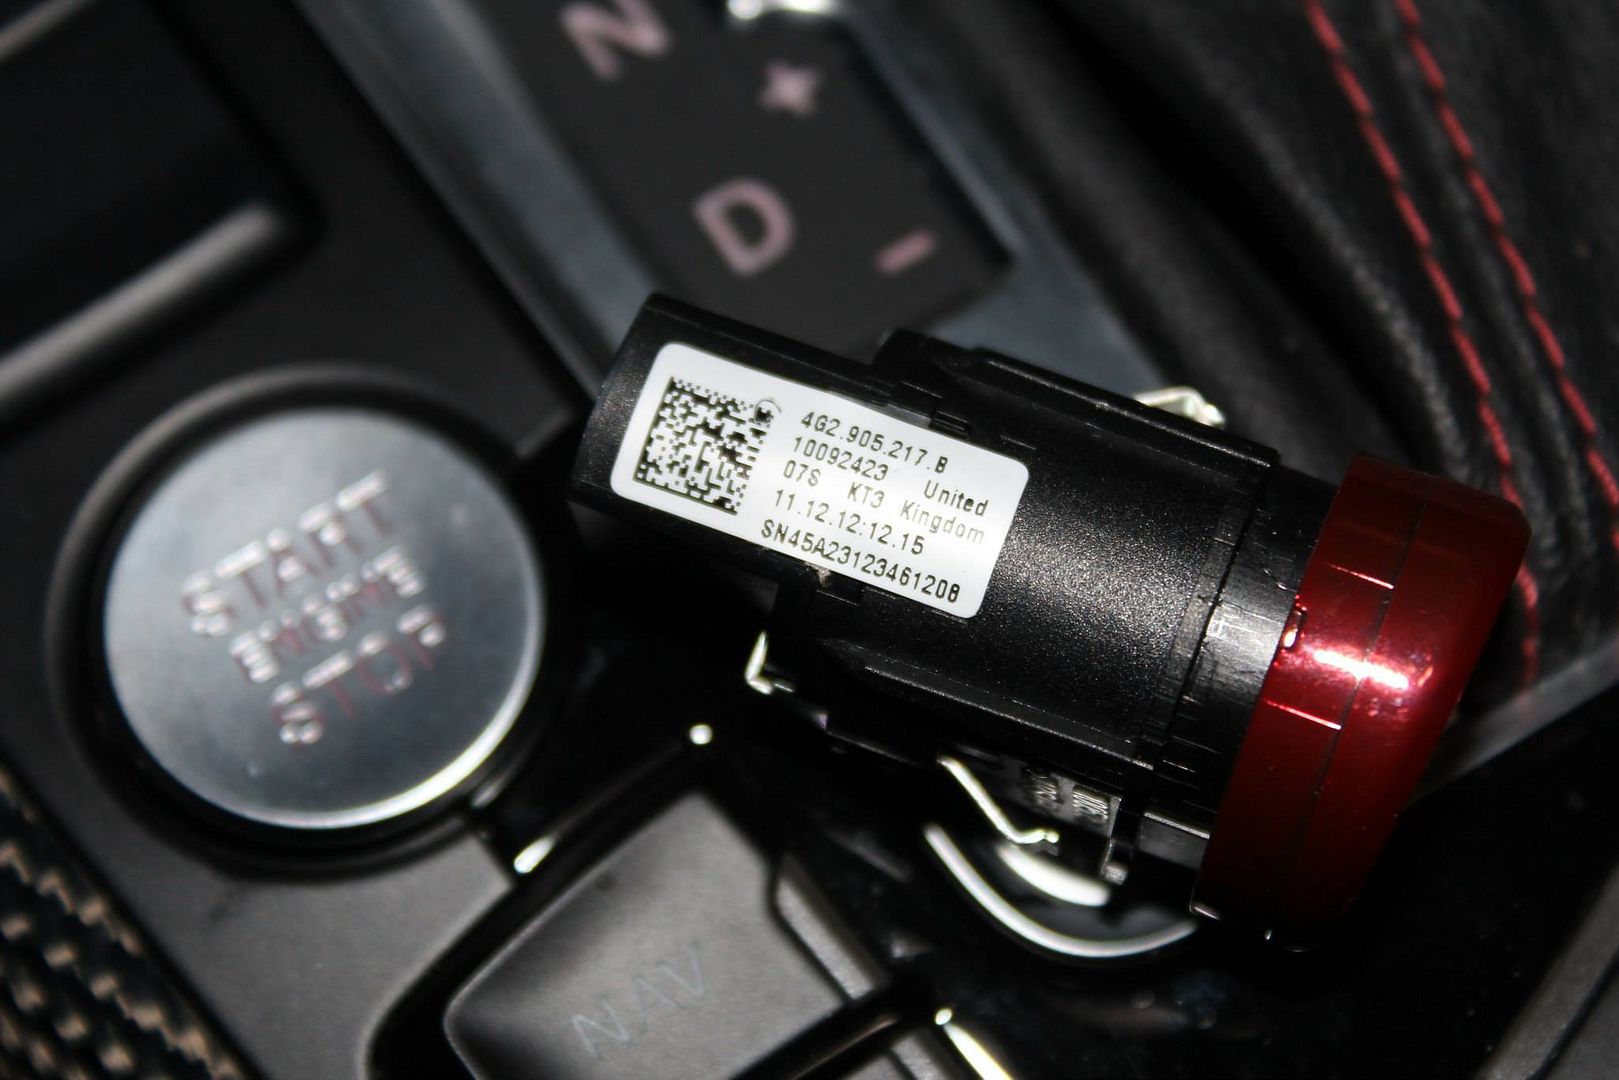
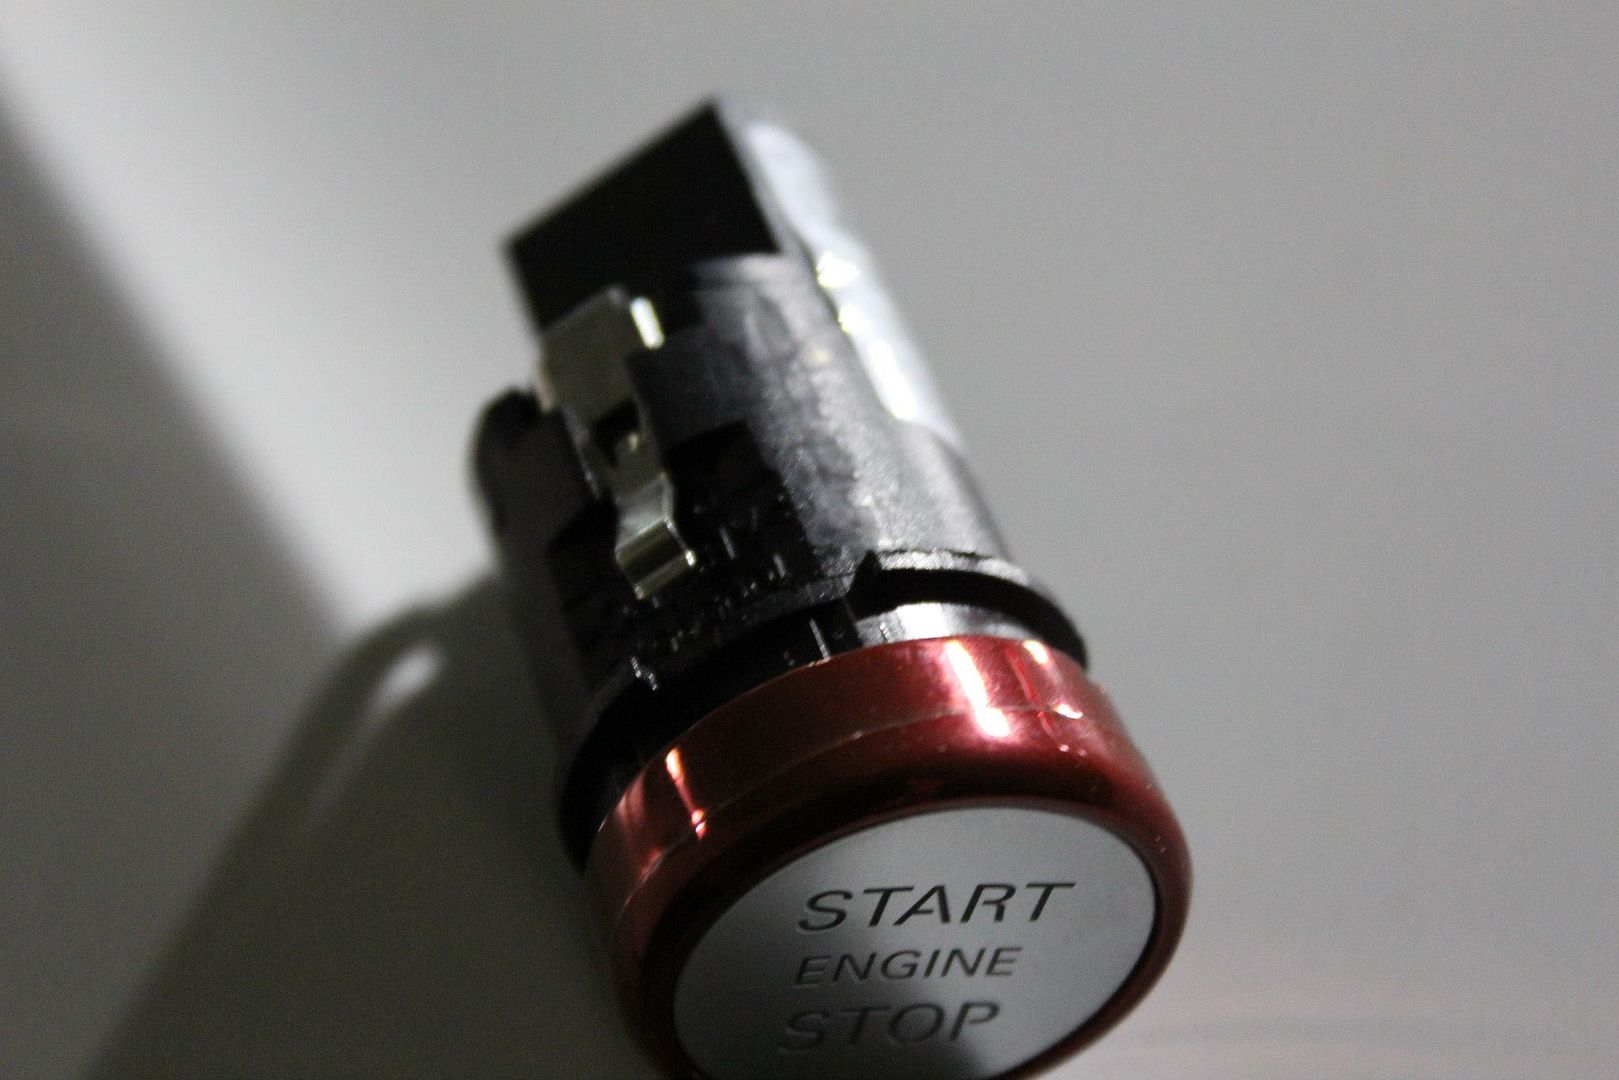
Here is the S6/S7 Button showing the part number on the sticker.
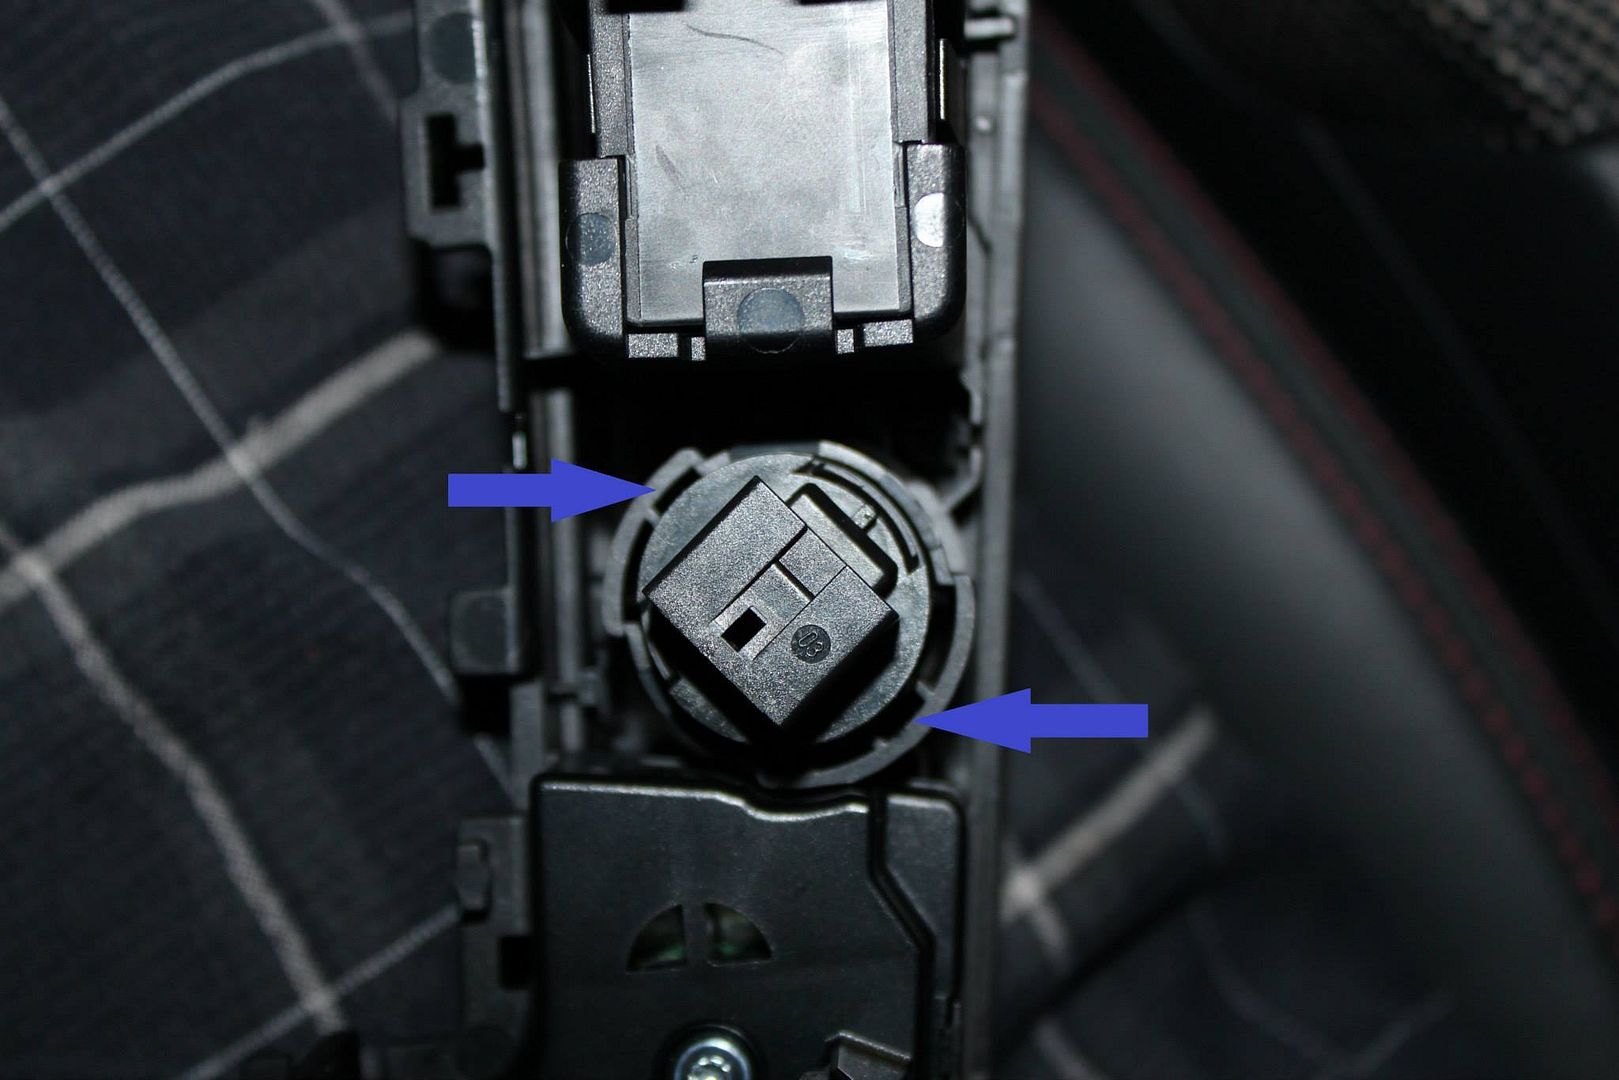
Once you get the console removed, on the underside use a tiny screwdriver and work the 2 metal tabs on the button to remove from the front of the console.
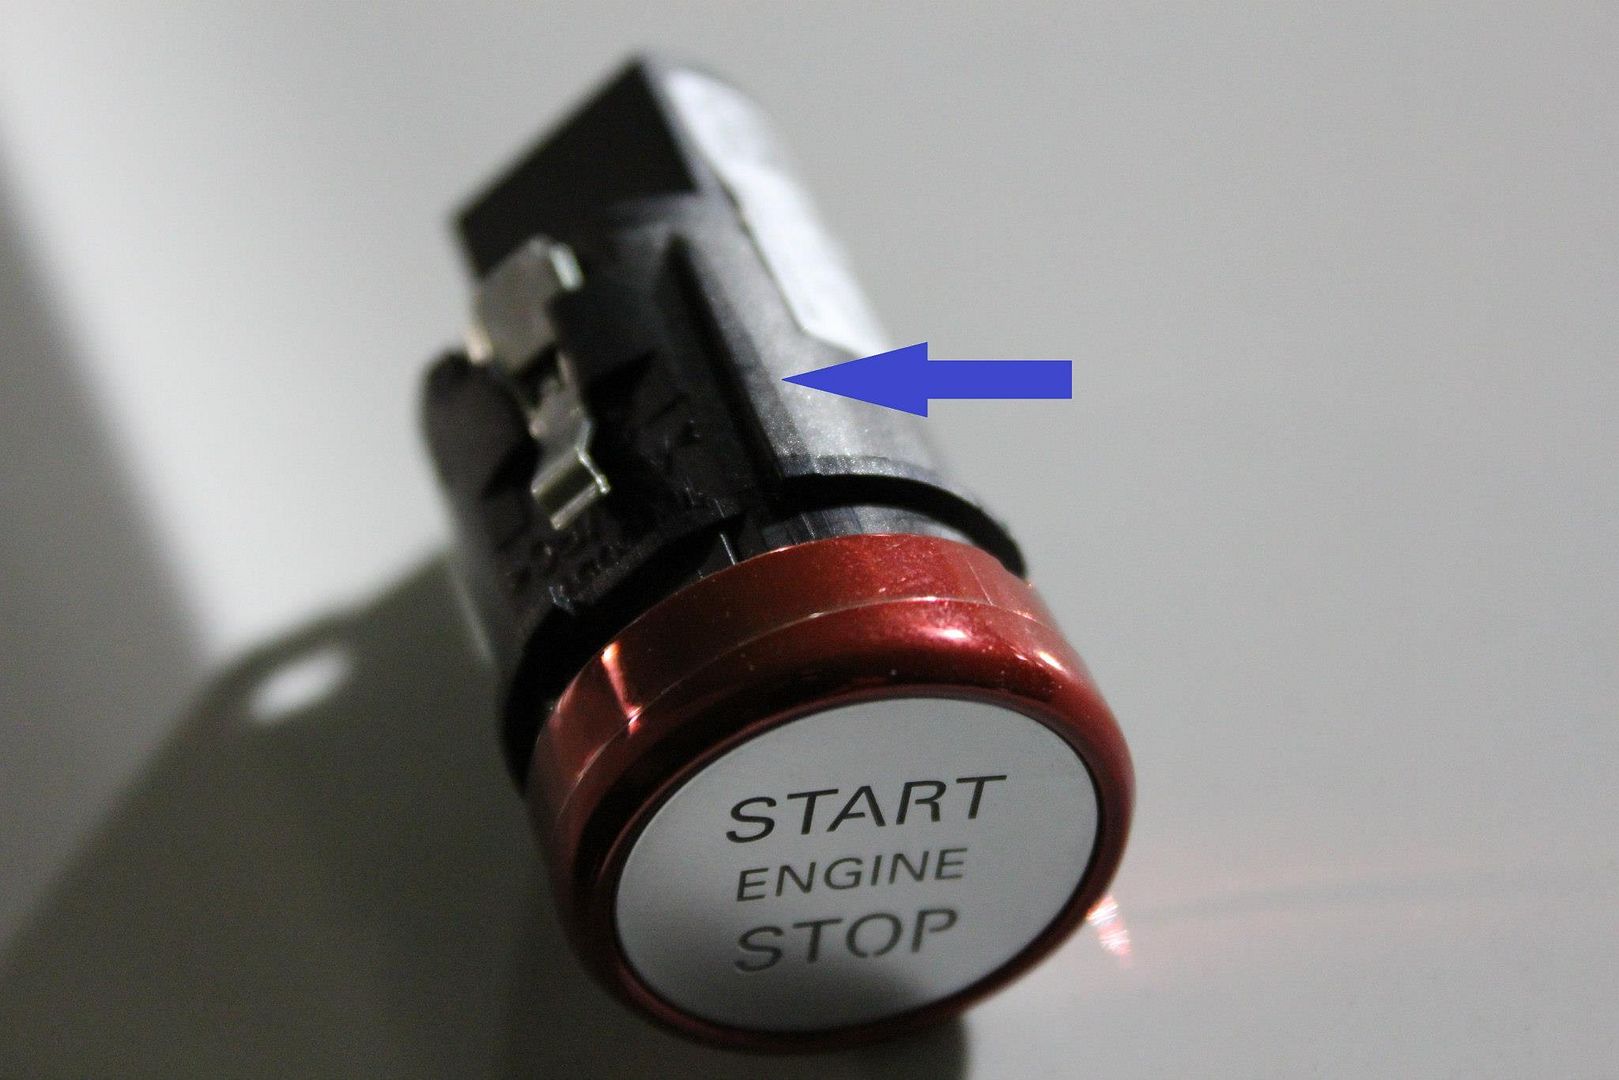
Here you will see the ridge that you will have to trim off. I used cutter pliers on it, and trimmed it down with an X-Acto knife.
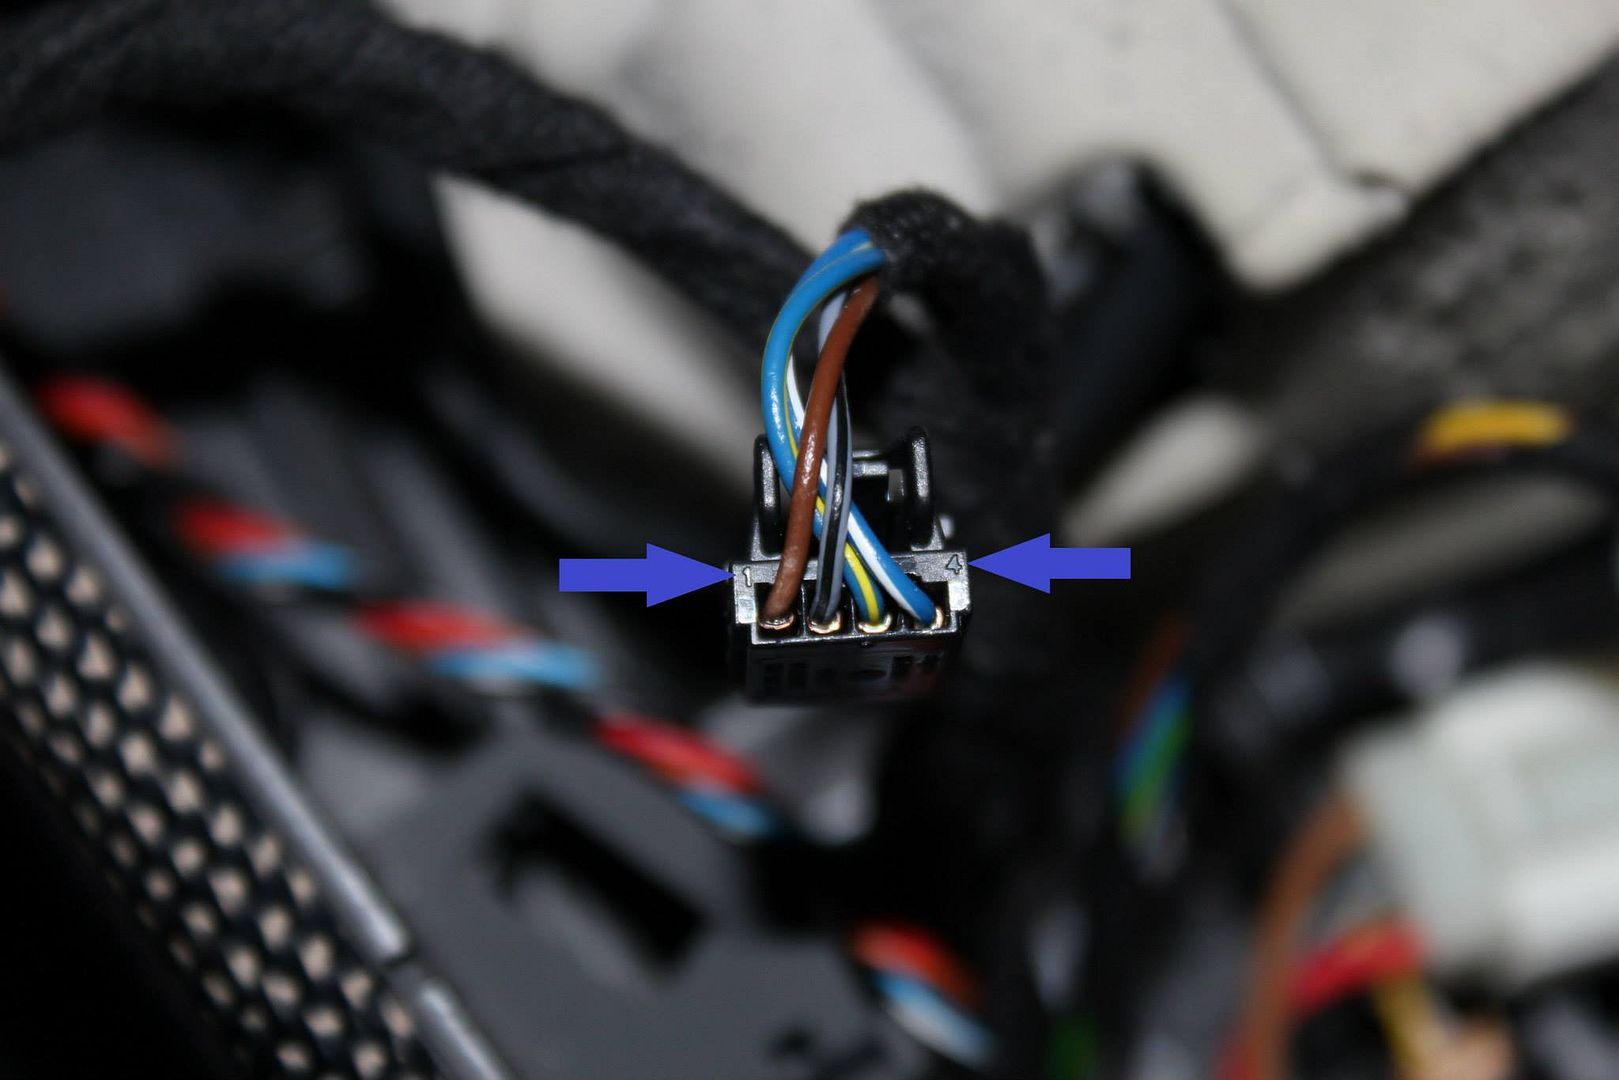
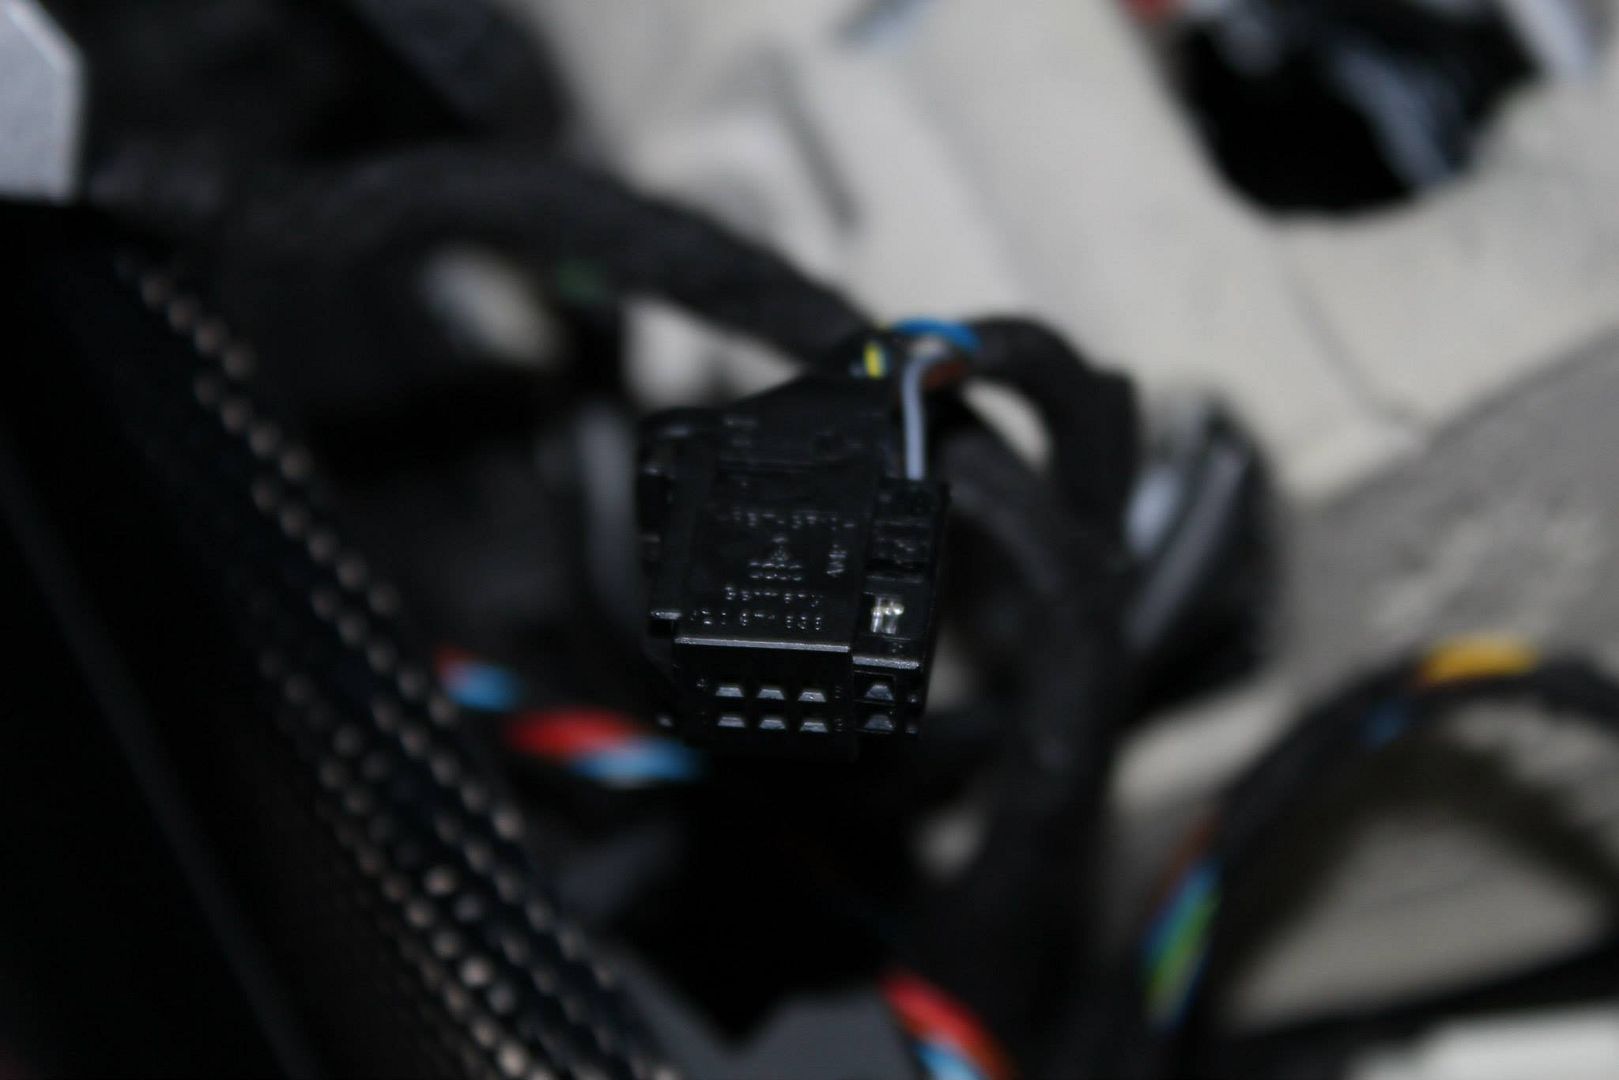
Here is the OEM pin connector. As you can see the pin numbers are marked on the back of the connector.
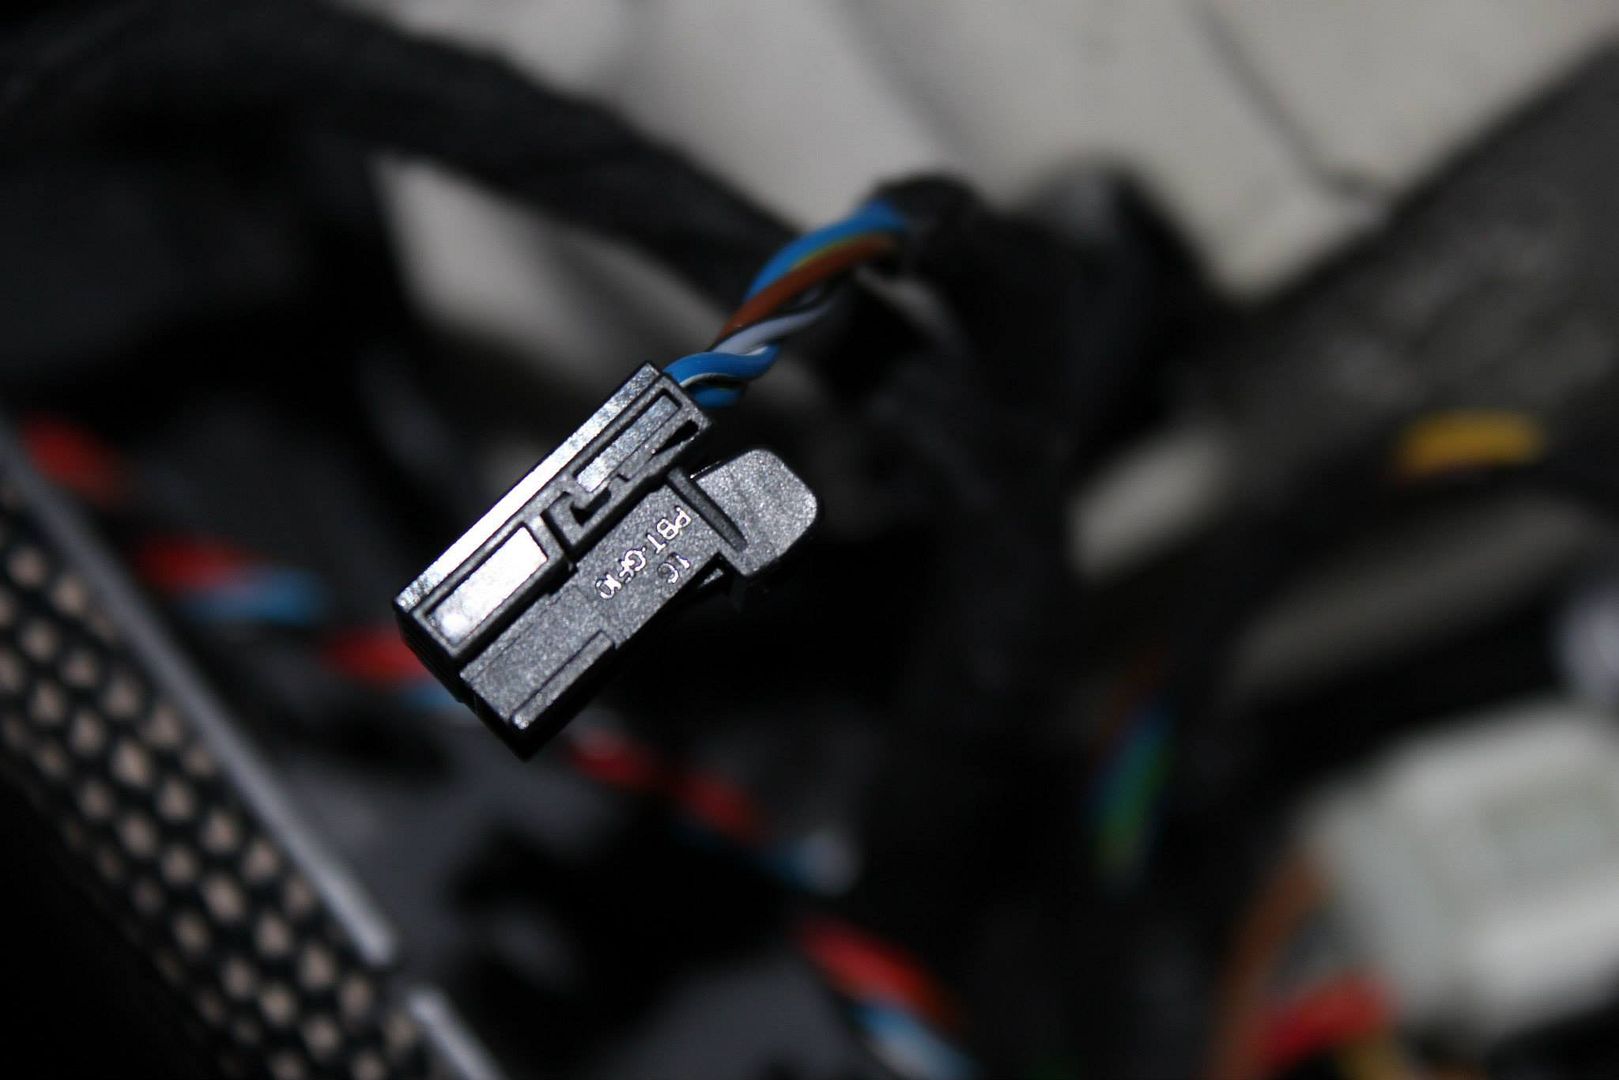
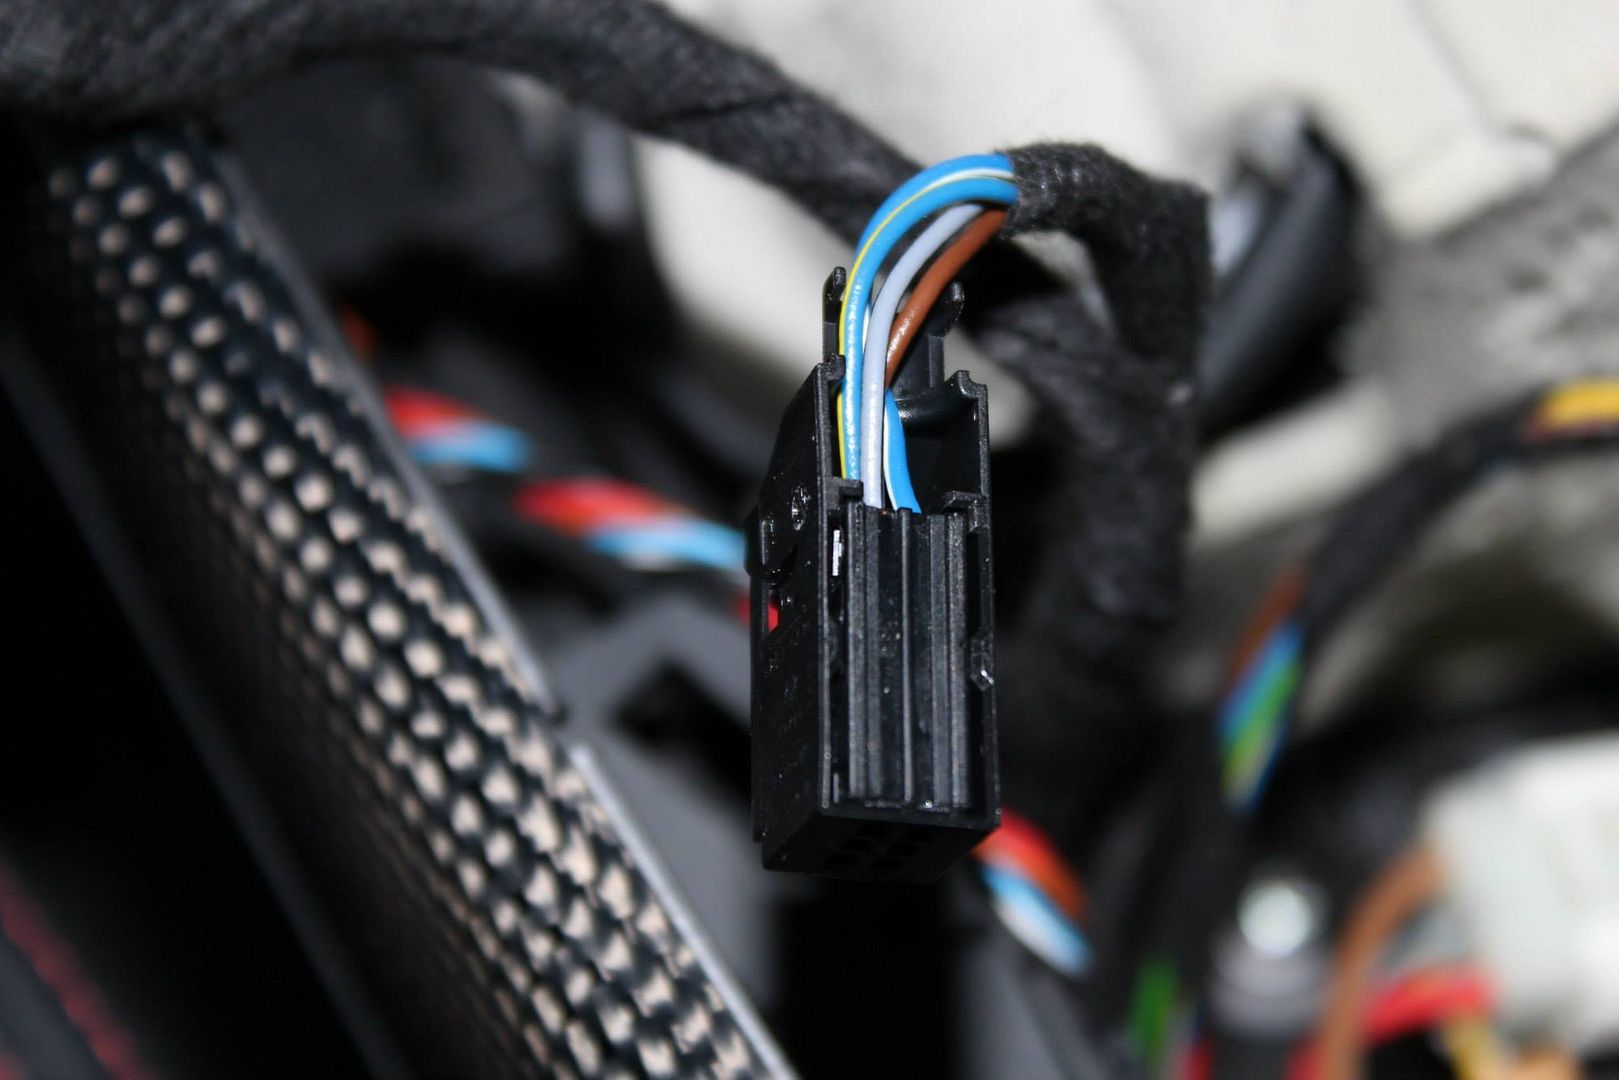
Here is the New pin connector. These pin numbers are also marked but on the front of the connector. The actual connector snaps into the harness housing once you've pinned all the wires.

On the OEM pin connector, pry open the harness from the front of the connector.
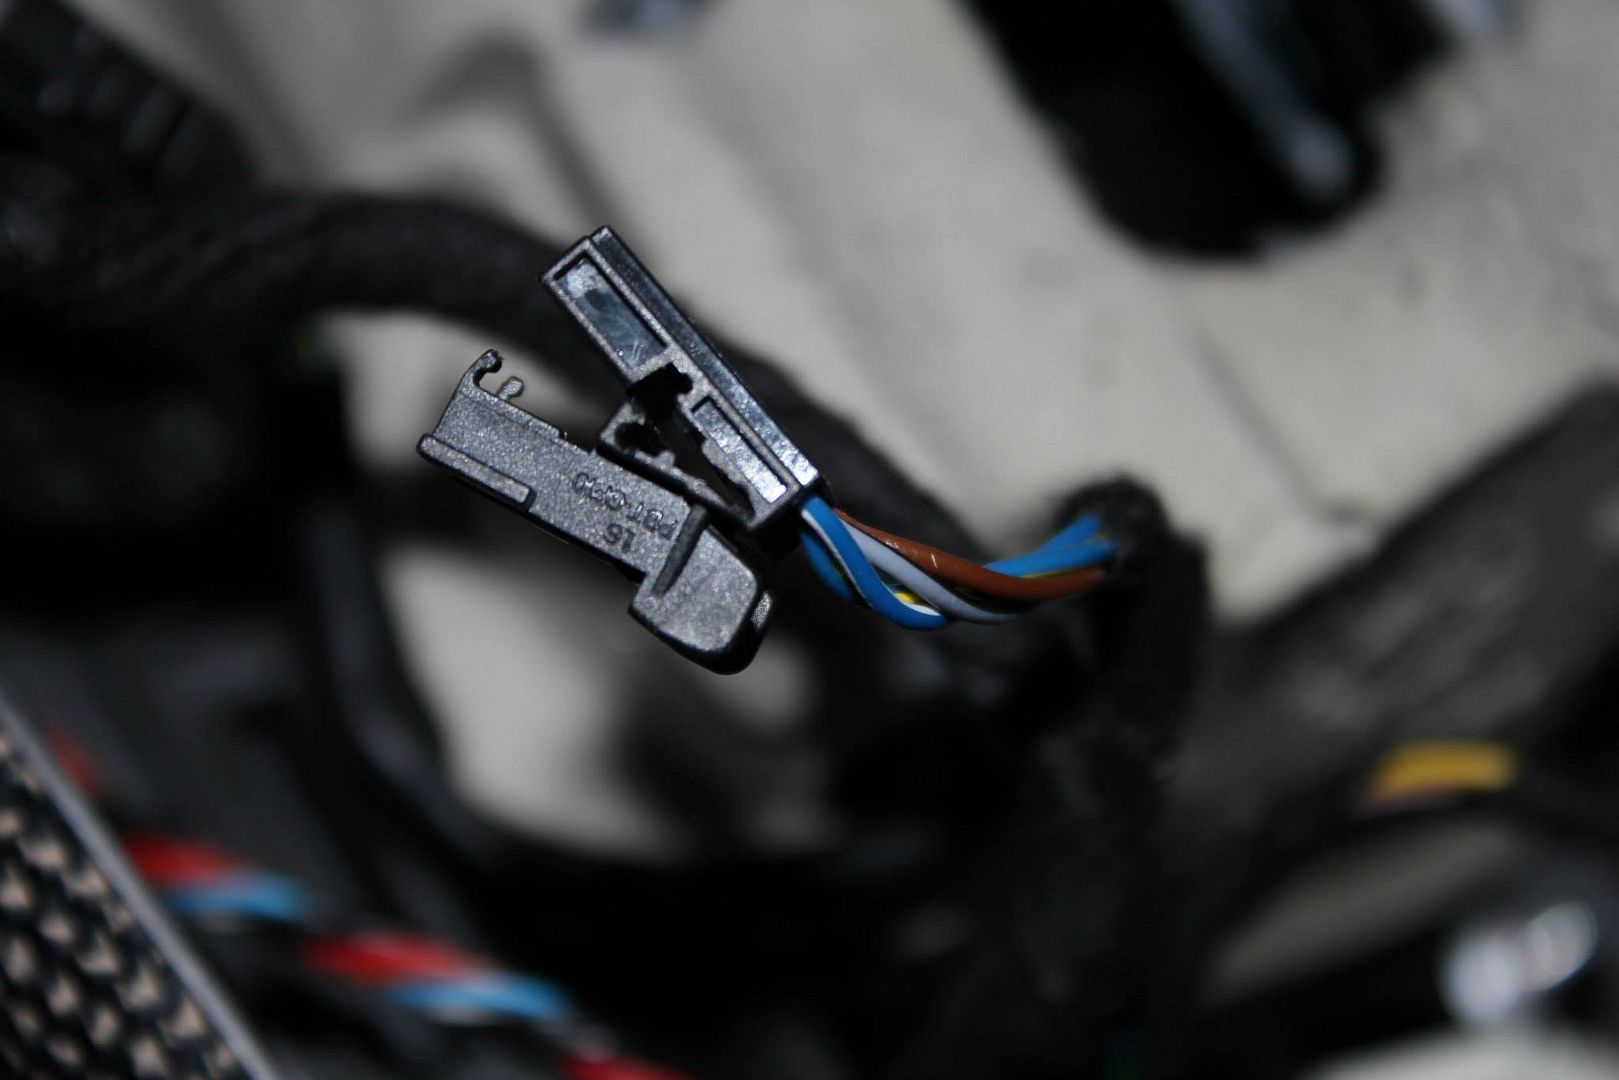
From this point use a pin extractor, or in this case a "dental tool" to extract the 1st pin.
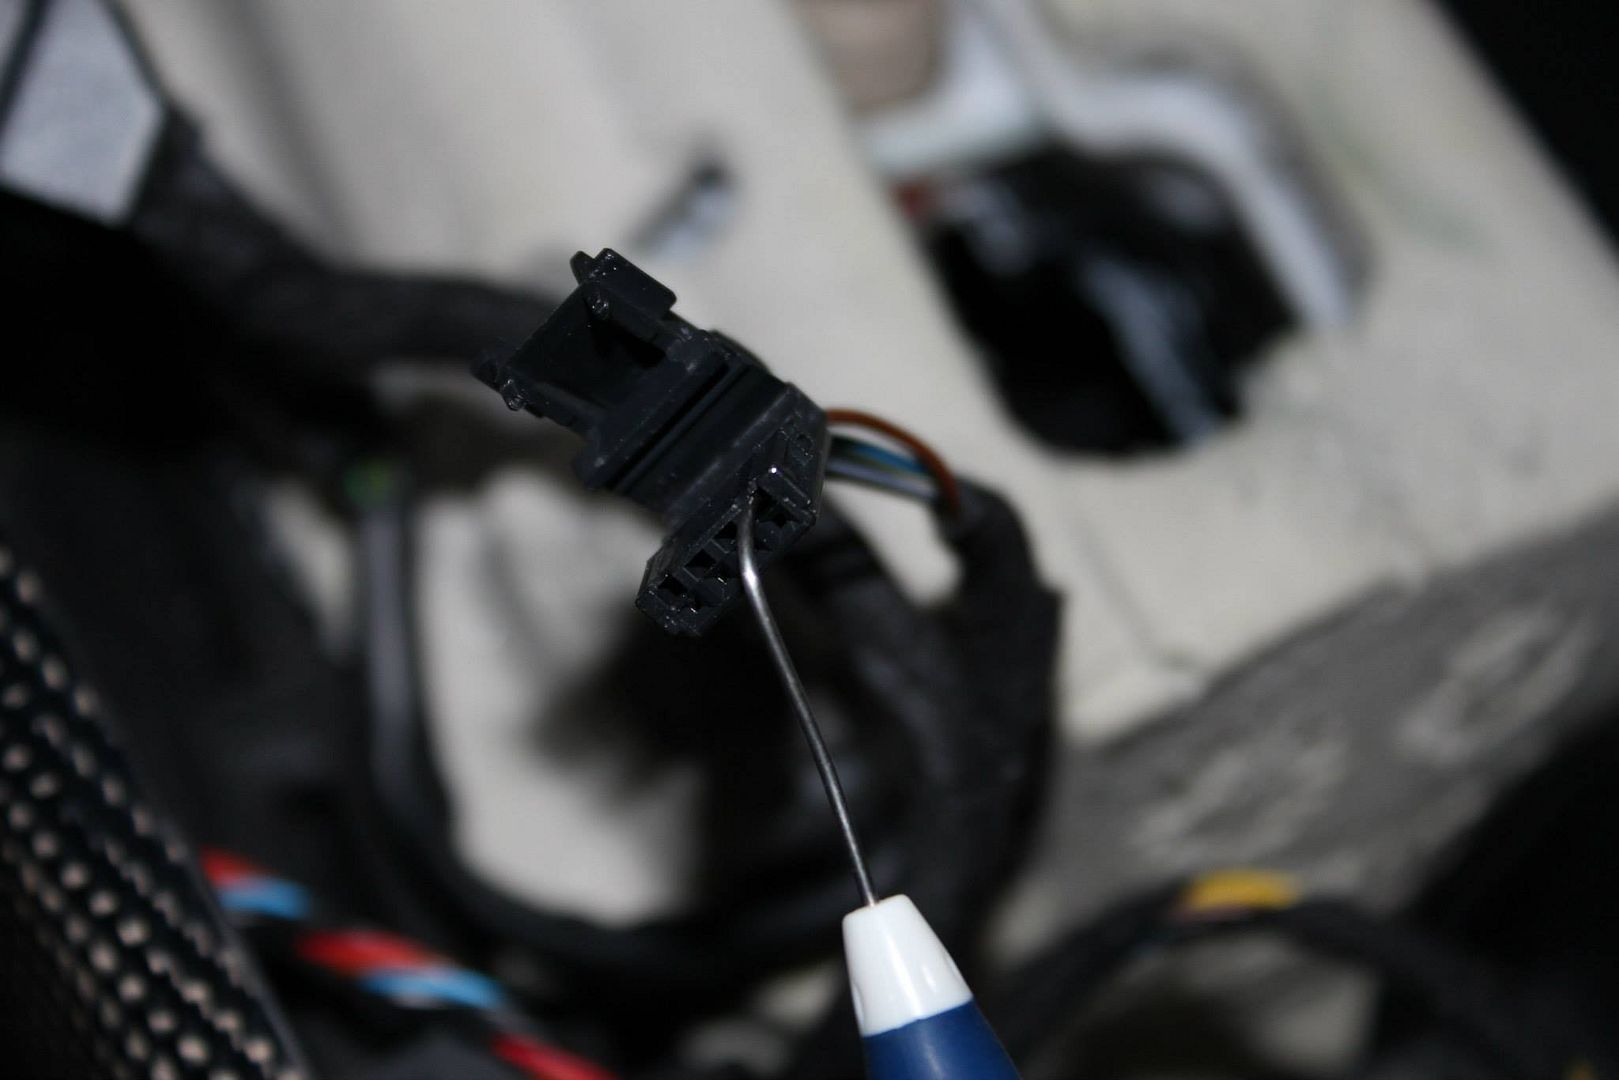
As you can see Pin 1 from the OEM connector goes into Pin 4 of the New connector.
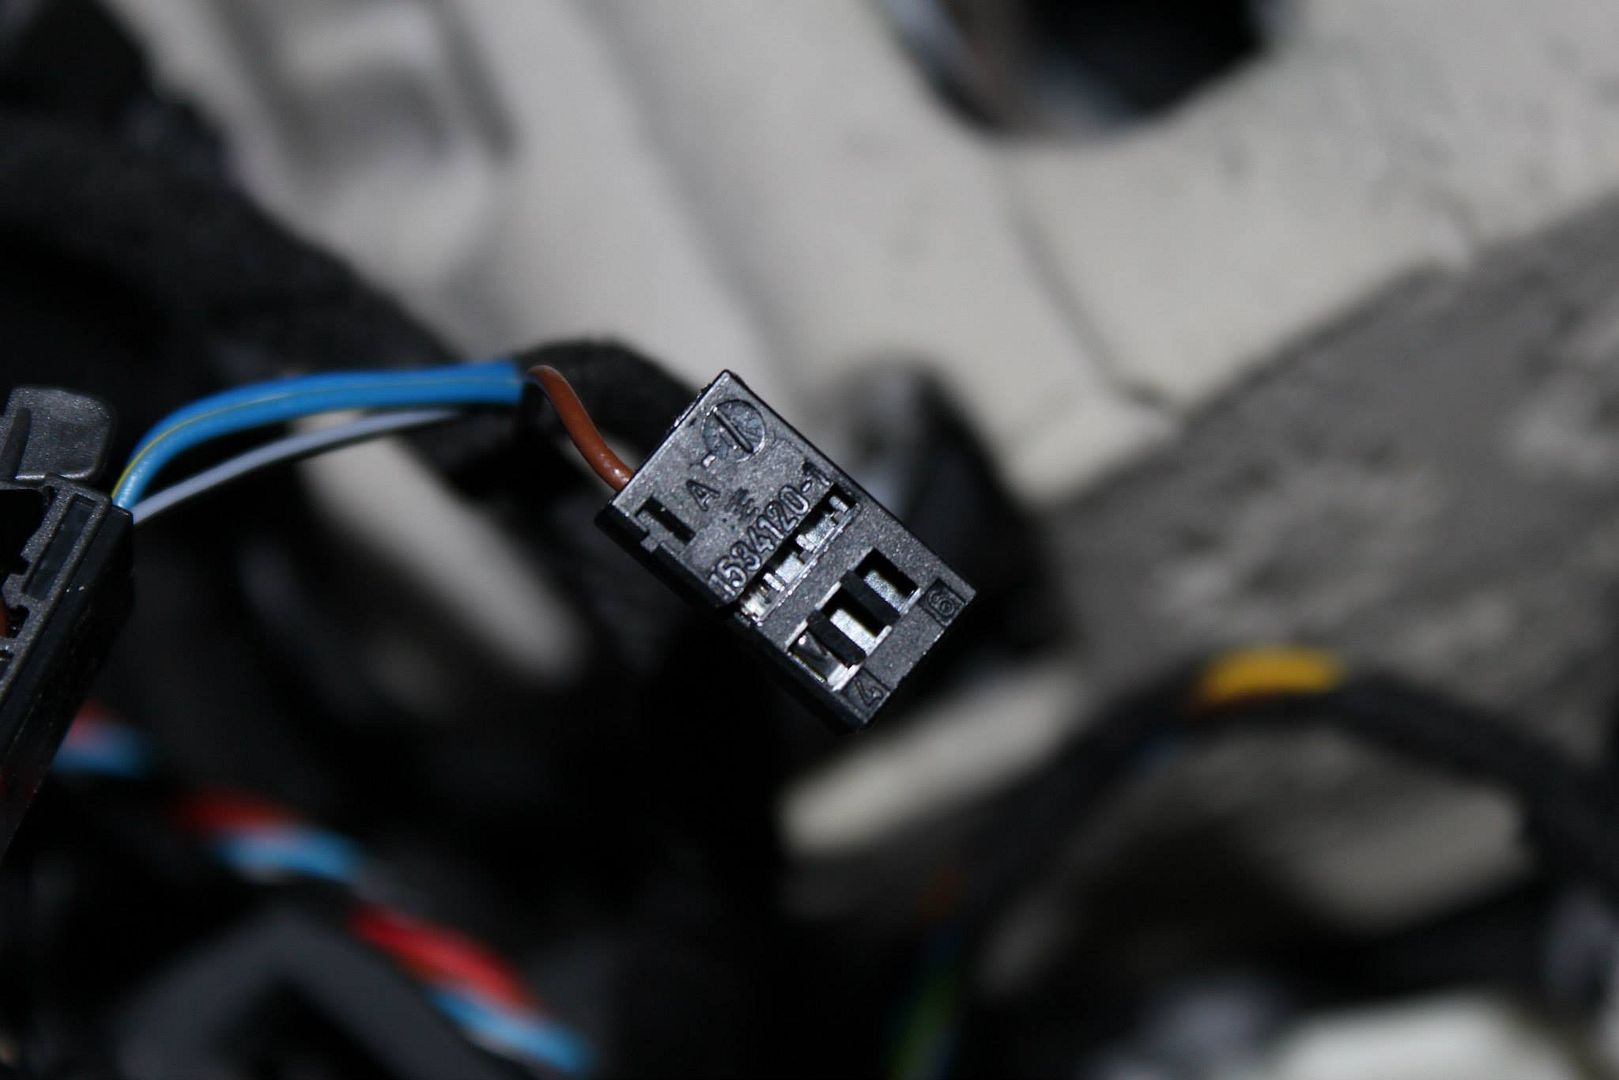
Continue with the remaining 3 pins until you have them all in the New connector.
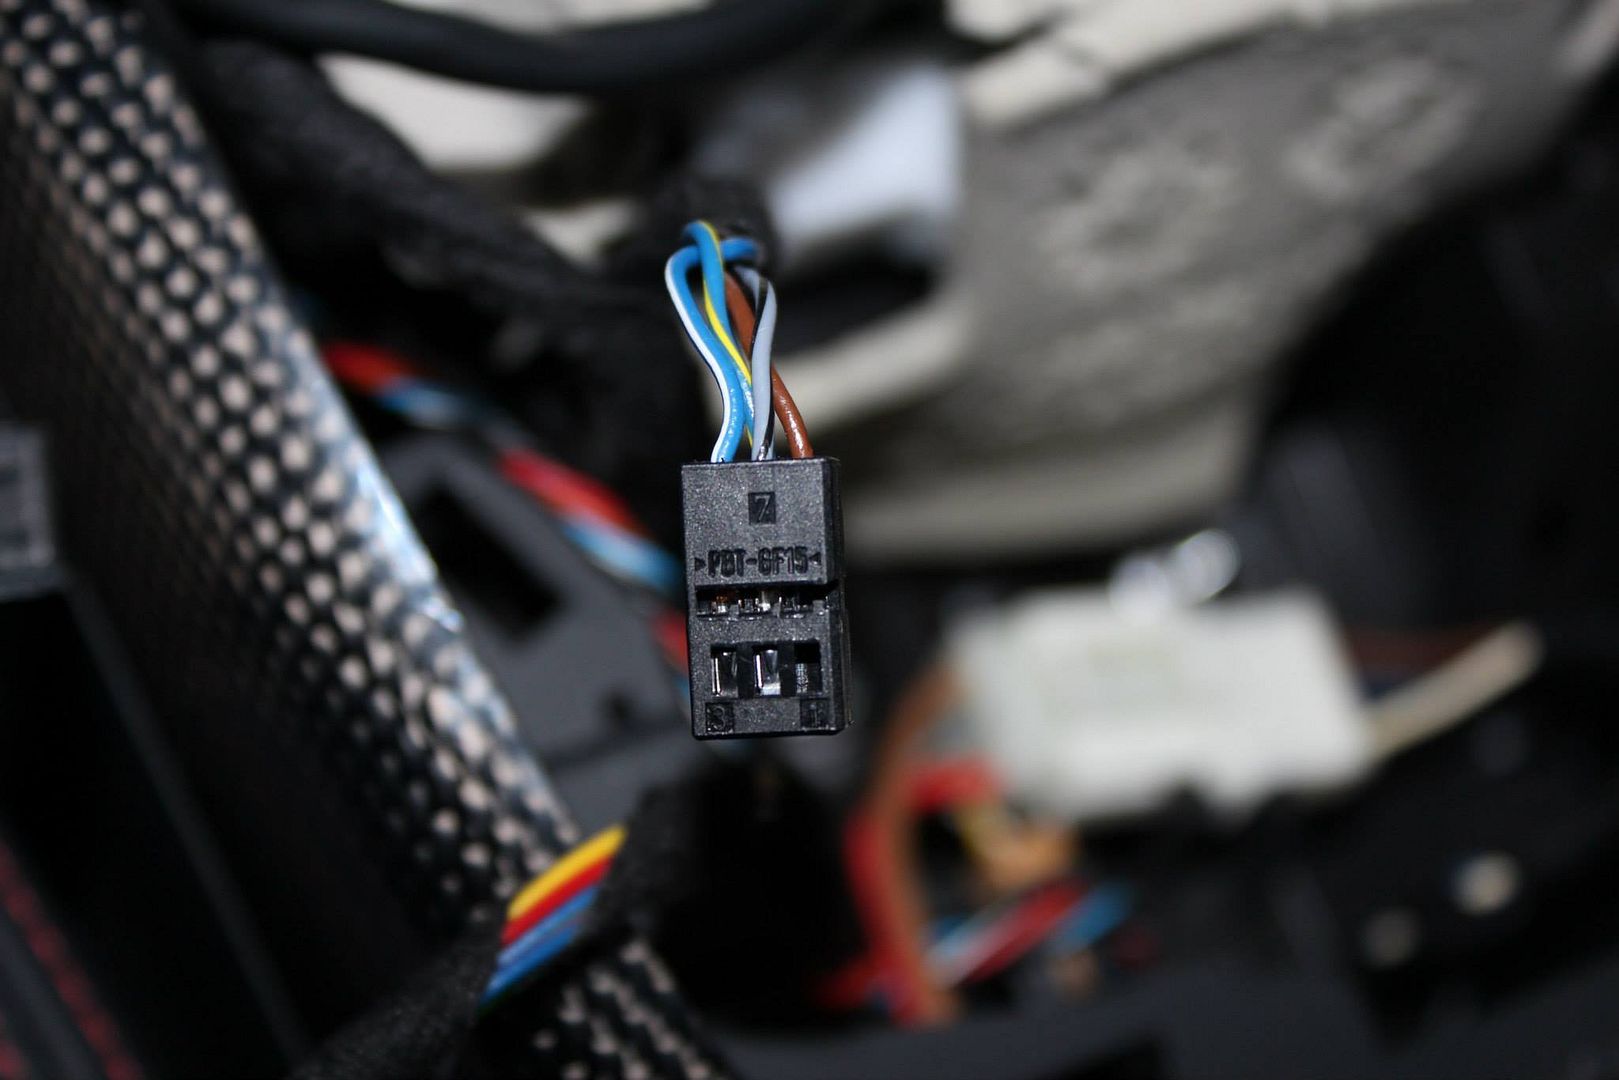
Once completed, slide the connector into the harness housing. It can only go in 1 way.

When you install the new button it does not click into place, as the metal tabs do not line up with the metal tabs off the original button. It is snug enough however, and you will be pushing the button every time you use it, so it's not going to go anywhere or move around on you.
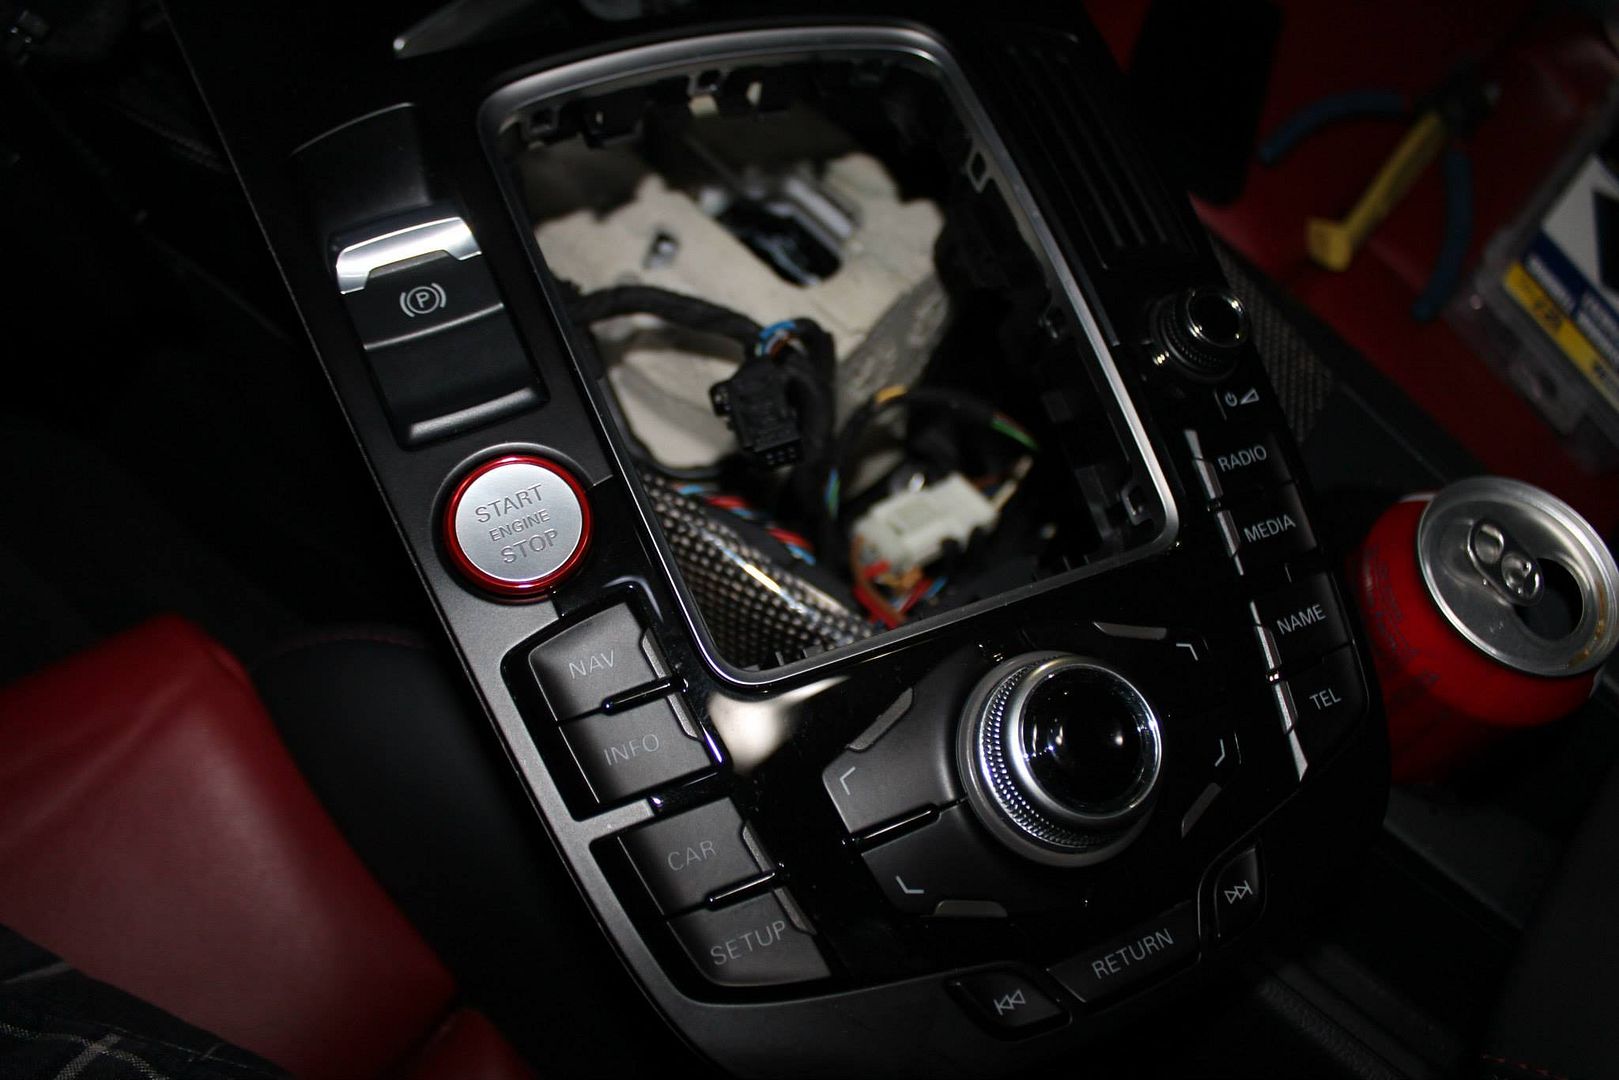
Reinstall your MMI console in reverse order and pat yourself on the back.

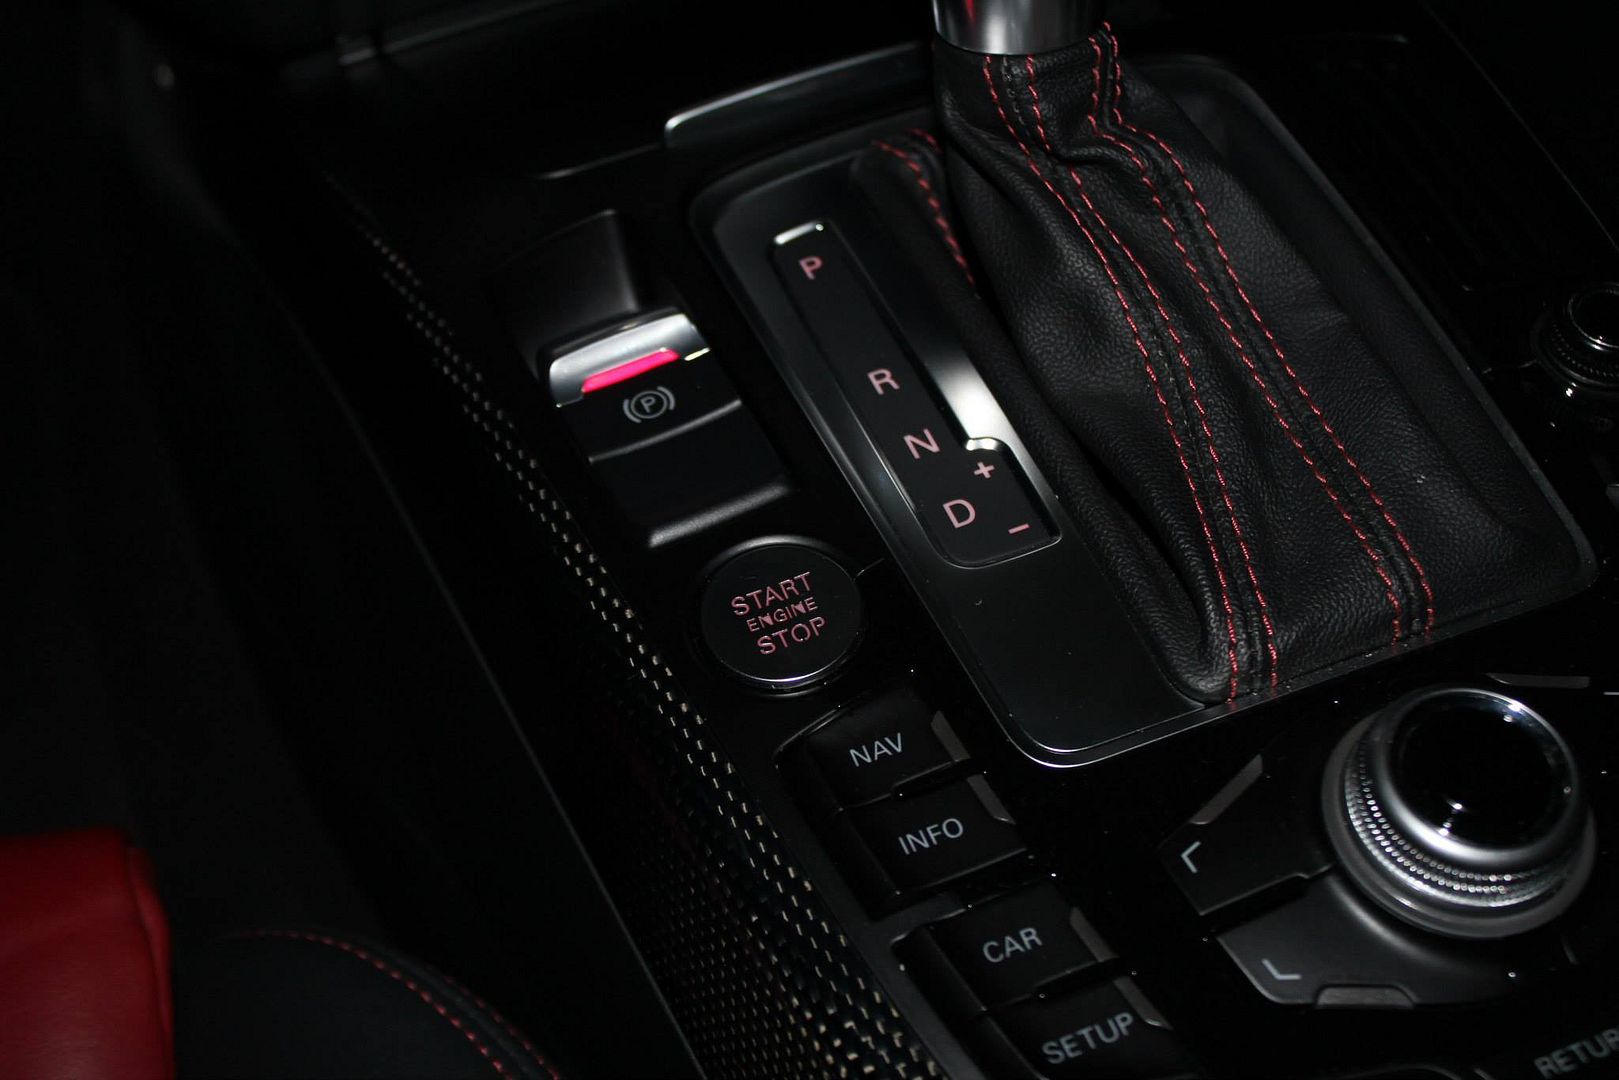
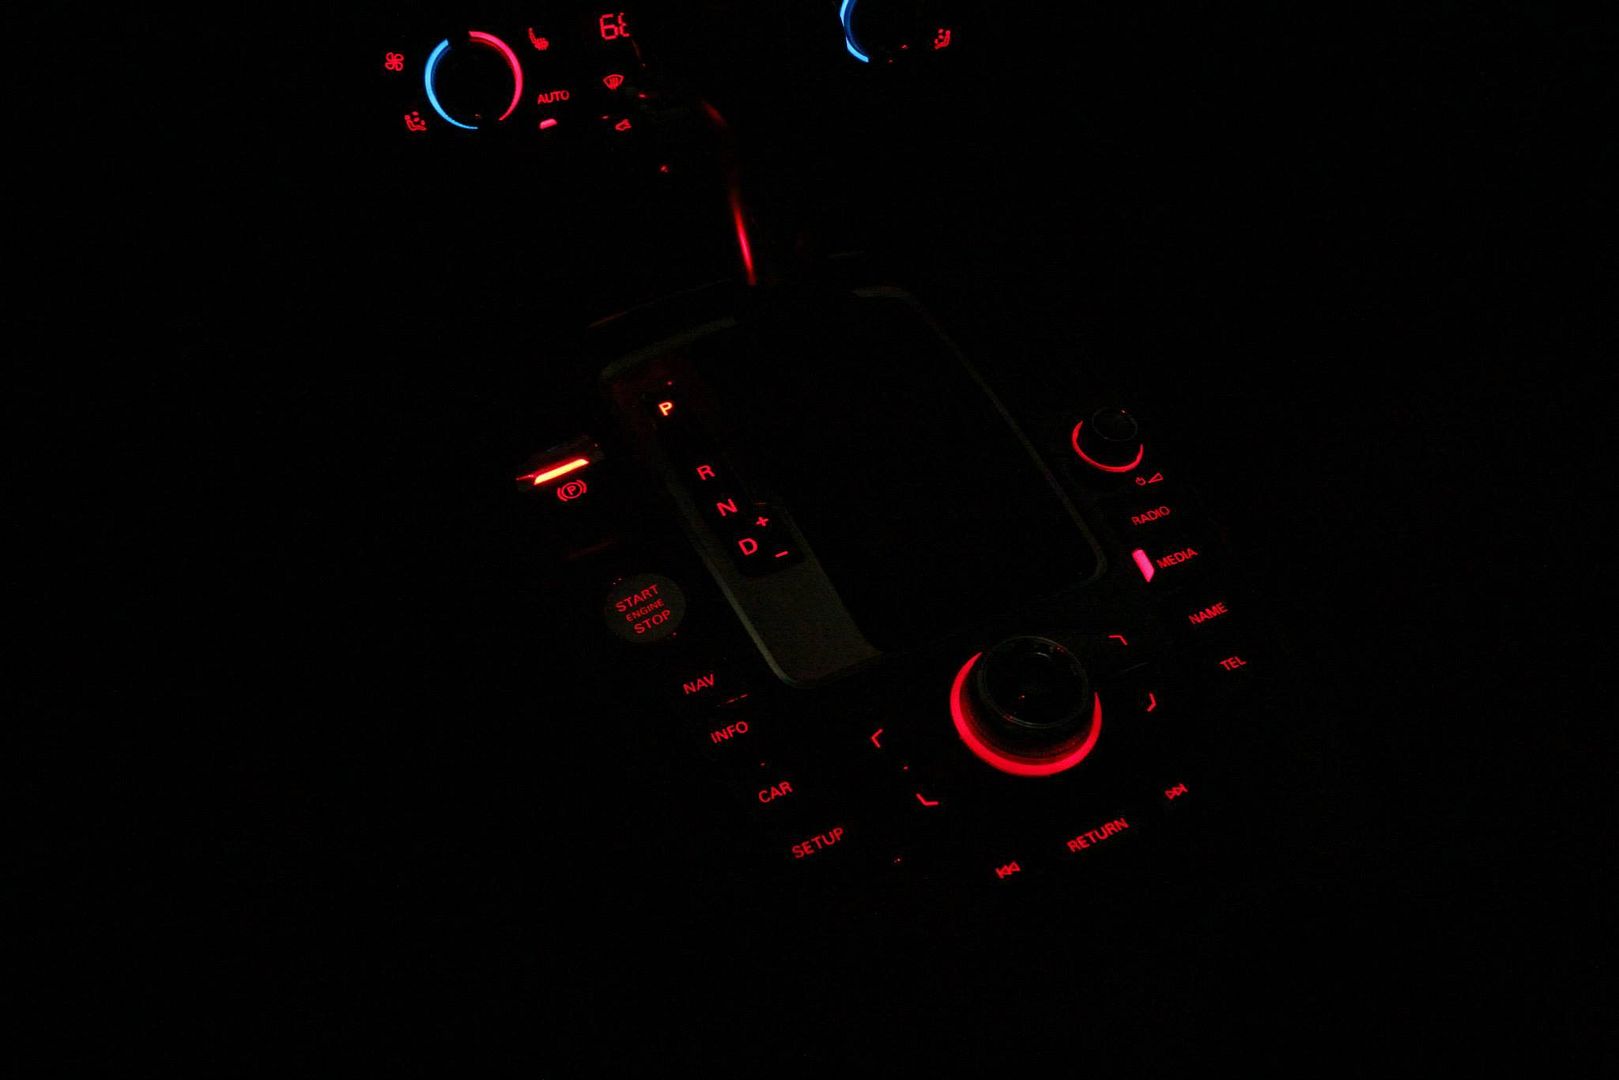
Here's an illuminated night shot. I wish the red ring lit up to match the MMI knob and the Volume knob, but as much of a pain it was to get the button to light up at all and working properly, I can live with this.
Go Edit your Signature and Enjoy!

 Reply With Quote


 : 35% tint, AK, SC Badges... CPO (kind of a mod)


Bookmarks