


Before we go any further, some are likely wondering how difficult this is. I'd consider myself somewhat mechanically inclined but have only done a full suspension swap once and pulled the F/R shocks twice for adjustments. But the first time I was basically assisting my buddy who can tear an engine apart. Shock adjustments were by myself but I kinda stumbled through those. So this was my first time doing it solo, but had a decent amount of knowledge about how to do so.
Point being, it's not all that difficult… but having the proper tools and technique is critical.
First, credit where it's due. The only reason why I was able to attempt this was b/c of these…
The DIYs
DIY: B6/B7 A4 - Suspension Removal and Install by Capt. Obvious
http://www.audizine.com/forum/showth...al-and-Install
STaSIS Street Sport/Koni Coilover Suspension Install by Martini
http://www.a4mods.com/index.php?page...tml&category=2
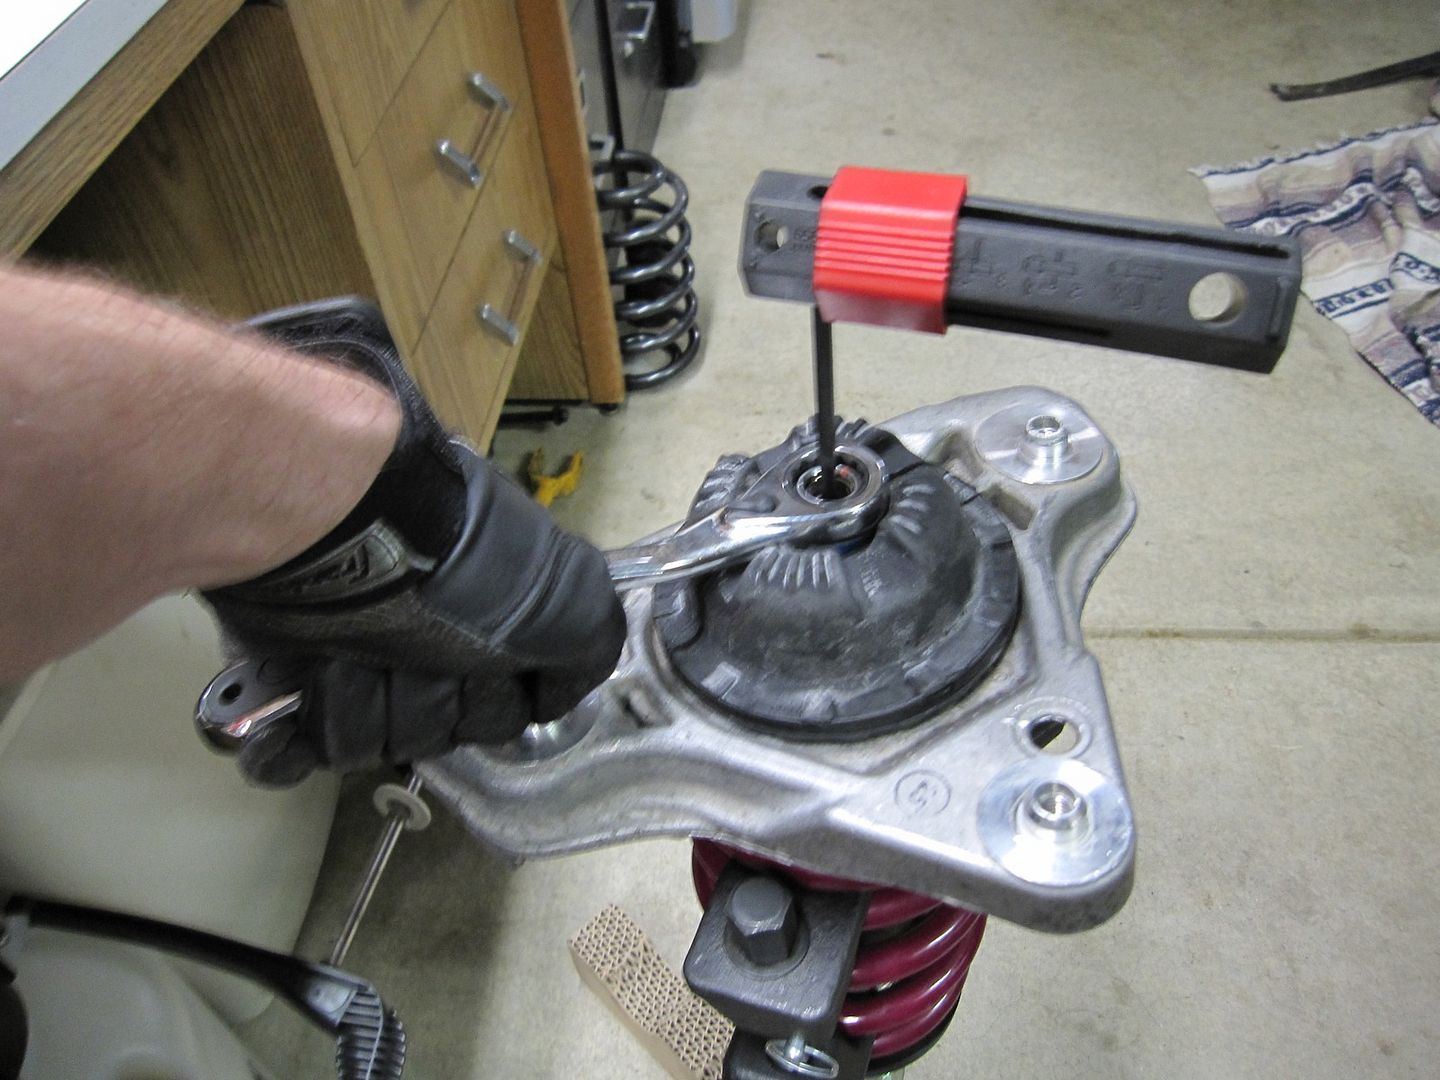
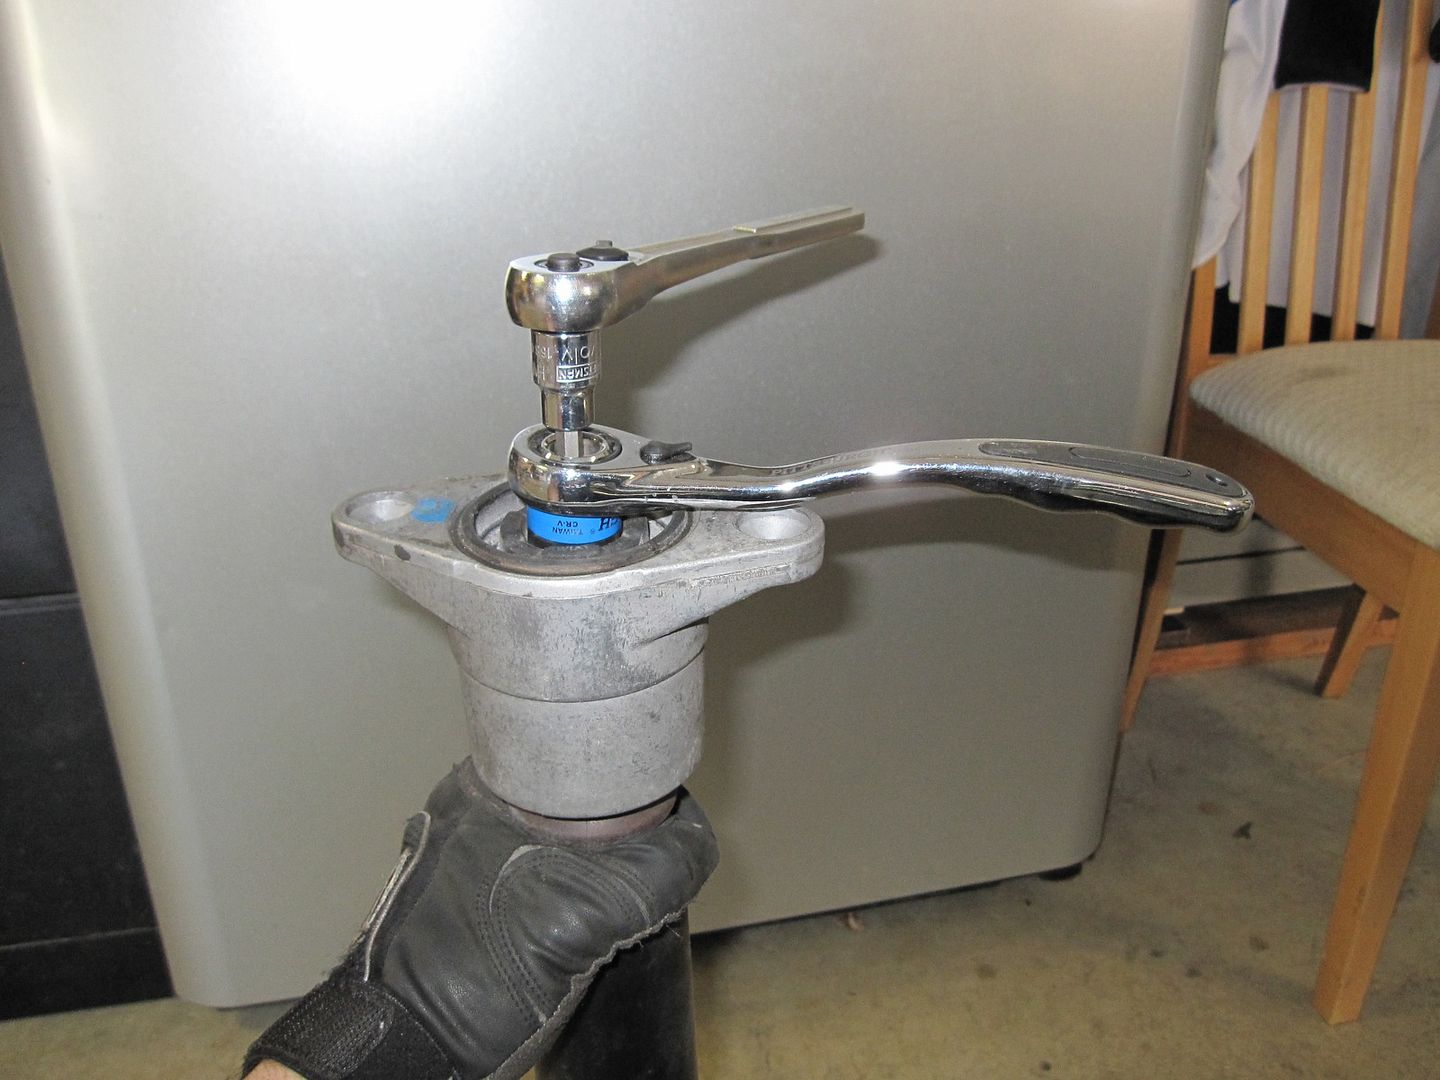
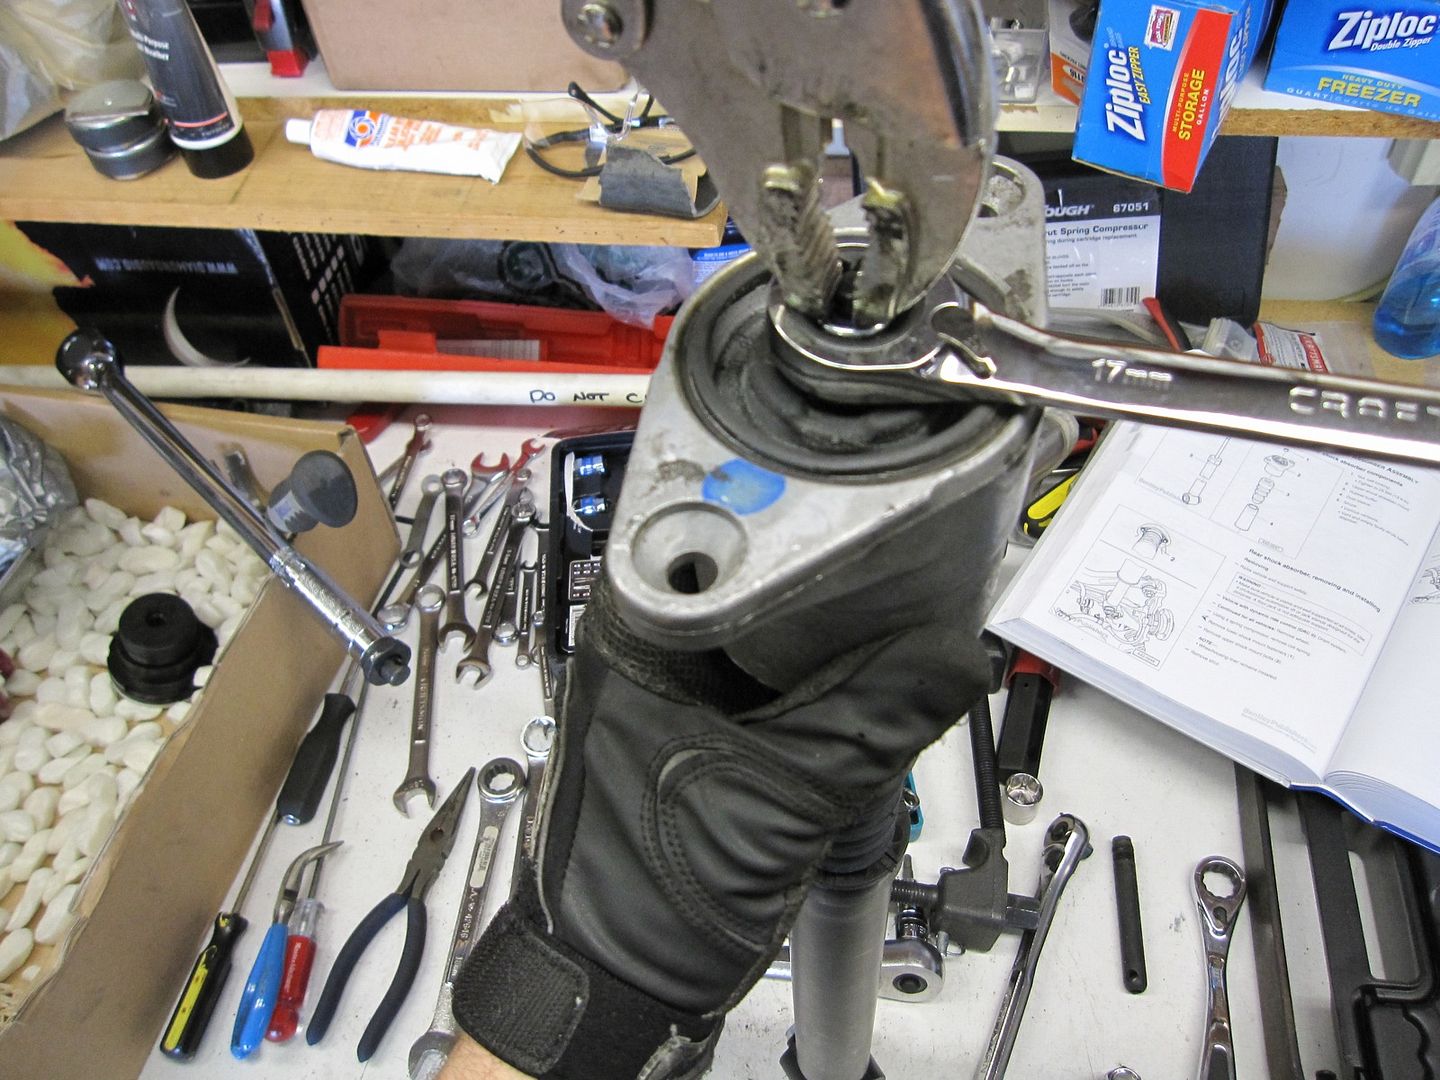
Pure Motorsport: Working with Upper Strut Nuts
http://www.purems.com/news/?p=15
Tools List (general)
These are three sets I own and would *highly* suggest you purchase as well (if you've not already got something comparable). The Mechanics Tool Set is arguably one of the best mods I've ever done. Of course for this project you'll not need everything in these sets but these represent the core of my equipment. Comical, but effective.
Craftsman 192 pc. Mechanics Tool Set
http://www.sears.com/shc/s/p_10153_1...7&blockType=G7
Craftsman 21 pc. Drive Tool Accessory Set (Extensions, Wobbles, Adapters and U-Joints)
http://www.sears.com/shc/s/p_10153_1...5&blockType=G5
Craftsman Evolv 7-pc. Hex Bit Socket Set Metric
http://www.sears.com/shc/s/p_10153_12605_00910058000P
Tool / Supplies List (specific)
I've attempted to create a comprehensive list of everything I used during this install. This is more of a requirements list.
* jack stands
* two floor jacks (of the non widow maker variety) one of which in the 3-4 ton range
* pry bar
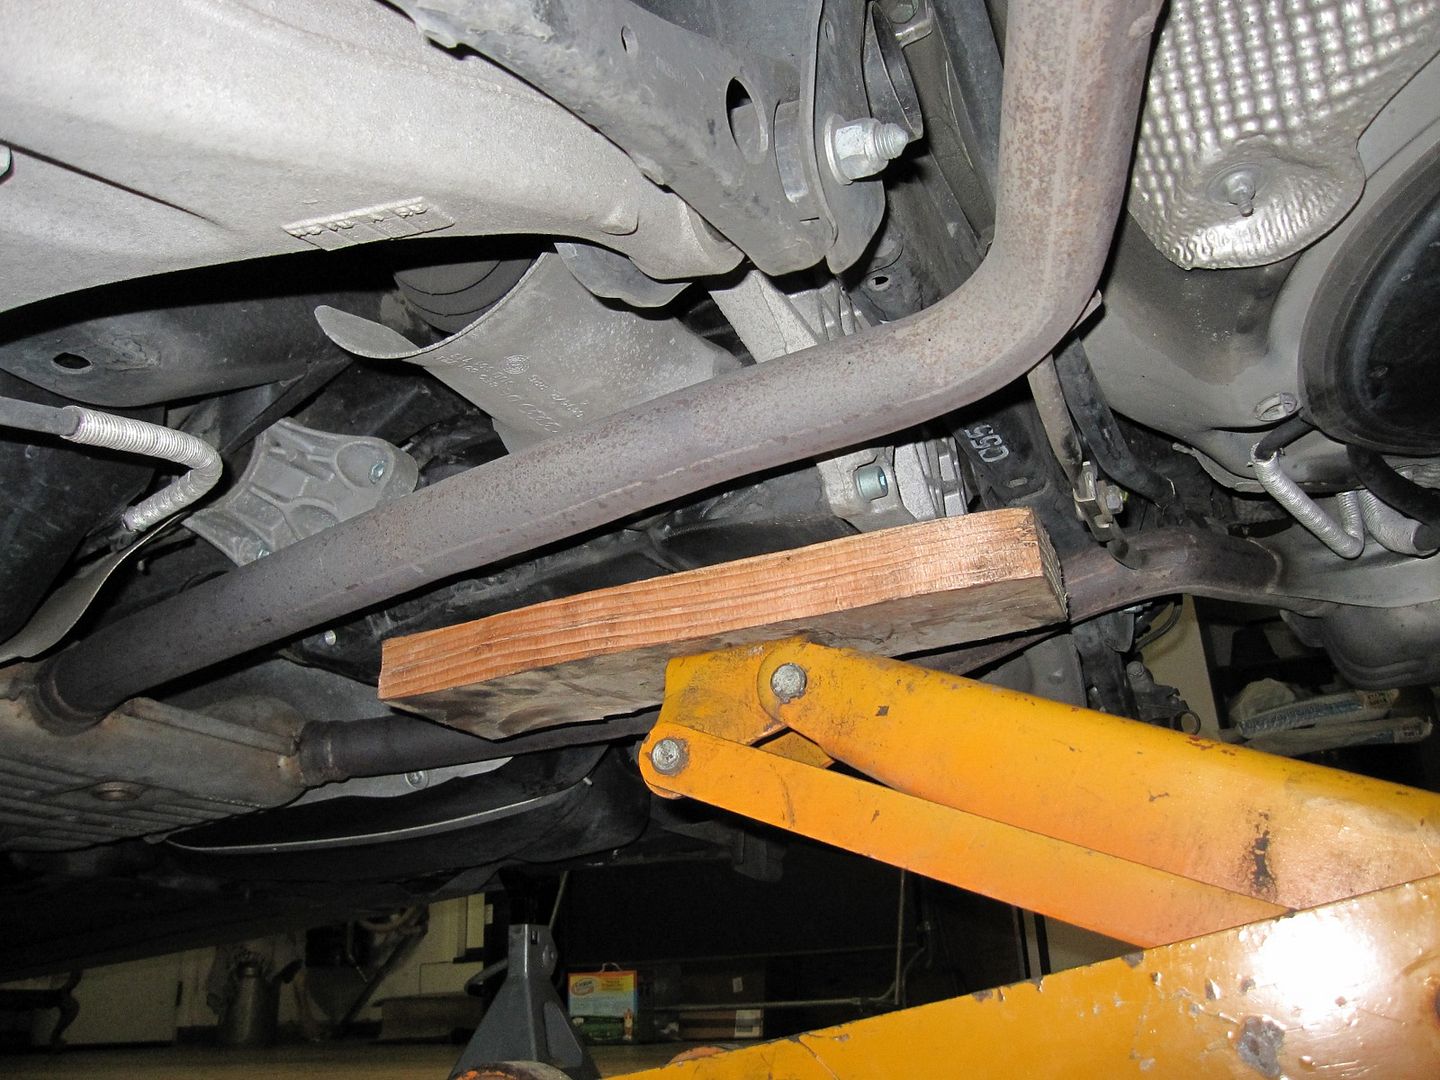
* 2x4 block of wood
* wheel hanger OEM works but it'll be dead soon… buy the Podi
http://podi.ca/Accessories.aspx
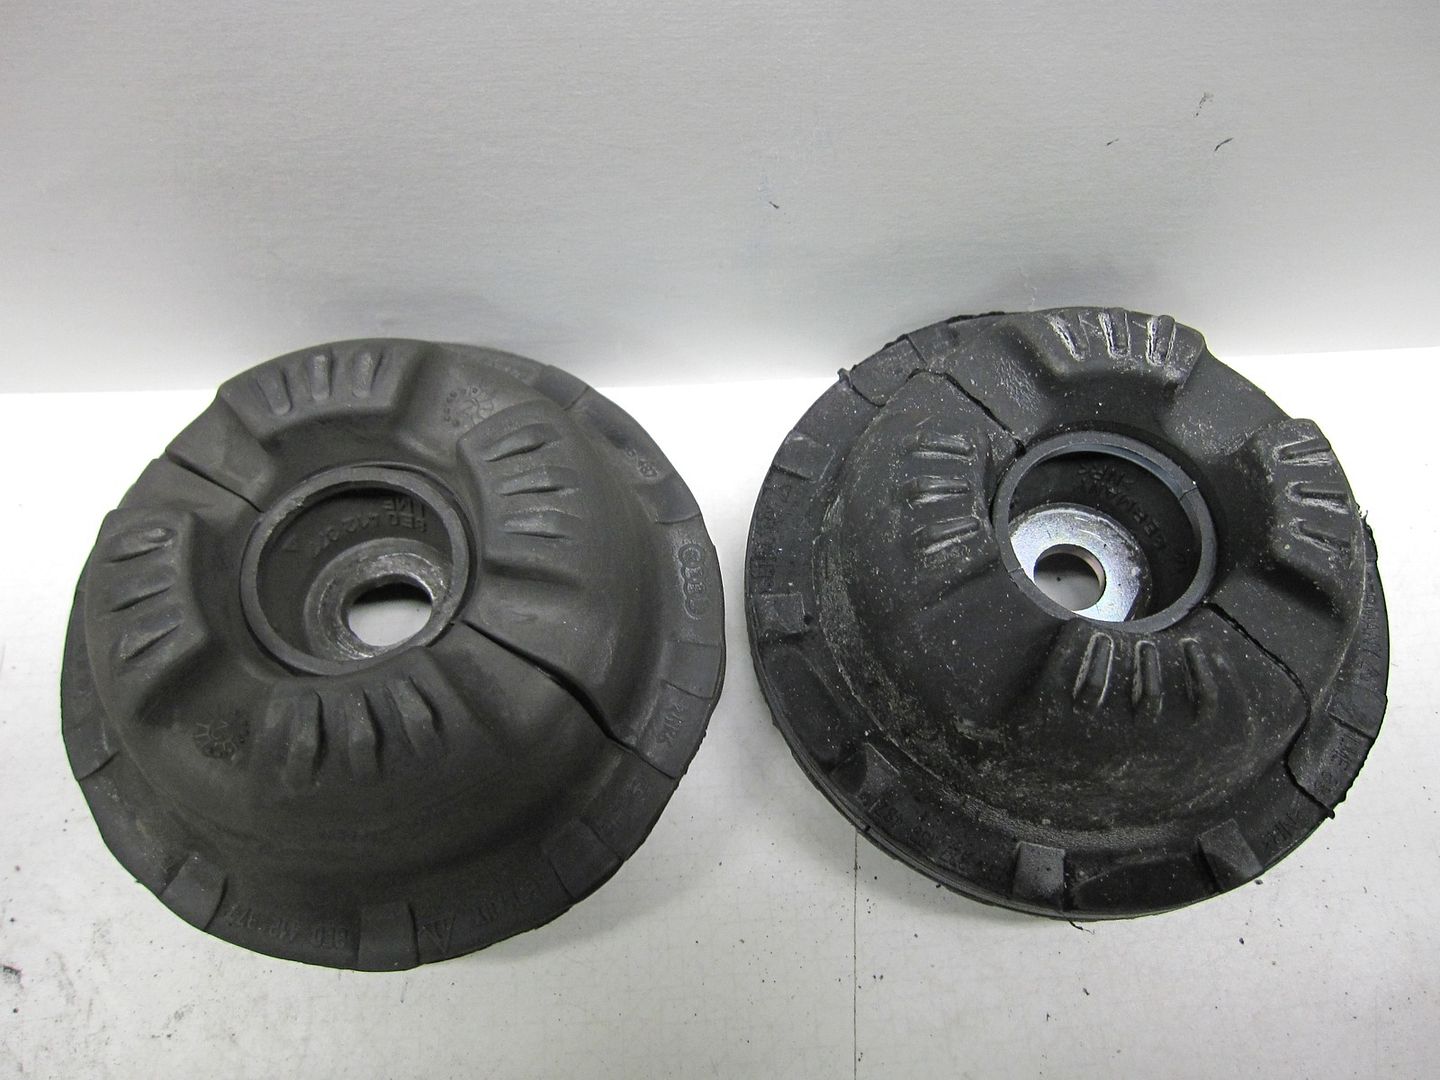
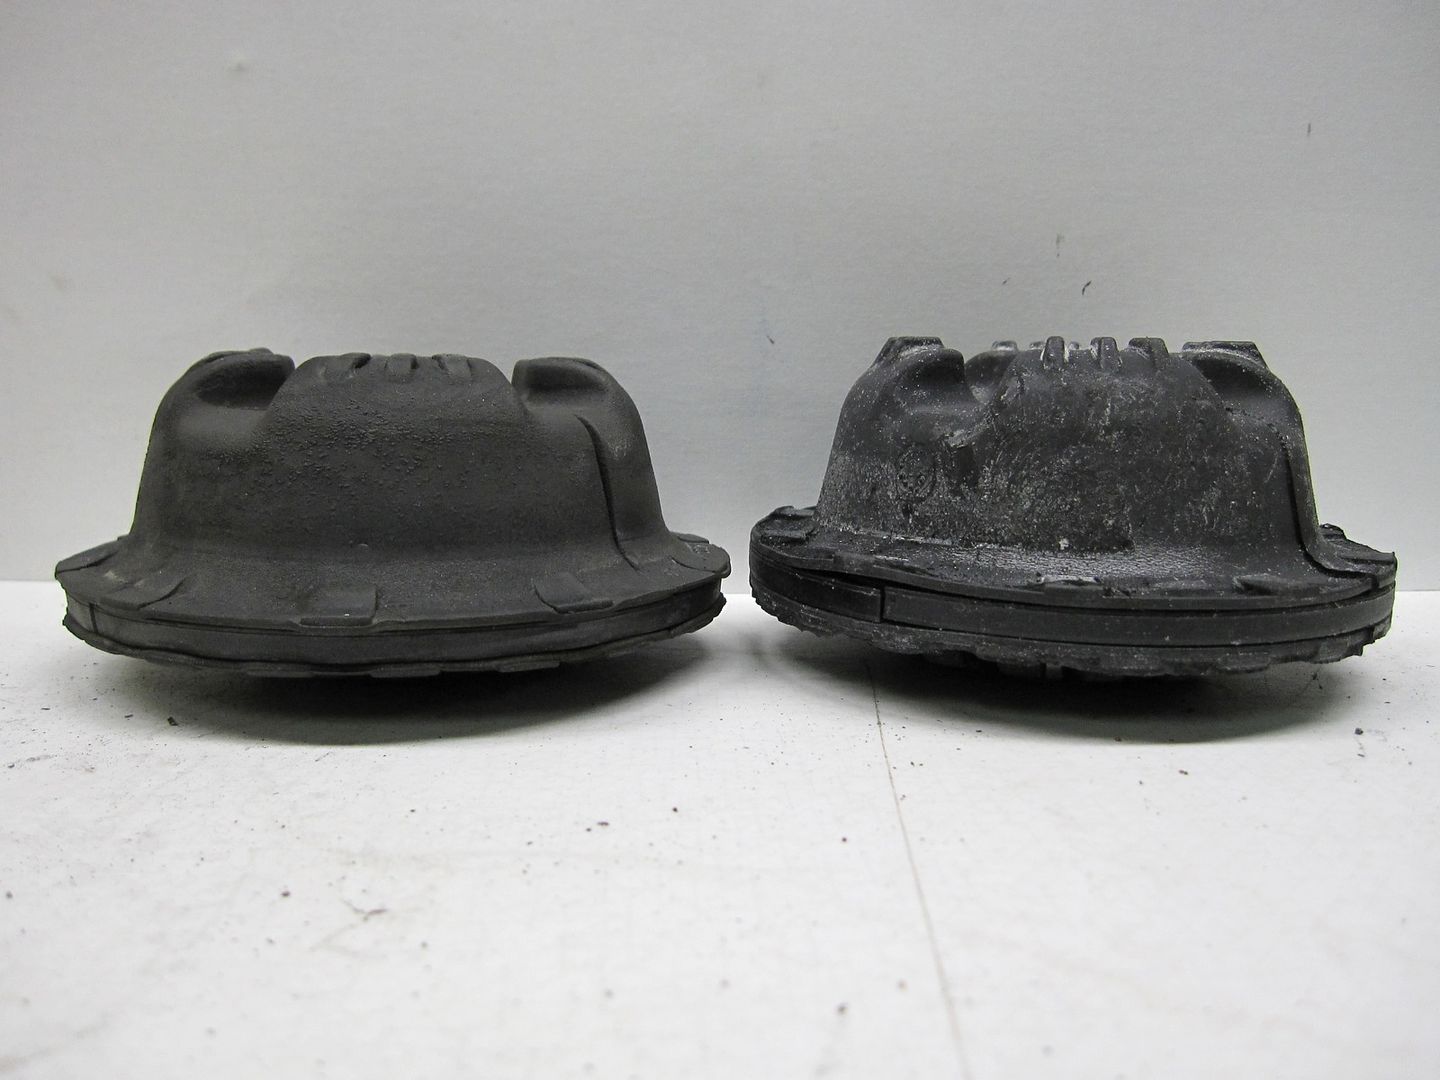
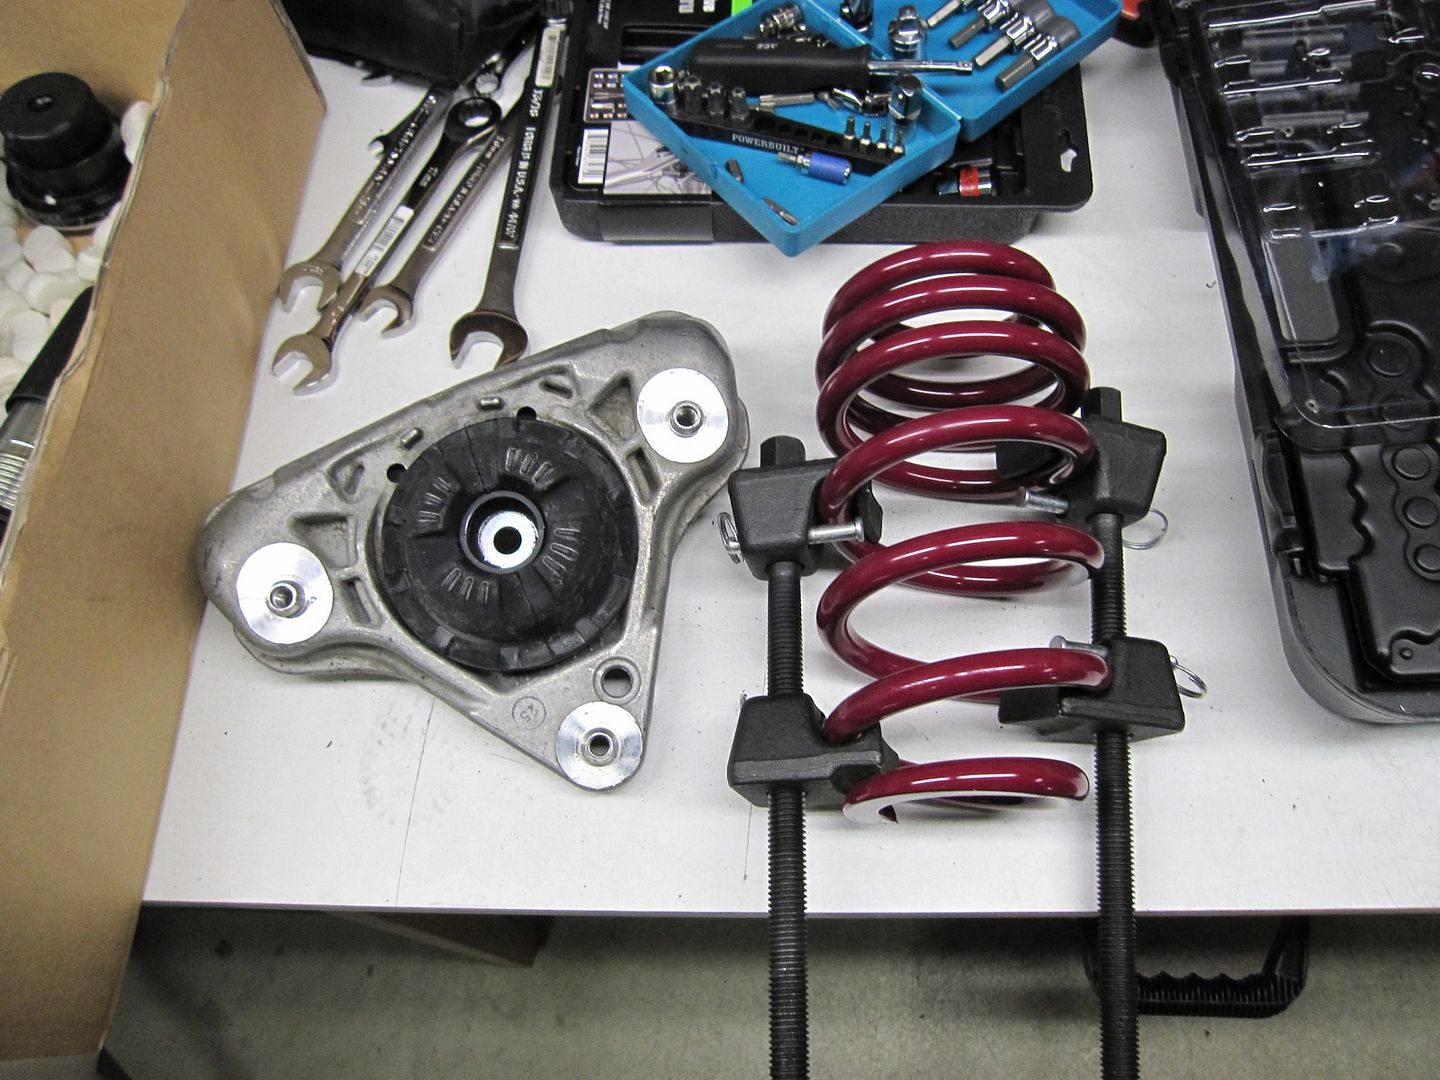
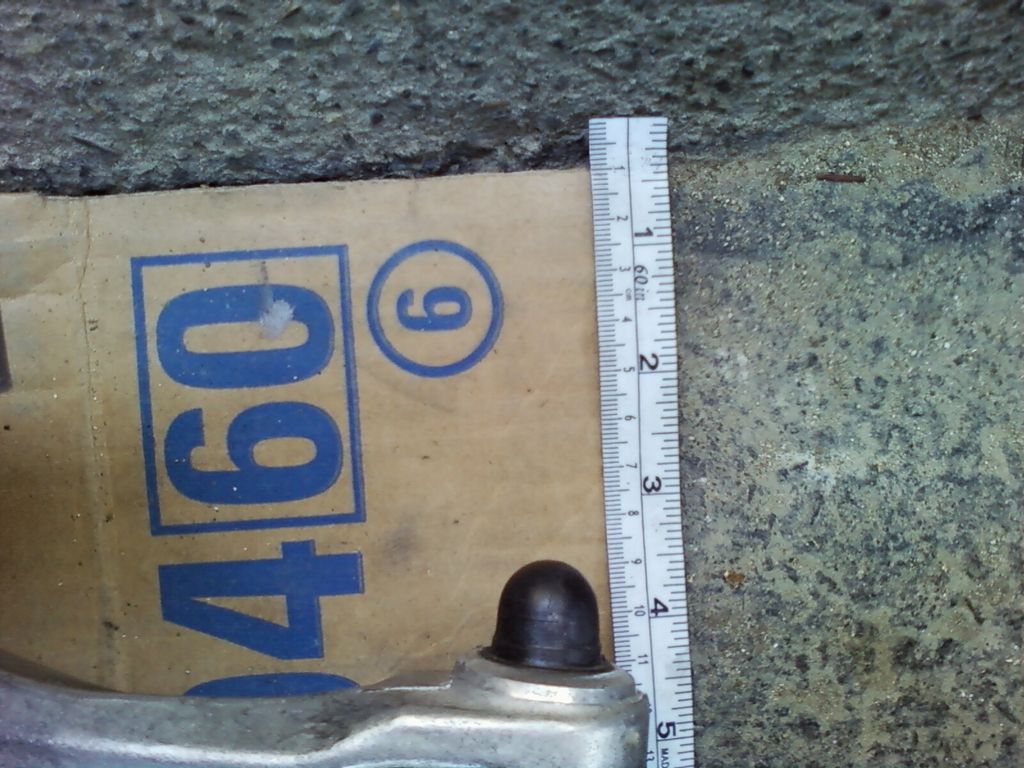
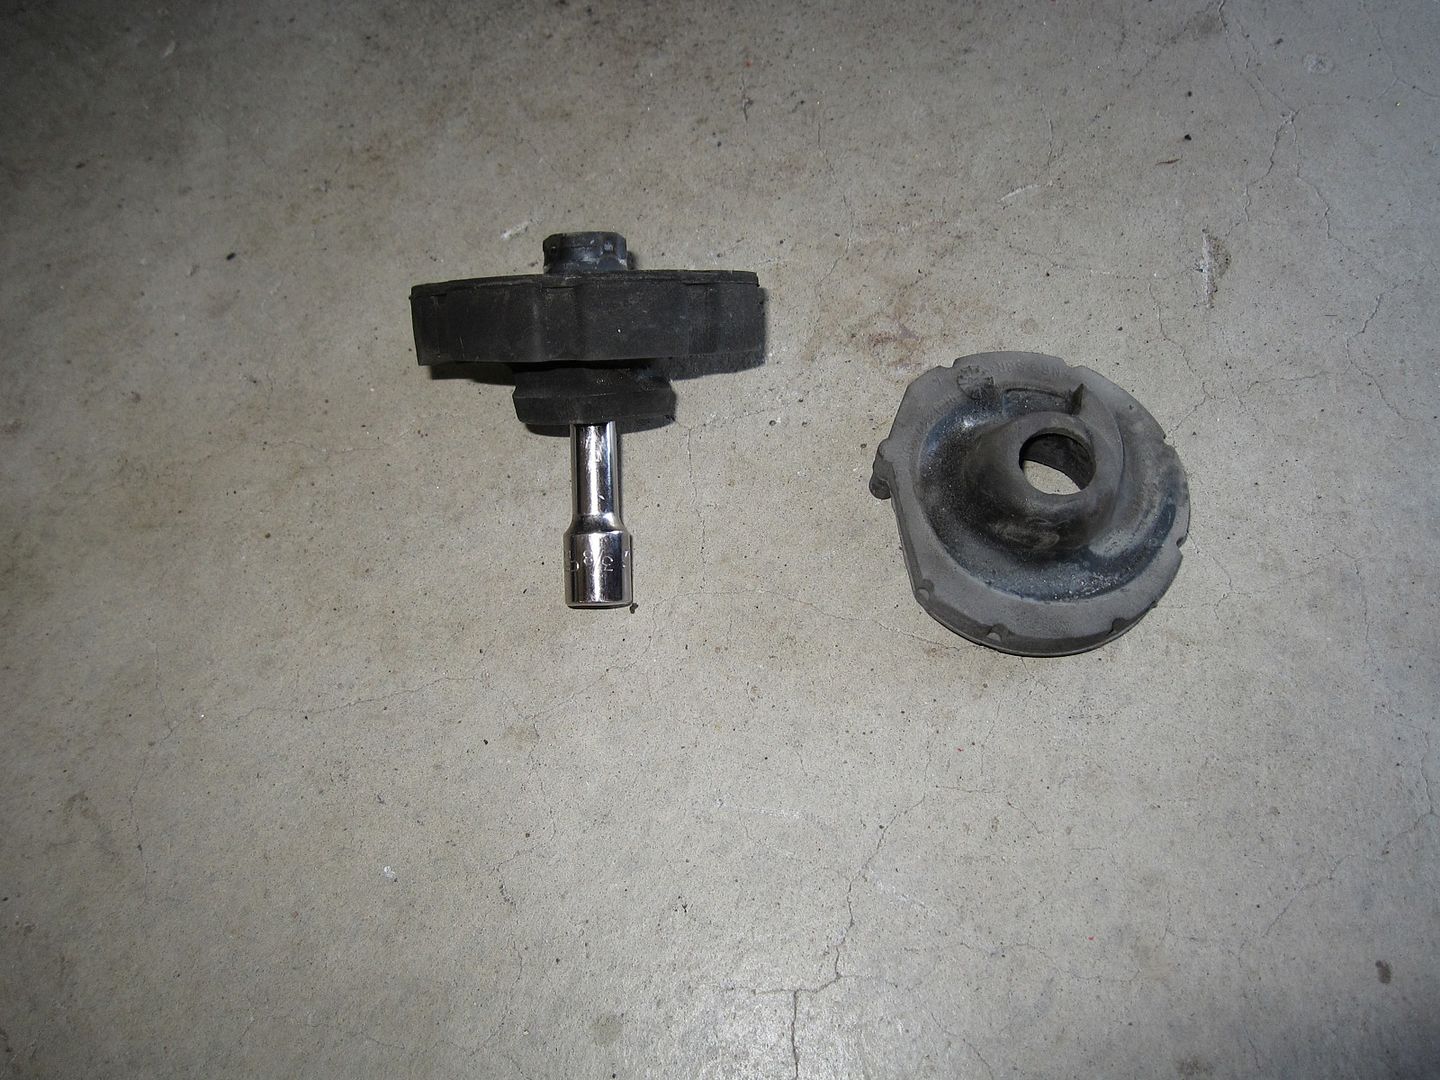
Front Shock Upper Bushing aka The Donut (yes, buy these)
http://www.purems.com/products/product.php/II=1428
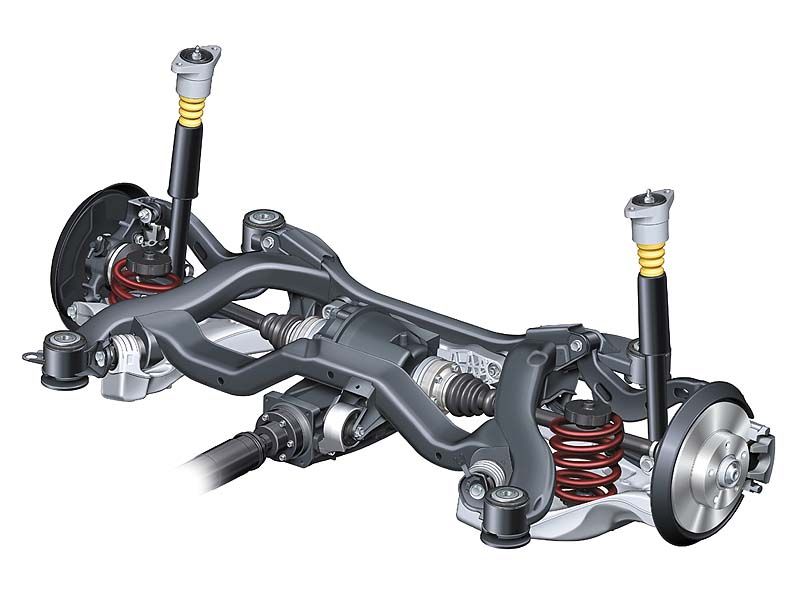
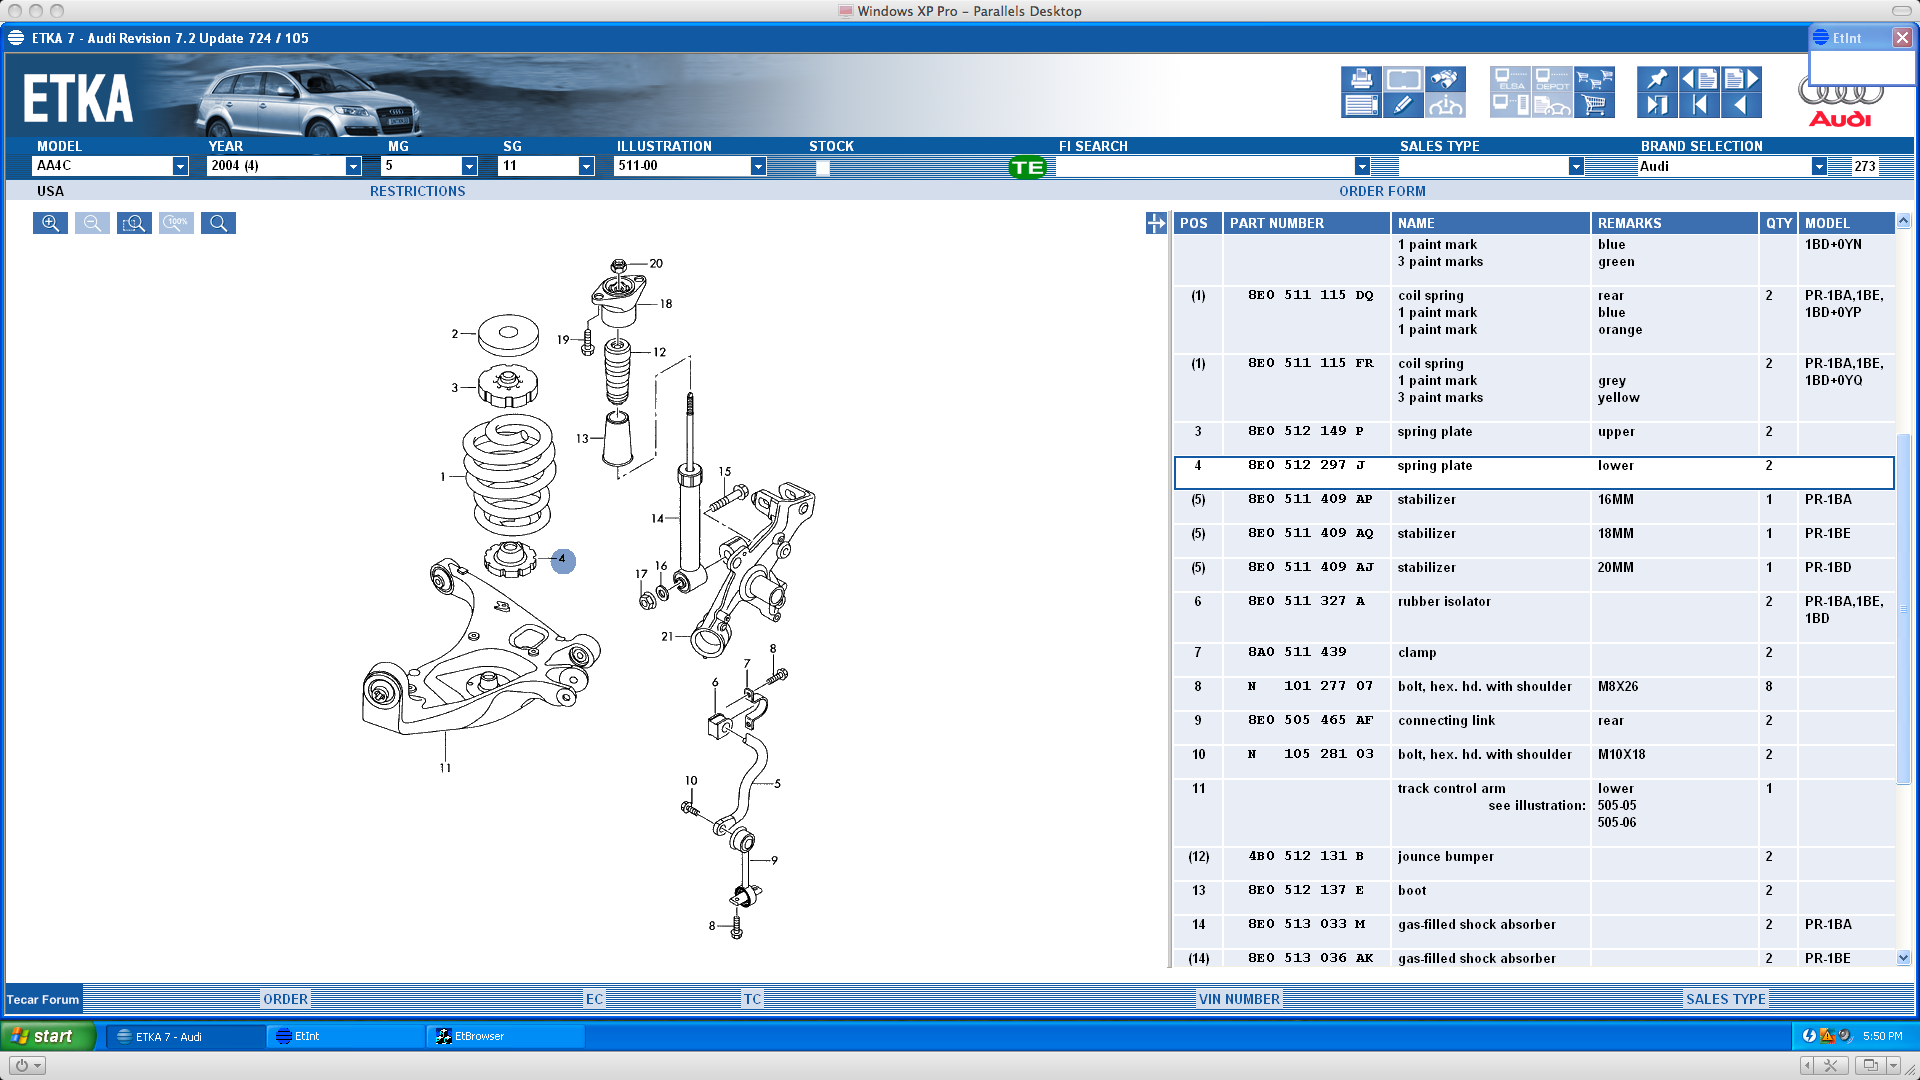
Rear Shock (Spring) Bushings (didn't replace these but wanted to)
Upper Spring Plate (Rear suspension - Suspension components - Spring pad) 8E0 512 149 P
Lower Spring Plate (Rear suspension - Suspension components - Spring seat) 8E0 512 297 J
* needle nose pliers
* torque wrench
* utility knife
* tape measure
* good flashlight / lighting
* long ass burly screwdriver
* vice grips
* Allen key driver (optional but very helpful)
* festive blanket to lay upon (also optional)
* magnet tool (magnets… how do they work?)
* Torx 20 bit
* 5mm metric socket bit key
Ratchets
10mm
13mm
16mm
17mm
18mm
19mm
13/16
Wrenches
16mm
18mm
13/16
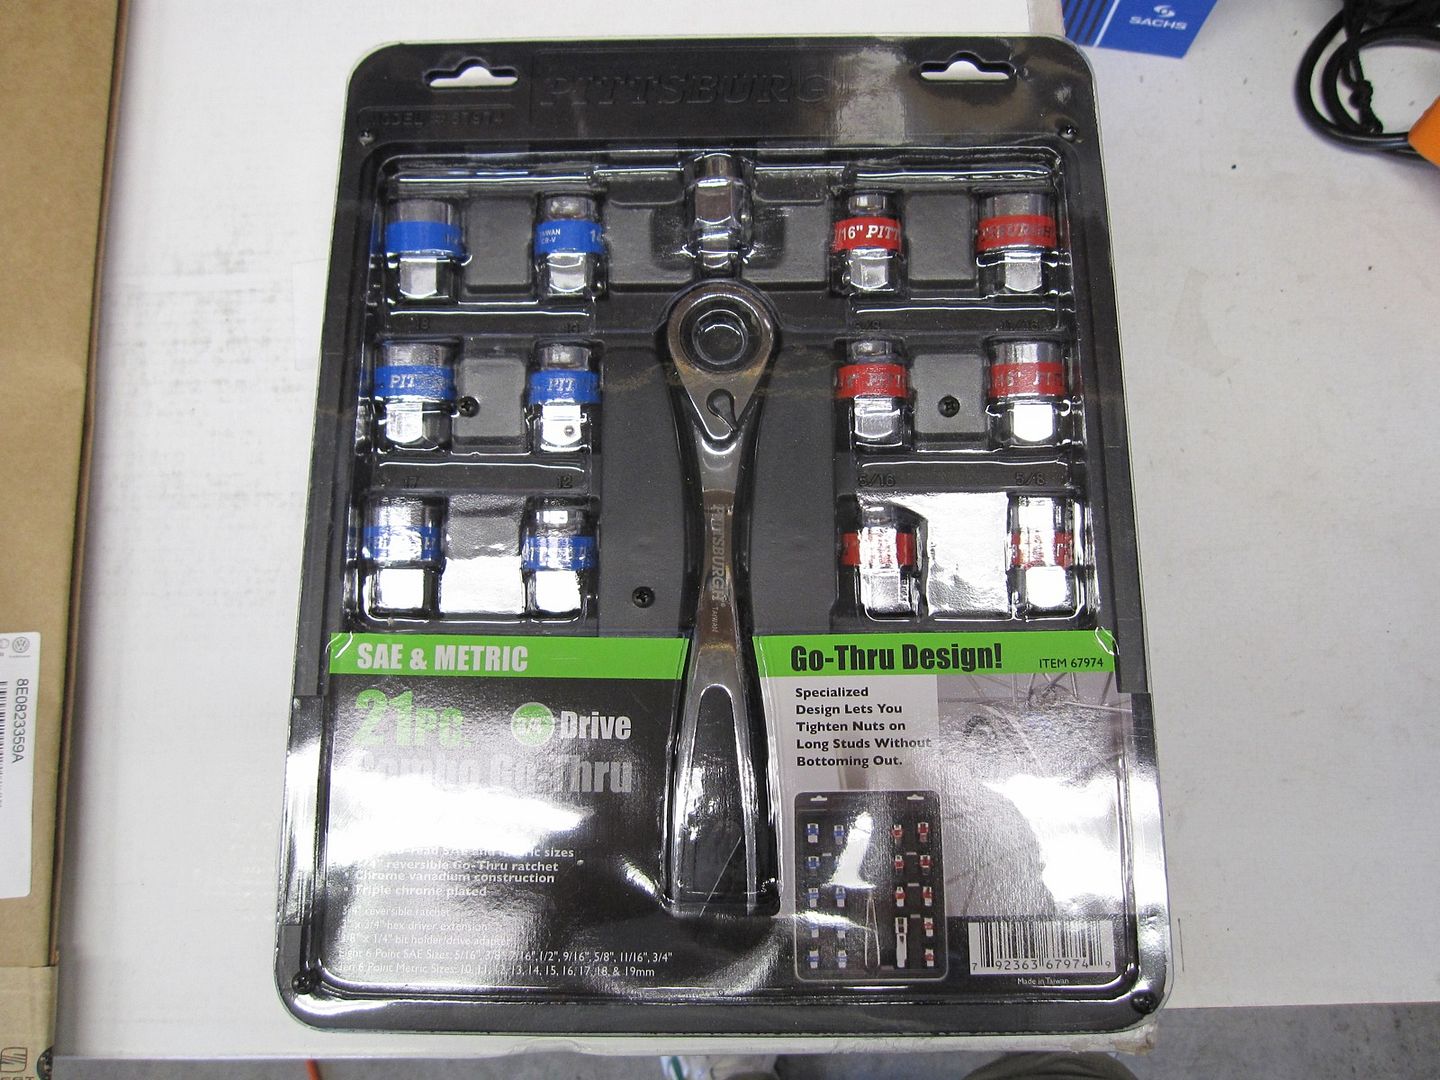
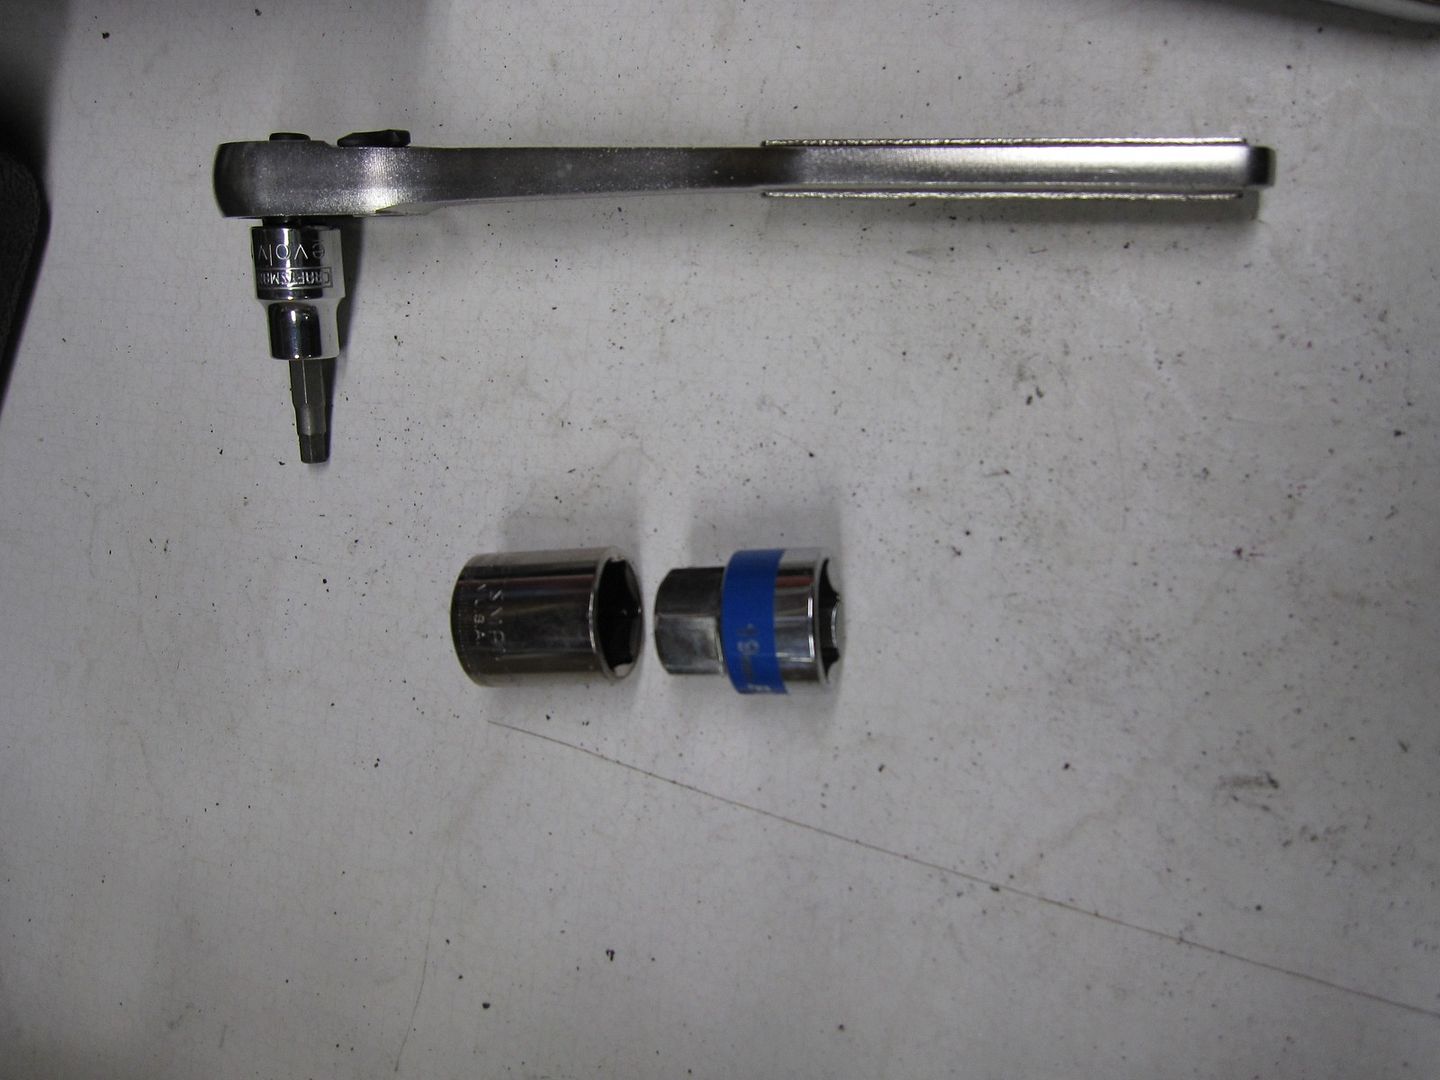
Go Thru Sockets + Ratchet
16mm
18mm
19mm
21 Piece SAE/Metric Go-Thru Socket Set (yes, you need this… it's cheap, just buy it)
http://www.harborfreight.com/21-piec...set-67974.html
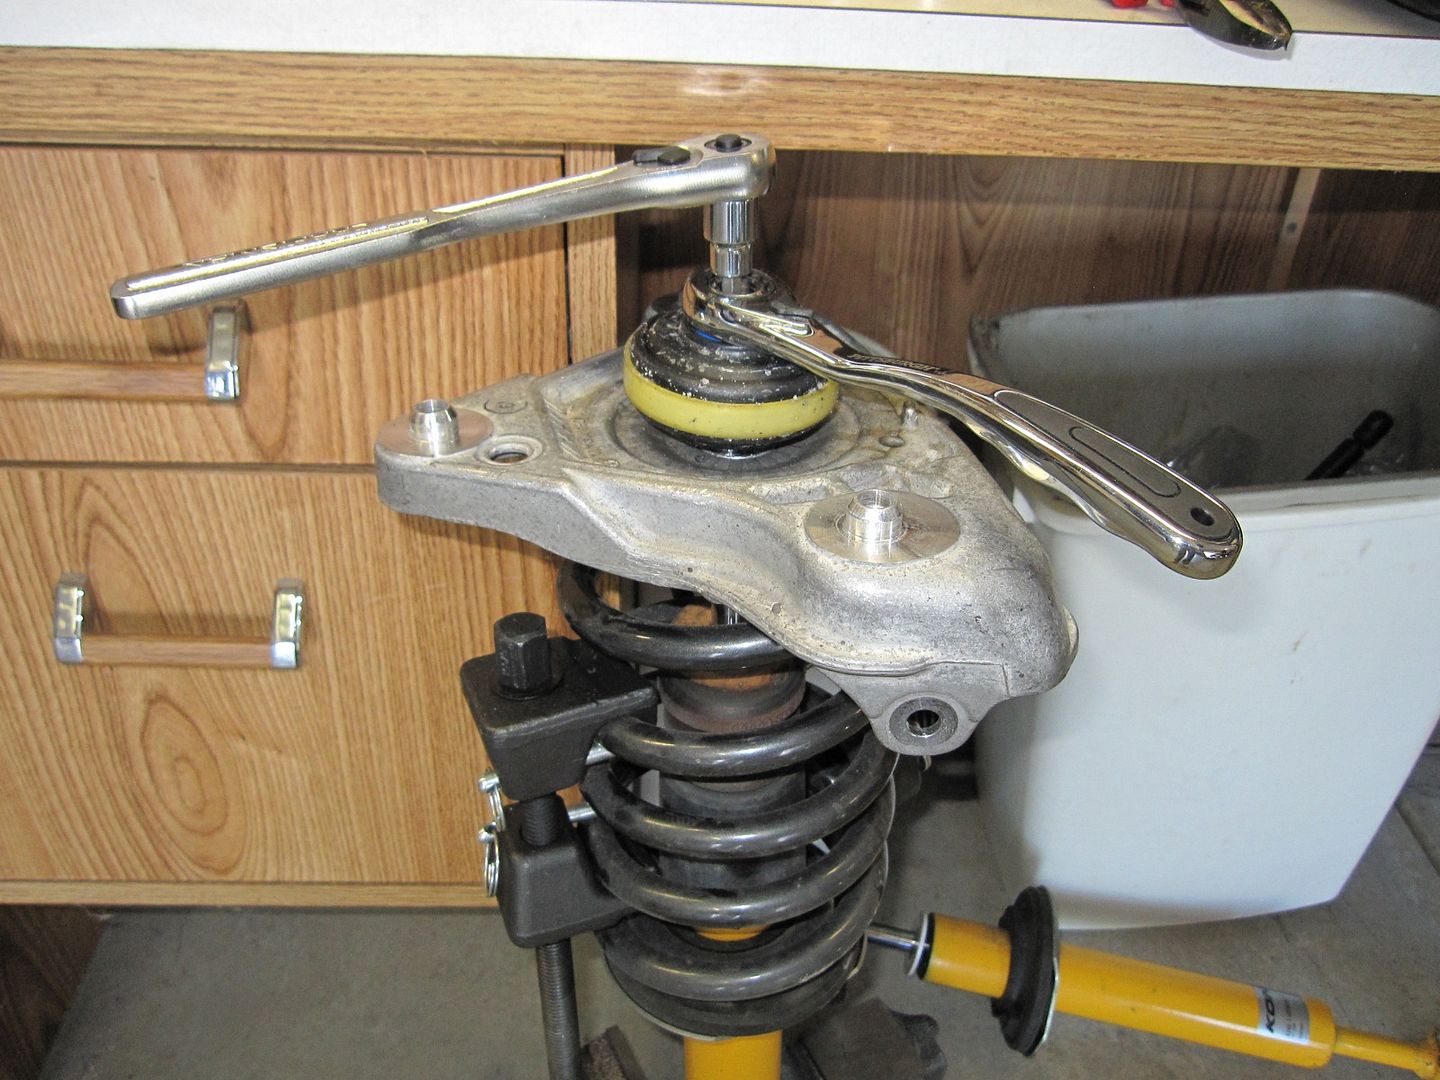
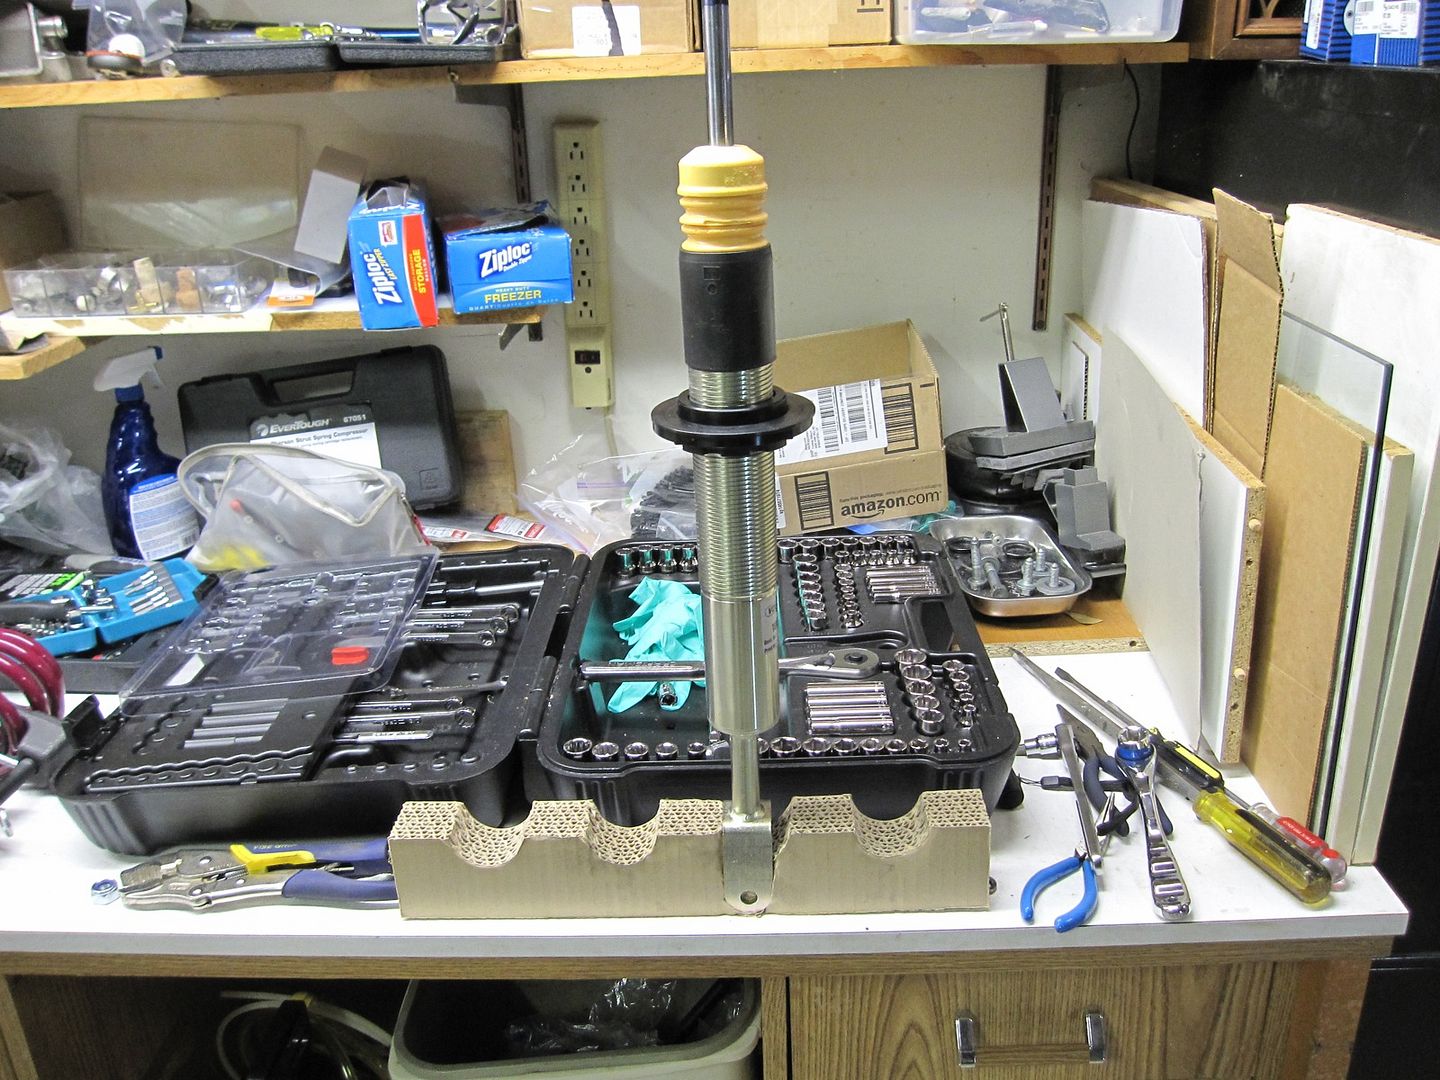
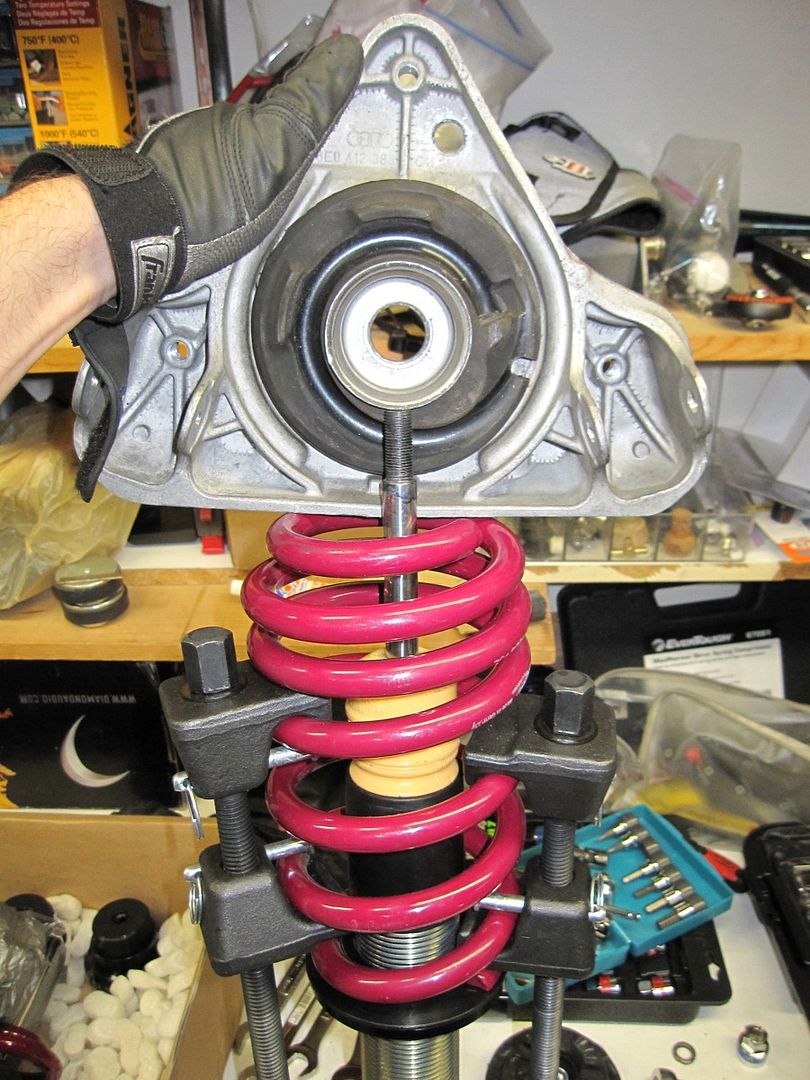
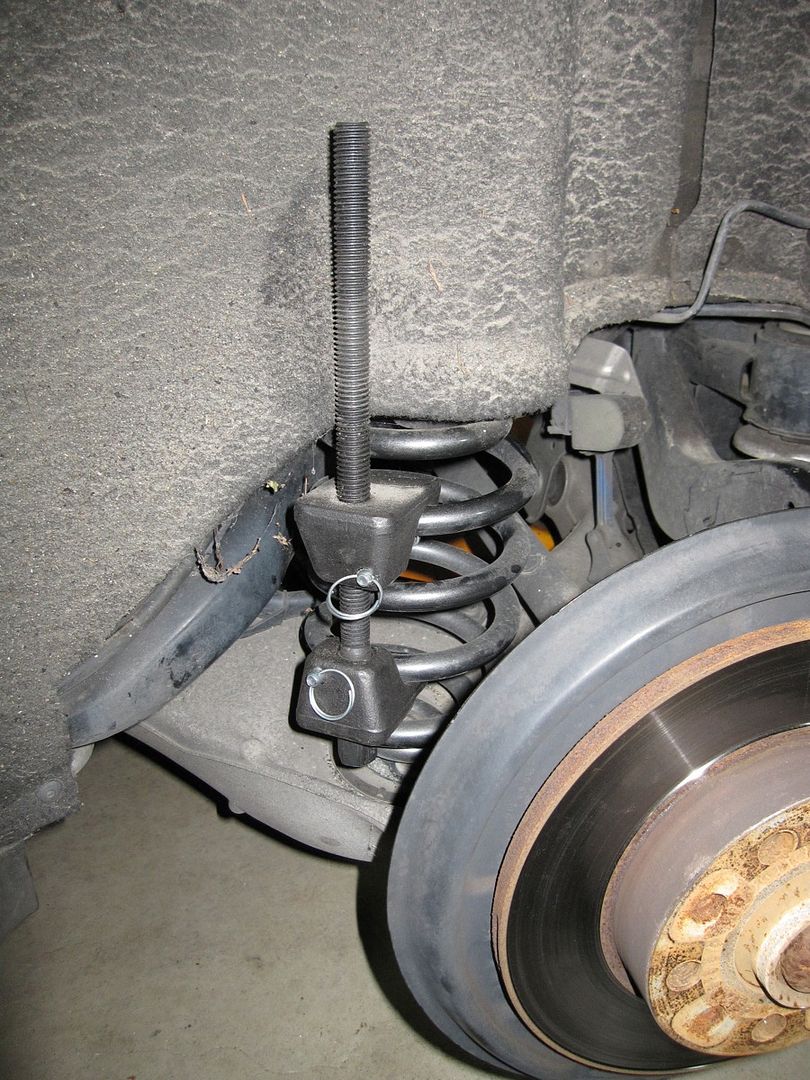
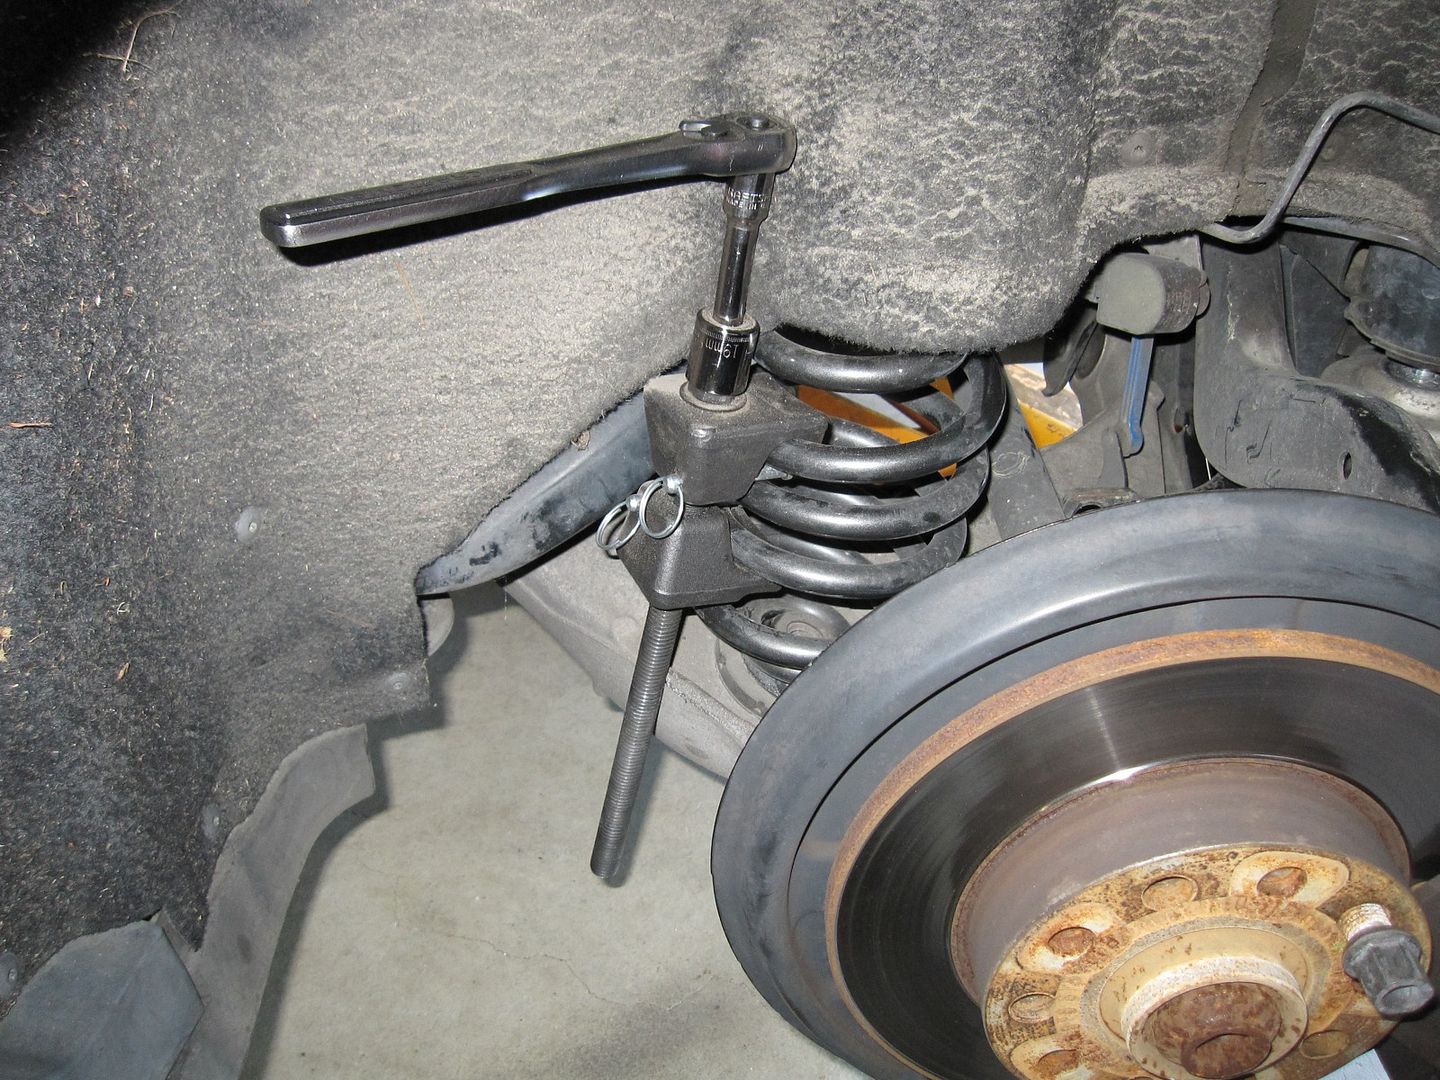
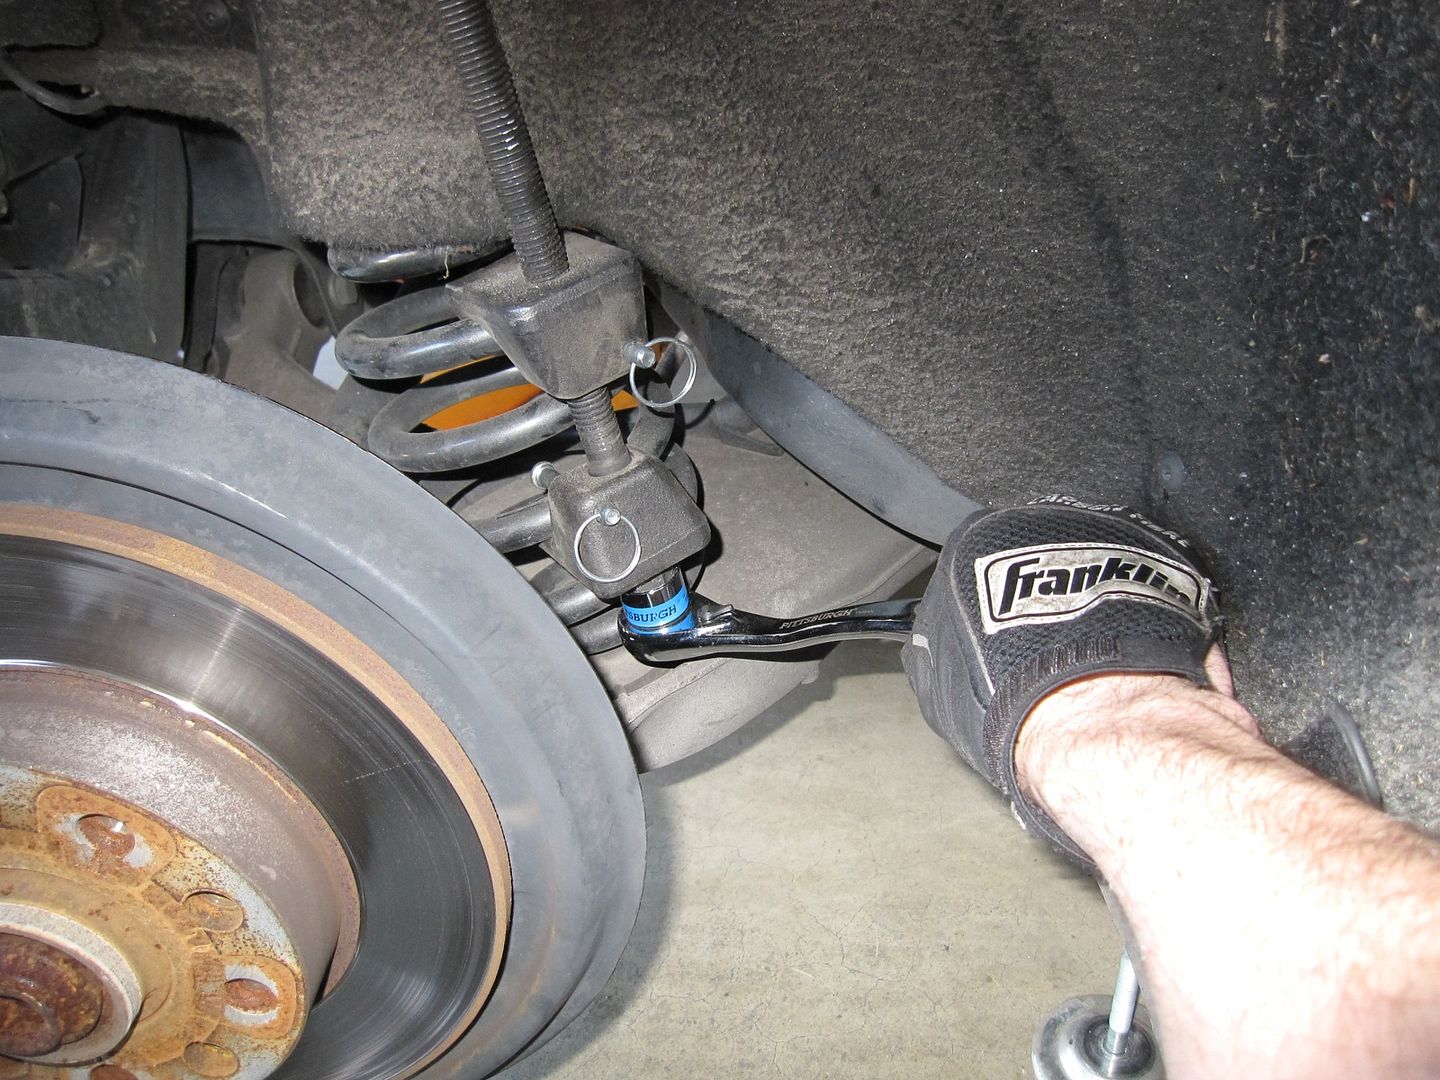
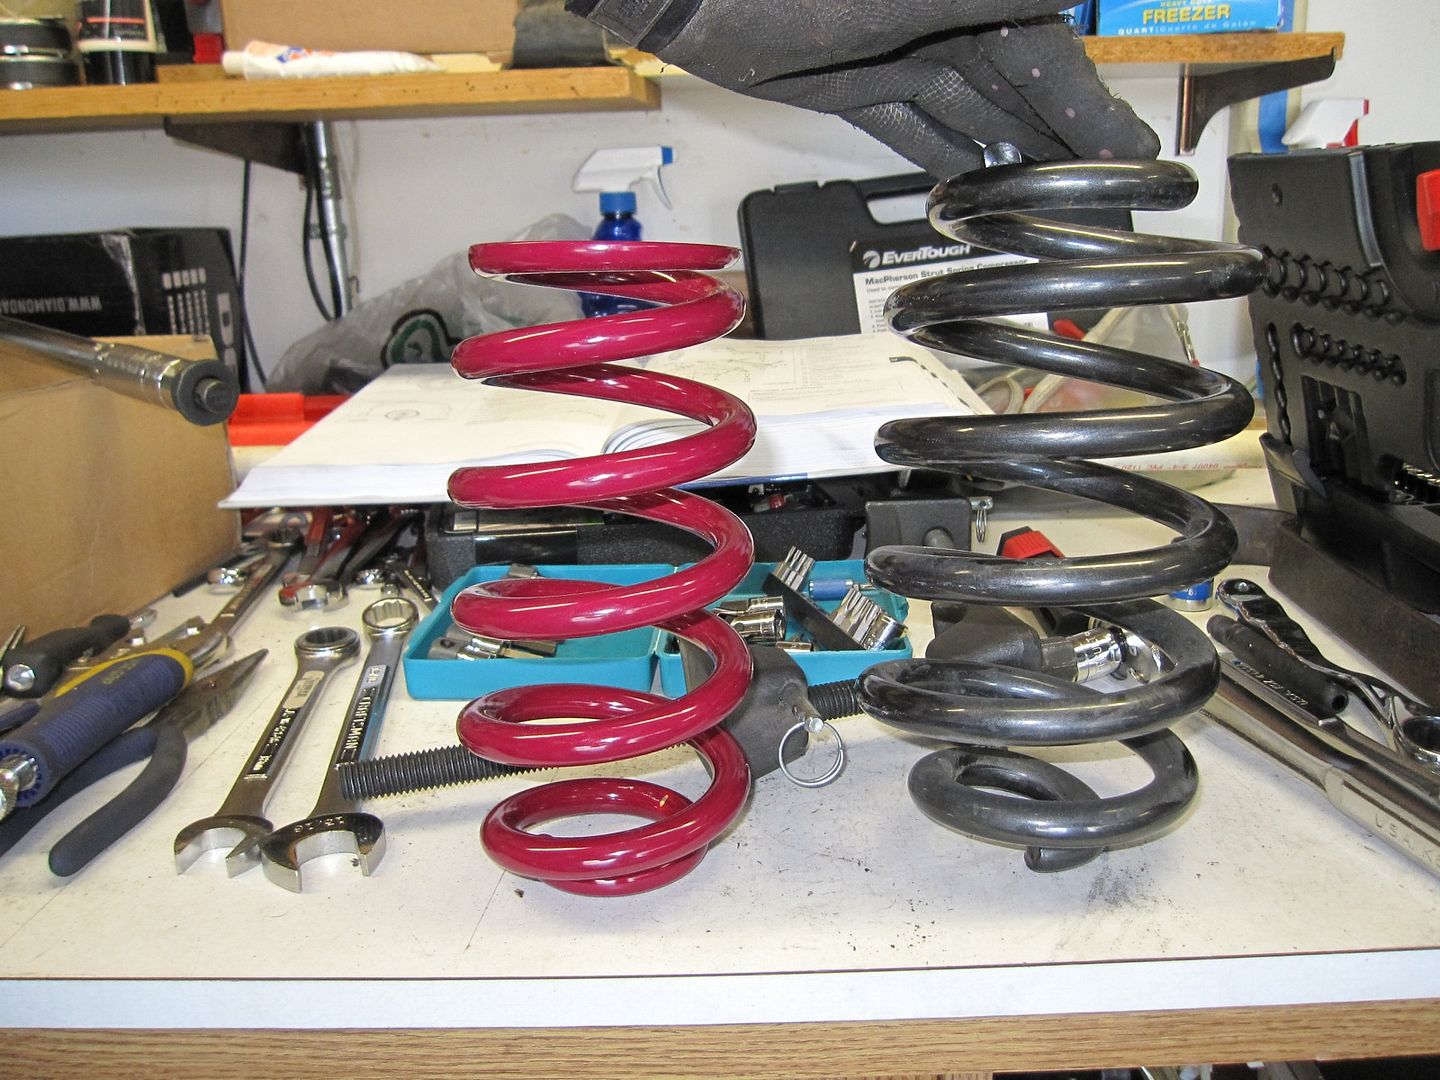
Spring Compressor - Mcpherson Strut Hook Type (usually available at Kragen for ~$60)
http://www.amazon.com/OTC-COMPRESSOR.../dp/B000F5HUZS
Audi VW Control Arm Bolt Kit - 8D0498800KIT from FCP
http://www.fcpeuro.com/products/audi...lt-kit-vwgkit1
Preparation
* take your car through a touch-free car wash, specifically one with an undercarriage wash as it'll not only remove a lot of grime but also make it easier to work on stubborn components
* once it's dry, take a leaf blower to wheel wells… and watch all the dirt come out
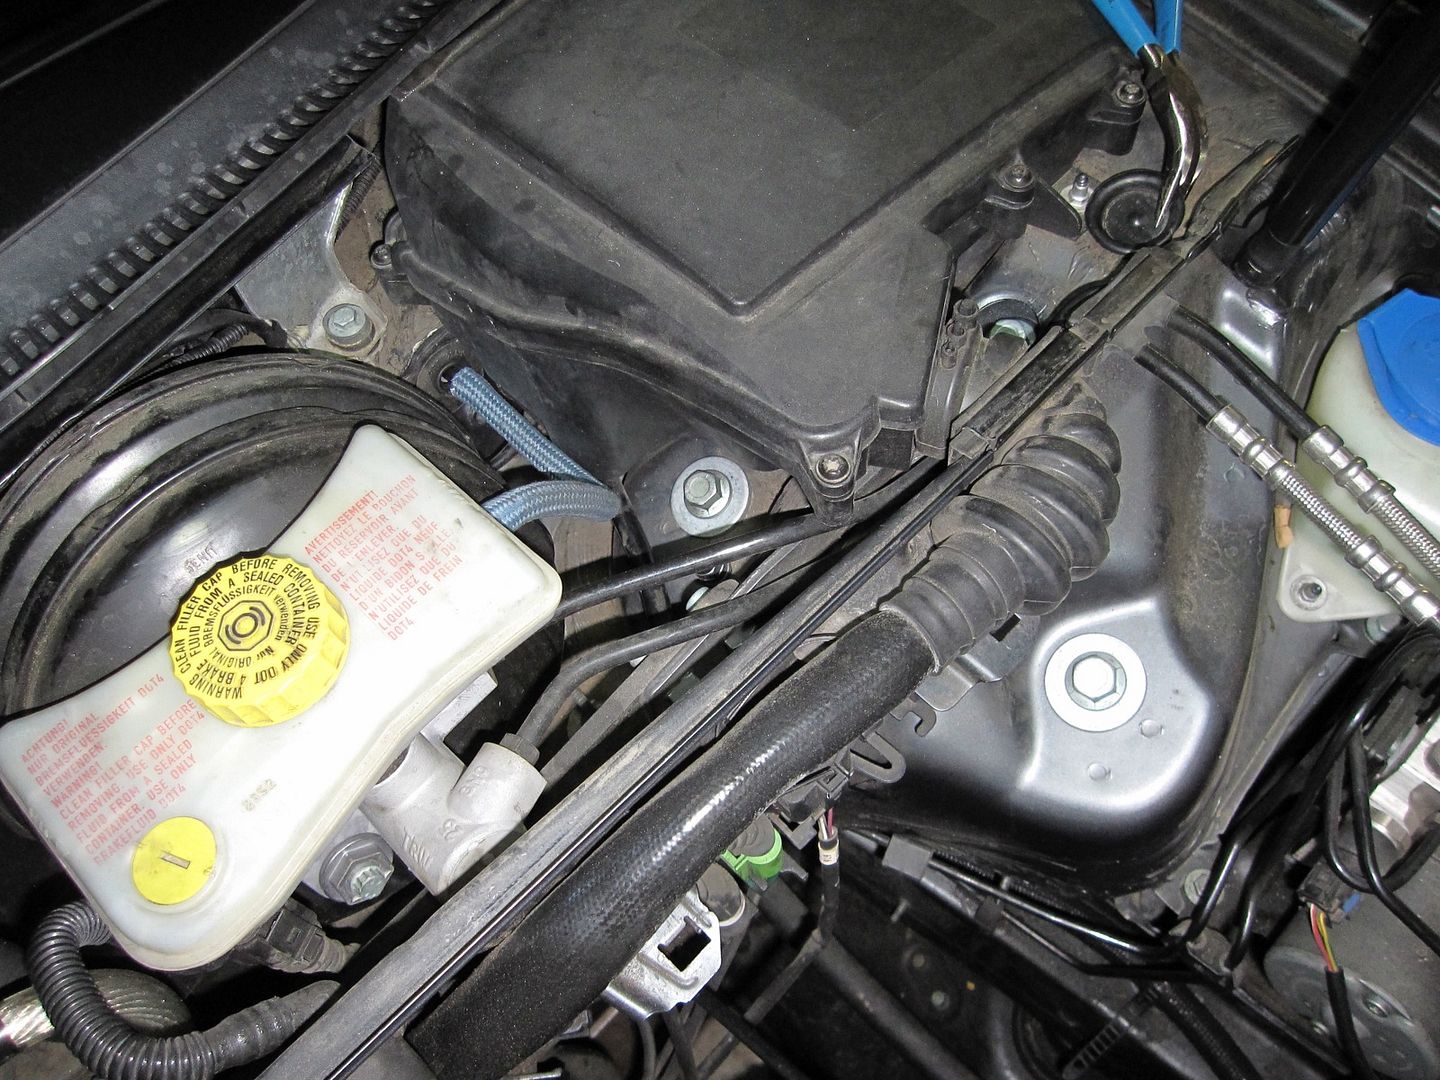
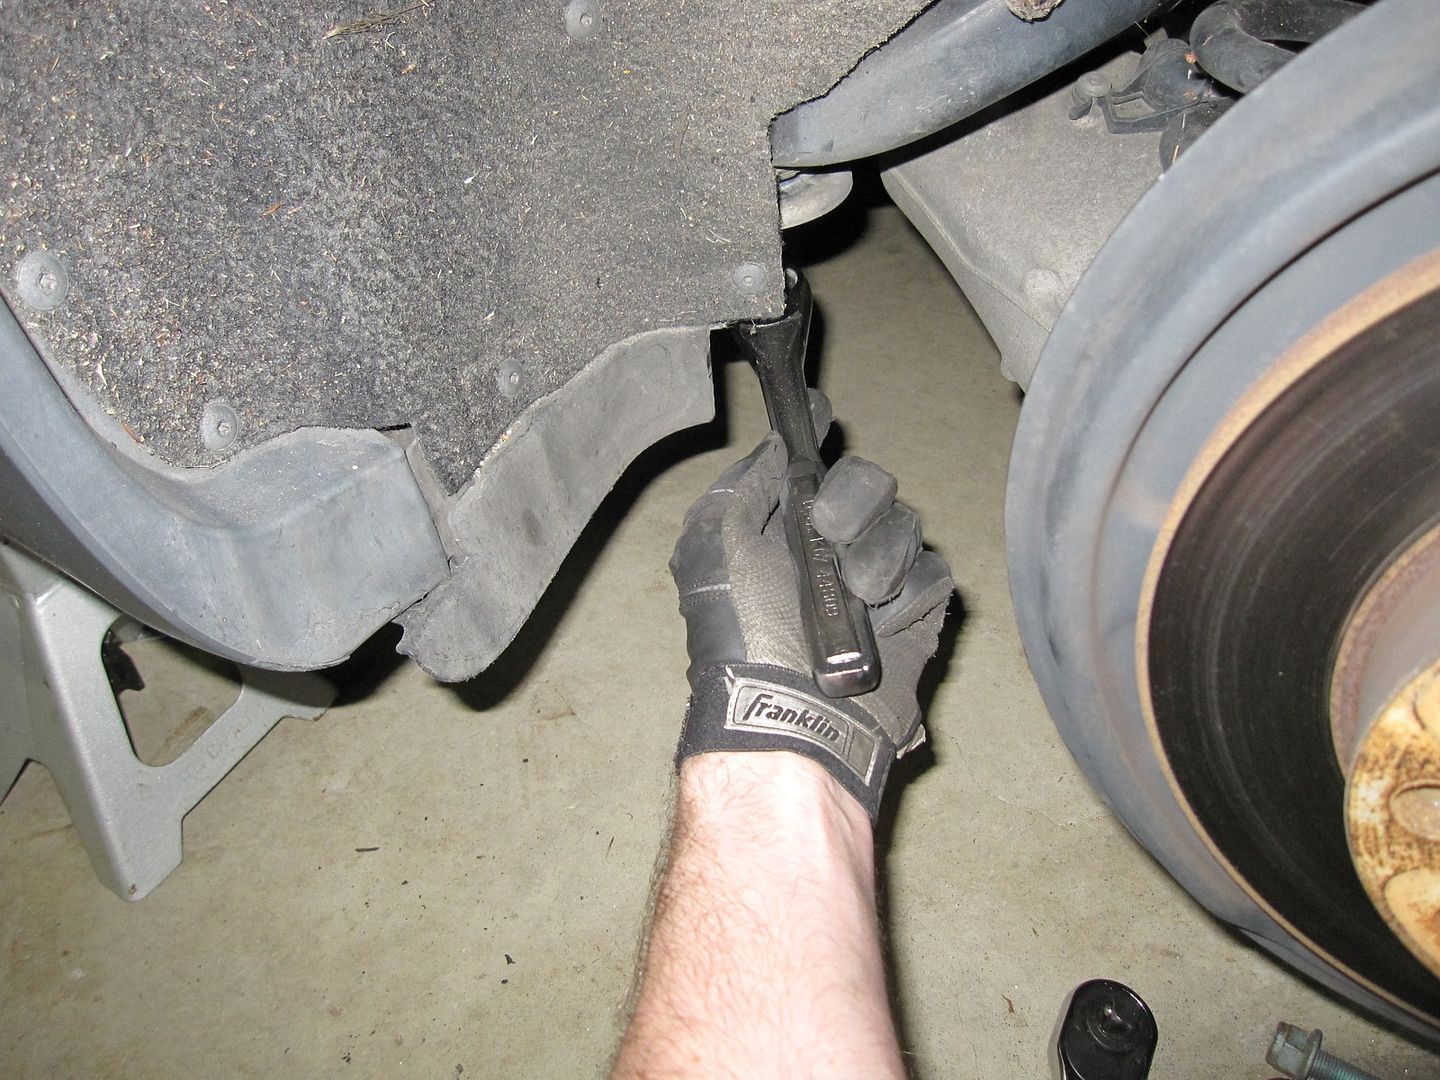
* in engine bay, remove the rear rubber stripping + rear battery cover + cowling (exposing master cyl)
* move coolant expansion tank (not remove) out of the way using a Torx 20, then pop it free from the rear tabs
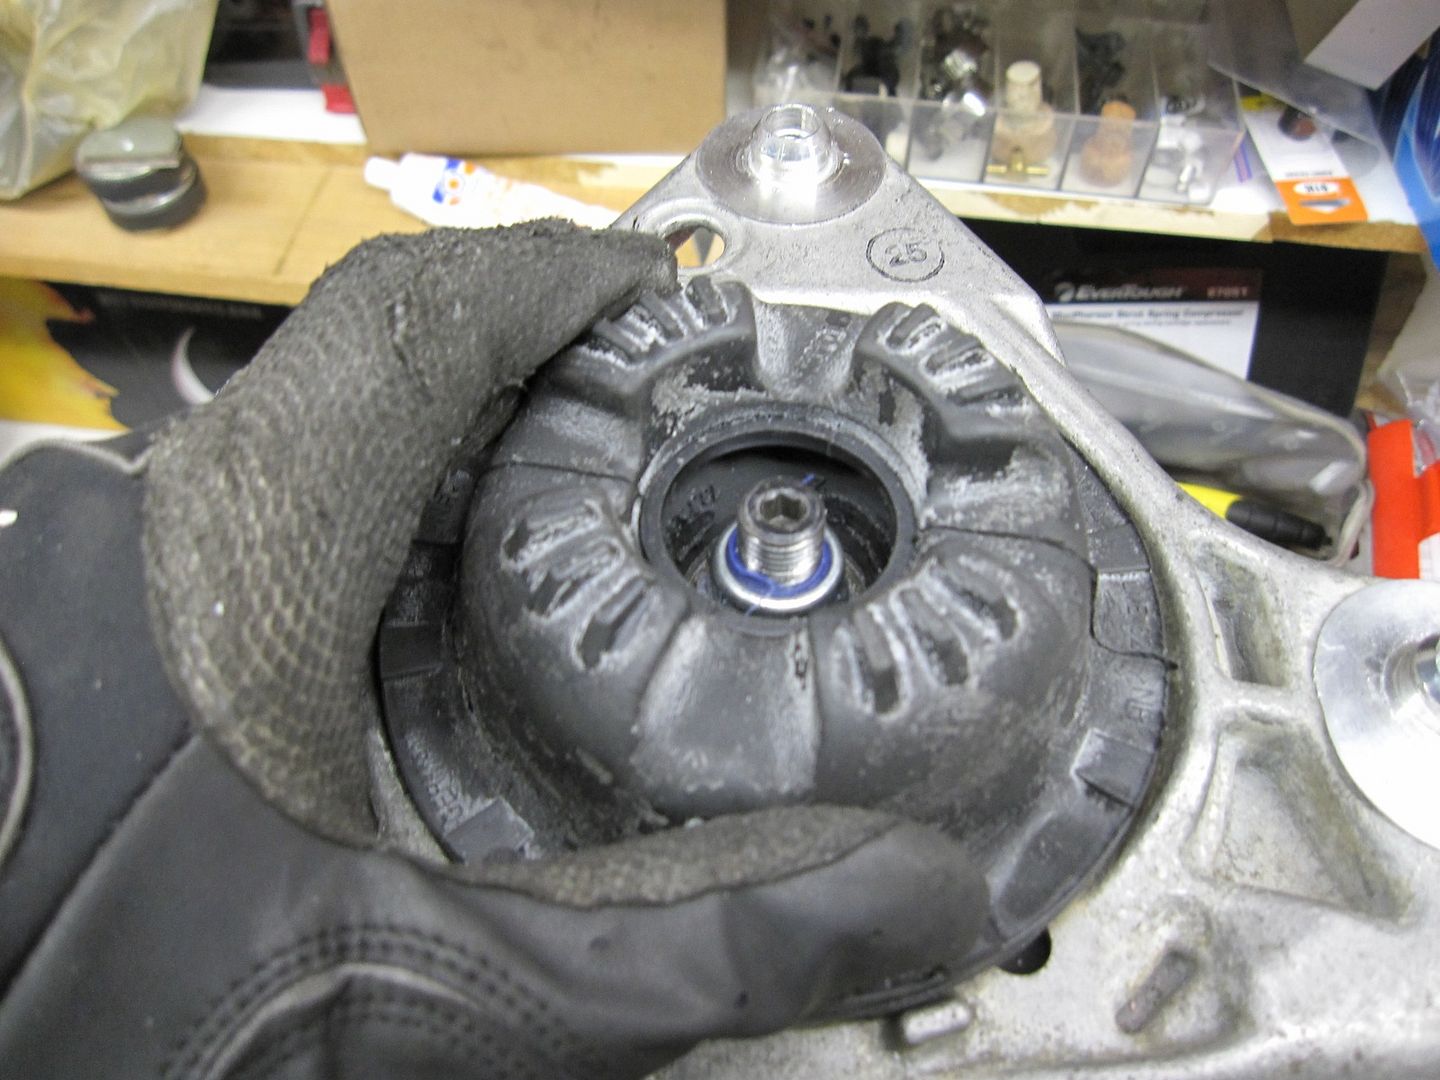
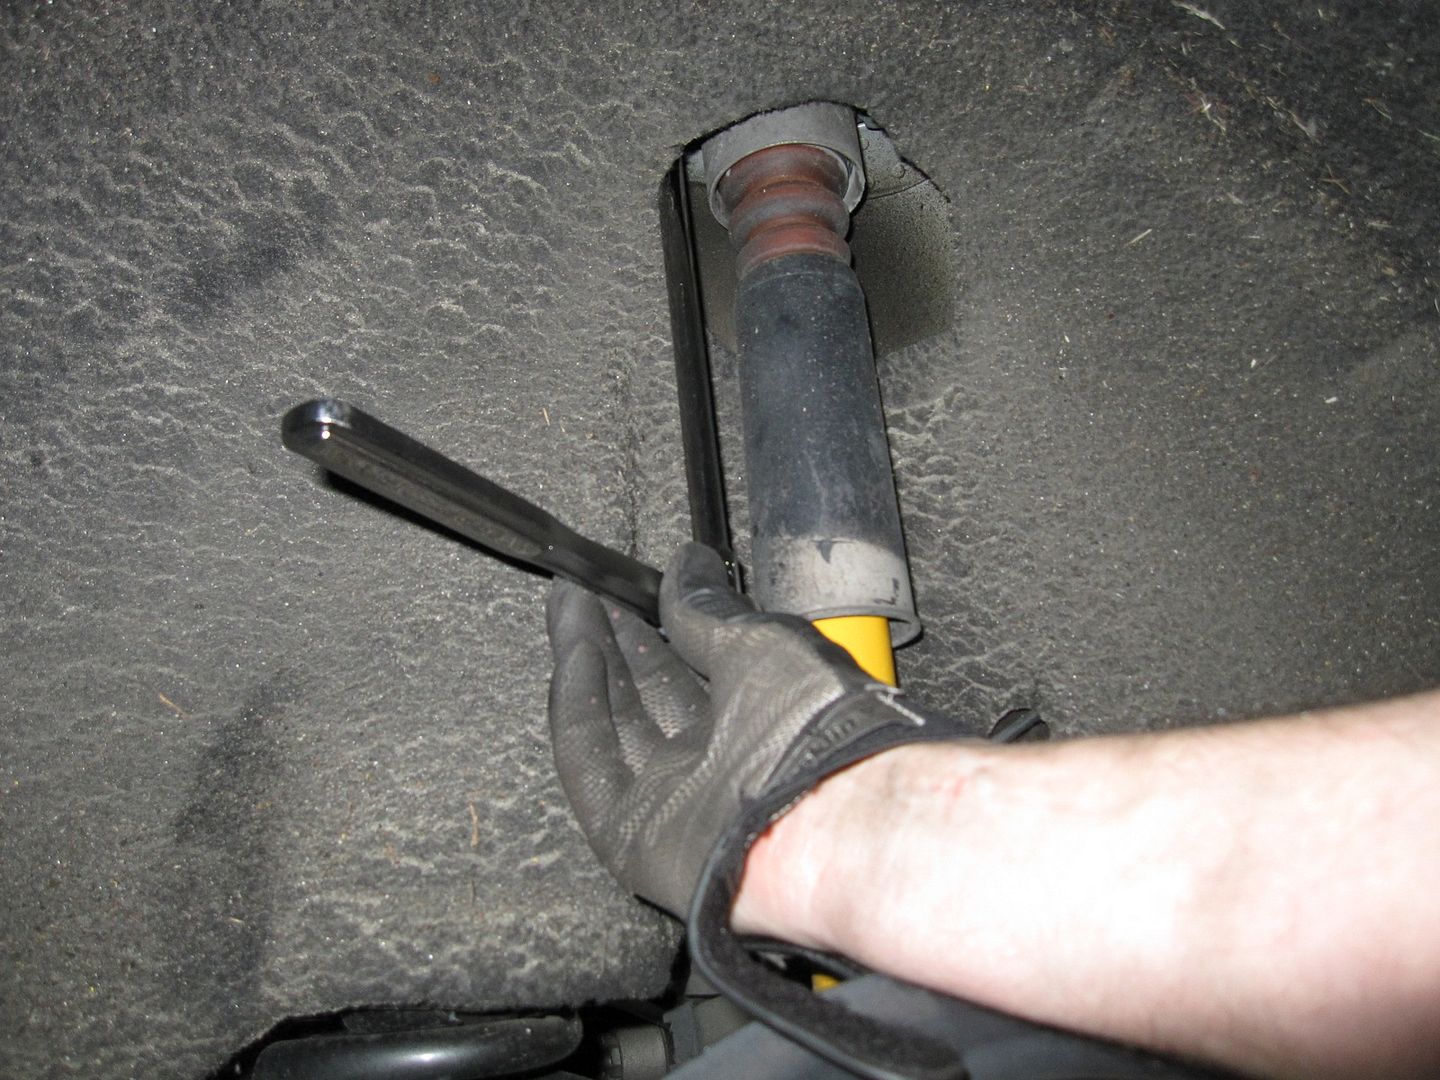
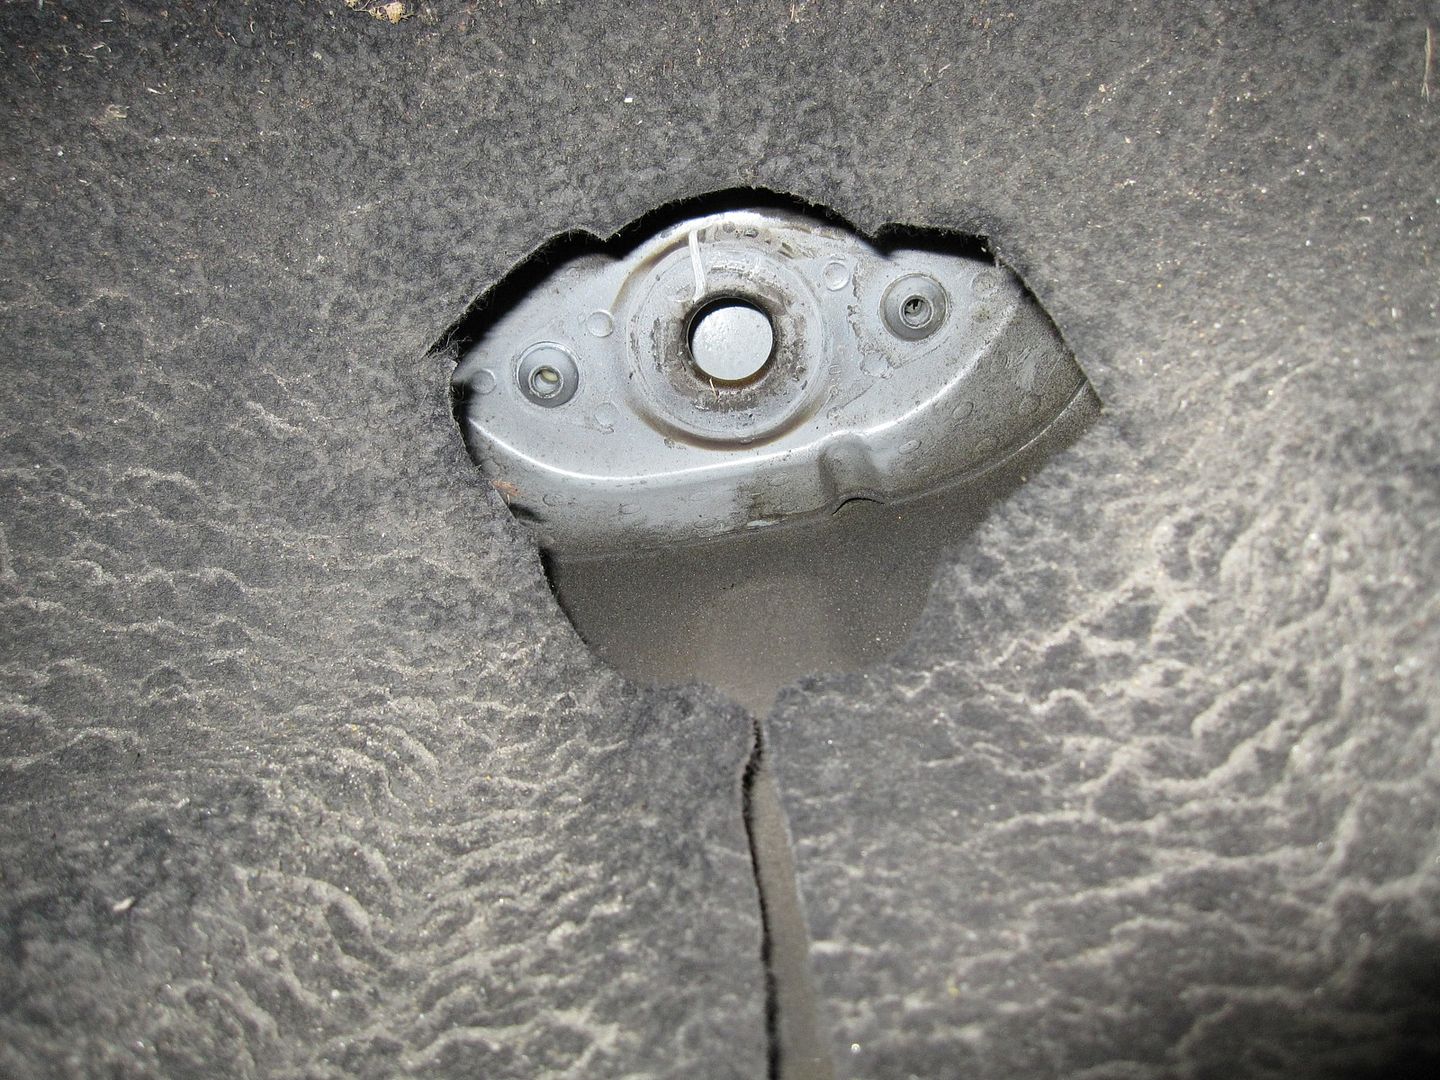
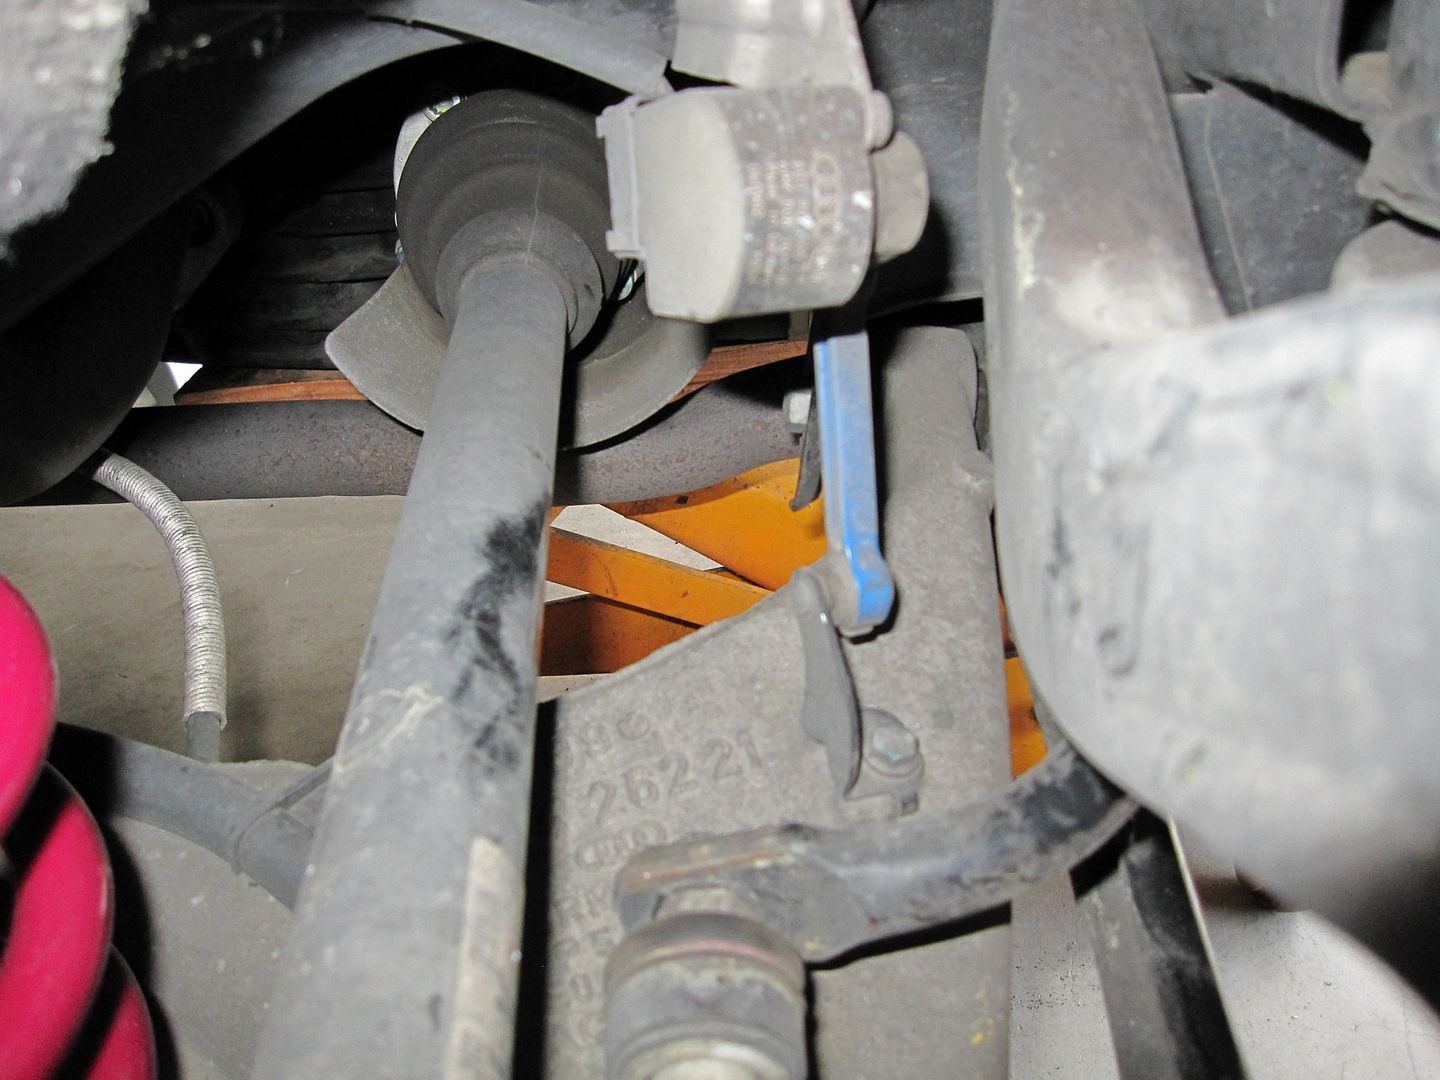
* on each side, locate the three main shock tower bolts and find + remove rubber caps from recessed bolt holes (see needle nose pliers, top right of pic below)
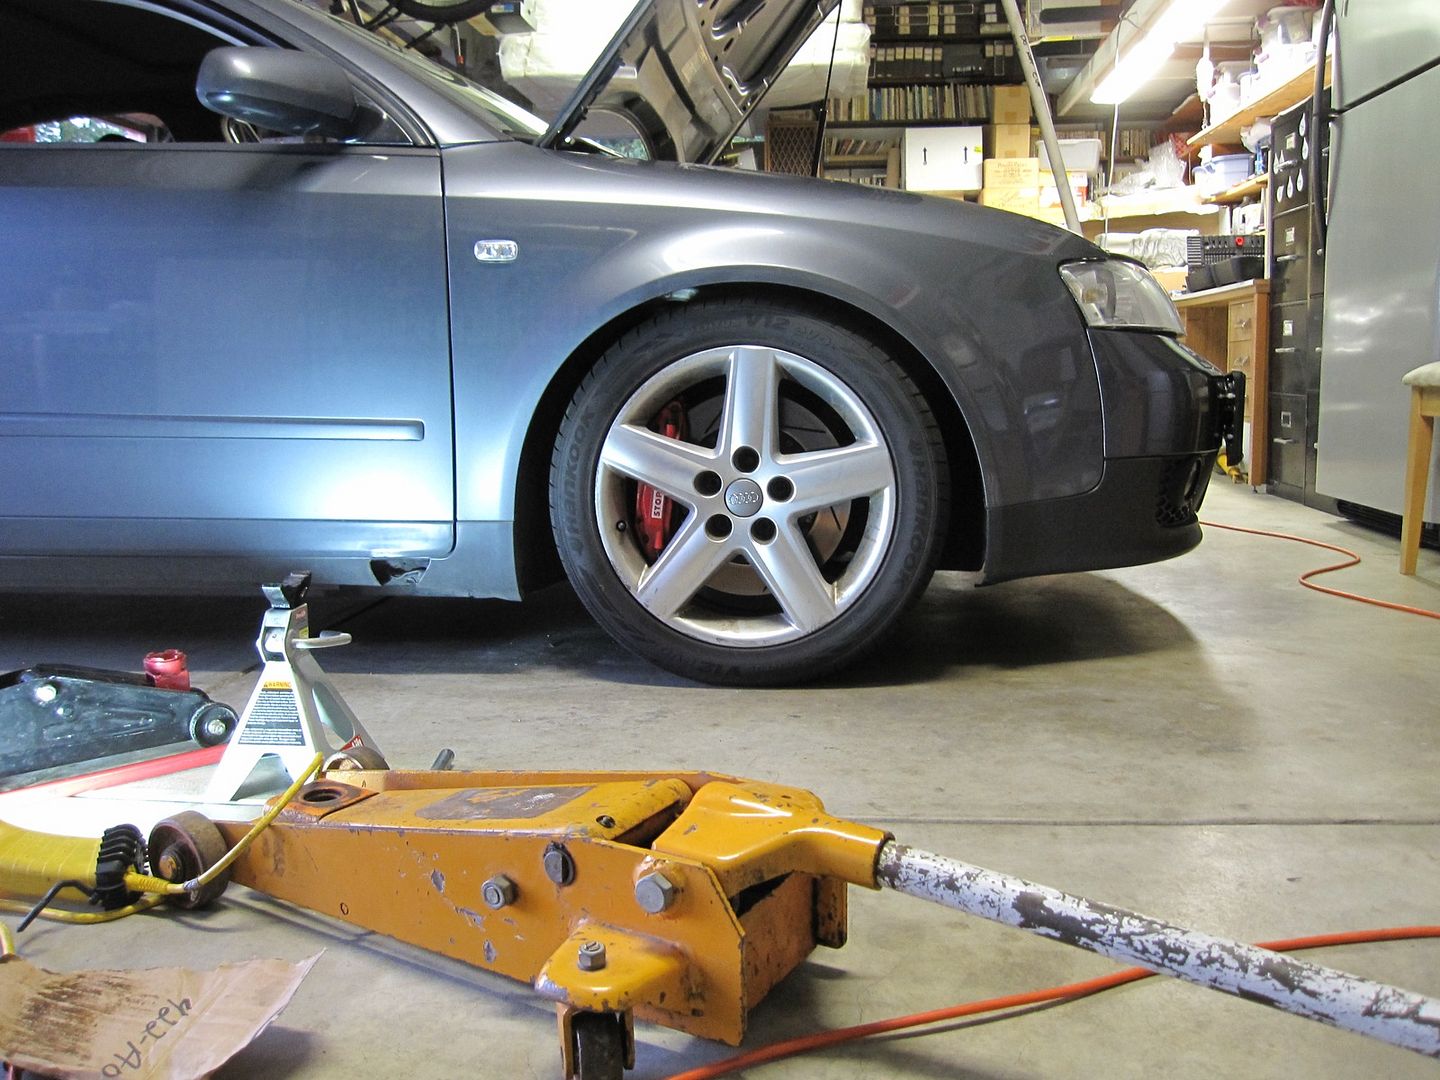
* take a ballpark measurement from the edge of your fender to the center cap of your wheel, we'll call this our 'jack-to point' and will be used in order to create the similar pressure / tension on components when torquing them to spec, mine was around 13"
* break front lugs free using OEM jack or 17mm ratchet
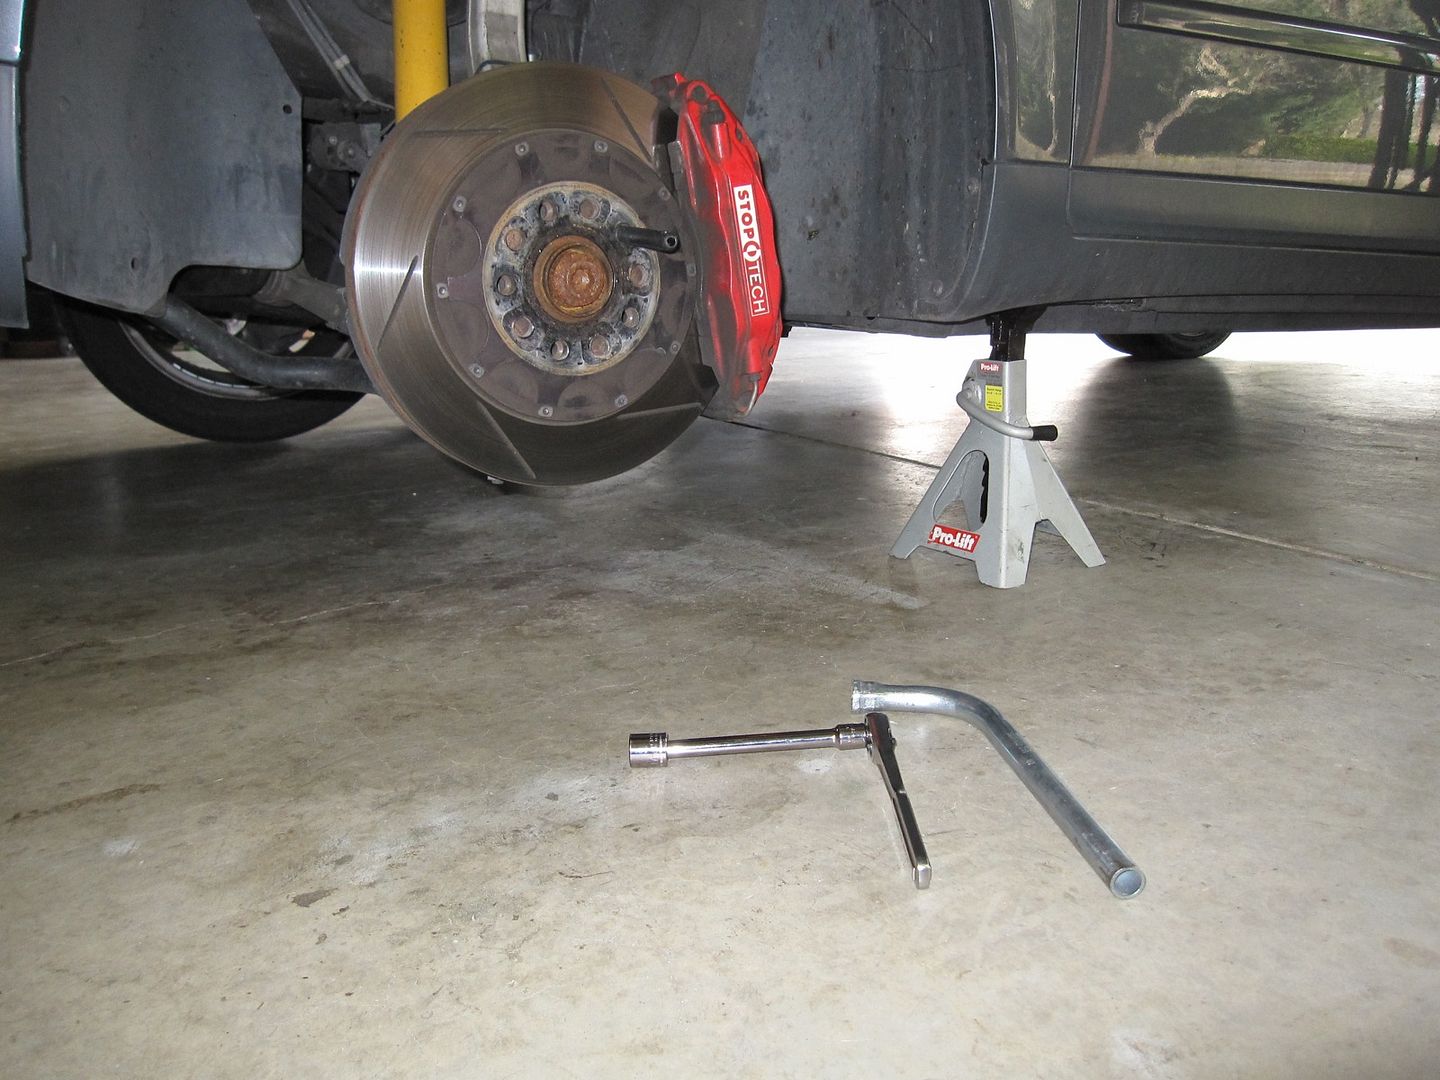
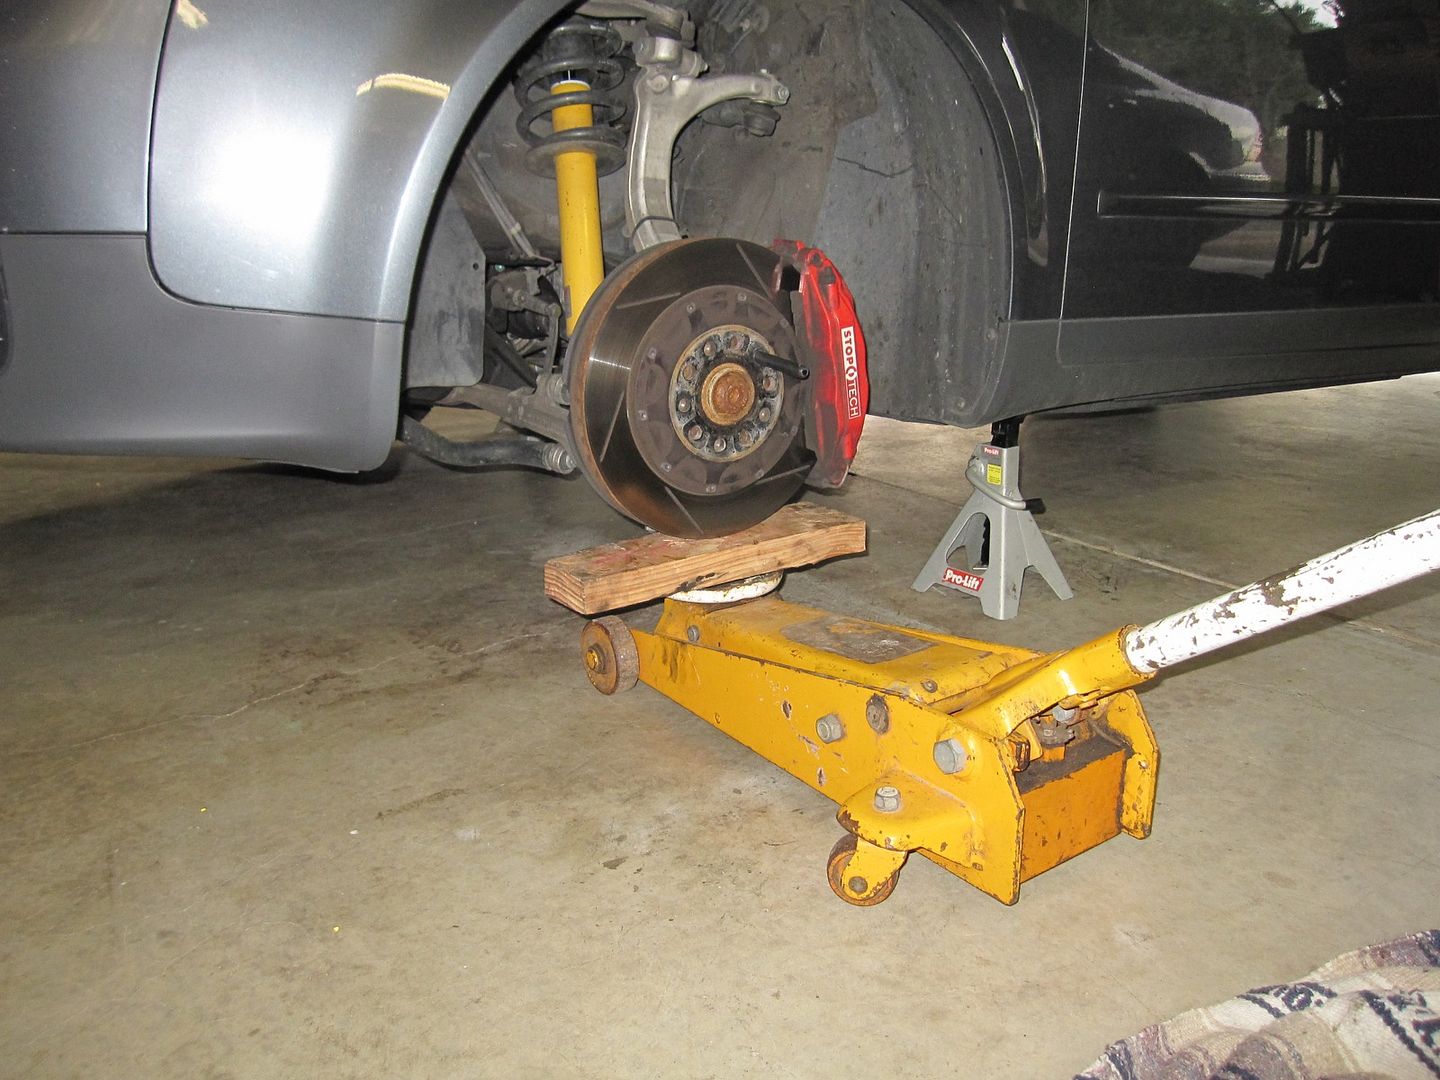
* put your car on jack stands, just the front for now
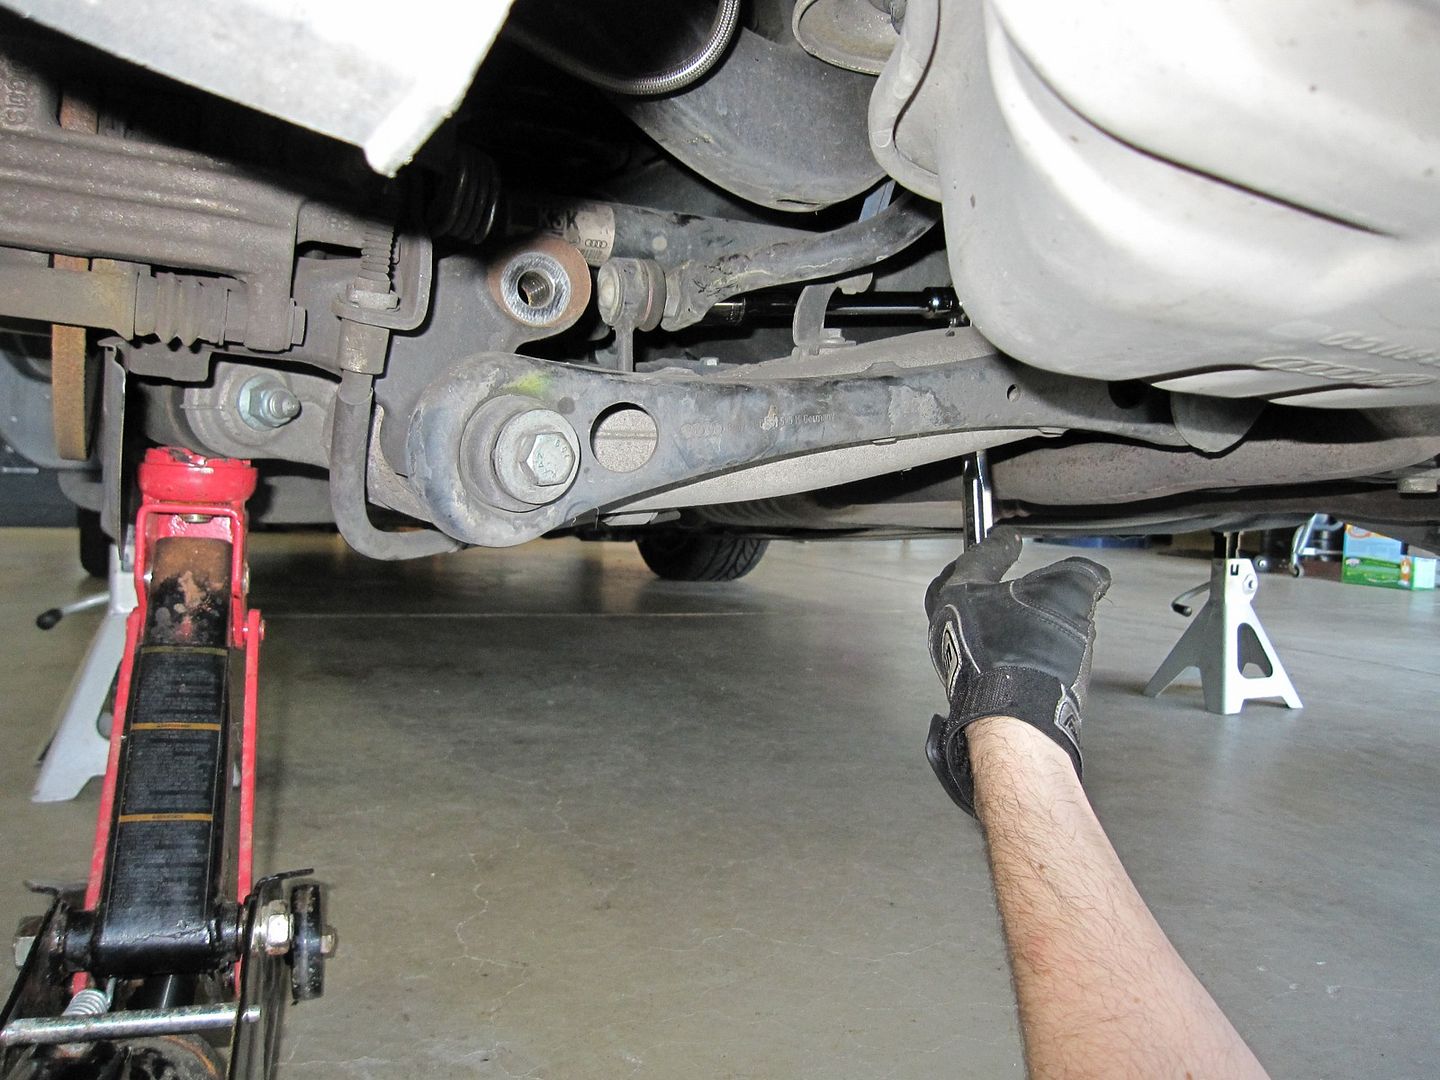
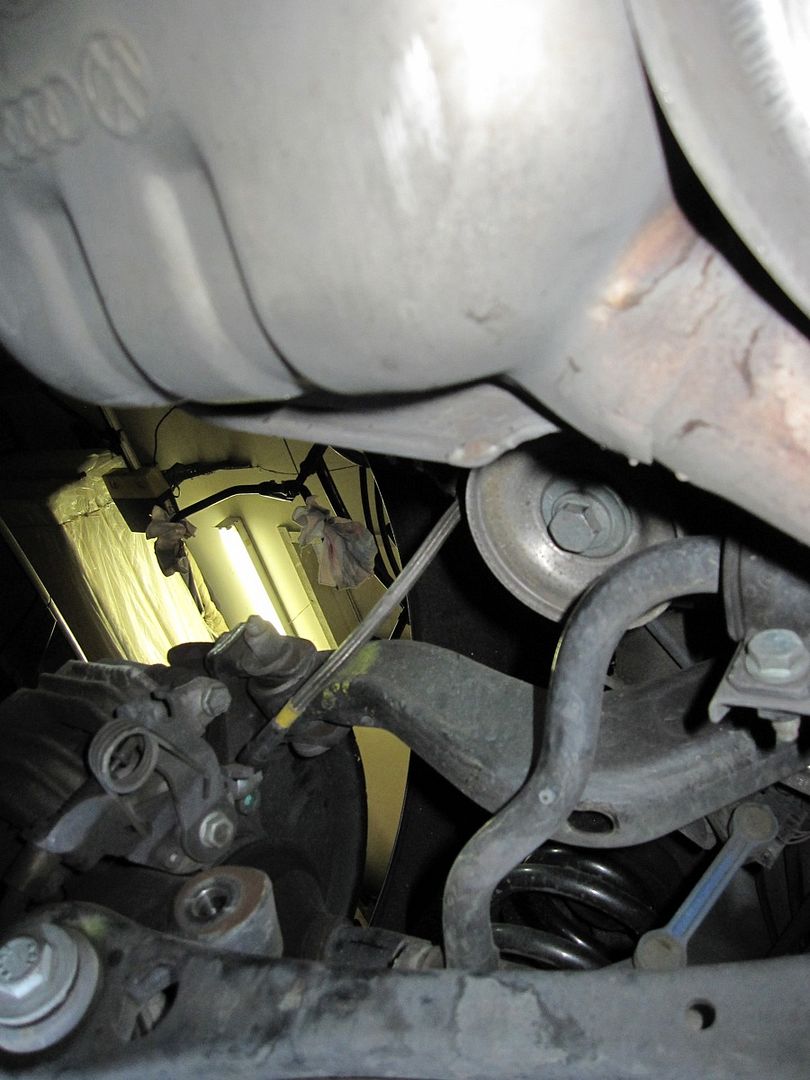
* seeing that many ask about proper jack points, here's a pick of how it's done… helps if you've got a narrow small jack

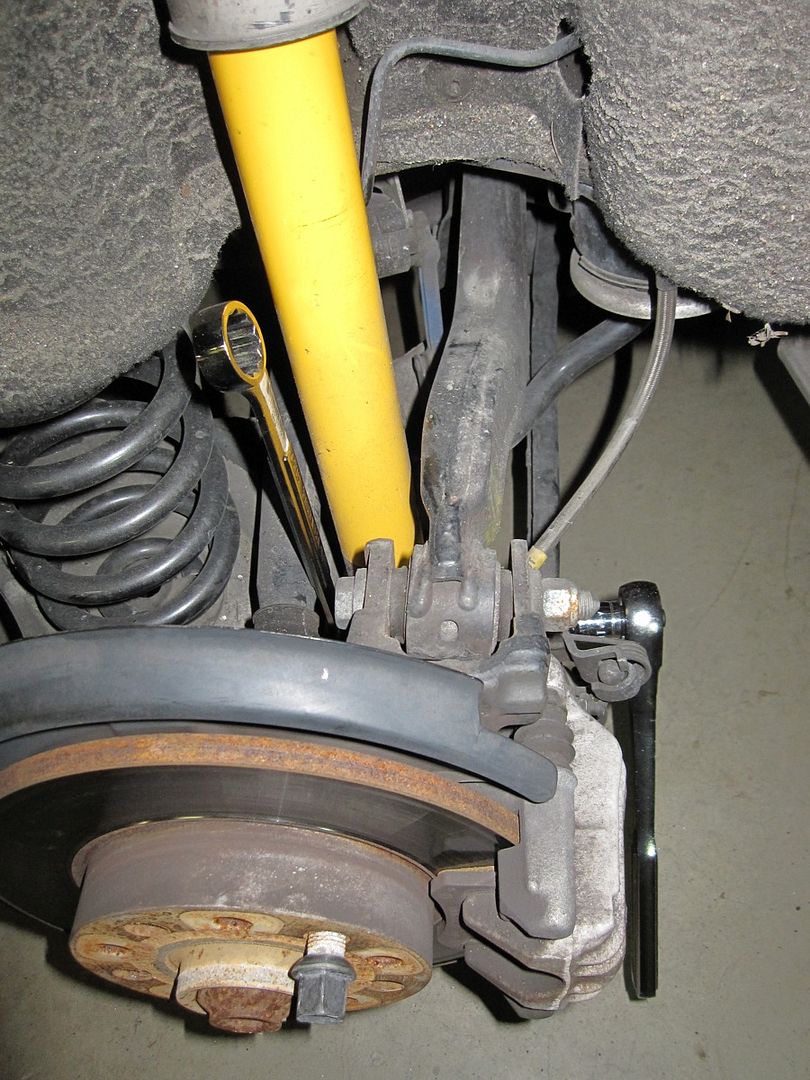
* remove front lugs (17mm) and insert OEM wheel hanger or the nice one from Podi if you've got it, sadly I didn't then not and this fella is pretty much toast
* yes you need the wheel hanger as you'll be jacking up from the rotor and don't want it moving about
Keep in mind the following steps are written in a very specific order. It's been done to not only save time but more importantly to avoid having to stand on hubs, or remove extra components. Simplicity and efficiency.
And I'm sure it goes w/out saying that this is just how I did it… maybe it'll work for you, maybe not. If there's something you don't agree with or I've made some blundering error, just keep it in perspective and by all means LMK.
Lets swap some suspension.

 Reply With Quote


 My name is John.


Bookmarks