


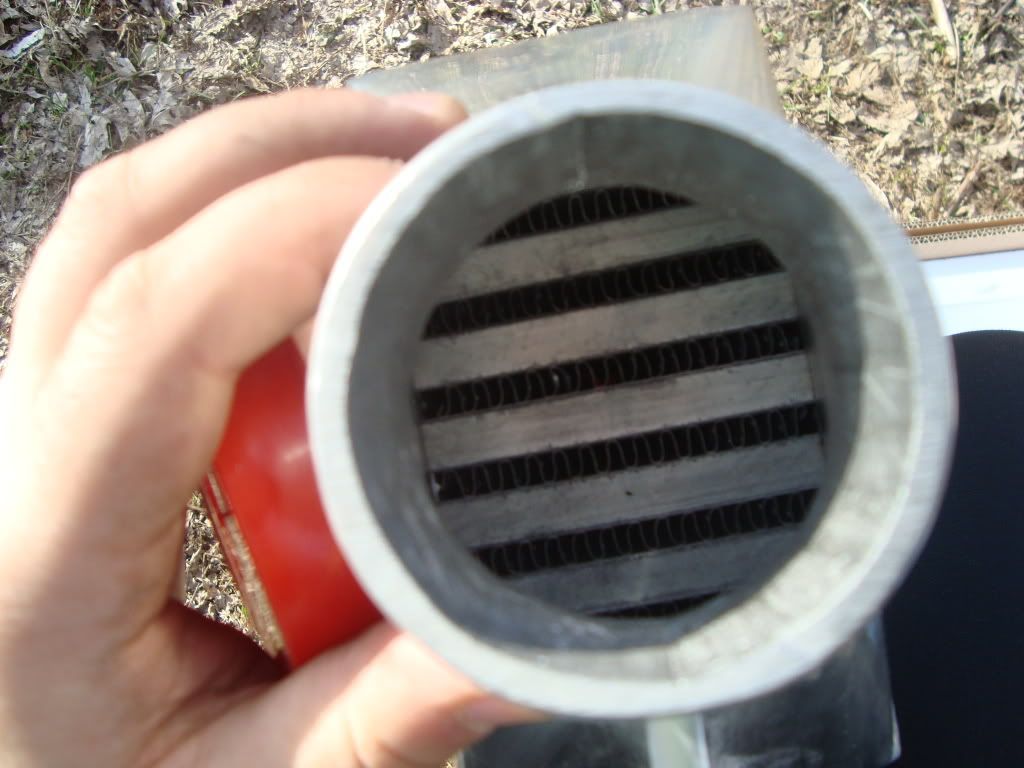
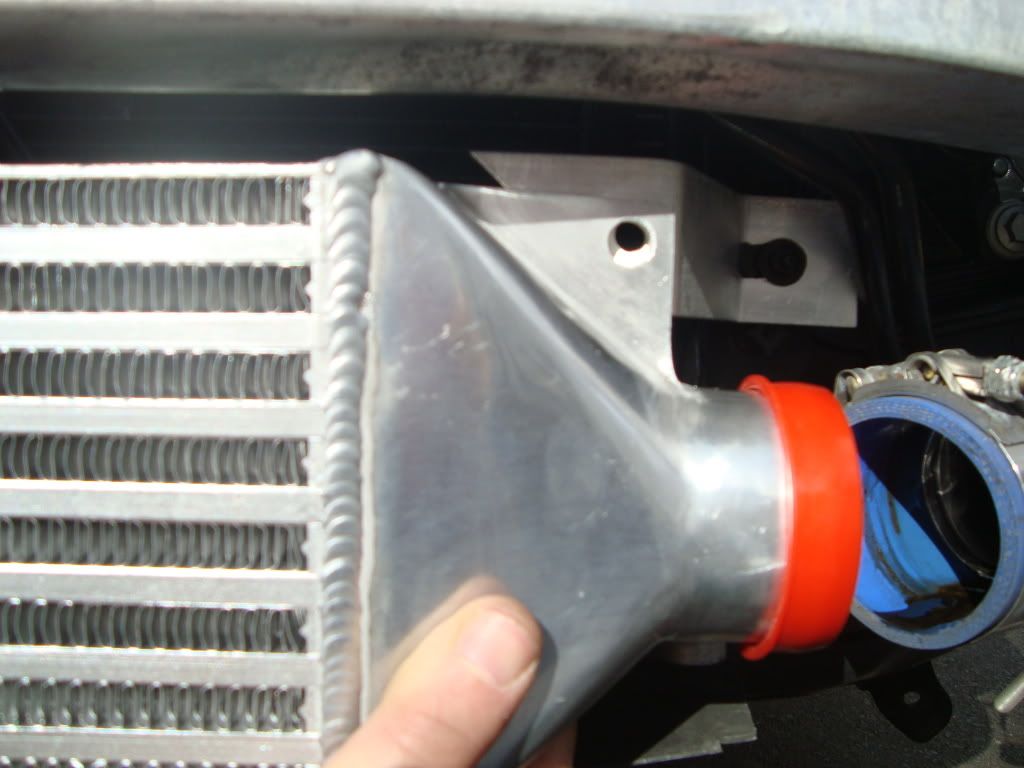
i was really impressed with the core and i took a picture to try and show the offsetting exterior fins but im not so sure it came out ok but trust me its offset
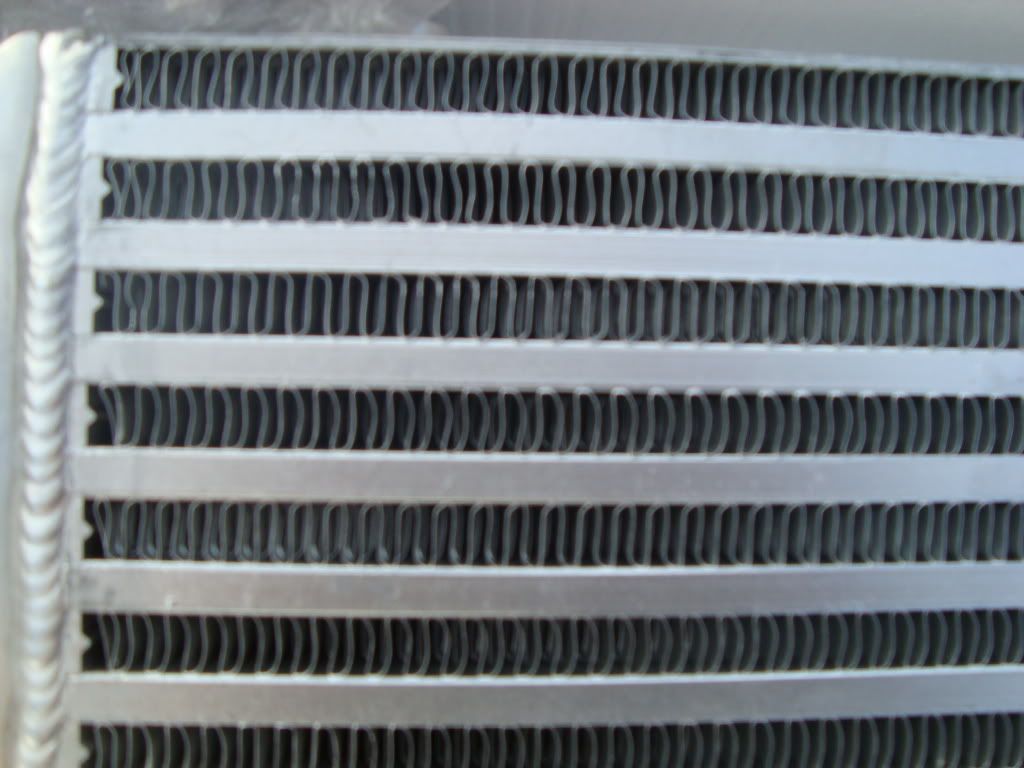
interior is not offsetting tho
pros
- cheap
- really solid core
- the piping let me retain my fogs
- no cutting or bumper modification of any kind
cons
- cheap
- the thrust sensor mount was off
- the mounting brackets kind of sucked but were very easy to bend and correct so i guess it wasn't the worst thing in the world
anyways, i took some pictures and am writing a hopefully helpful write up and diy
difficulty?
i would say about the same as a bumper removal
tools needed
- all the tools needed for fly's diy on removing the bumper
- 11 mm ratcheting wrench (MUST ratchet it will make your life 100 times easier)
- level
- t-25 torx bit and driver
- t-30 torx bit and driver
- 11 mm socket and ratchet
- 13 mm socket
- 13 mm wrench (ratcheting or not it doesn't matter) the needle nose pliers served as my 13 mm wrench for this one
- 2 x 13mm bolt (1 1/2 inch long) and nylon nut - these replace the nuts and bolts that come with the kit
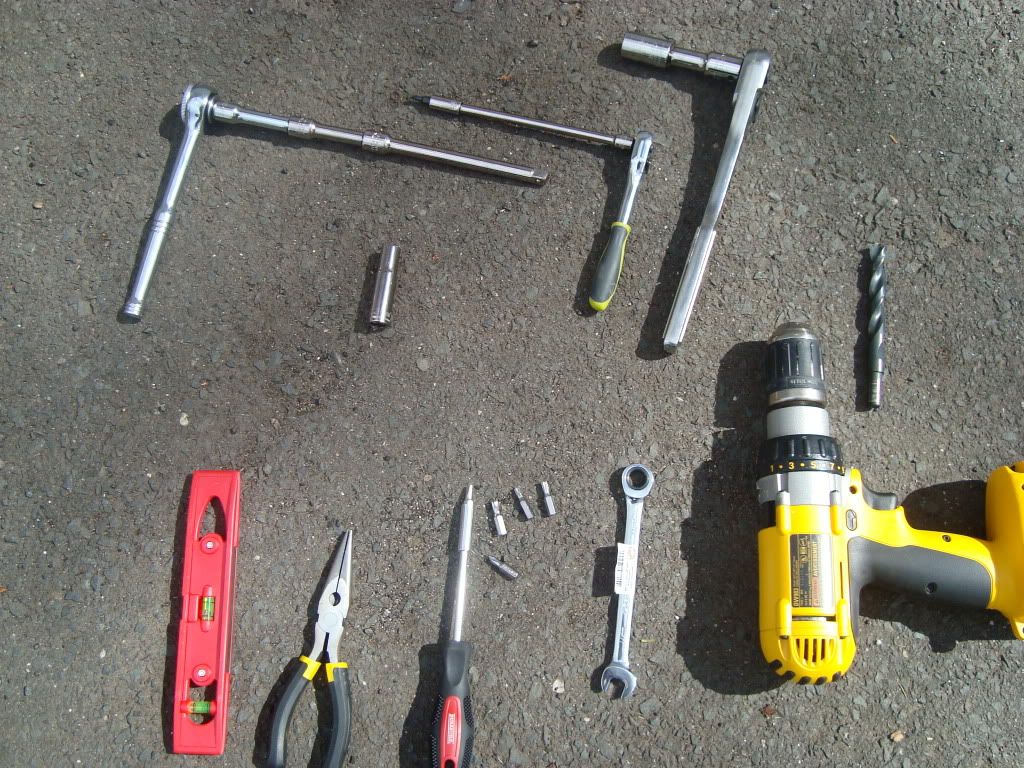
tools you MAY need (this is an ebay part, some parts will be fine, other not)
- beer (its about 4-6 beer project)
- drill
- large bit for drill (the size of the thrust sensor nipple)
- little bit of old oil from your old intercooler will greatly help you out when putting on the new couplers as they are suuuuper tacky right from the packaging
step 1)
remove the bumper using phils extremely helpful DIY found in the tech section (hopefully this thread makes it in there but if it doesn't that is where you can find phils kit)
gather all of the tools needed for fly's diy
take off your wheels tho, in fly's diy he does it without jacking the car up, but for this project you need your car jacked up so follow his instructions perfectly, just jack the car up
step 2)
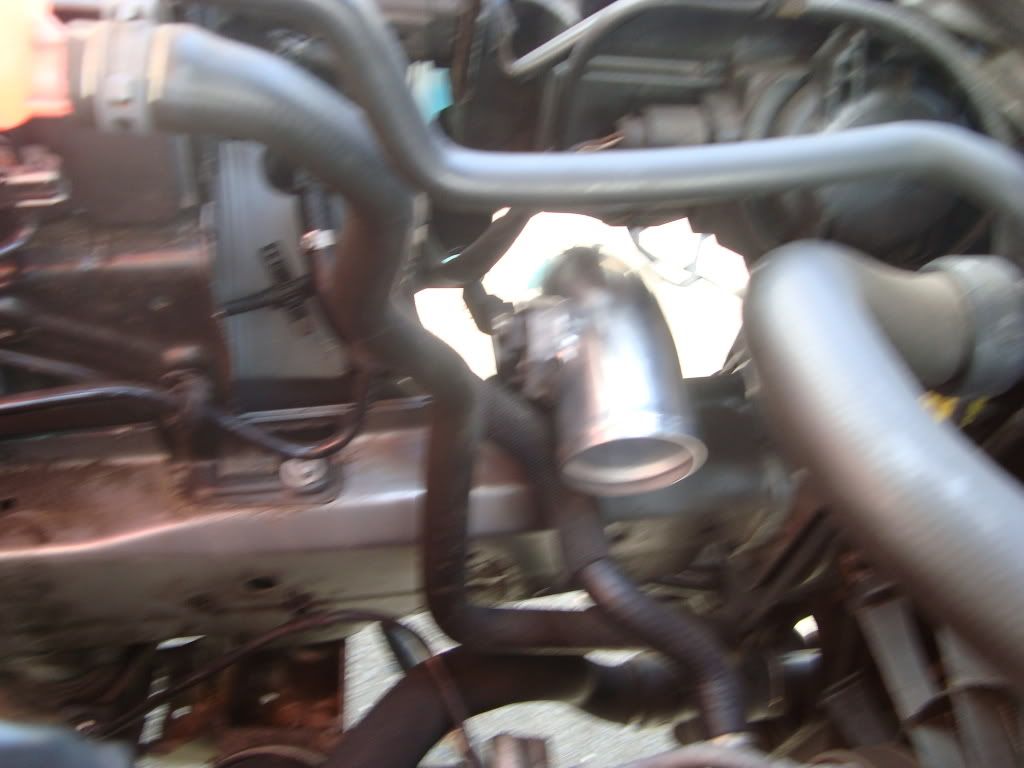
remove the stock intercoolers by disconnecting the hoses, there is a horizontal hose that connects the two intercoolers that i did not remove, it can stay there, it doesn't mess anything up or look out of place and frankly im not even sure how to remove that so just leave it be. disconnect your thrust sensor (its the only electrical sensor on your smic's and unclip it from its wiring so you are left with just the thrust sensor you will need it later
the stock intercoolers are not held in place and with some finagling they should come right out
(i have no pictures of this because i am going from one fmic to another)
step 3)
time to mount the core of the fmic, take your cx racing intercooler out of the packaging and marvel for 1 minute for how awesome she looks.
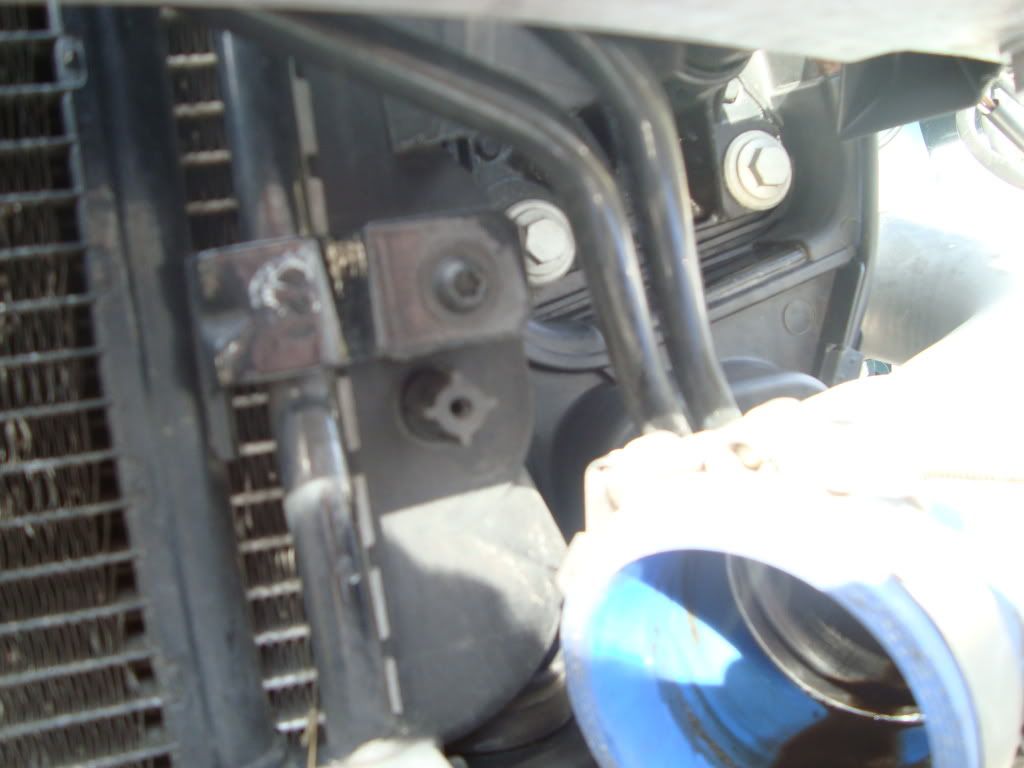
ok, so identify the t-25 torx screw that holds the ac radiator unit in place on either side directly below the crash bar,
right side (facing the car)
left side (facing the car)
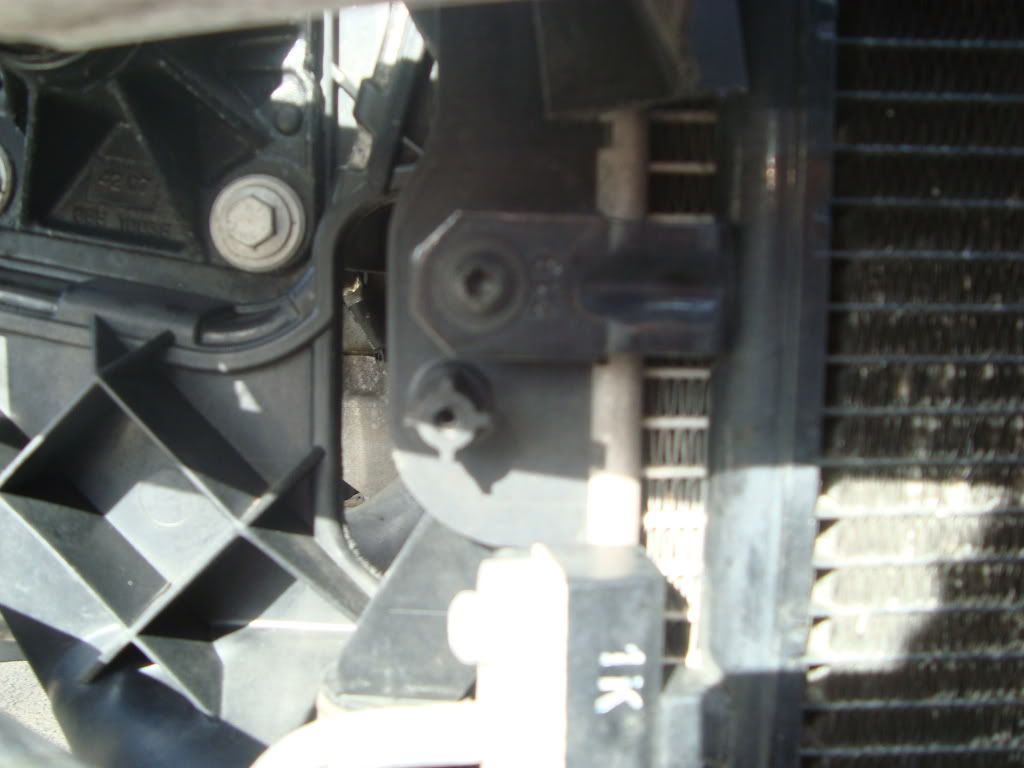
also note that i bent my power steering cooling about 45 degrees to make room for the fmic, you can bend it 90 and mount it with the appropriate wire, but i felt that bending 45 degrees was more then enough and it is safe the way it is in the picture (a tech did this when i got my 1st fmic installed and i have driven over 20k miles with it like this so its ok to have it this way)
right so by now you should have bent the power steering, and identified the two screws under the crash bar
you are now ready to bolt up your core
step 4)
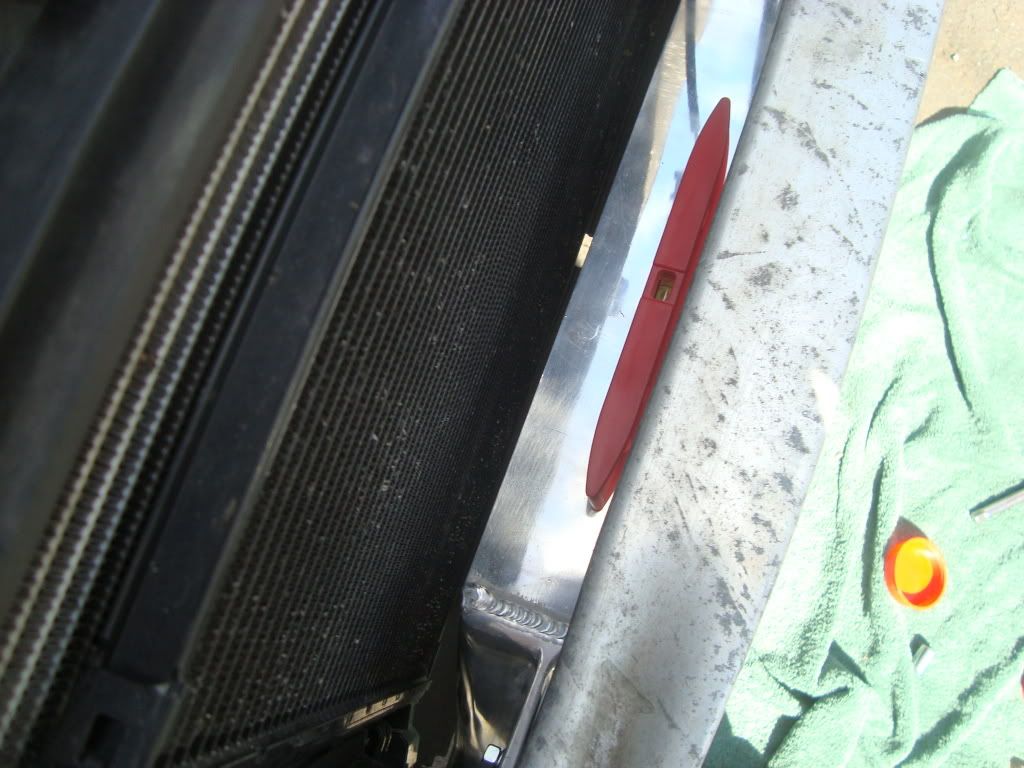
the cx racing fmic kit comes with a lot of hardware, pieces and what not, the only parts outside of the couplers, t bolts, pipes and core i used was the two z shaped items identified in this picture

i replaced the 13 mm bolts and nuts that came with the kit with longer bolts and a nut that featured a nylon insert
now, because this is an ebay kit i knew that some of the parts were not going to be precise, the z shaped bends were not identical to each other and neither were their lengths....this is something that will slow you down but if you have patience it will all work out just fine.
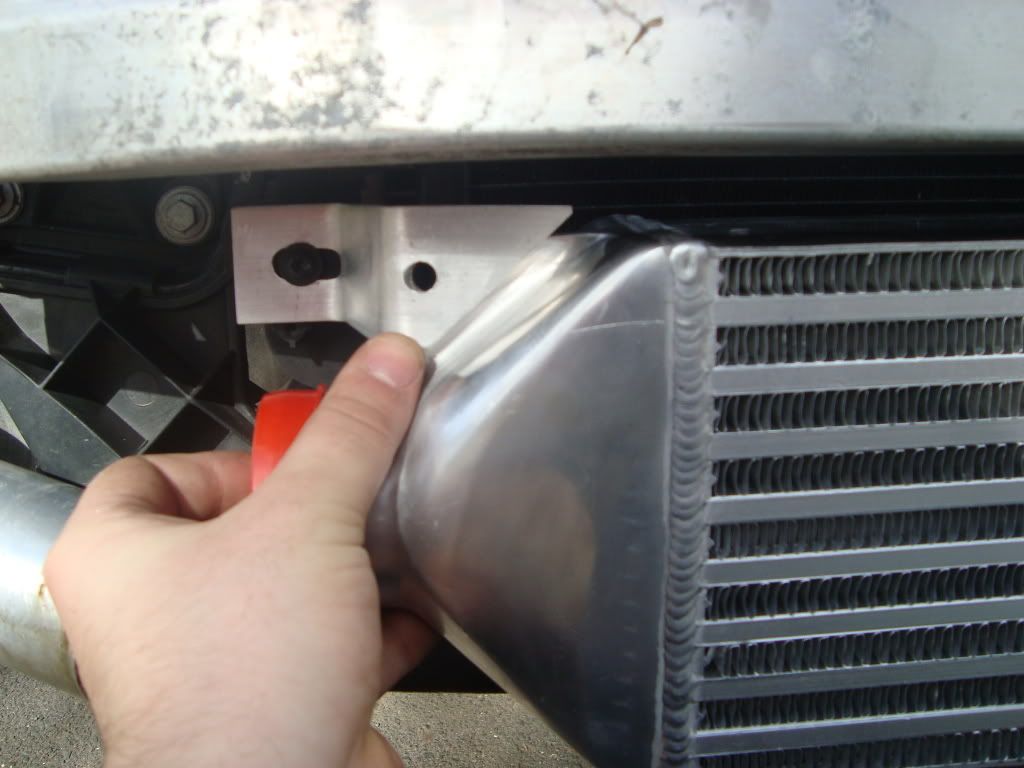
if the bends are off
- attach the z shaped mounting part to the car via the a/c screw, bolt the end of the z shaped part with the 13 mm nut and bolt to the core and make sure everything is sitting flush (this may mean that your core is sticking out, this is a good thing) gently push the core towards the engine and it should bend the z shape part back into shape
(ignore the fact that the pipes are put up, this picture is only here to help explain the bending step)
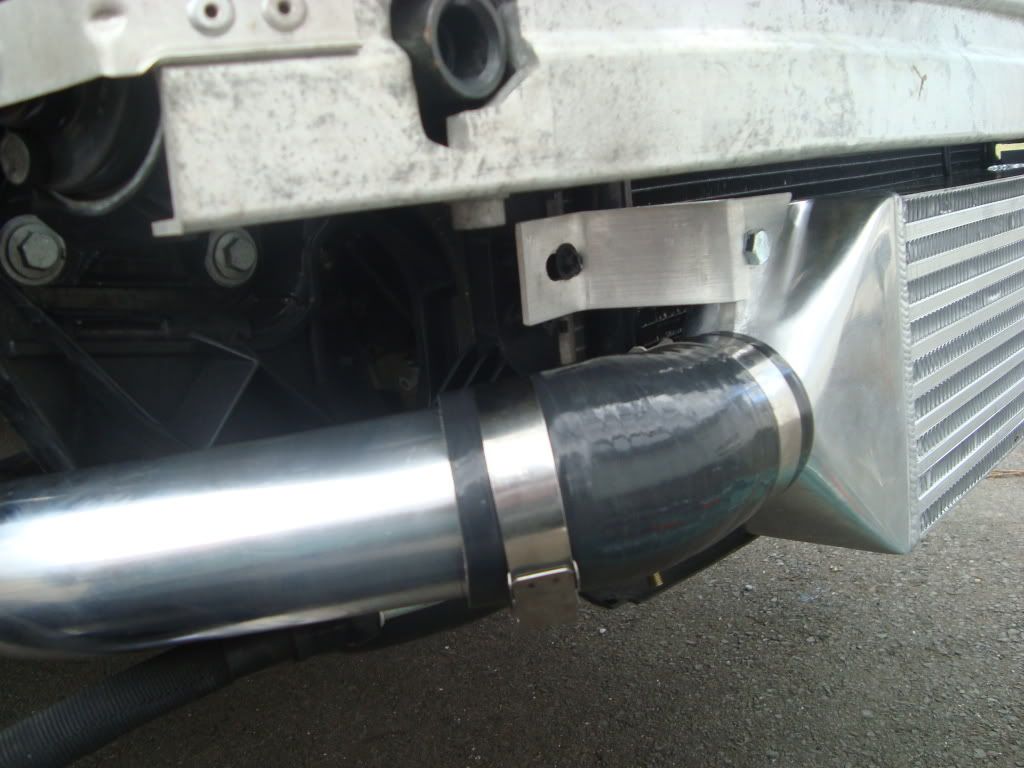
if the length is off with each part just either put the triangle-type part in front of the core, or behind it. you can see in my pictures below that my left side had to be put over, and my right side went under bc the lengths were off
left side
right side
bolt everything rather loosely and using your level adjust accordingly because no one likes an uneven core,
level
centered...kinda
once you have it level and centered, go ahead and tighten everything down firmly
step 5) the piping
i should really point out that a little bit of engine oil really helped the process, as i removed my old intercooler i noticed a little bit of oil and put it to use by greasing the rim of the pipes with it
i started with the turbo and made my way up to the manifold
its pretty strait forward and this is where the ratcheting wrench really comes into play
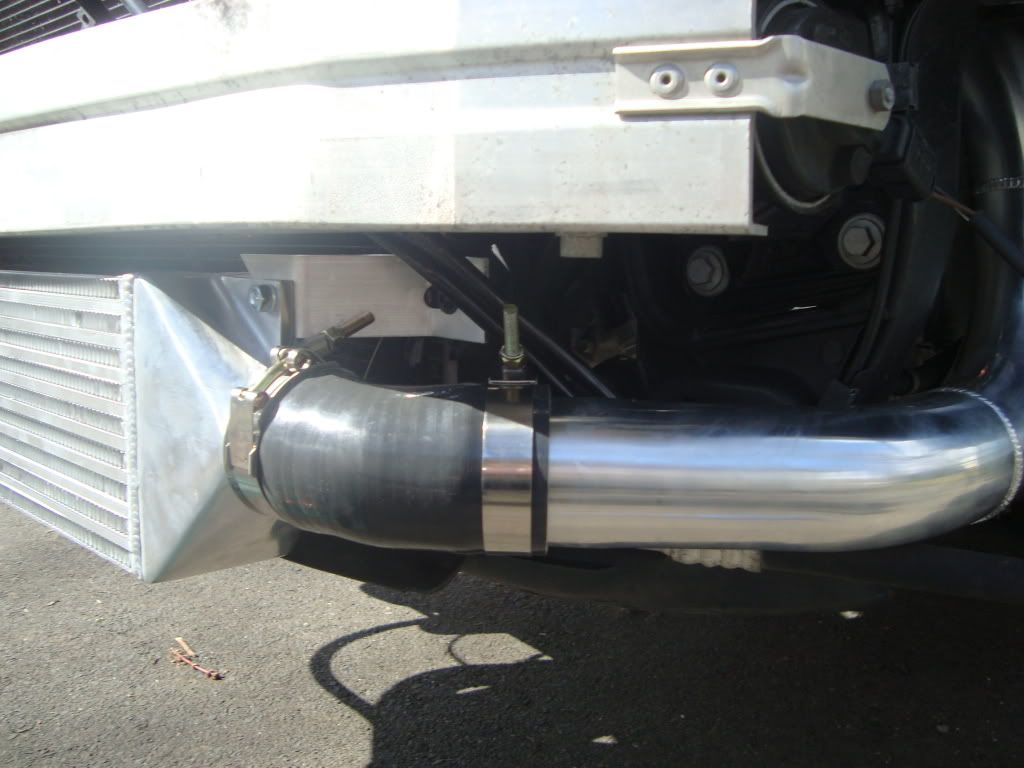
90 degree bent silicone reducer goes to the turbo and attaches the 90 degree pipe
45 degree coupler goes to core and the 90 degree pipe
TIP: try to hide the t bolts as this set up gets pretty close to the s -line fog grilles, and because it looks cleaner
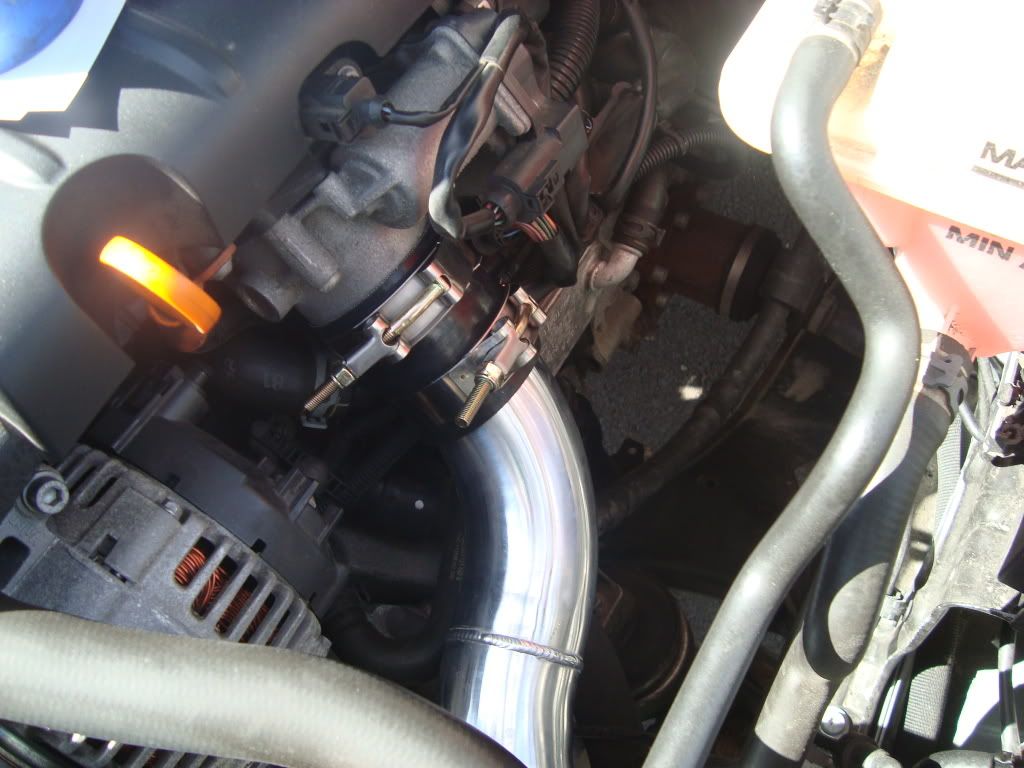
okay now stop. another ebay error is on its way, but thankfully there is an easy fix
in this picture notice the odd shaped pipe on the right, this pipe features a spot for your thrust sensor bung, it may or may not fit the audi thrust sensor you took out in step 2
do not try and force it in there, you will break it and it costs about 140 from the dealer (ask me how i know)
instead, use a drill and bit that is a the diameter of the bung and make the supplied hole bigger
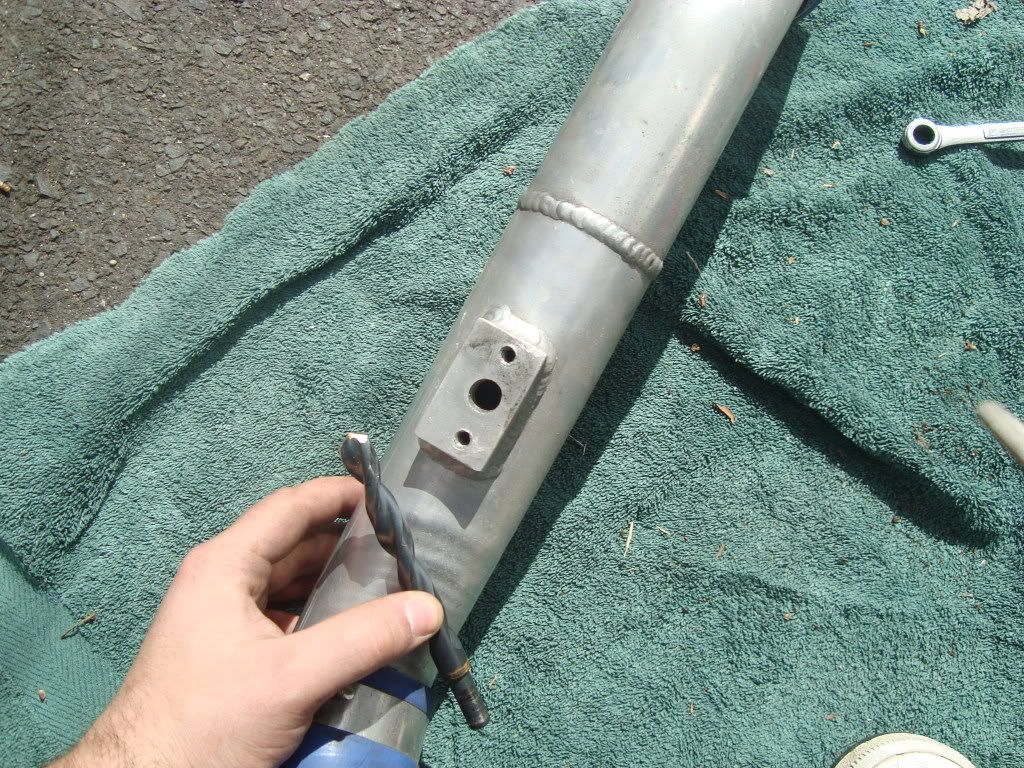
(the pipe in this picture is not the one that came with the cx racing, just wanted to show you but the pipes were already mounted)
you may also find that the two screws on the piping do not line up with the holes in the thrust sensor, for this problem i only used one screw to hold the thrust sensor in place and i created a make shift gasket out of the stuff that the pipes came wrapped in and i pressure tested that pipe to make sure i had no boost leak.....it worked perfectly and i know it sounds sort of sketchy but if you try it you'll find its more the adequate and works fine
also - mount the thrust sensor so that the part that attaches the wire is facing towards the headlight and not the engine, the t bolts will get in the way of attaching it
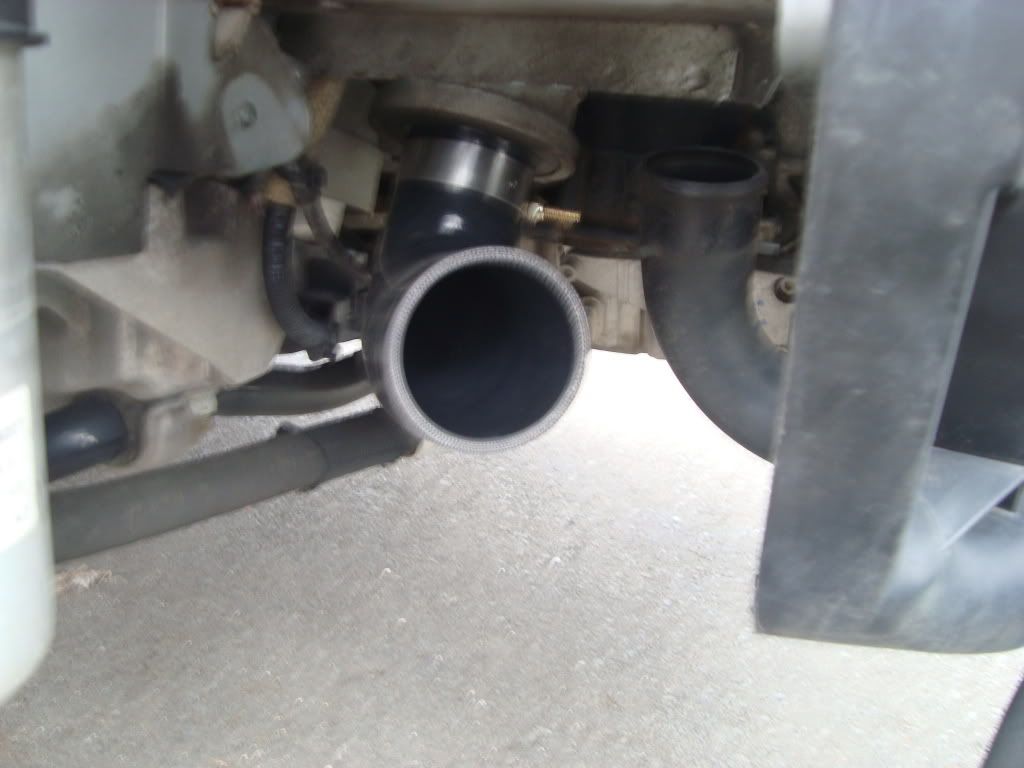
continue the piping once you get past this hiccup with a 45 degree coupler and the weird pipe with the thrust sensor issue
a strait coupler will connect the weird pipe with the s- pipe
(top of the weird pipe)
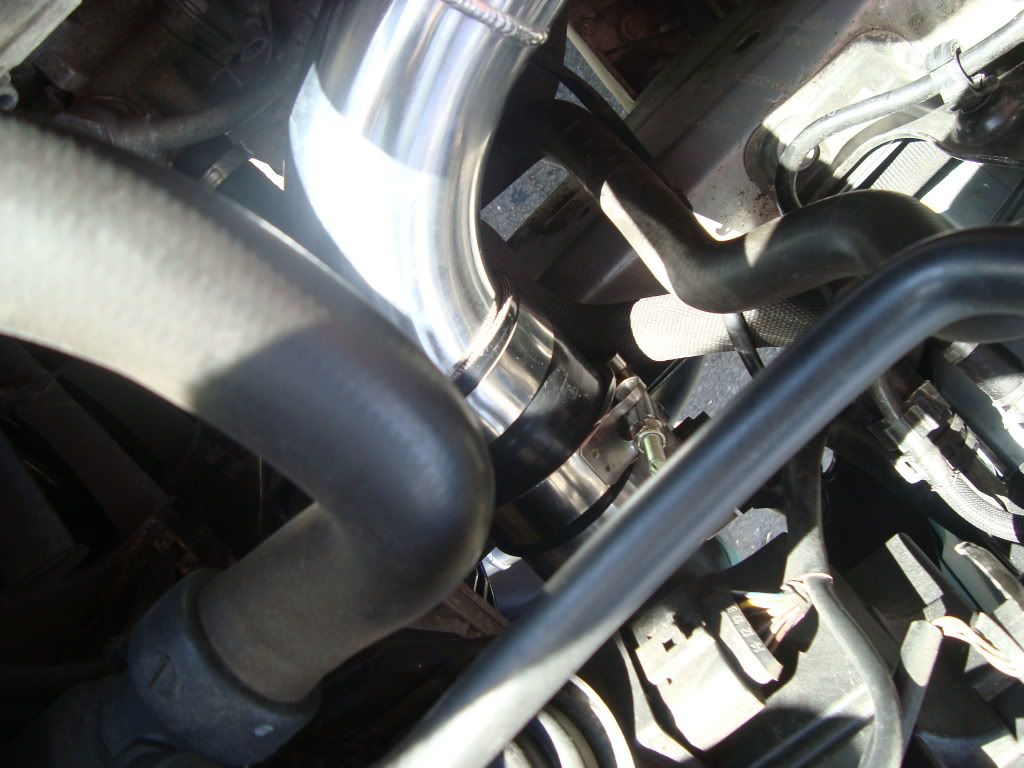
(top of the weird pipe and bottom of the s-shaped pipe connecting....the big black hose on the left is my radiator hose, the small hose on the right is covering the where the thrust sensor is installed)
and to finish another strait coupler attaches the s-shaped pipe to the manifold
you have completed the install at this point, make sure the t bolts are all nice and tight (but not too tight, you shouldn't be able to pull the pipe off and the t bolt should not be so tight that its bent the pipe)
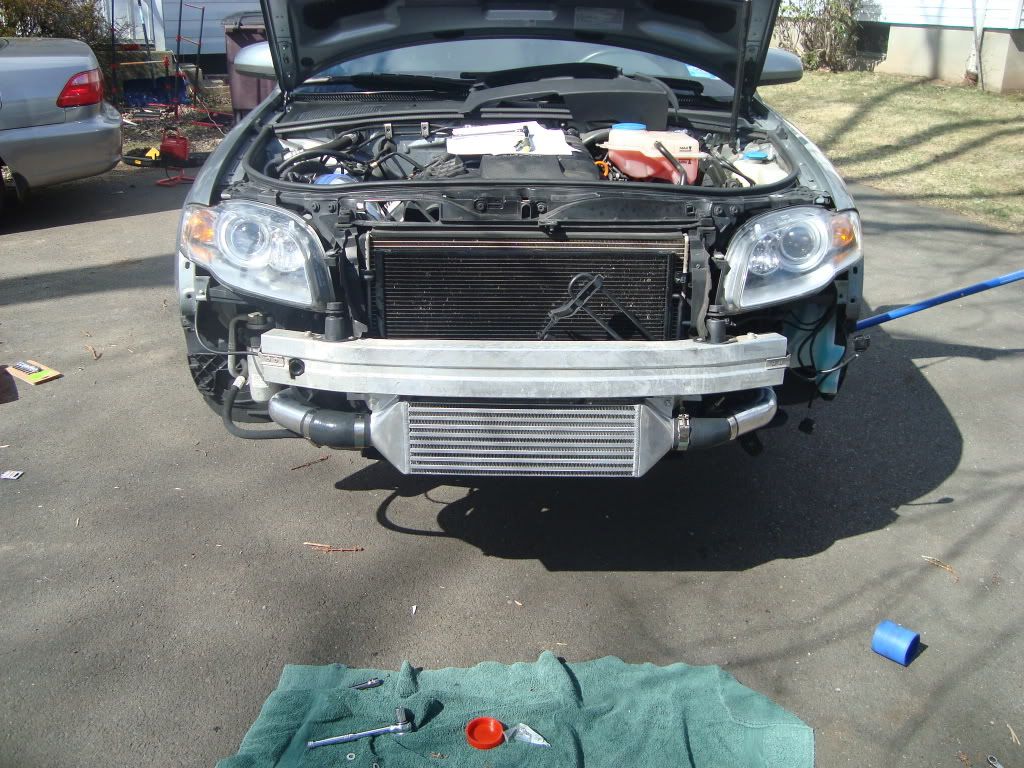
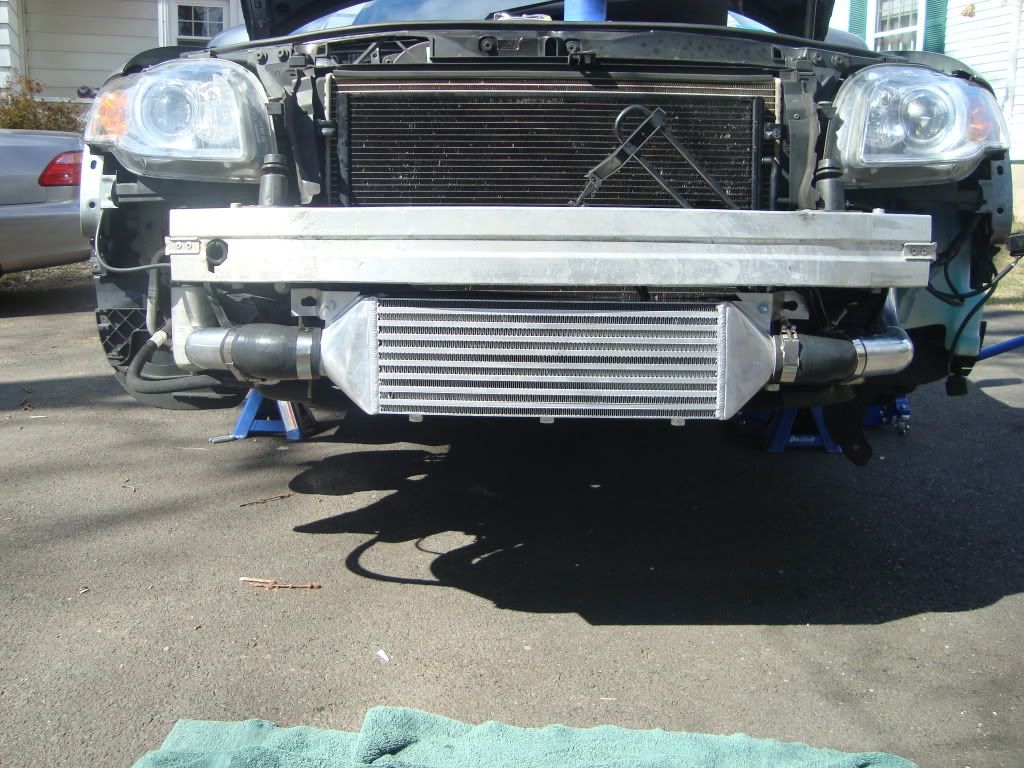
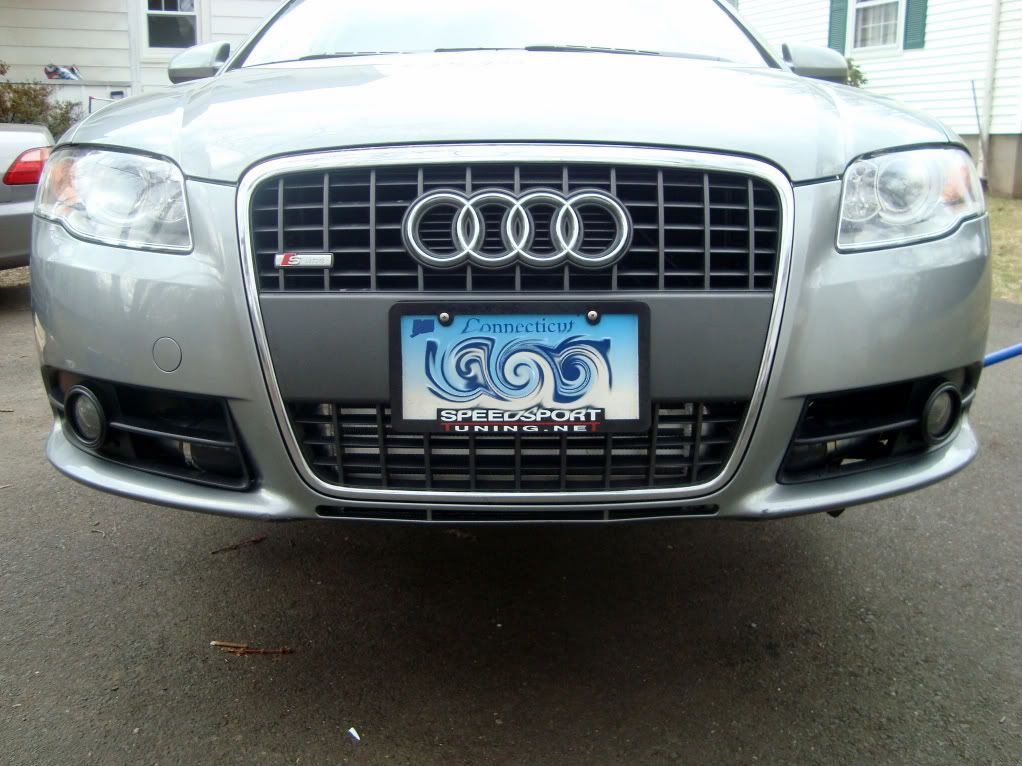
reinstall the bumper, and it should look something like this
so that's all for that, let me know if you have any questions, concerns, or comments, all feedback positive and negative is appreciated and if you are mod and think it needs to be moved to the tech section be my guest
if your going to do this and have questions feel free to pm and i will do my best to help you through it

 Reply With Quote


Bookmarks