


This has been bothering some of you for a while now so I am going to share some tips and show you how to get a perfect bumper/hood gap every time you remove your bumper.
You can find my previous DIY about removing the bumper here:
http://www.audizine.com/forum/showth...bumper+removal
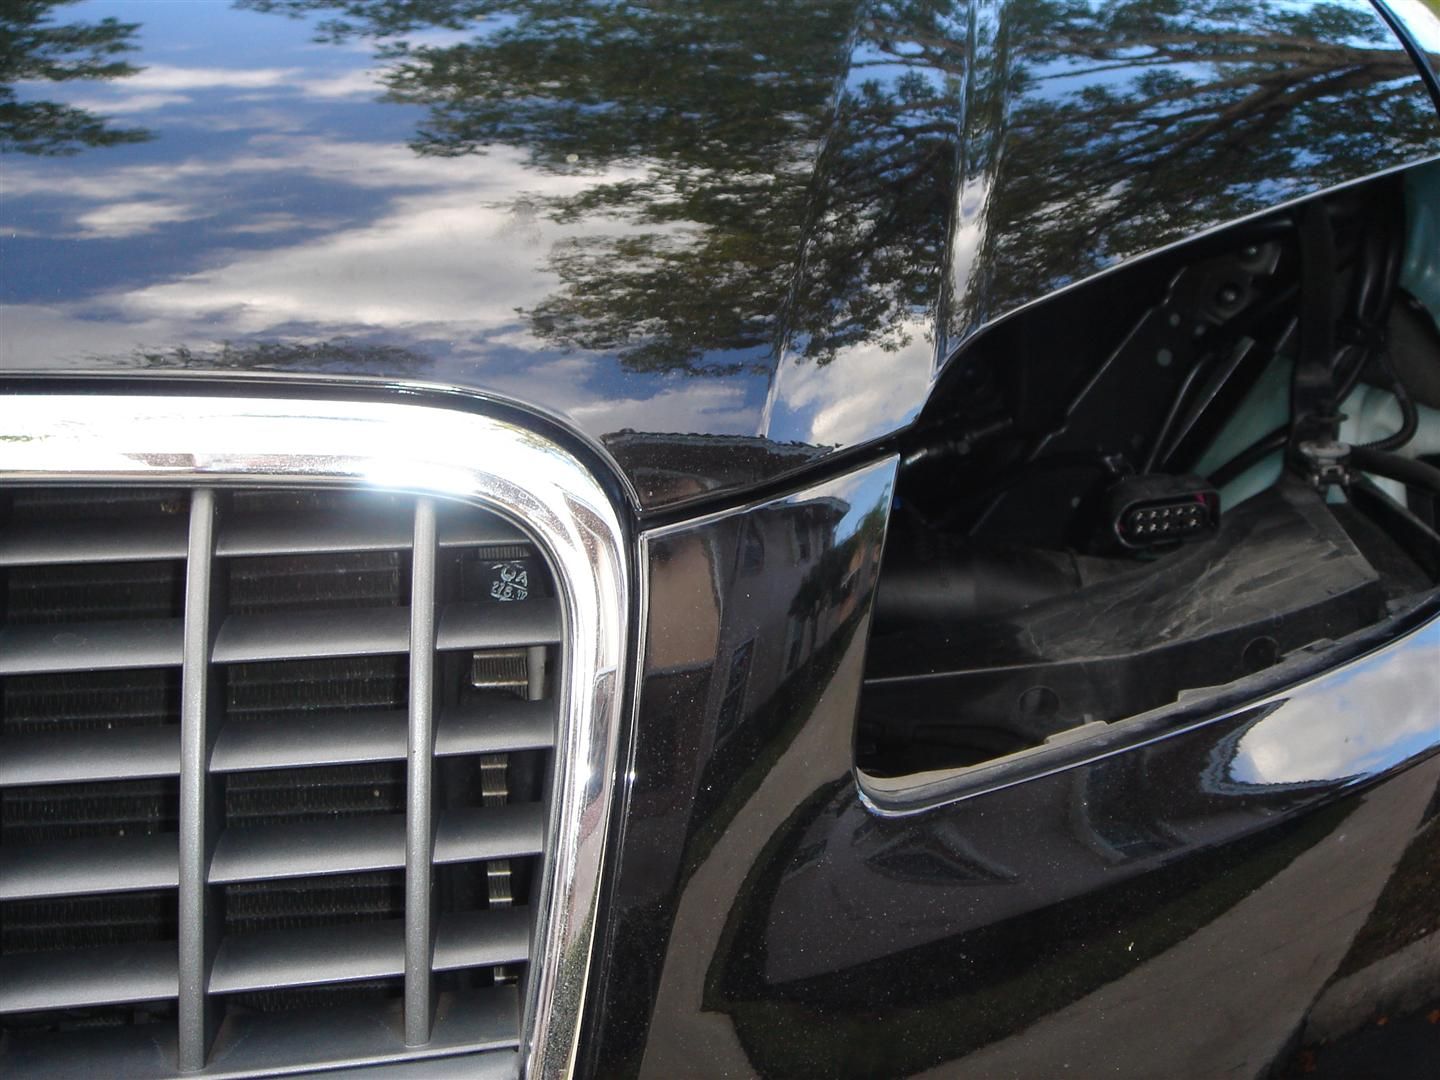
If its the first time the bumper is removed, you might have to loosen a bit the upper part of the adjustable support to facilitate the removal.
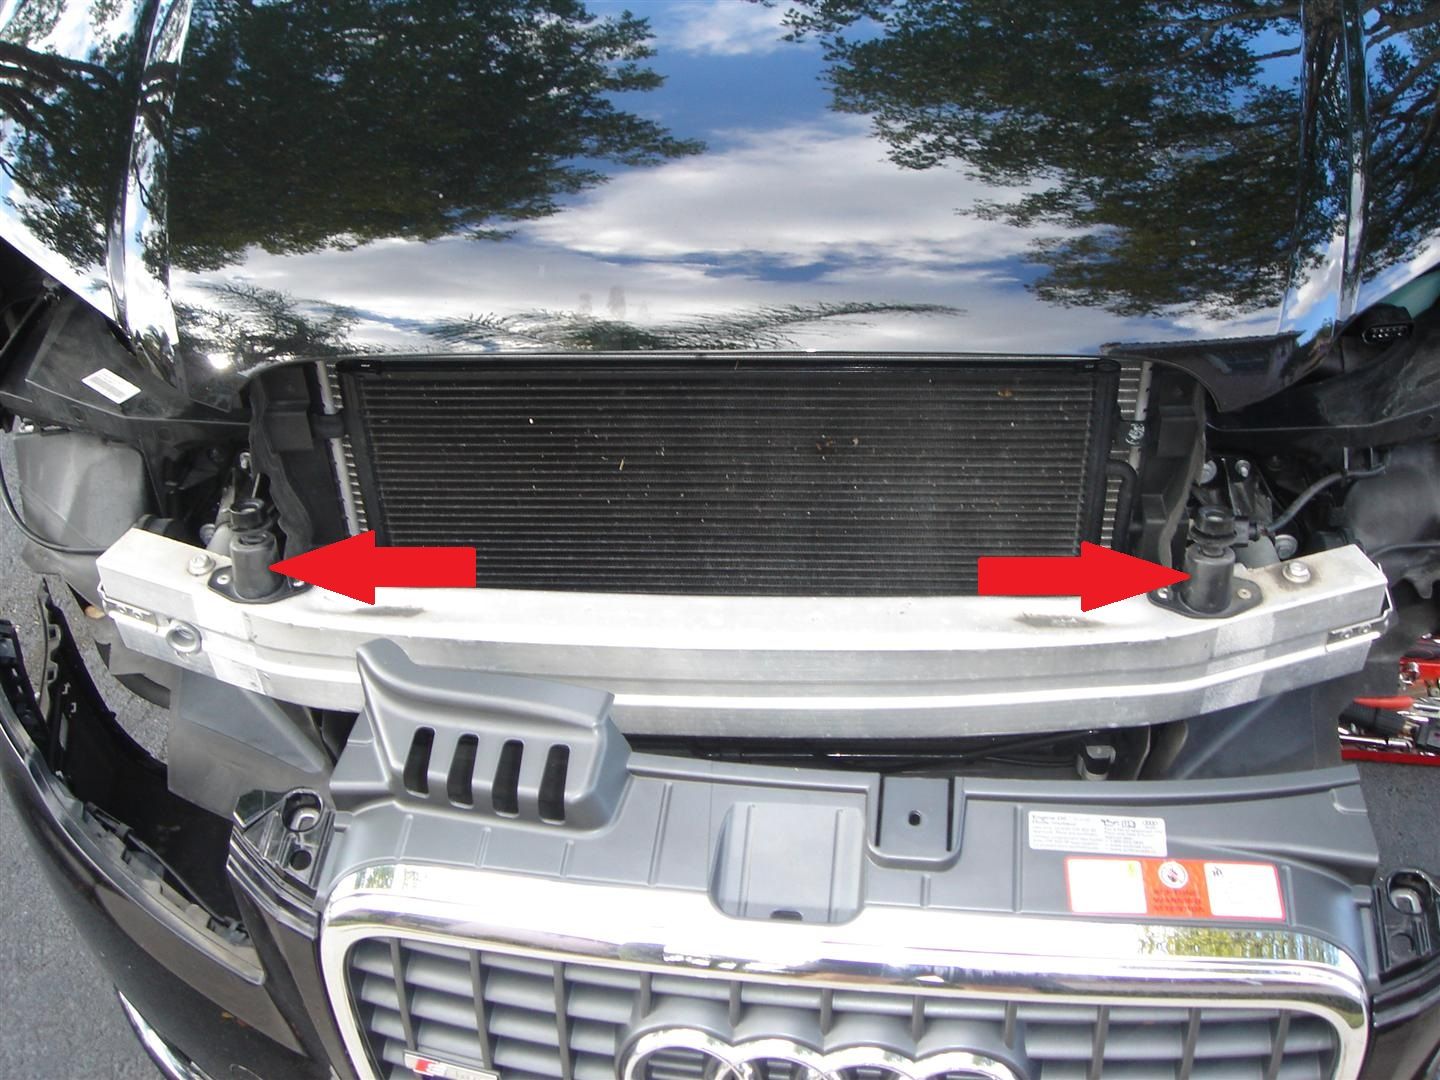
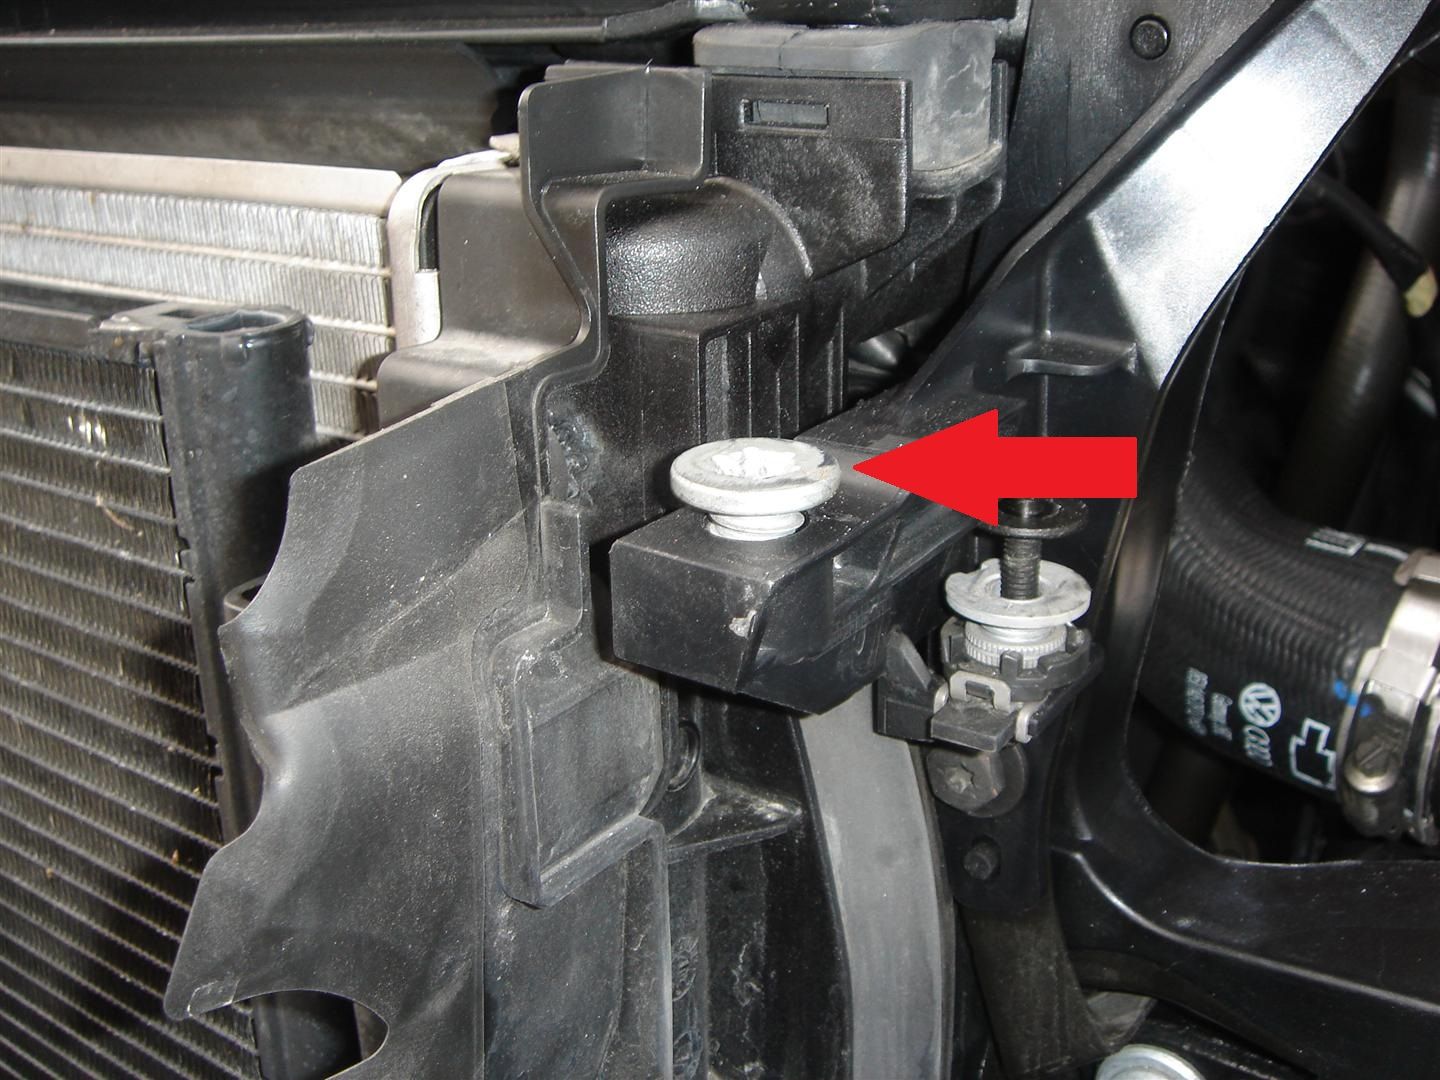
During the bumper removal process, there are 99% of chances that these two guys became out of rig. Lets call that adjustable supports.
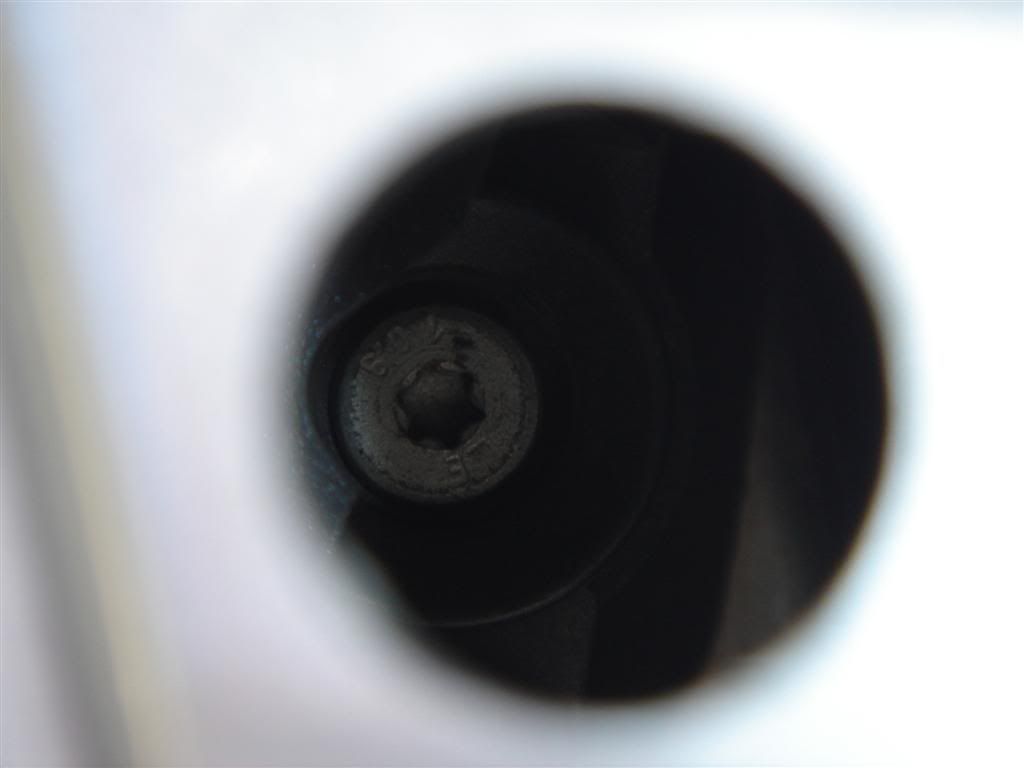
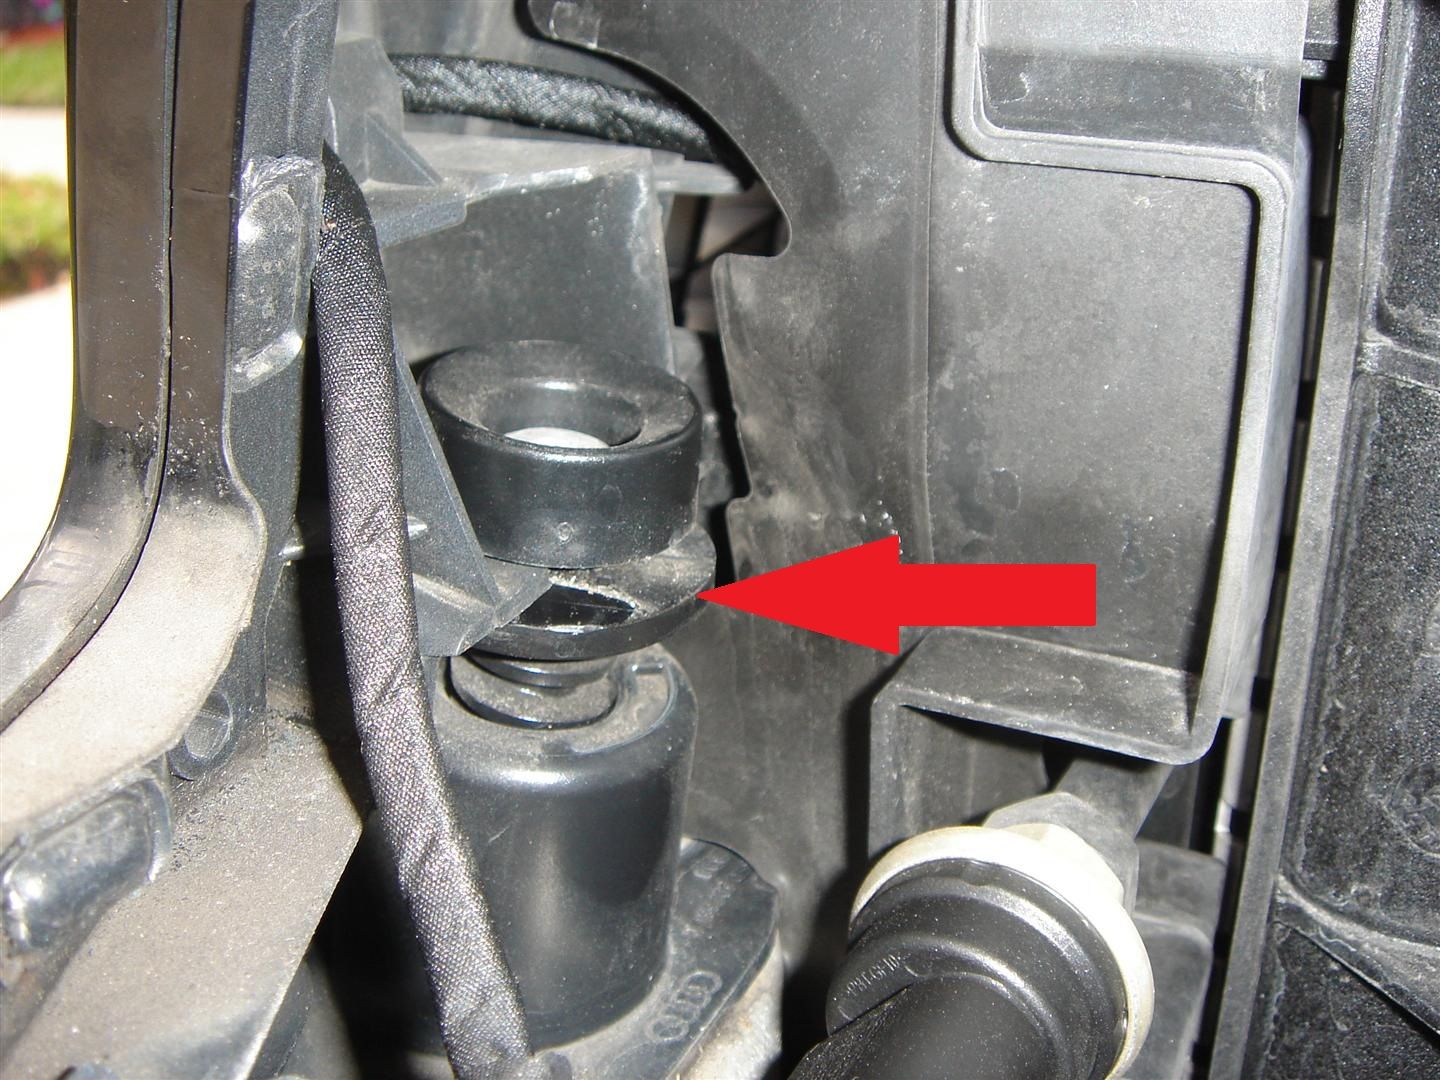
A close up:
The bumper sits where the red arrow points, not below
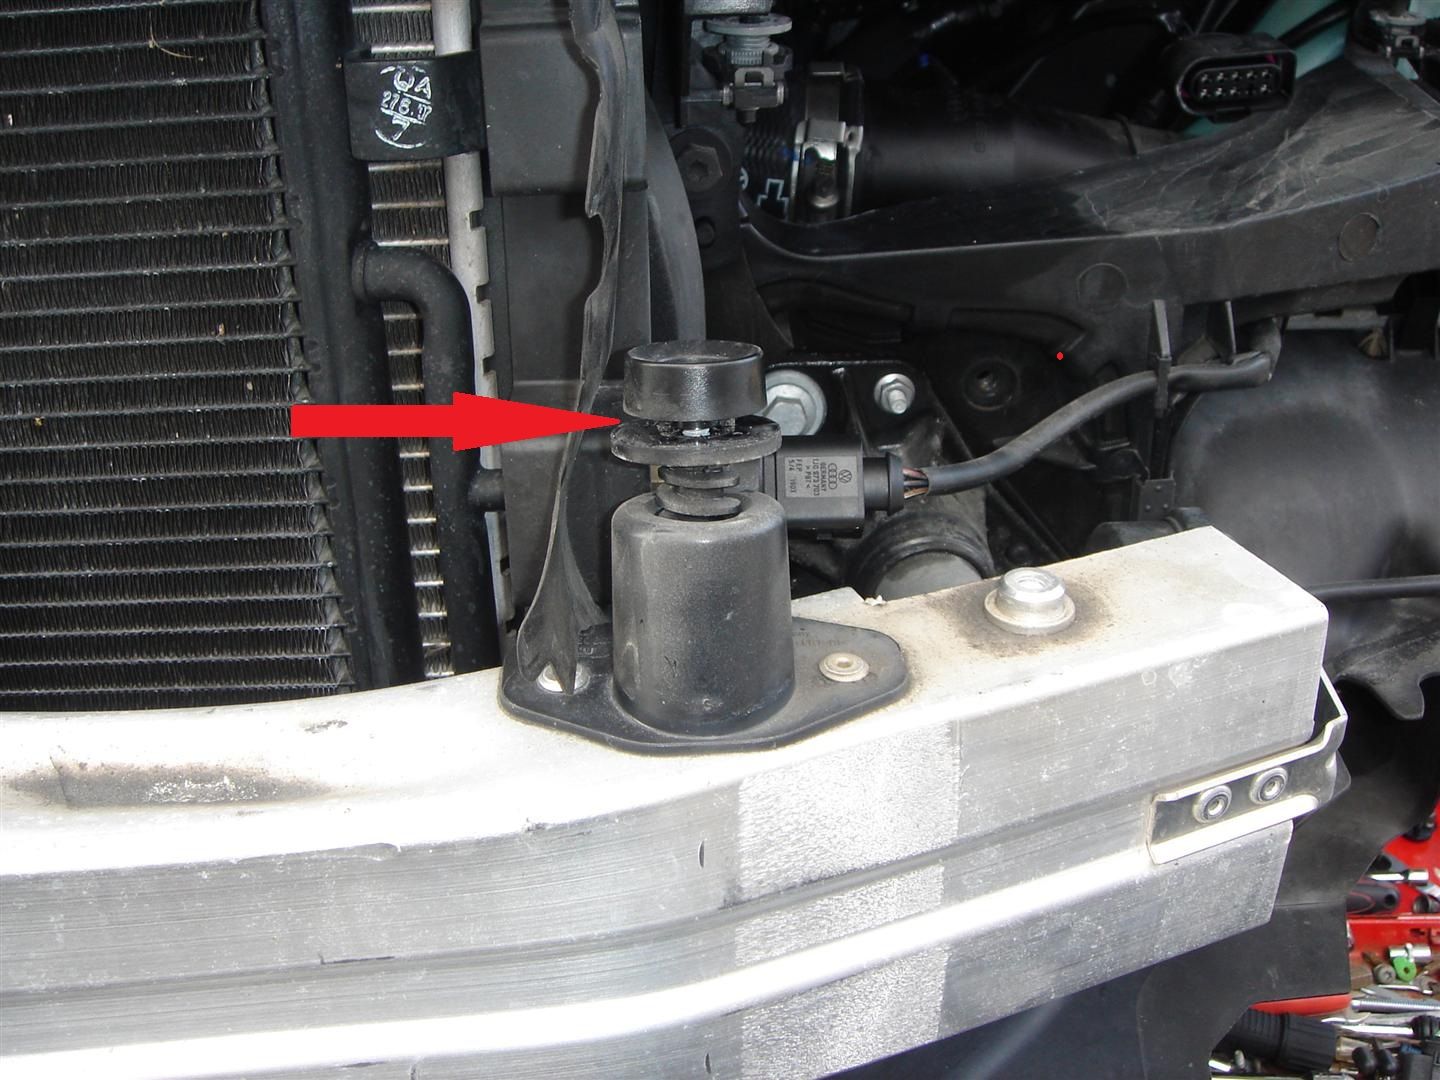
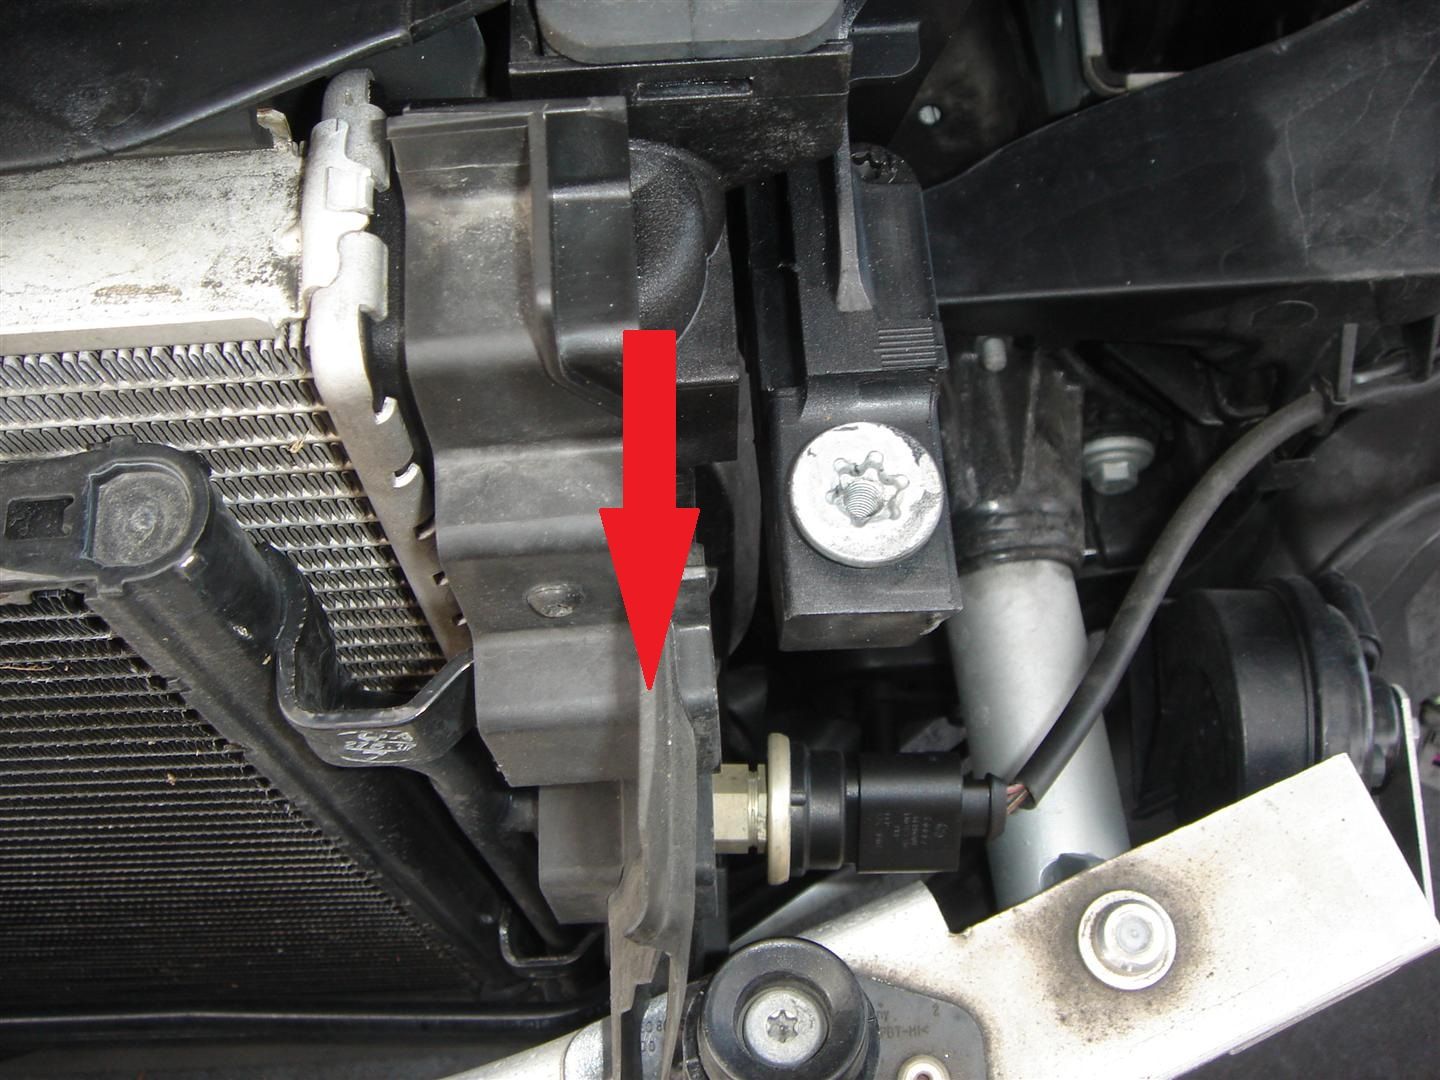
Red arrow shows the adjustable support for the upper skirt. If your car is equipped with an OEM grille, you normally dont have to mess with this one (EBay grille is another story)
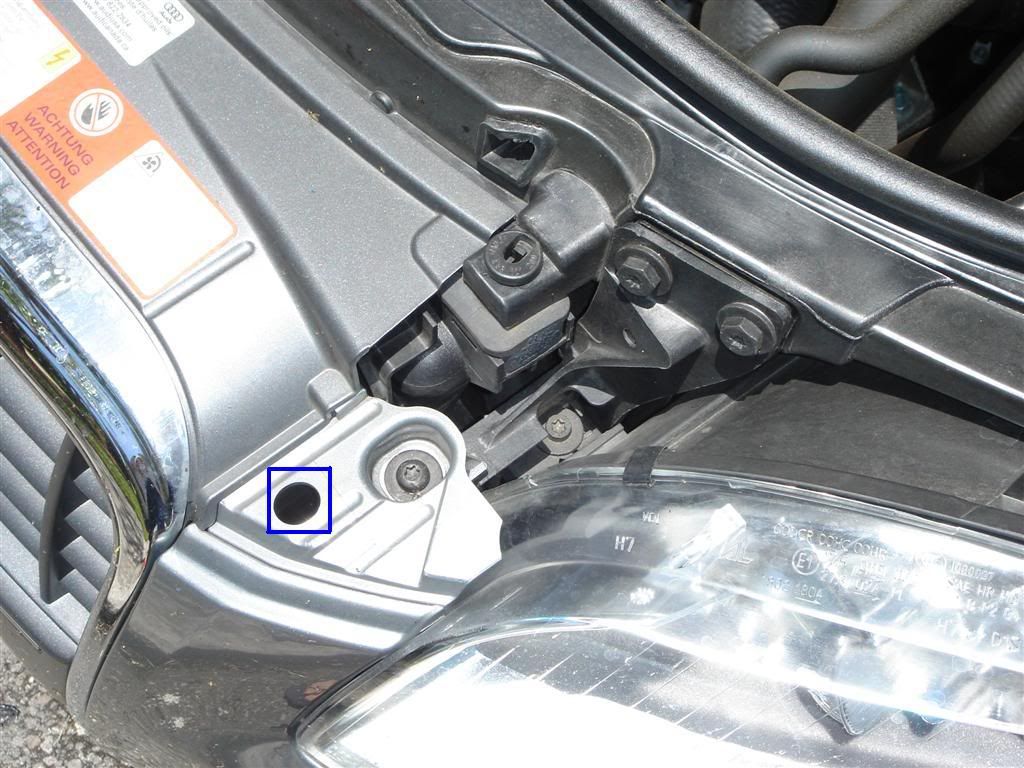
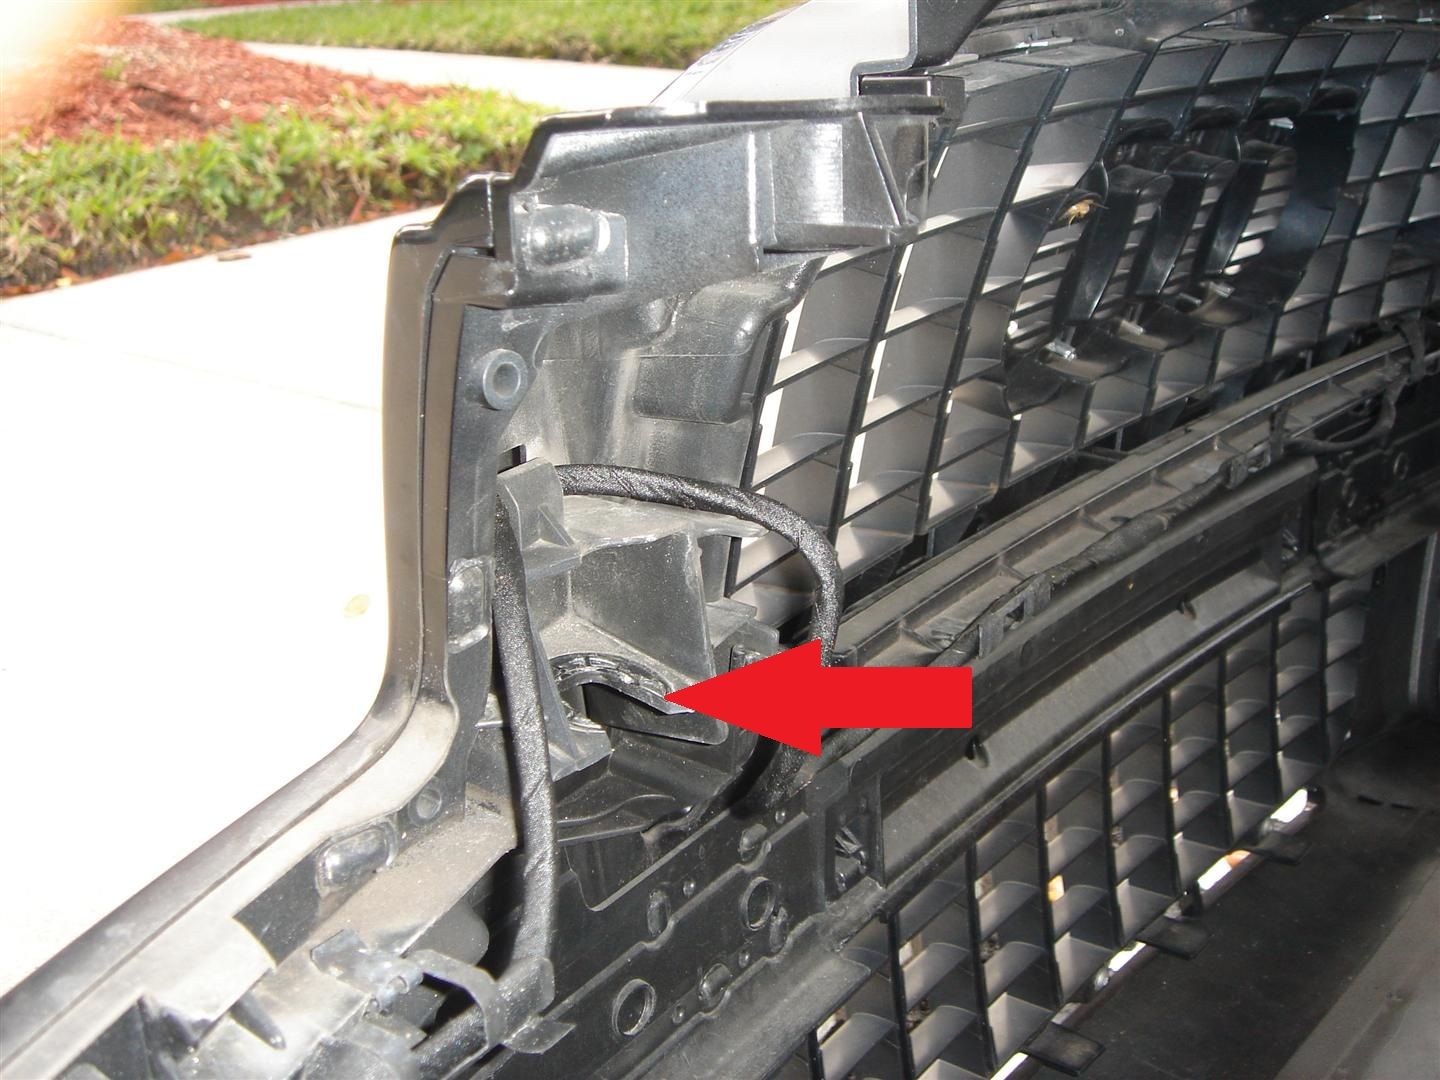
View from the top, when you will be sliding in place the bumper, make sure that this piece of rubber does not get caught and stays perfectly straight
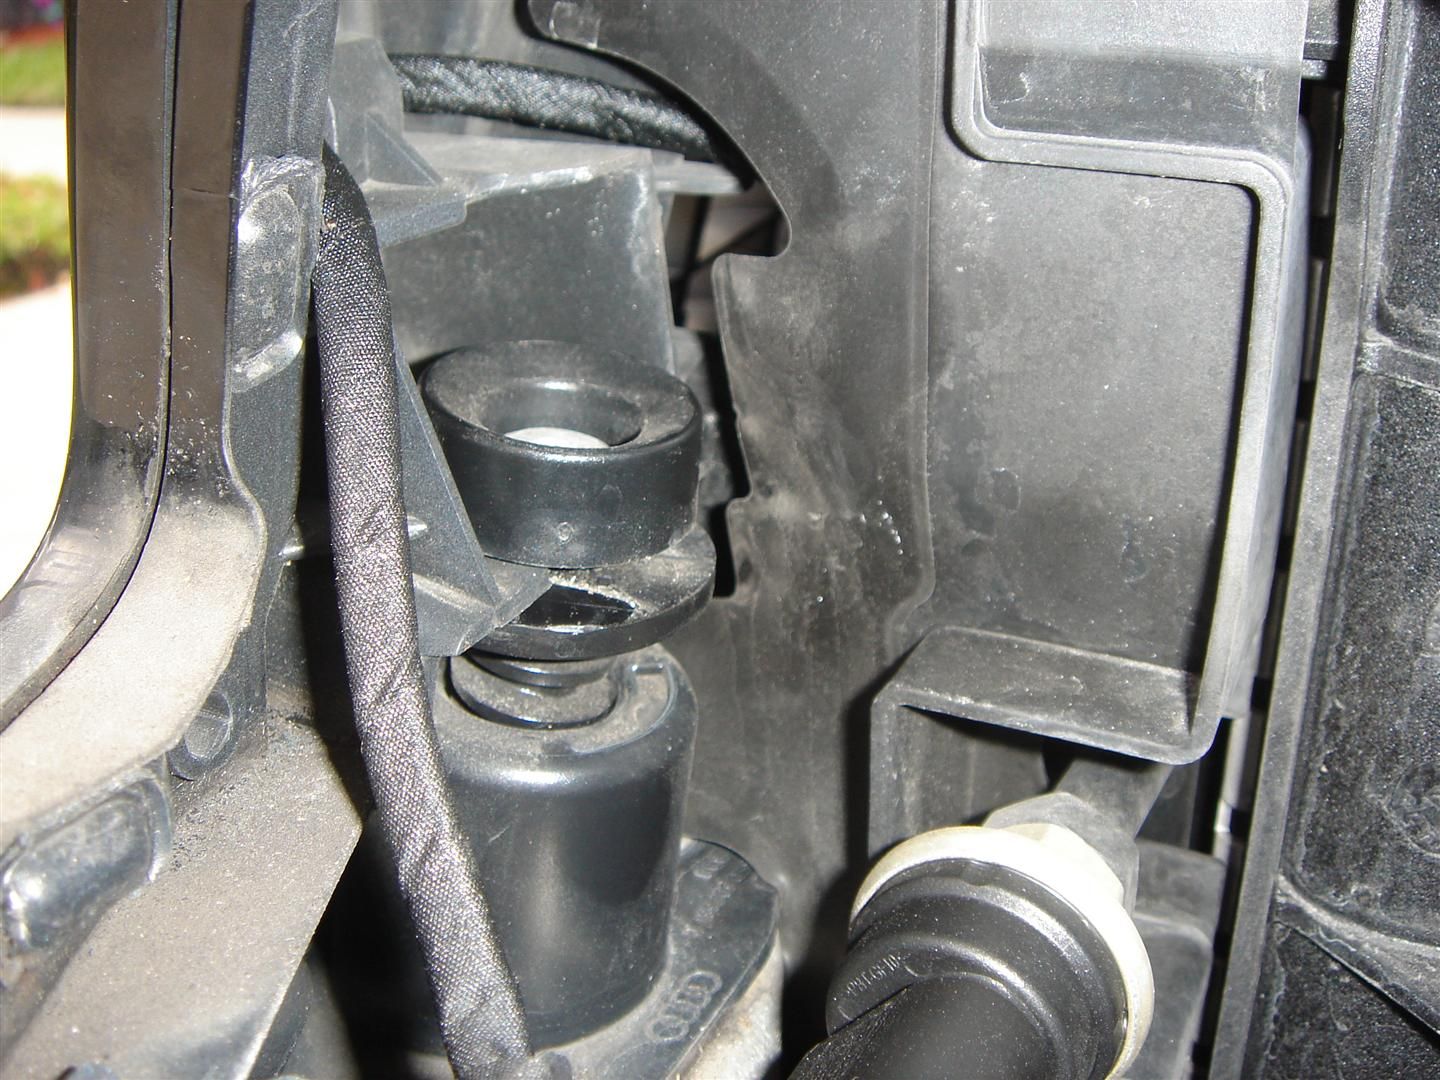
This is the part of the bumper that slides into the adjustable support
A close up of both correctly assembled
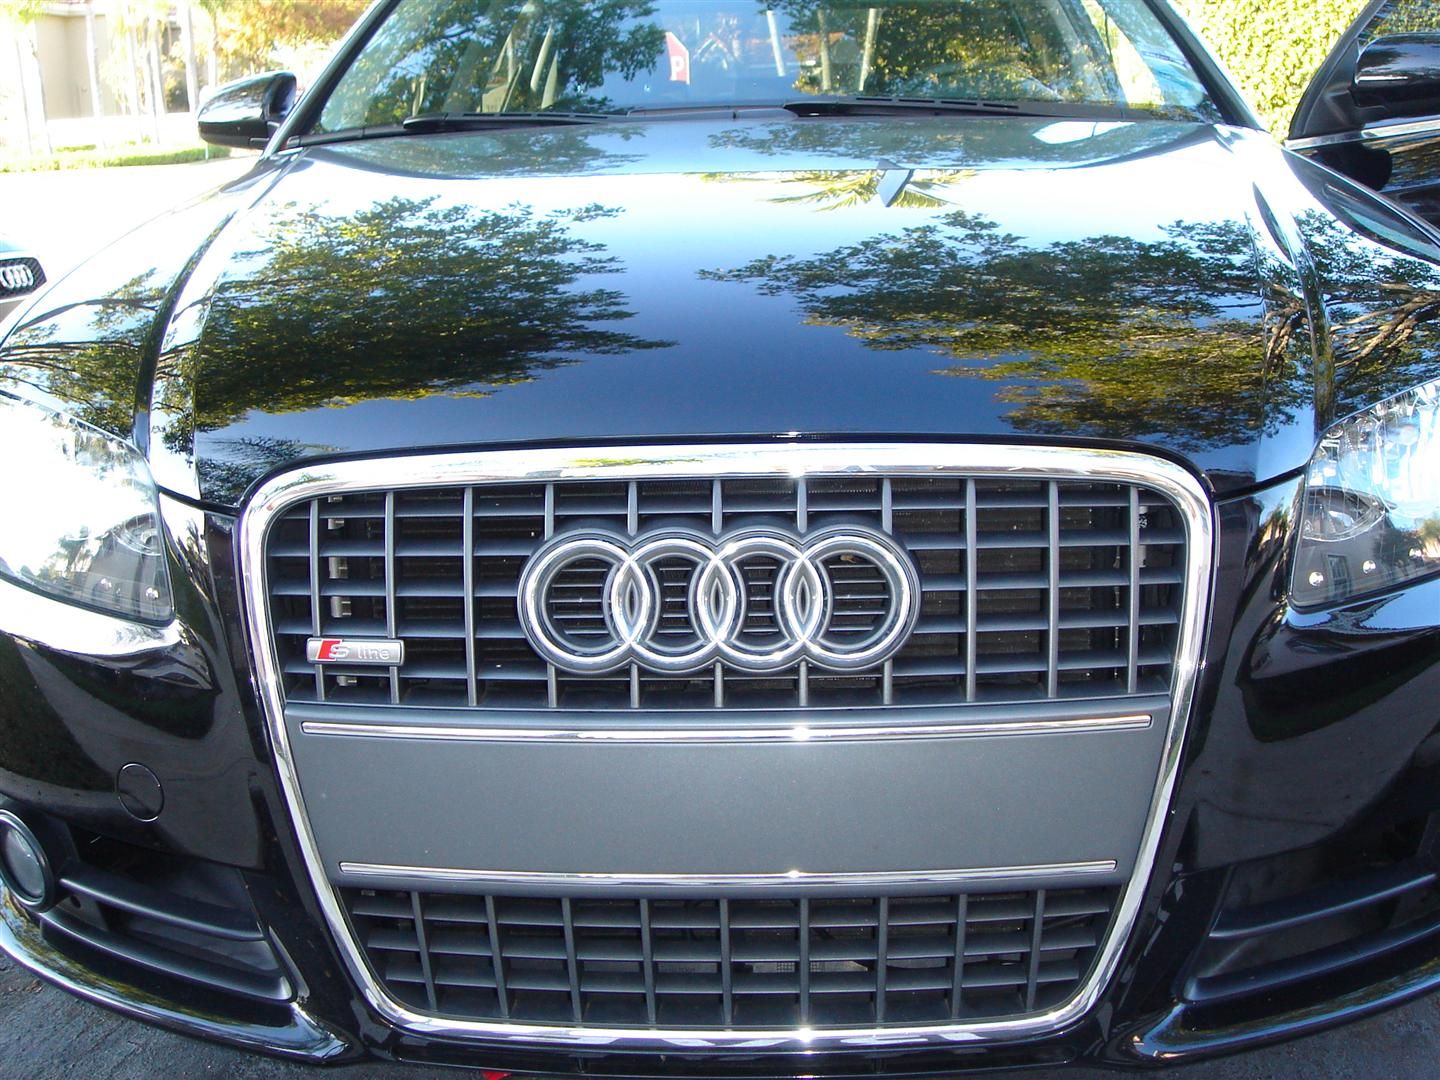
So, you are ready to reinstall your headlights and then the bumper. Before installing the headlights, we are going to check if the gap between the bumper and the hood is correct. Without the headlights in place, slide the bumper in position. Make sure the rubber flap did not get caught; make sure the 2 screws on the side are in place in the fender. Do not install any screws or nuts, let the bumper sit in place by itself. Now close the hood to check the gap.
Not too bad on this picture but lets assume the gap was too big:
Open the hood and without removing the bumper, raise the adjustable support:
If you turn:
Clockwise, the support goes up
Counter clockwise, the support goes down
With needle pliers, grab this plastic part an turn as necessary. Close the hood, check the gap. Repeat as necessary until the gap meets your expectations.
Now, the little trick: put couple drops of crazy glue between the plastic threads and the housing. Let dry 5 mn.

Once dry, remove the bumper. Slide the headlights in place and install only the screw for the upper tab. Do not tight the screw.
Slide in place the bumper making sure again, that the bumper tab was inserted correctly on the adjustable support and the rubber flap is not caught. You will see that the fit is really tight and you will need to pull up each headlight a bit to be able to slide the bumper under them.
Install and tight all the bumpers screws first and then secure the headlights
Voila, job done with a perfect gap
Hope this help
Let me know if any question
phil

 Reply With Quote


Bookmarks