Tried to cull down my pics and assemble something that would be of use to anyone attempting to make some of these repairs to their vac system. Hope this makes enough sense, will keep it brief.
Keep in mind, much of these pieces can be removed in sections! This will save you from having to wrassle with all the one time clips. Be smart and see what you can remove as a cluster. More on that later.
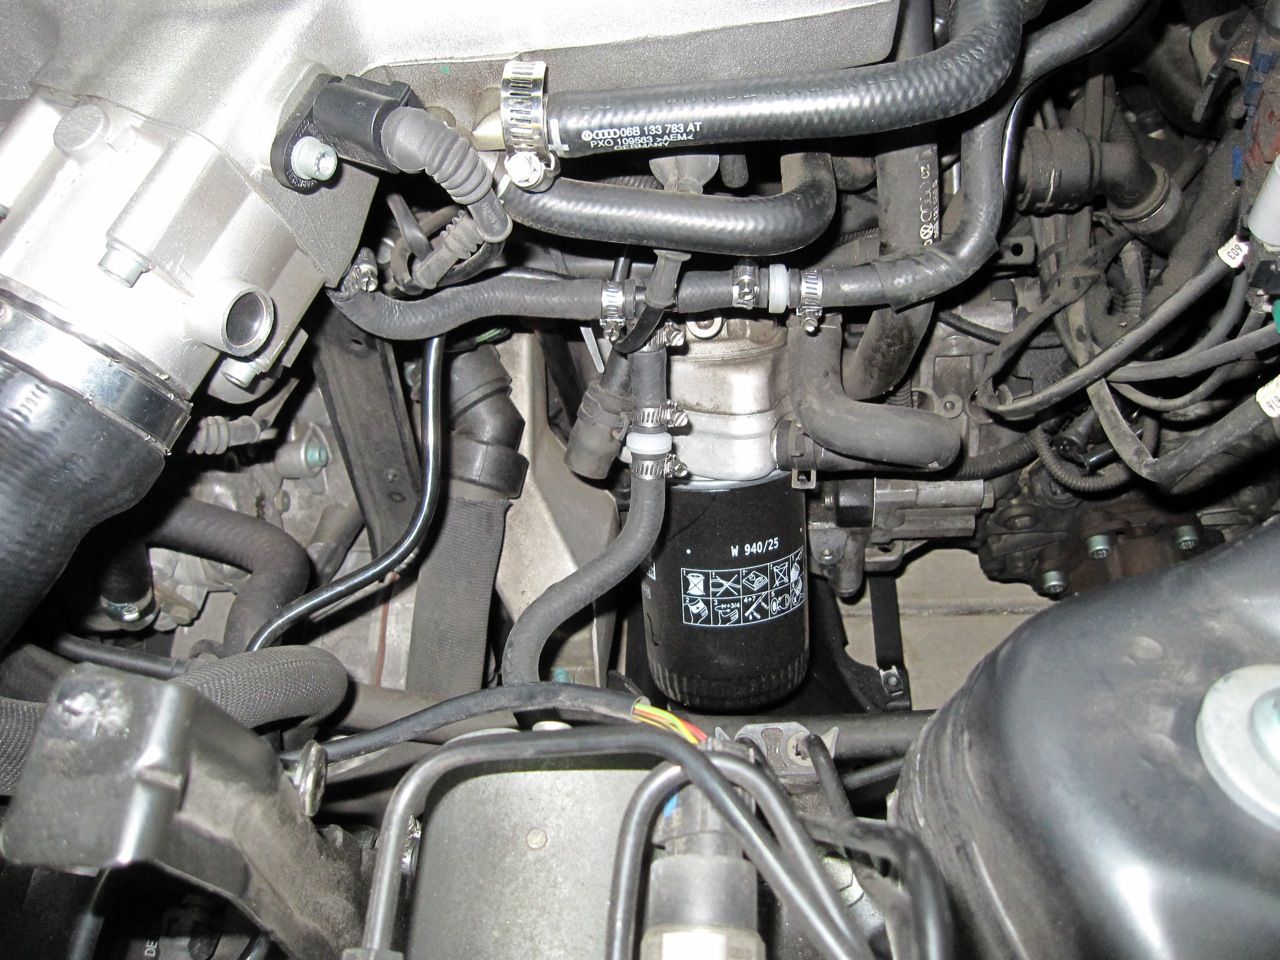
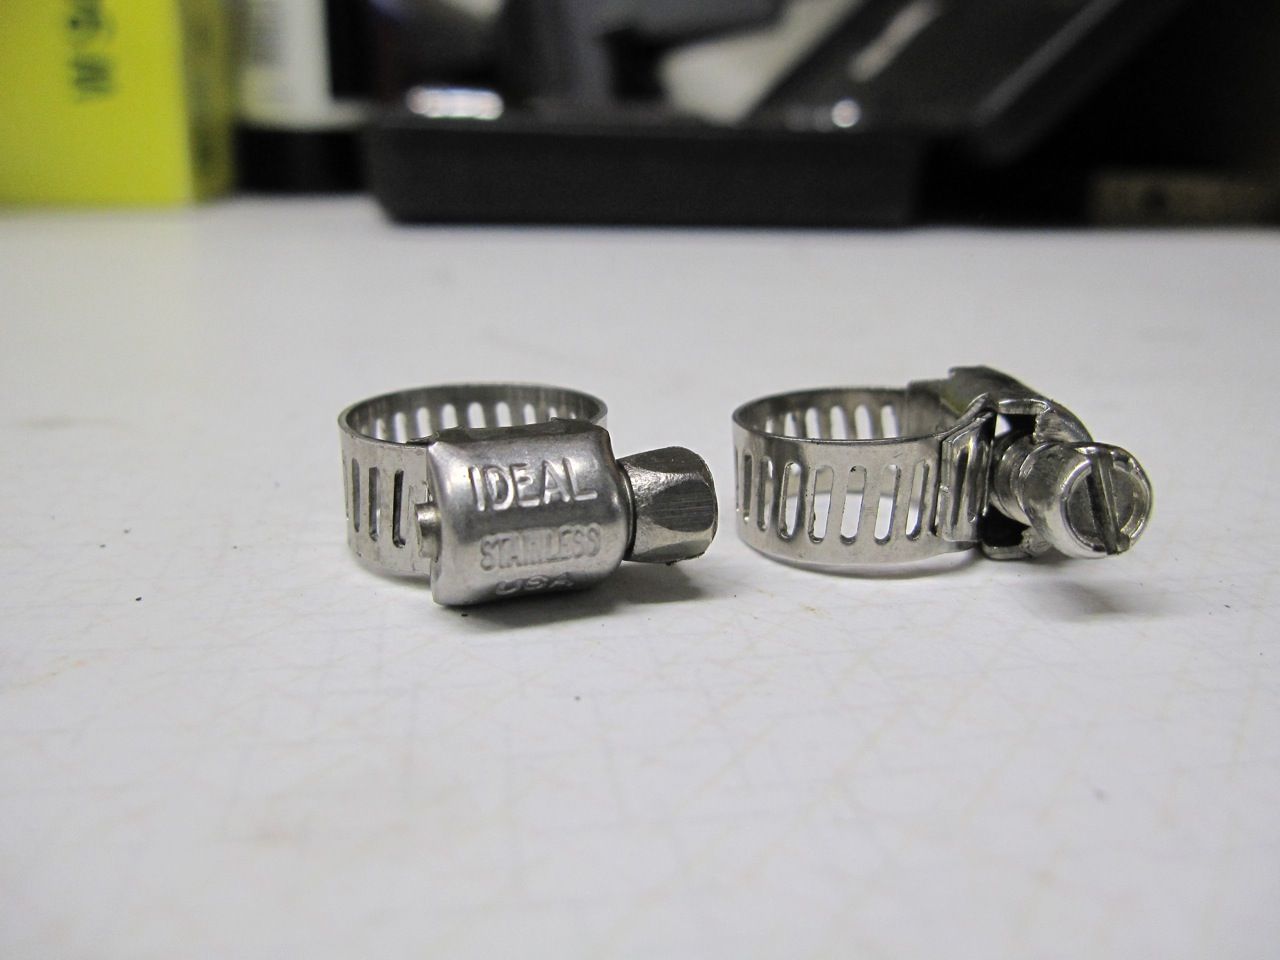
First things first. Screw down clamps are awesome cause you can always use a driver like this. Makes your life easy.

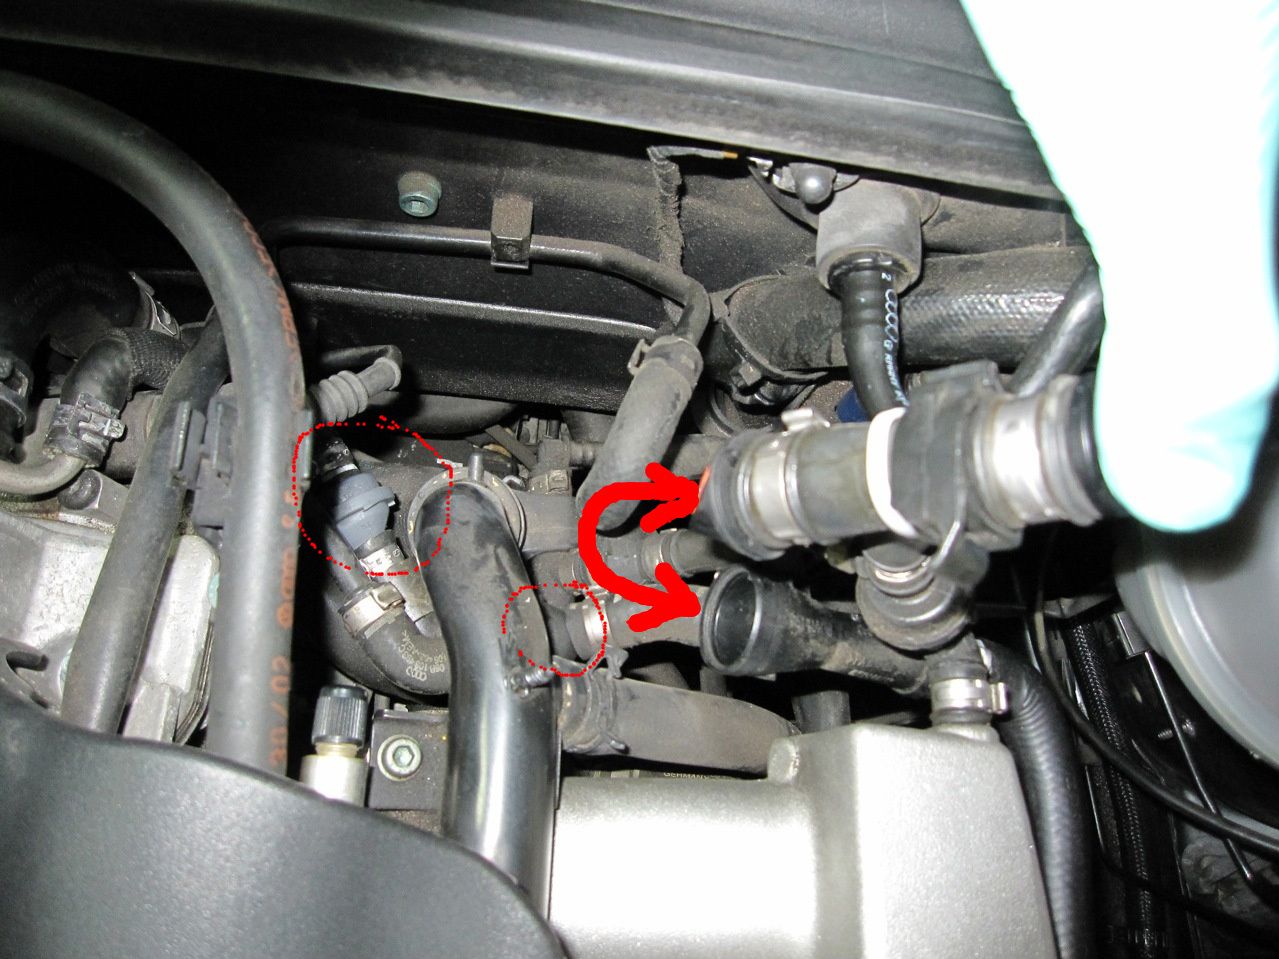
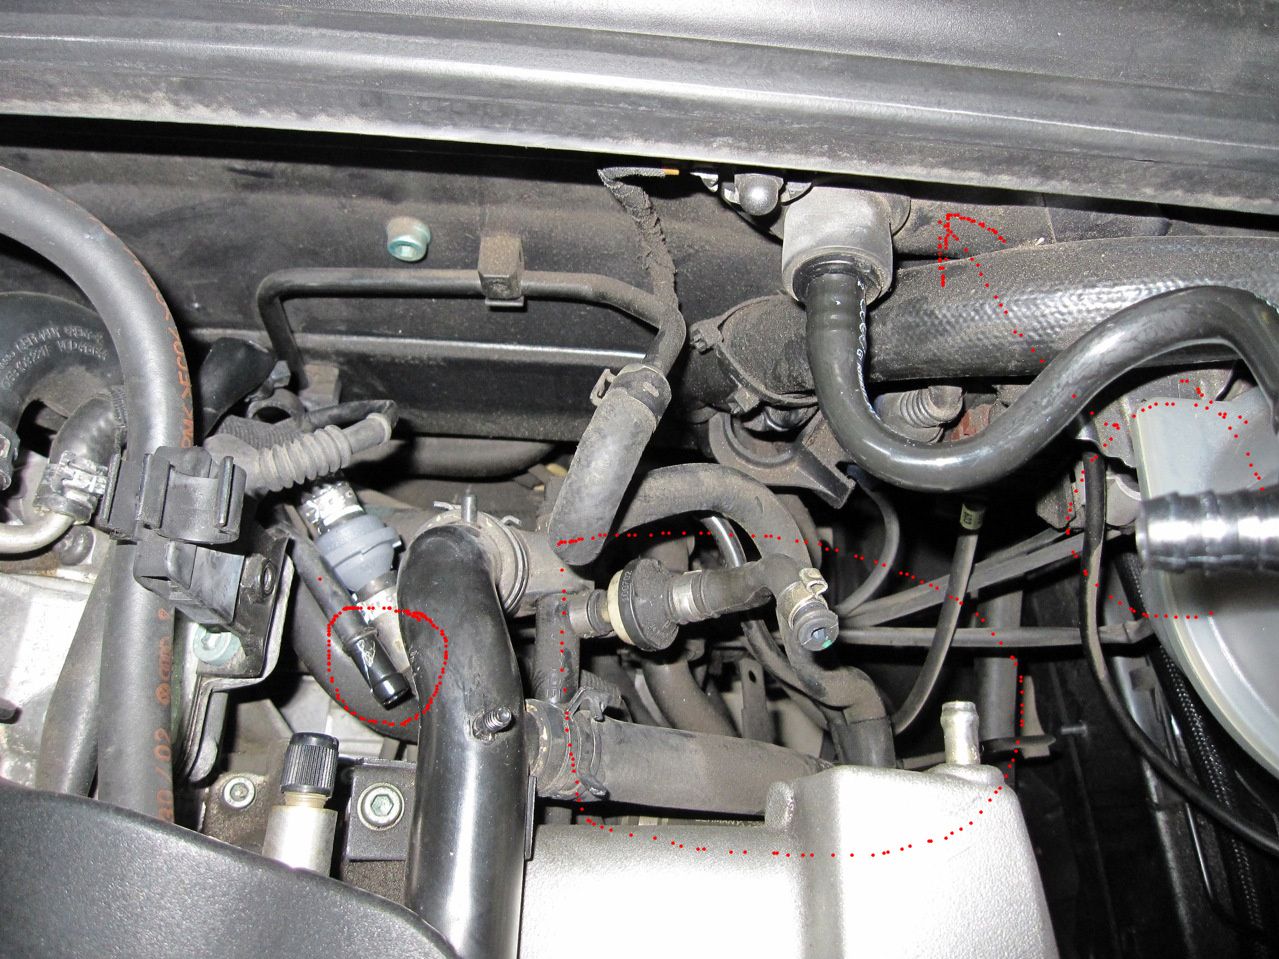
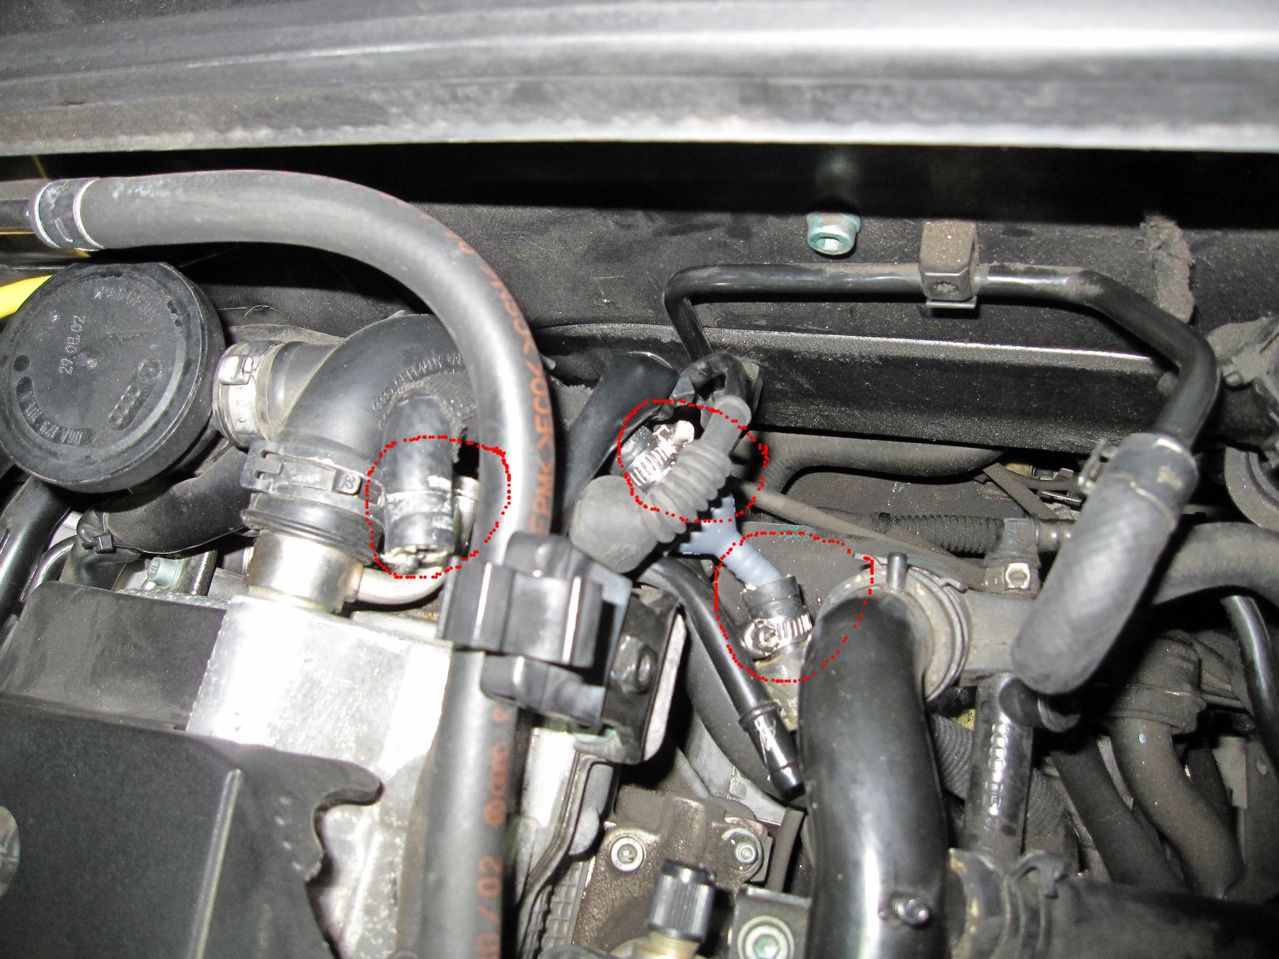
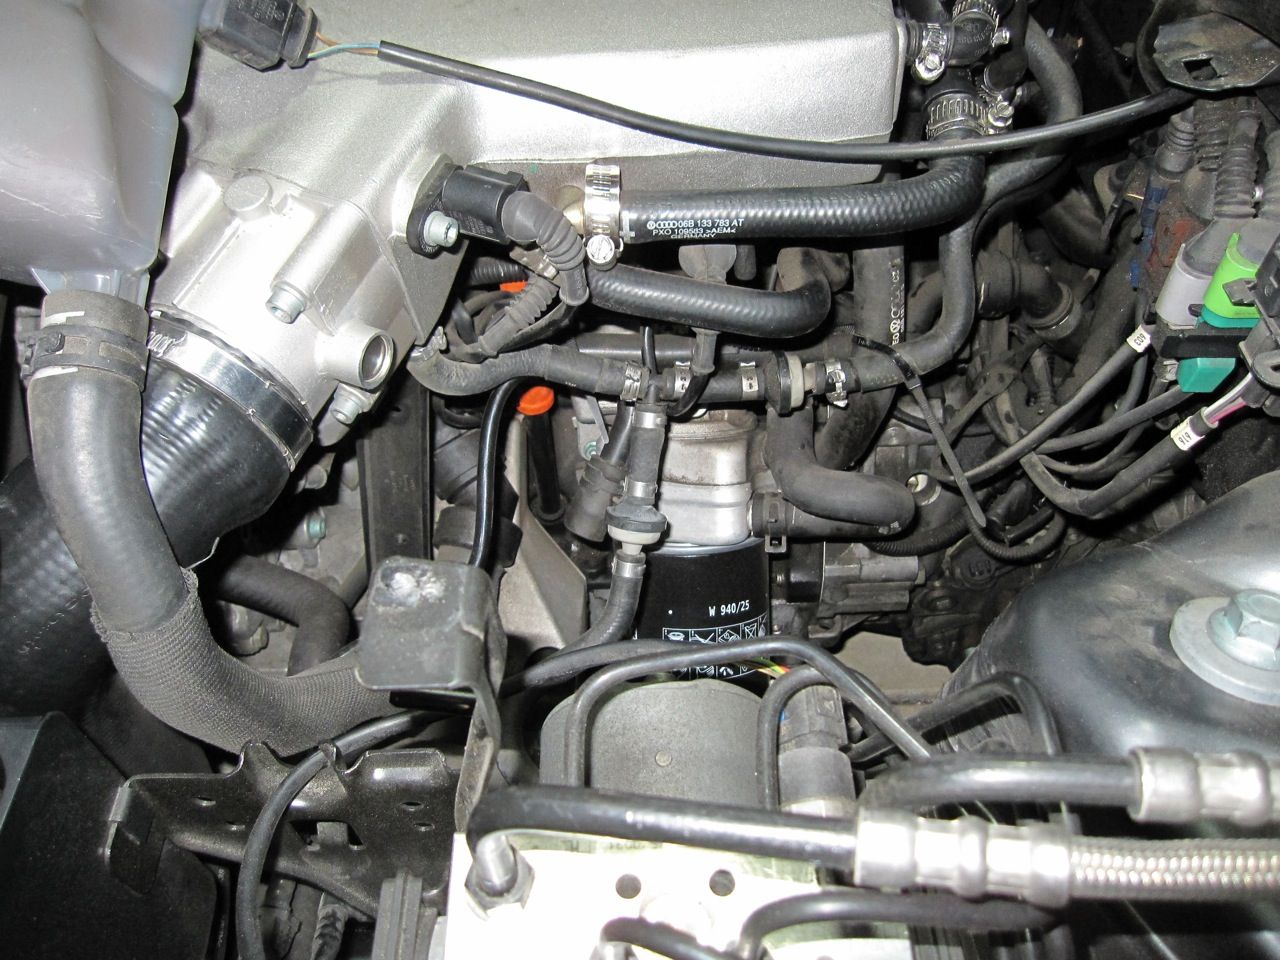
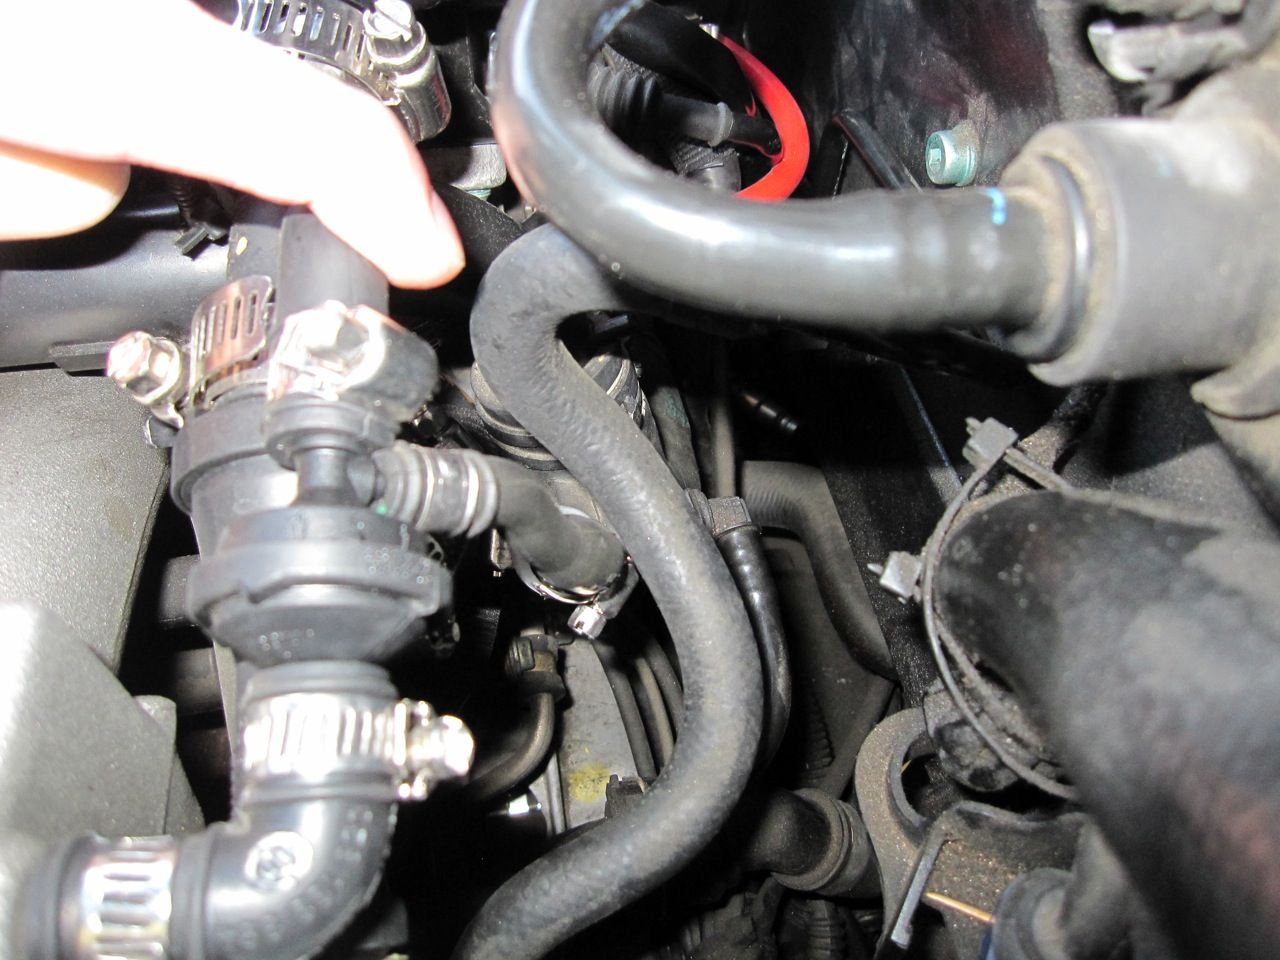
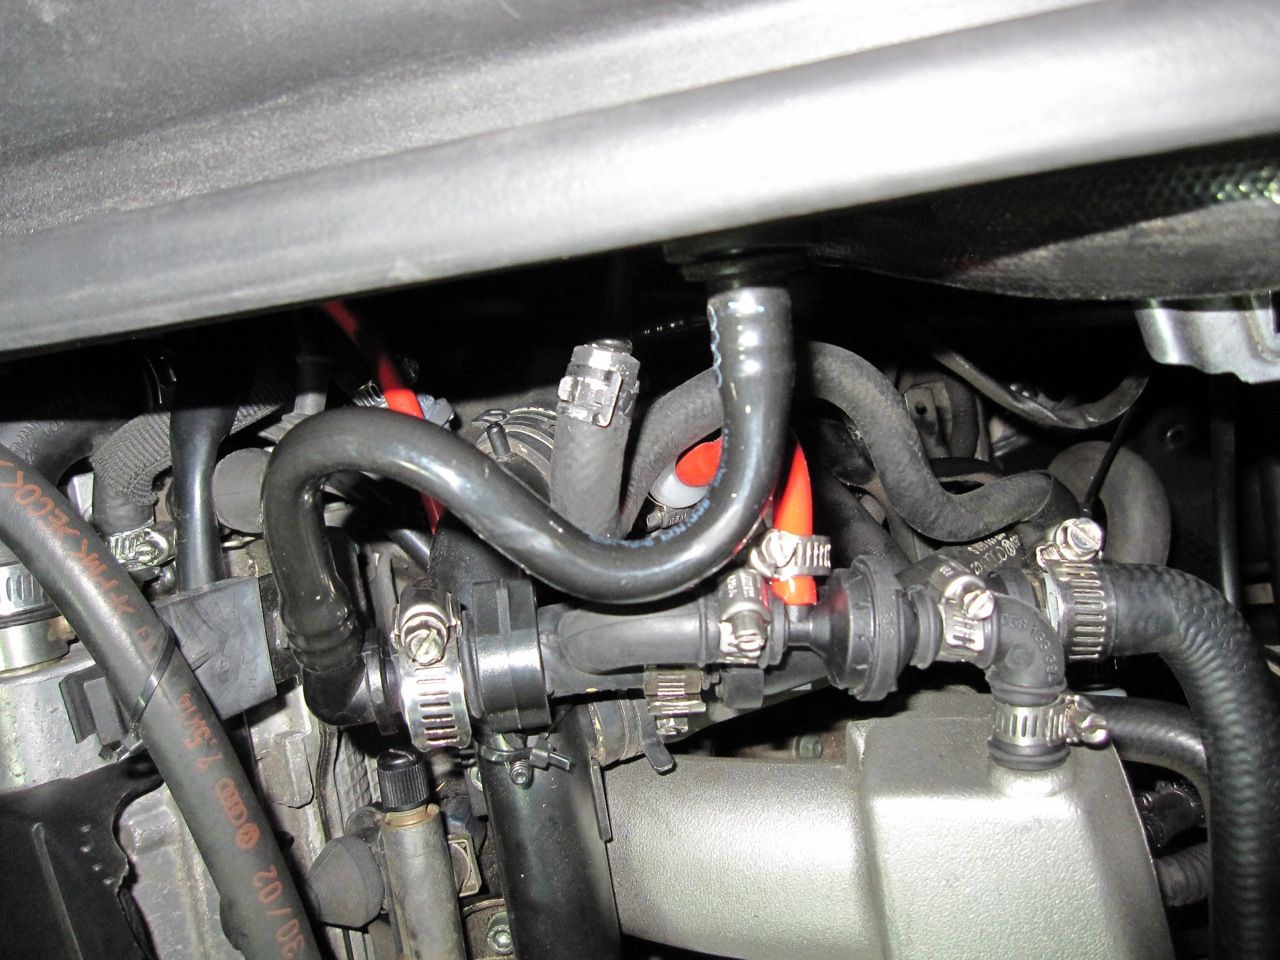
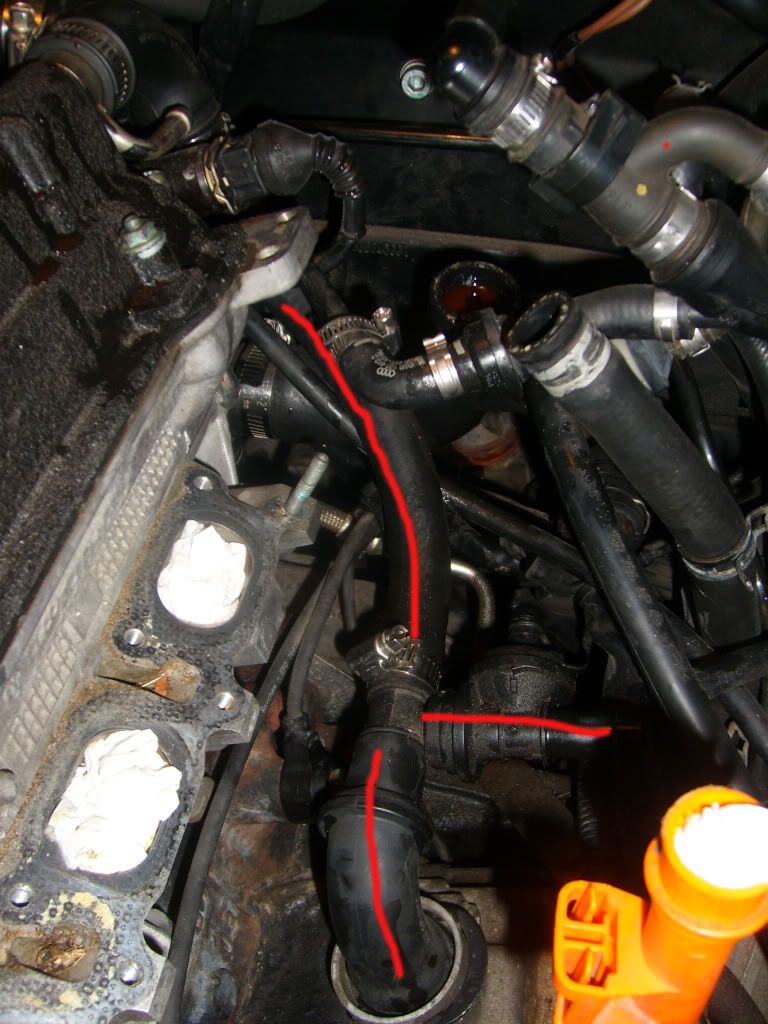
The red arrow marks the point of failure on my just suction pump. (see my hand in the top right pulling it away) The two red circles are some of the valves in question that need to be replaced.
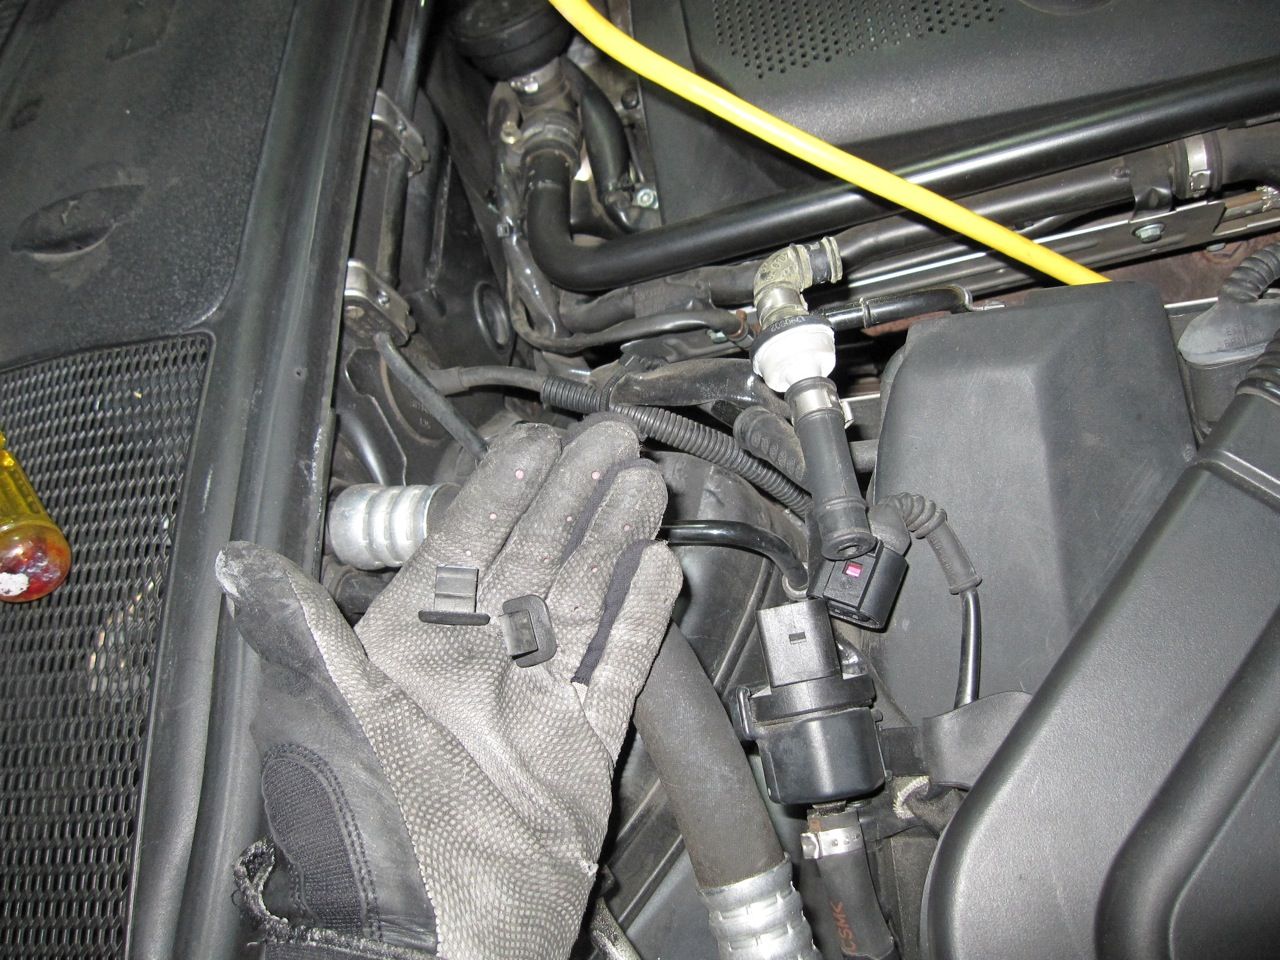
Keep in mind that all of these parts are flexible and can shift from pic to pic. Once you get under your hood and look around you'll start to see this and they'll become more familiar.
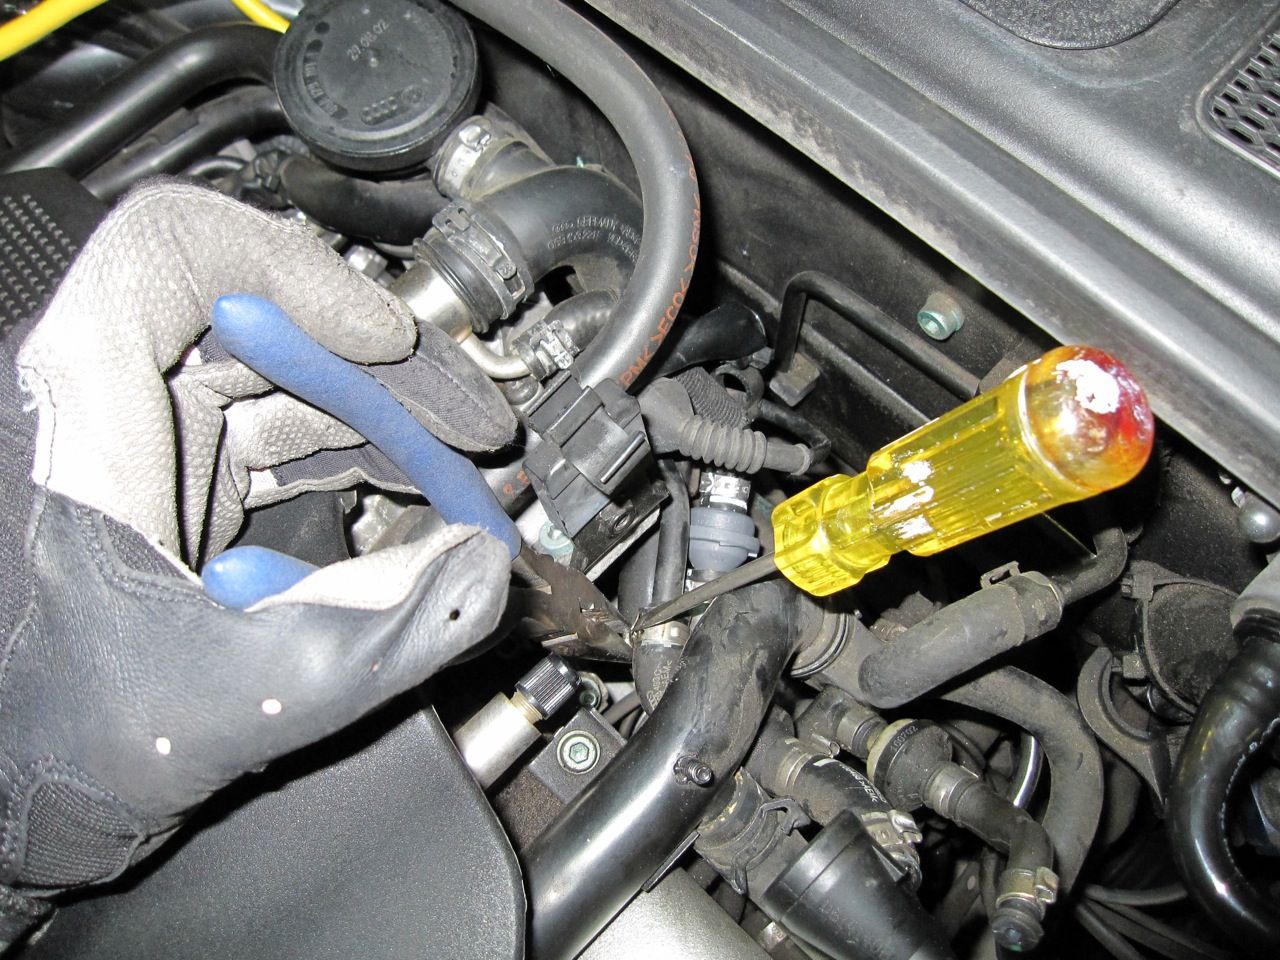
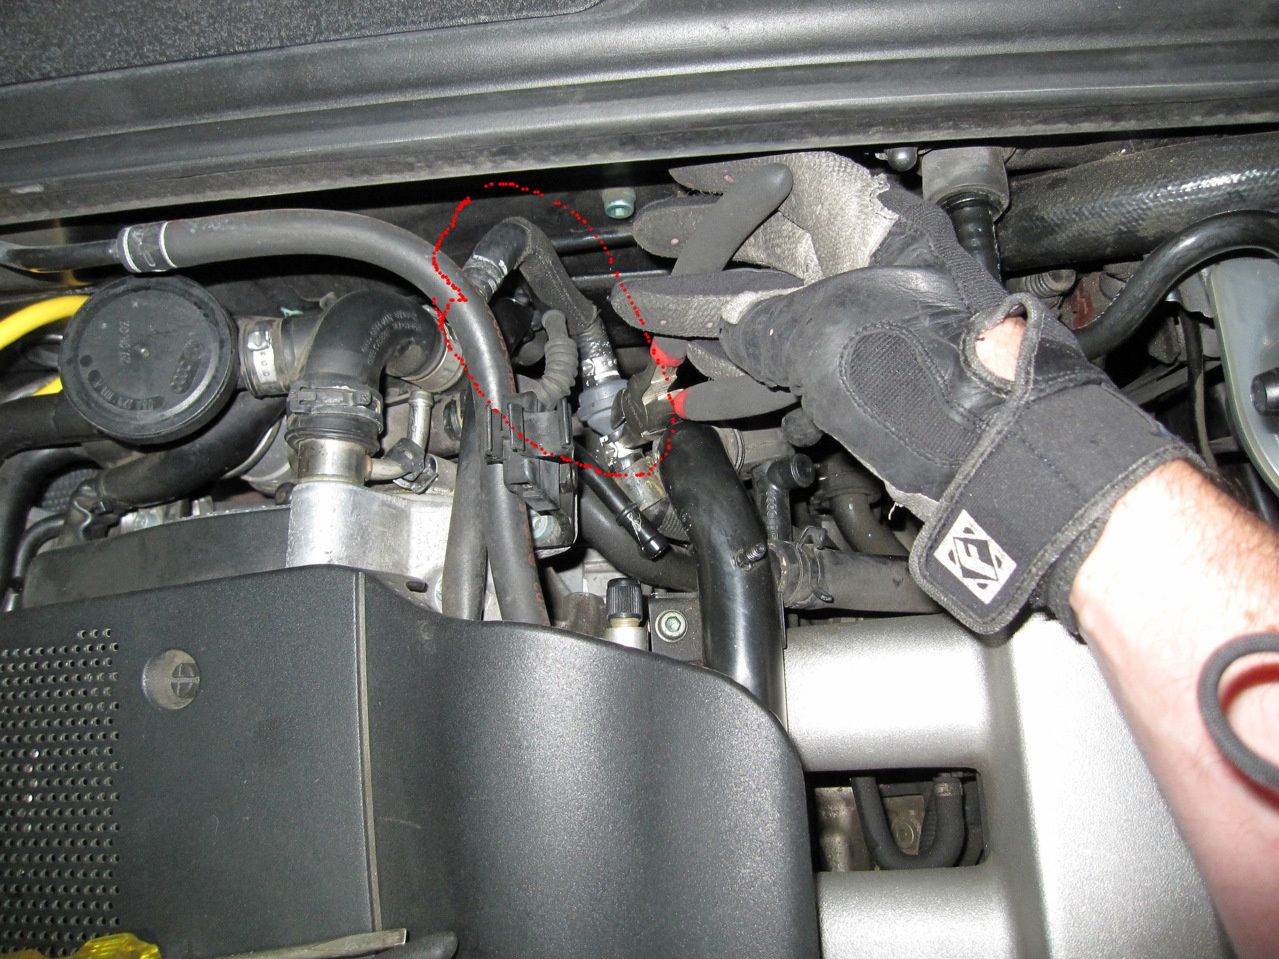
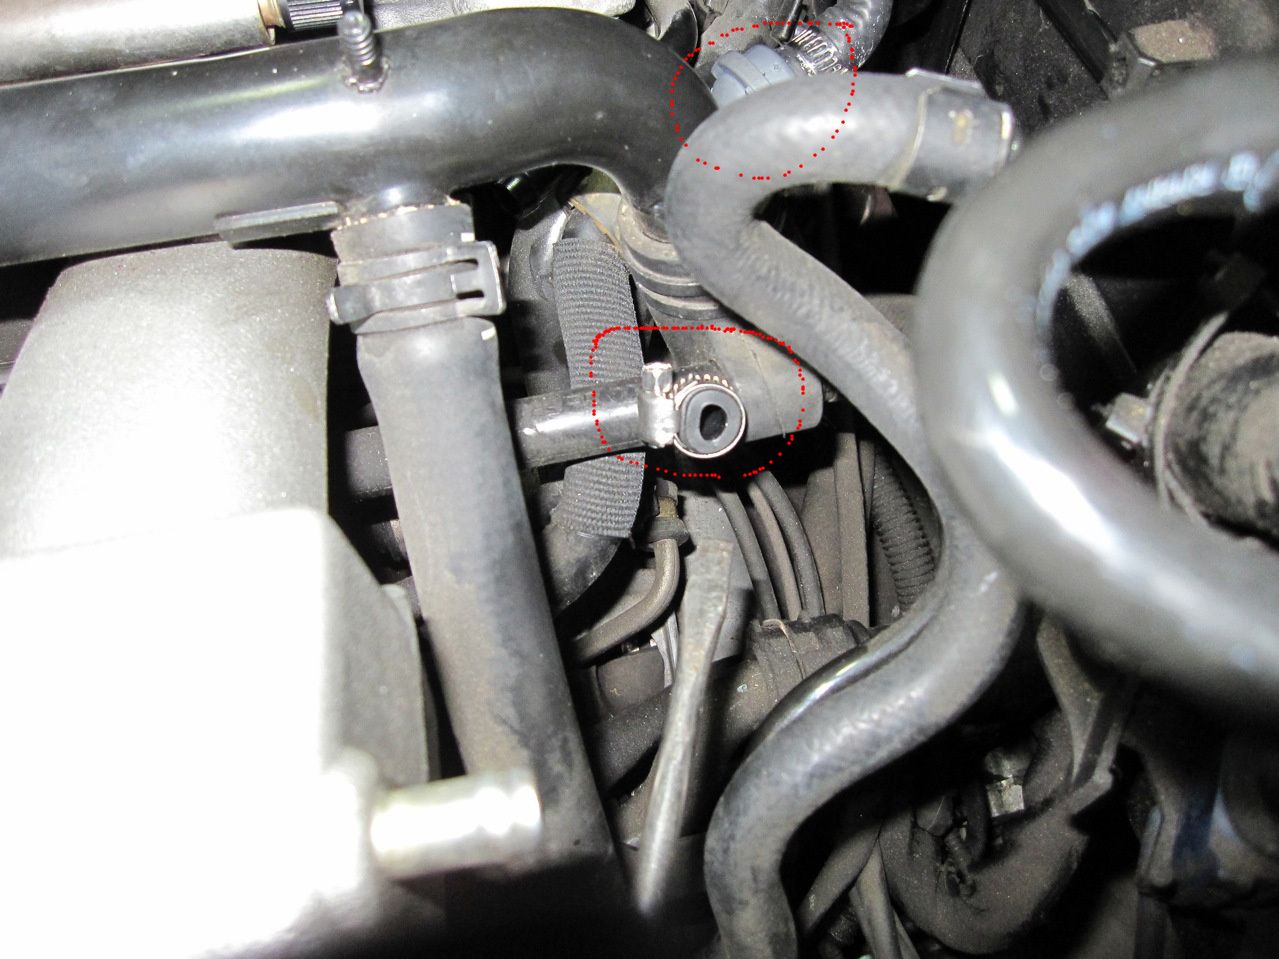
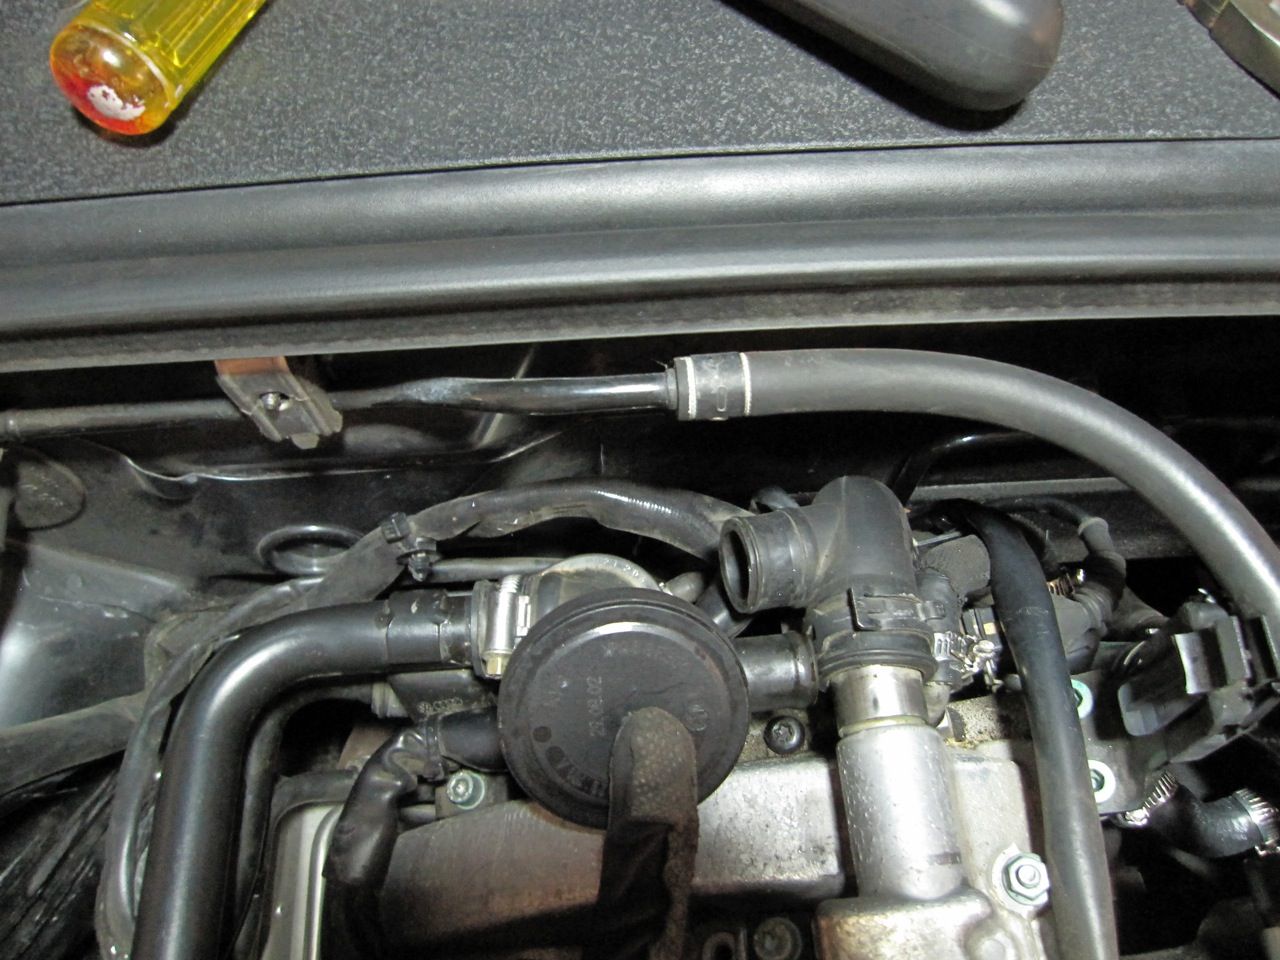
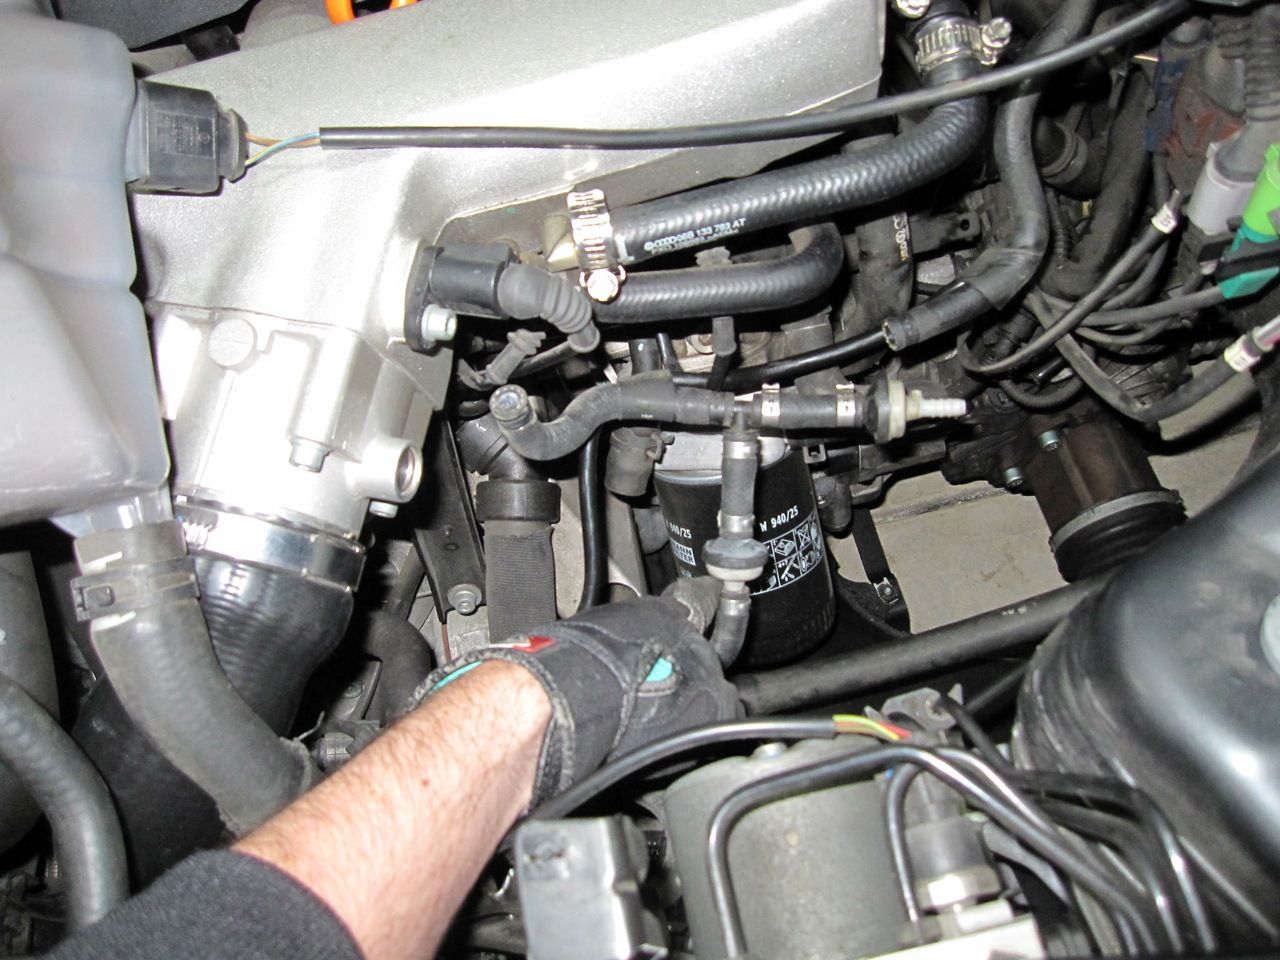
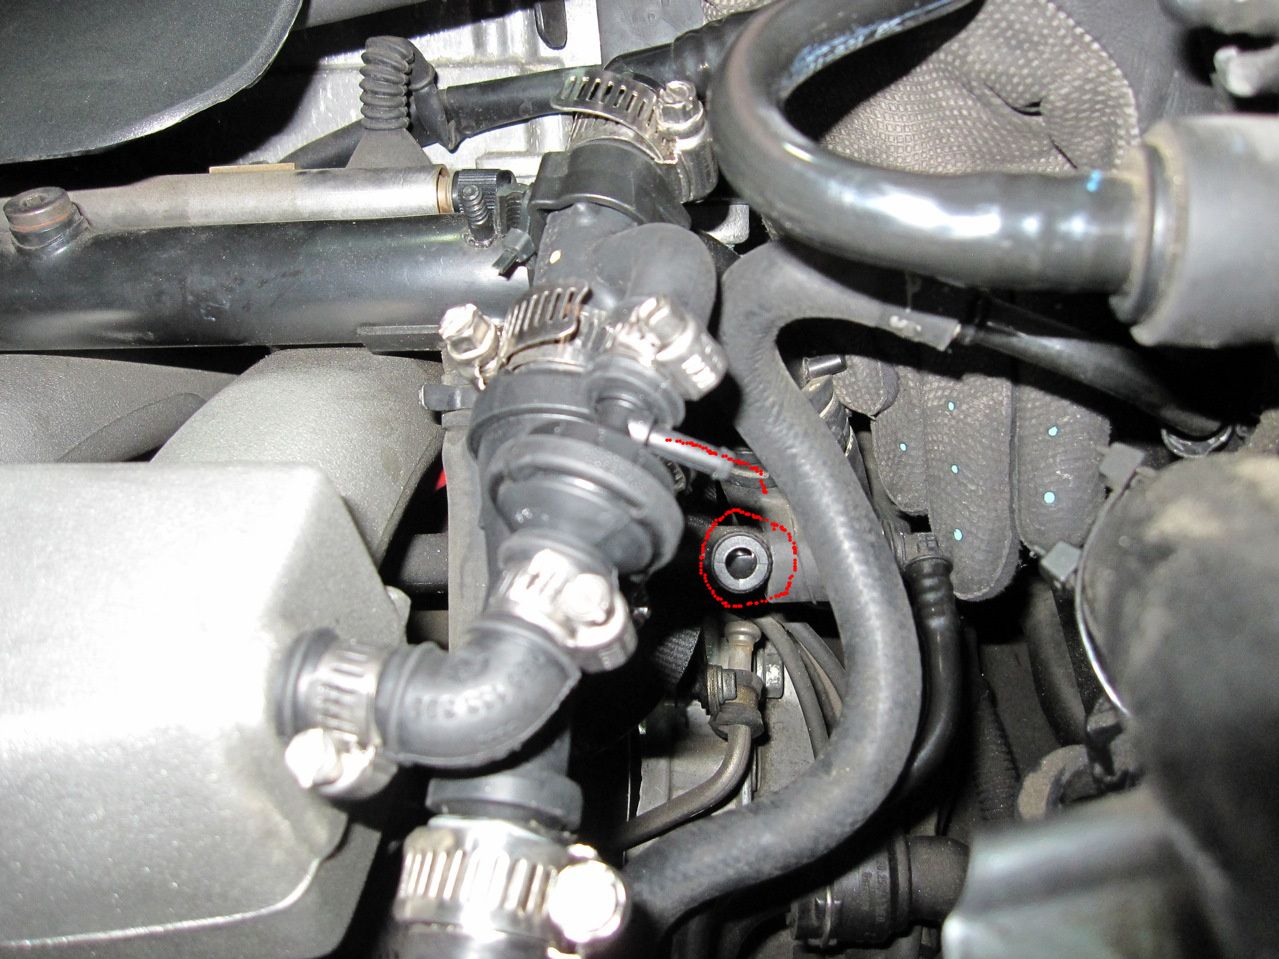
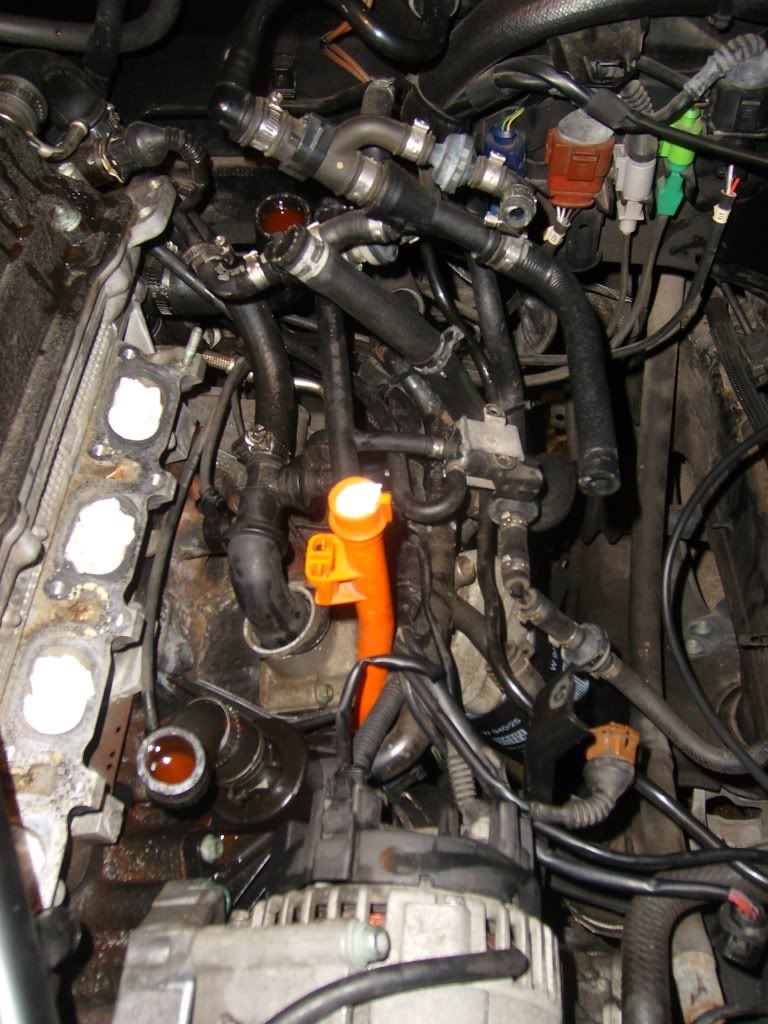
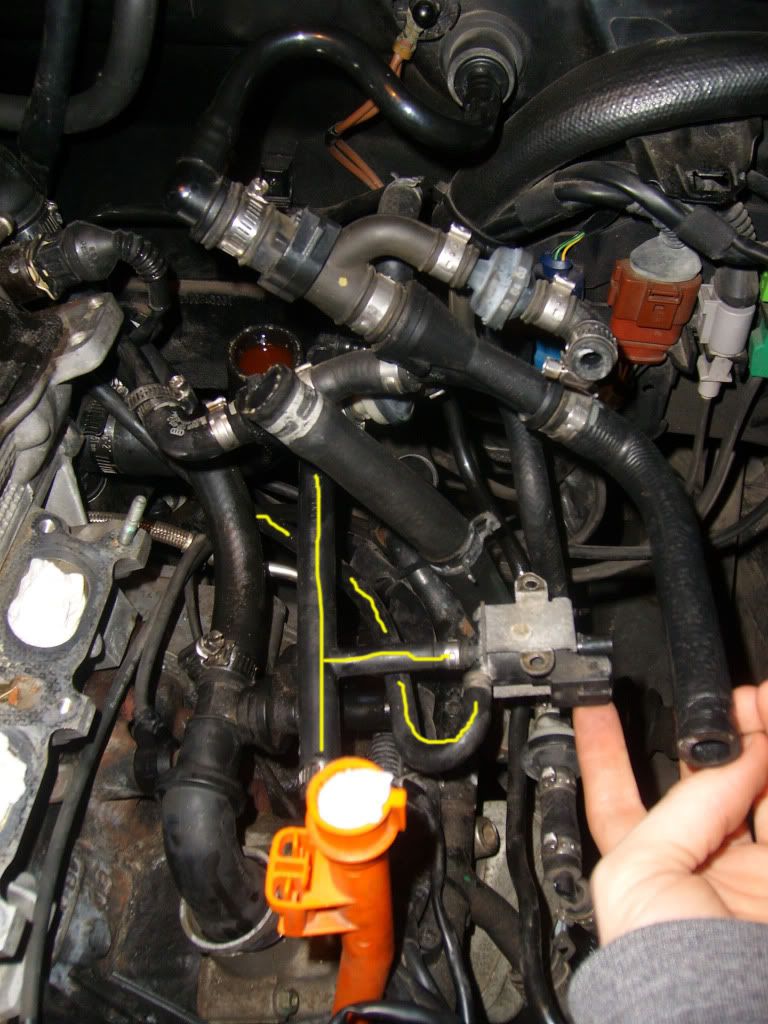
Using a narrow flat head (and pliers) is an excellent way to loosen the one-time clamps. The red circle here is where the three way valve was once connected. (obviously referencing previous pics in post 1 will help)
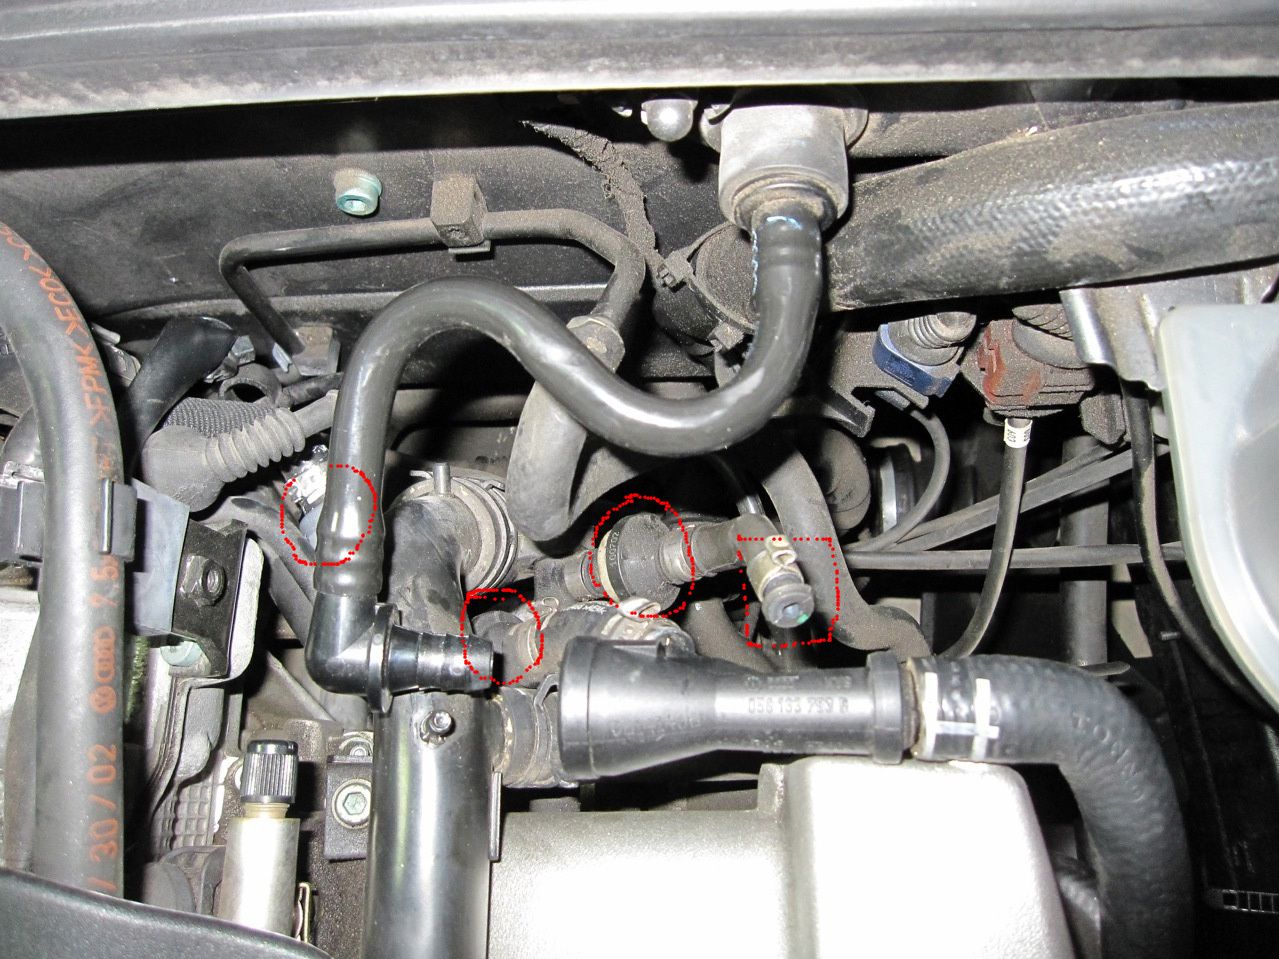
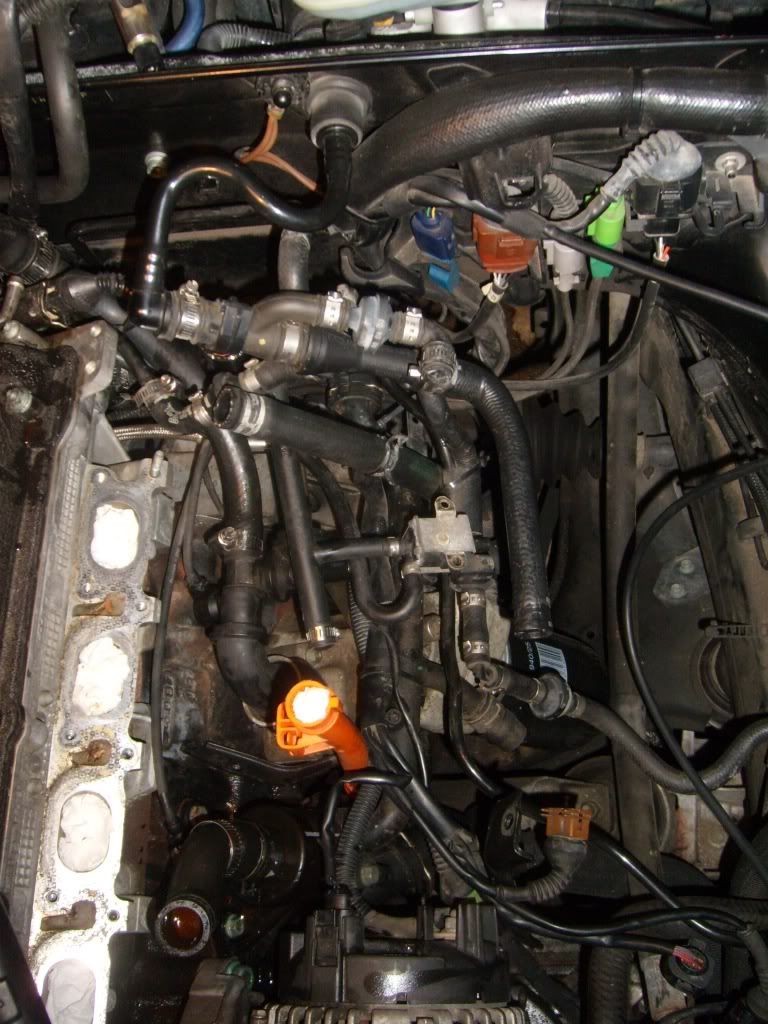
Again, circles mark valves to be replaced and the square is where the 3-way valve once connected. Also, the large s-shaped black tube at the forefront of the image (that runs to the back firewall) will be rotated over 180deg for room to work. So when you see it later and it's backwards, that's why.
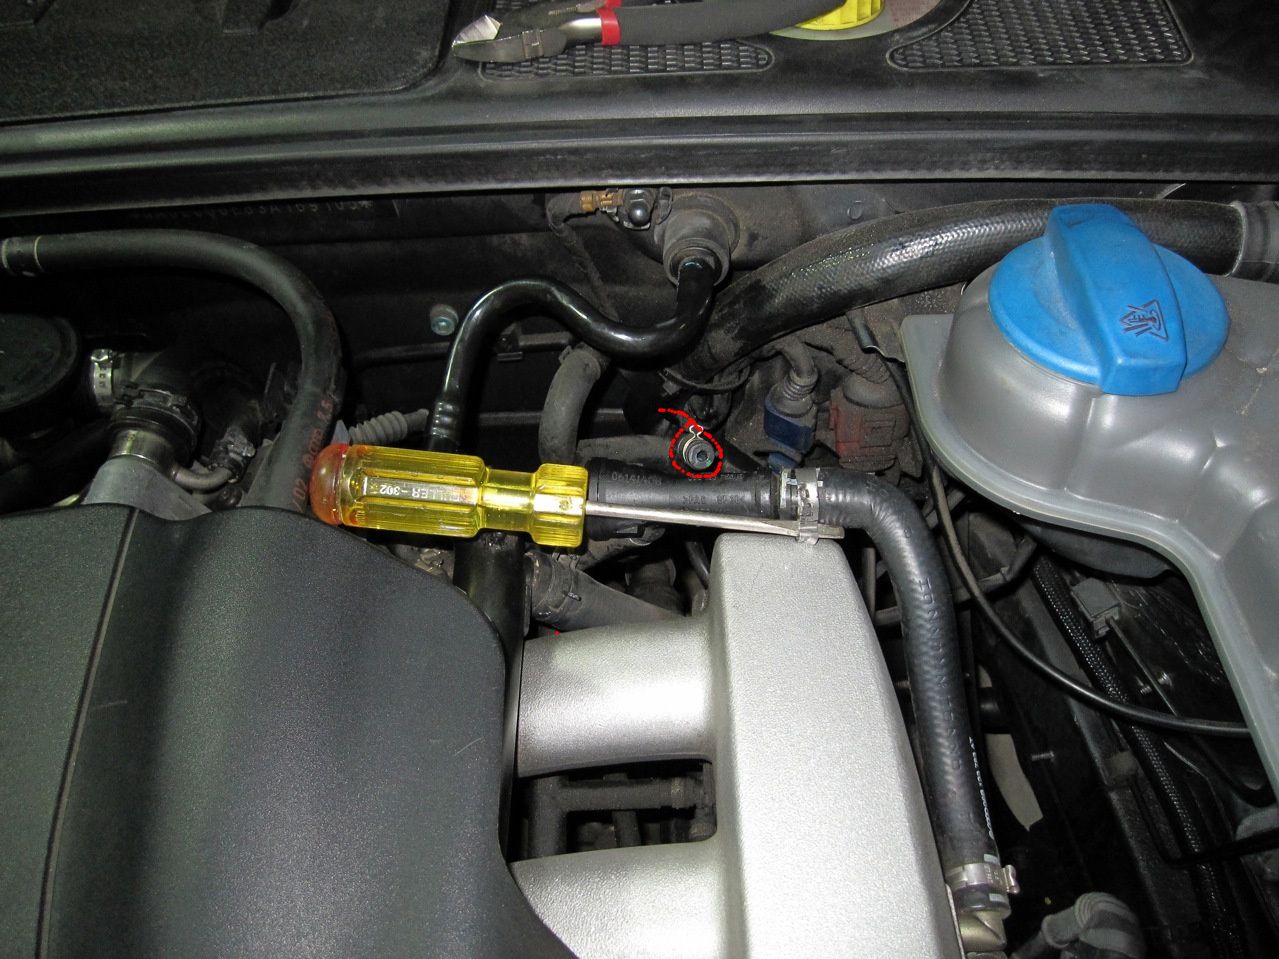
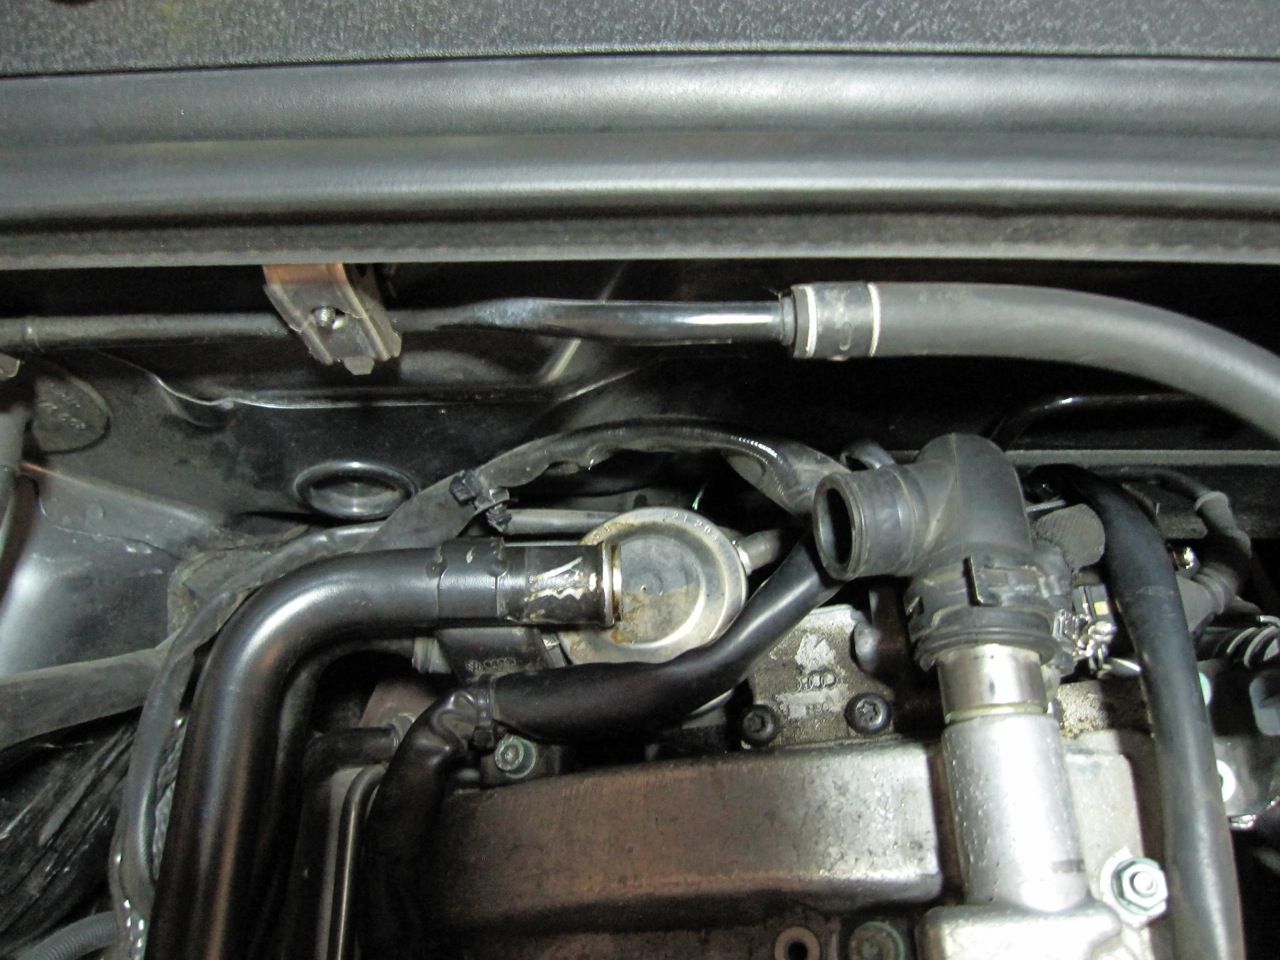
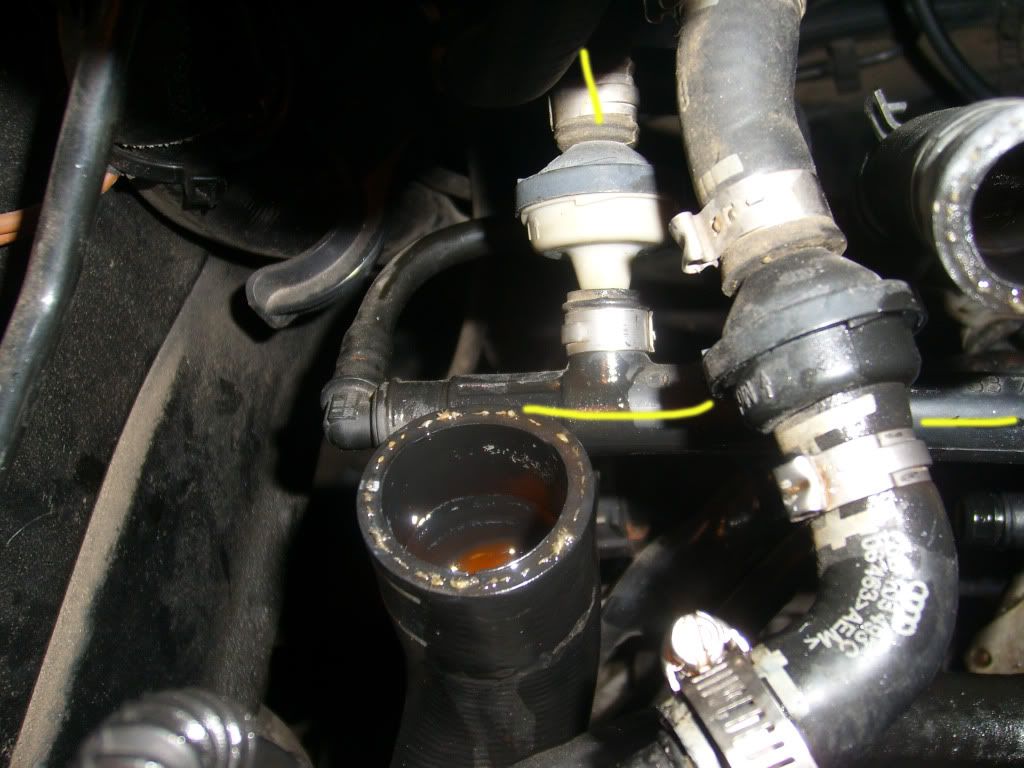
The location of this clamp deserves a special place in hell. It's connected to a small solid pipe meaning it's tougher to get loose.
Here's where using pliers and a narrow driver will come in especially handy.
Even after loosening the clamp, I had so much trouble getting the hose off that I eventually sliced the end open to pull it free.
Since I bought a replacement, I wasn't worried. Keep in mind that the hoses from the factory are tough and won't play nice all the time.
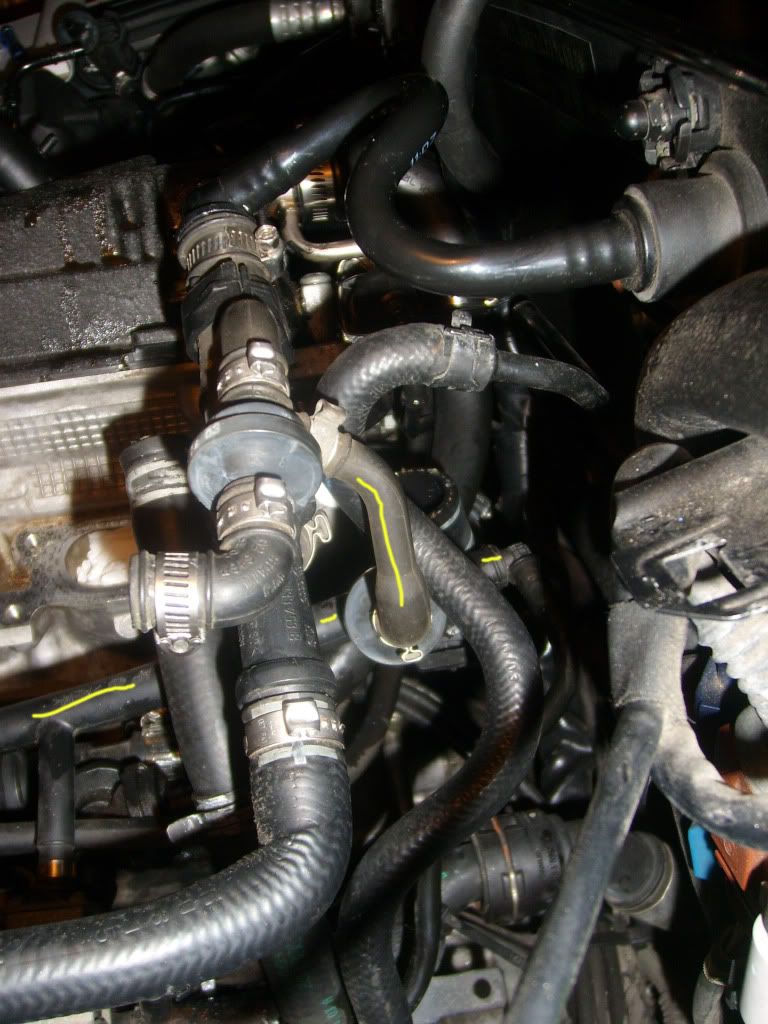
In the circle on the left, you can see the marks from the blade. The hose was really on there. In the center circle, this is where the jet suction pump and friends once lived, off to the right the s-shaped piece that runs to the master cylinder. Be careful bending it around and out of the way. Also, notice the s-shaped tube has been rotated out of the way now.
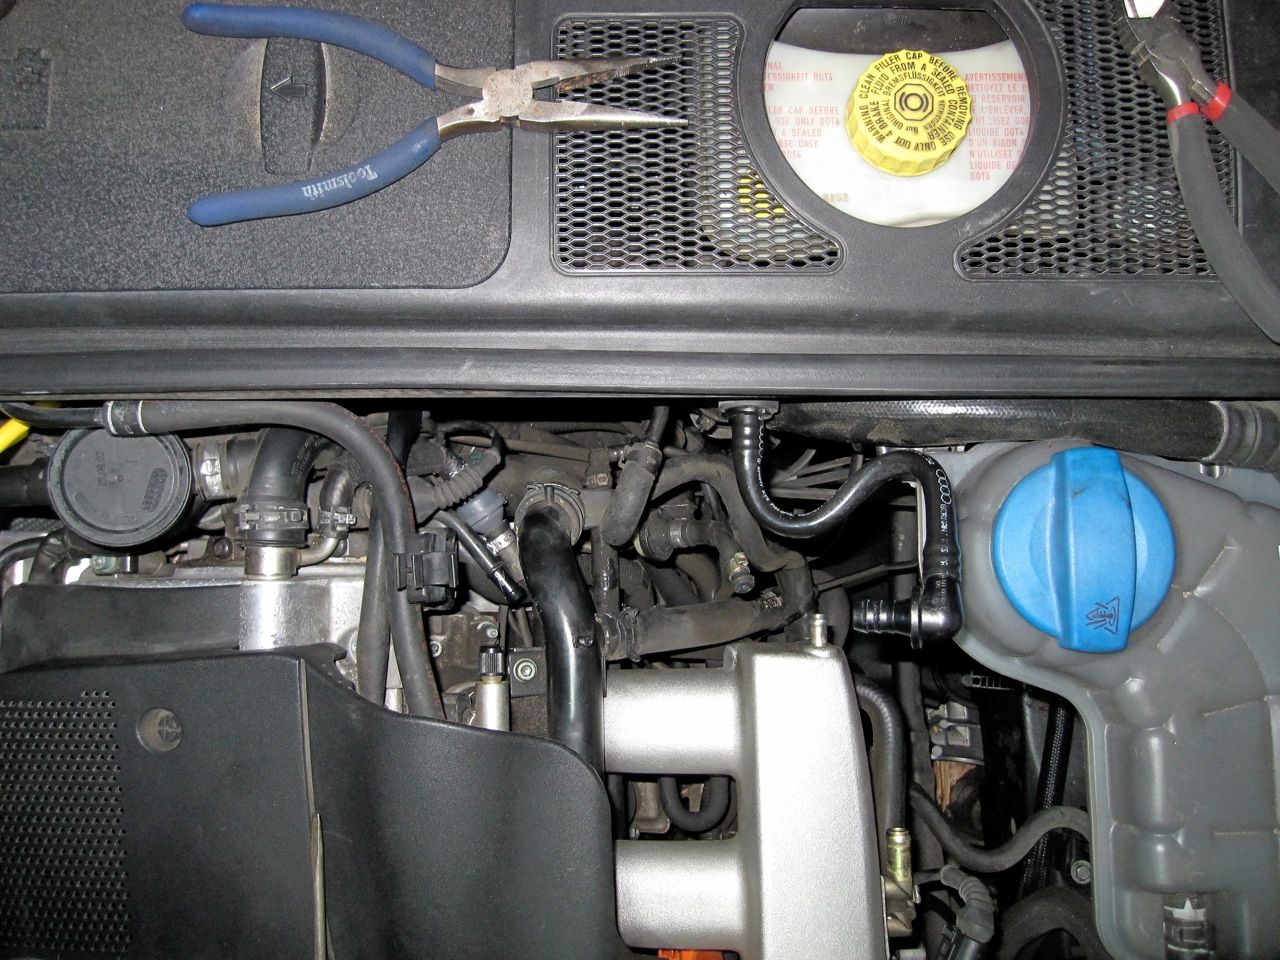
Top view
Remove this hose from the small silver tube off the back of the block (check the top pic for a before shot) and then attacking the clip at the base. This will allow for a far easier extraction.
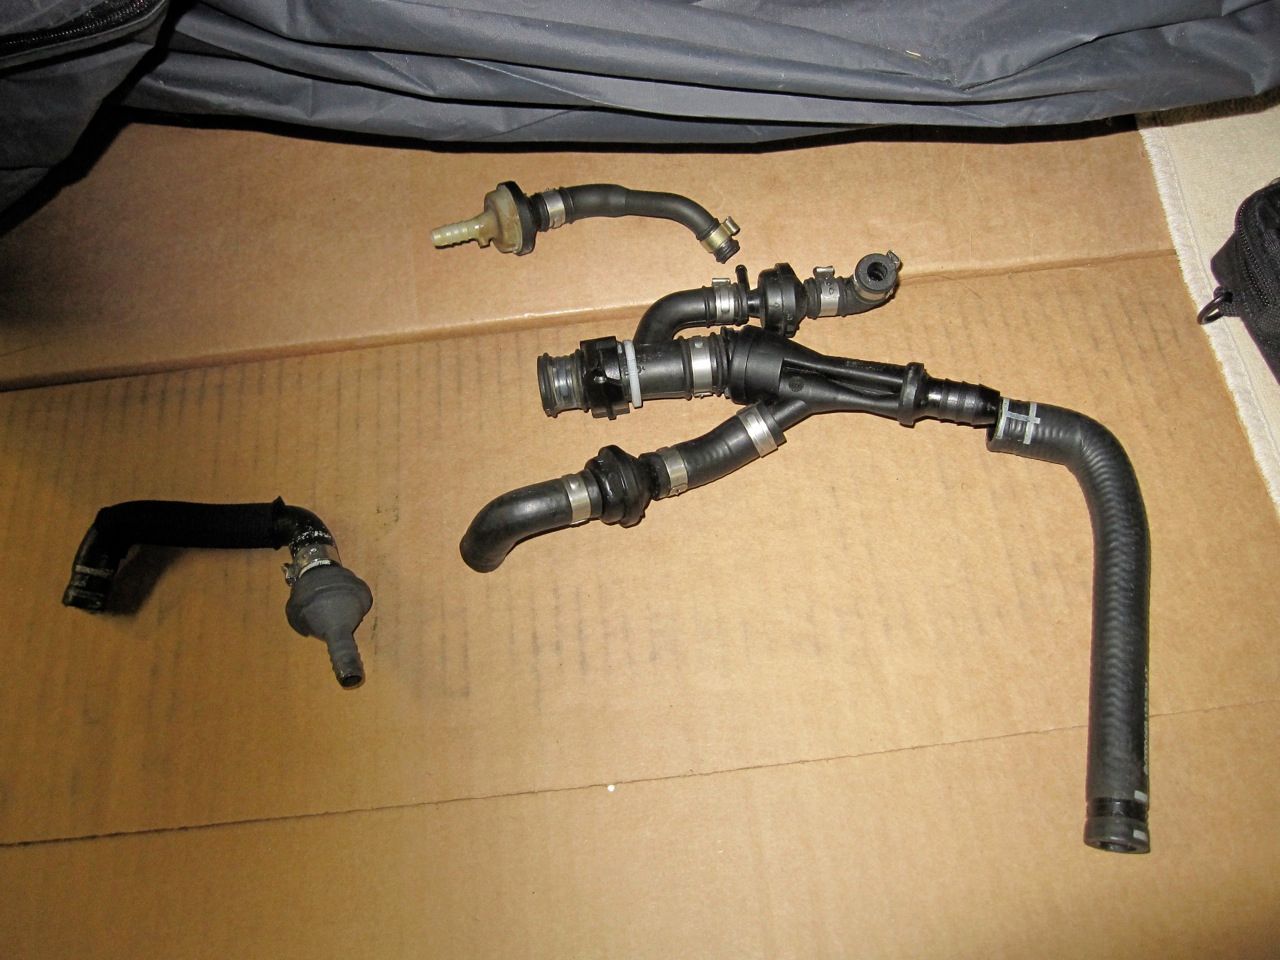
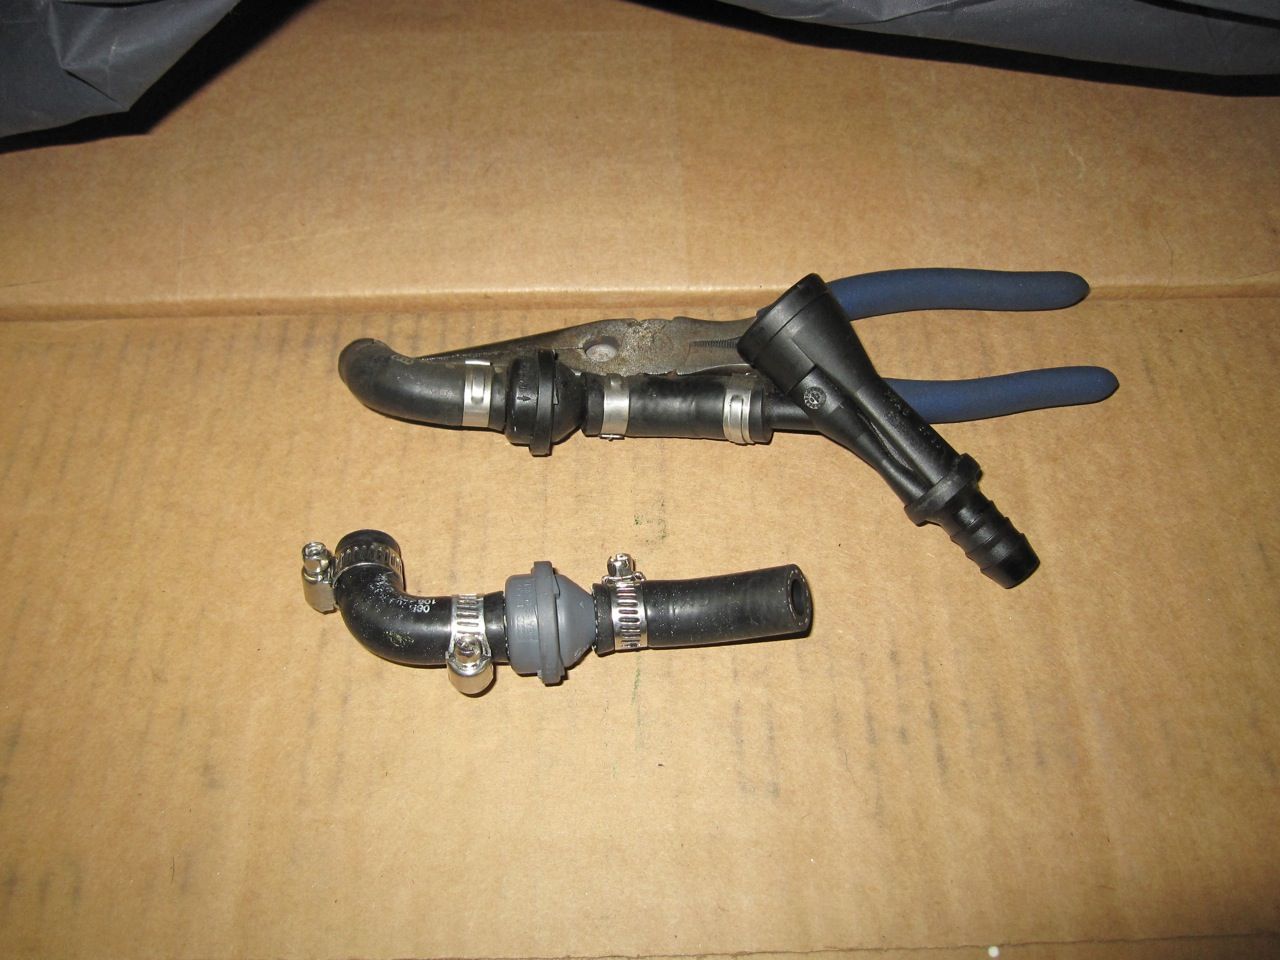
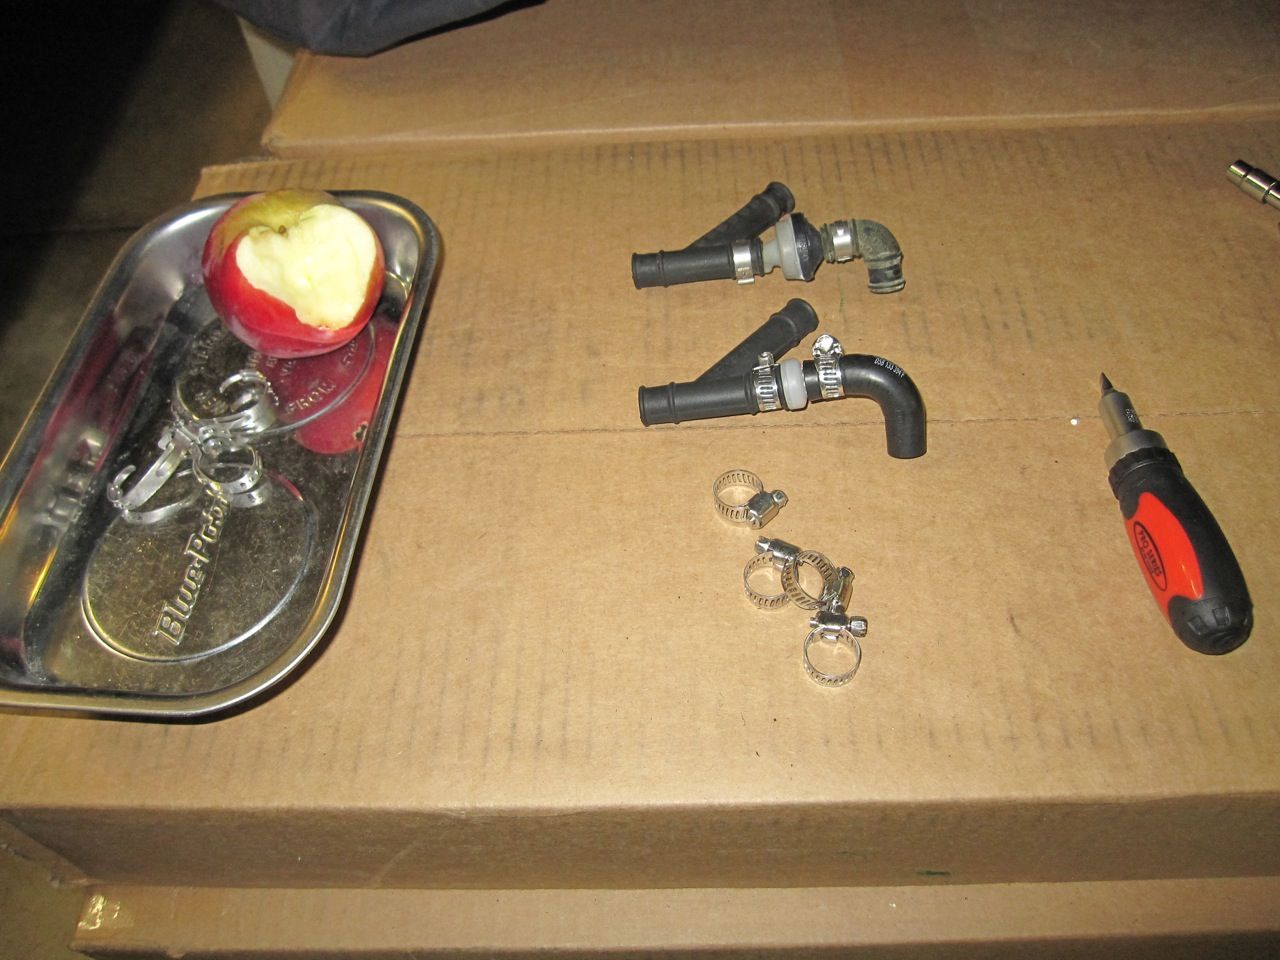
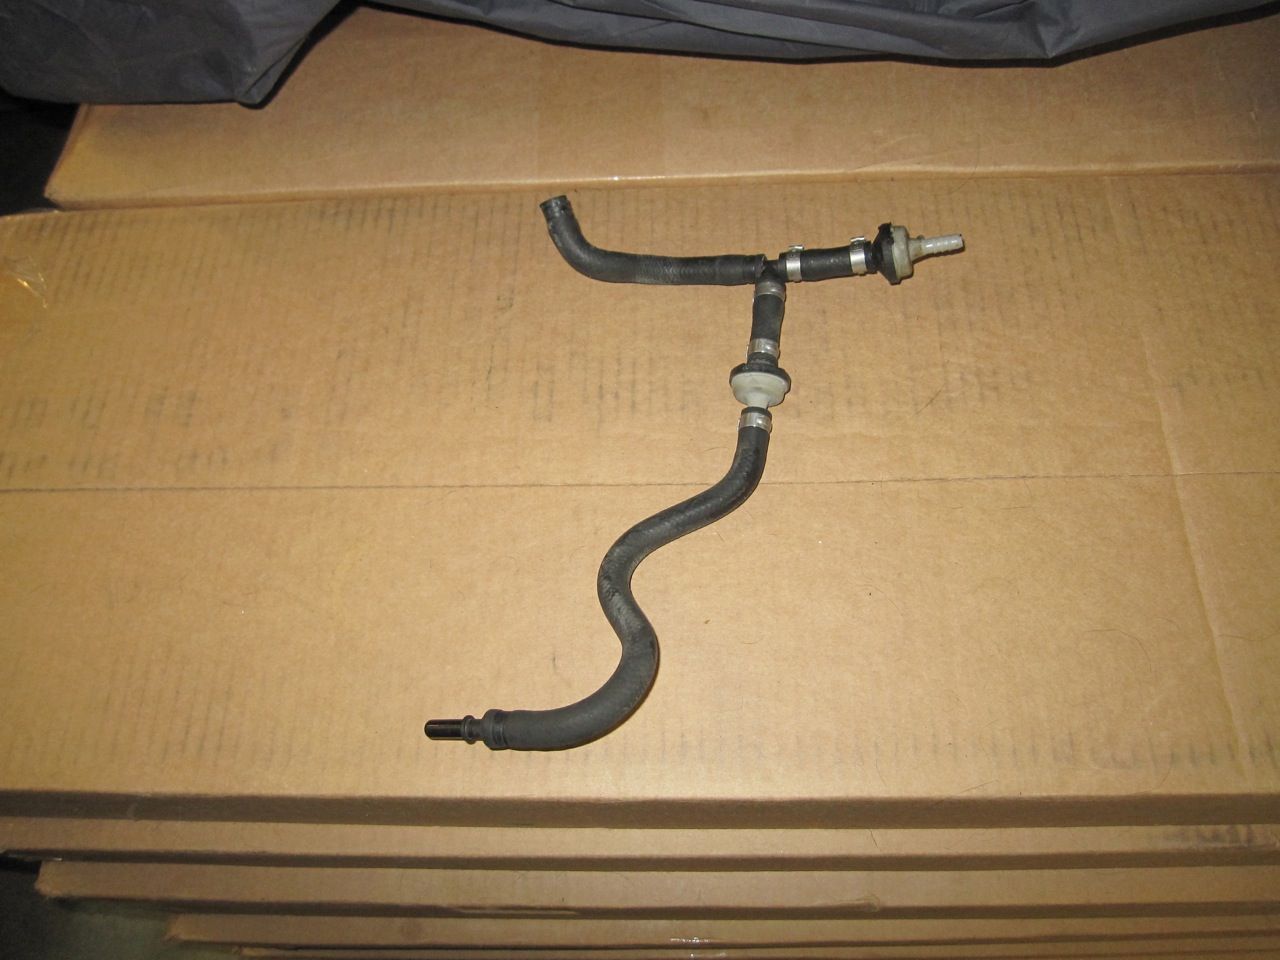
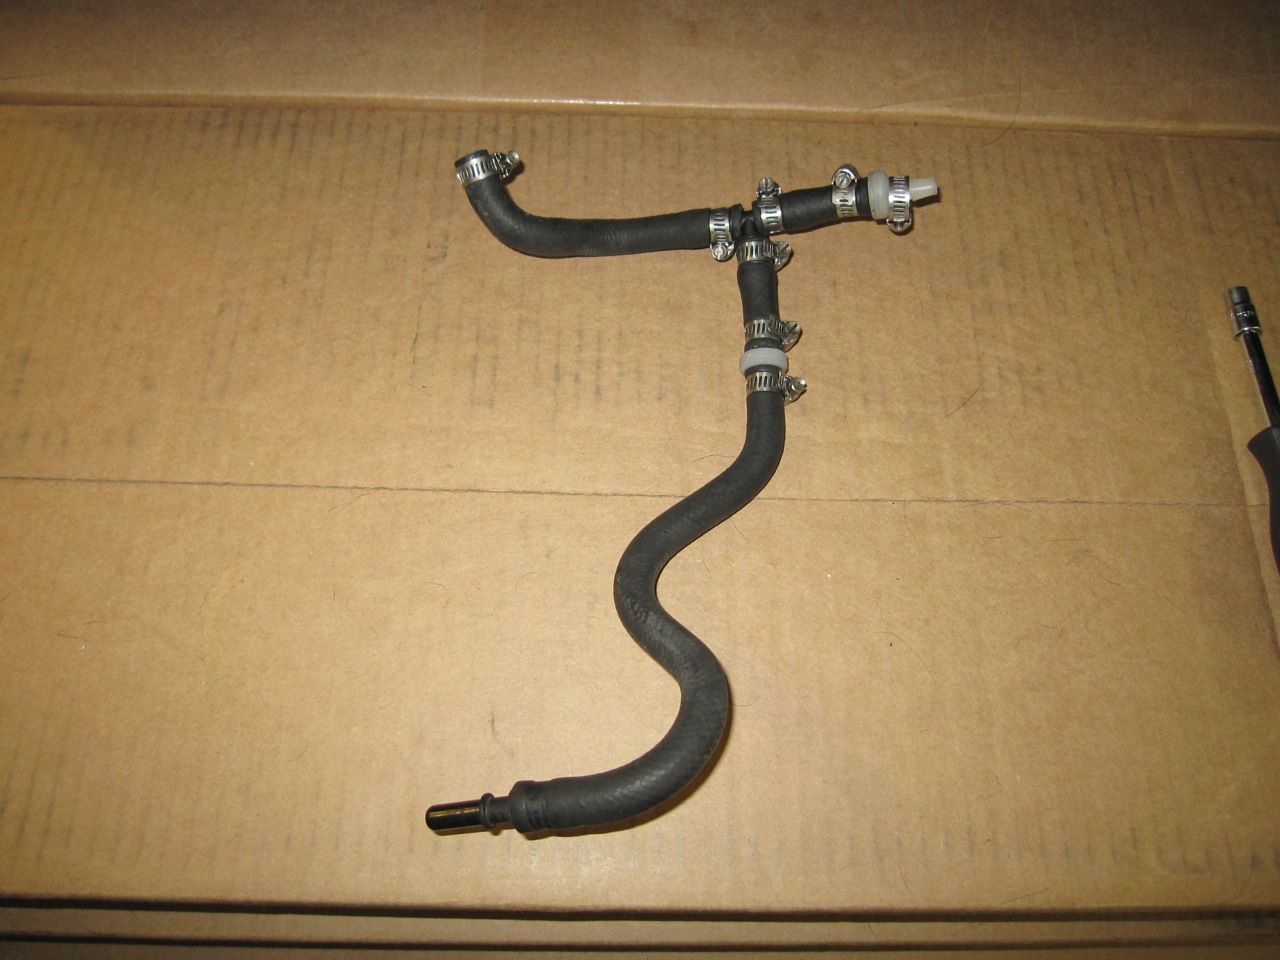
I thought this might be particularly helpful. This is essentially the rear vac system (minus a few pieces). Starting to make sense? Hope so. Also, laying the original pieces out like this will make it far easier to rebuild with all your new parts.
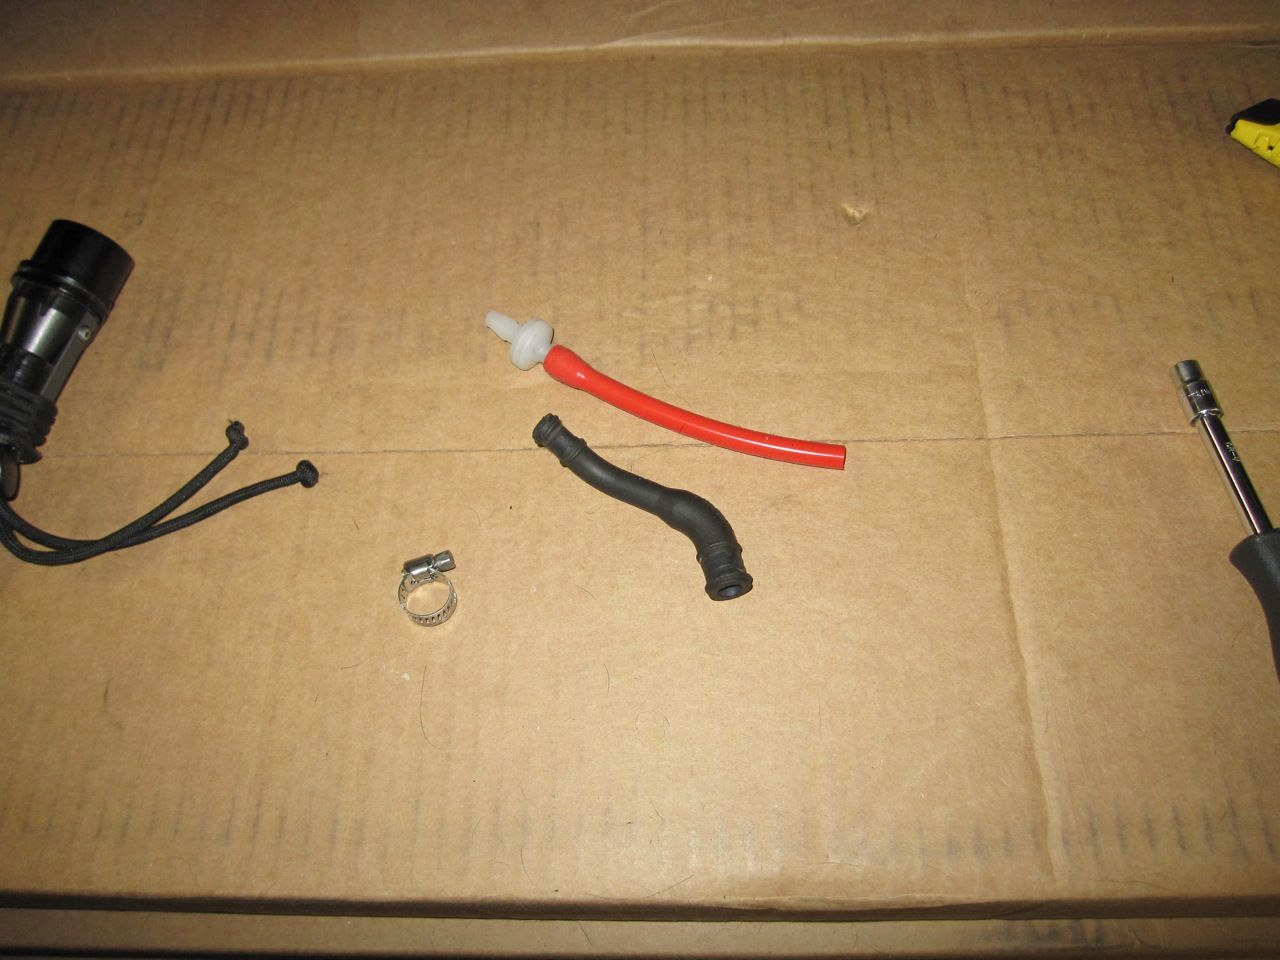
This little ****** snapped the tip of my Special Made In China Cutters right off! Guess Germany wins this round. After removing this old valve I put this piece right back in.
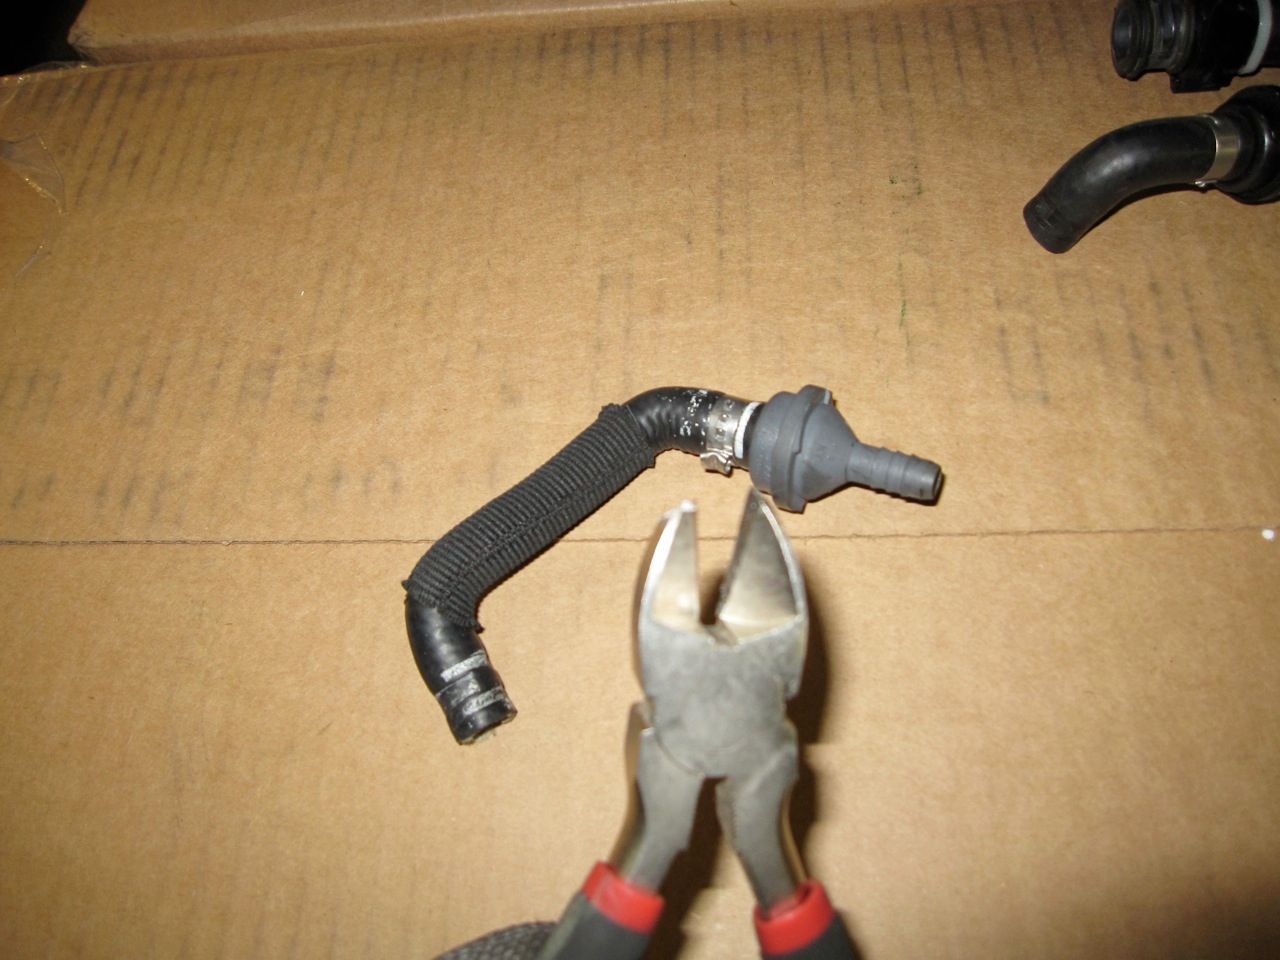
Same piece shown. Left to right: connection yet to be made off the silver pipe, new screw down clamp attached to the new, gray (WTF) valve, and again new screw down clamp.
At the top, notice the hose and valve from the previous pic. Dead center, see how pre-attaching a screw down clamp can make reassembly easy. Just tighten it enough so it's not moving around at stays put.
More reassembly tips. Even the small hoses have shape to them. Match up the bends before tightening them down. And angle the screw down clamps for easy access. Makes you realize that most are somewhat specialized and can't just be replaced with basic heater hose (props again to spector/Kegan for trying thou).
Here's a far more assembled pic.
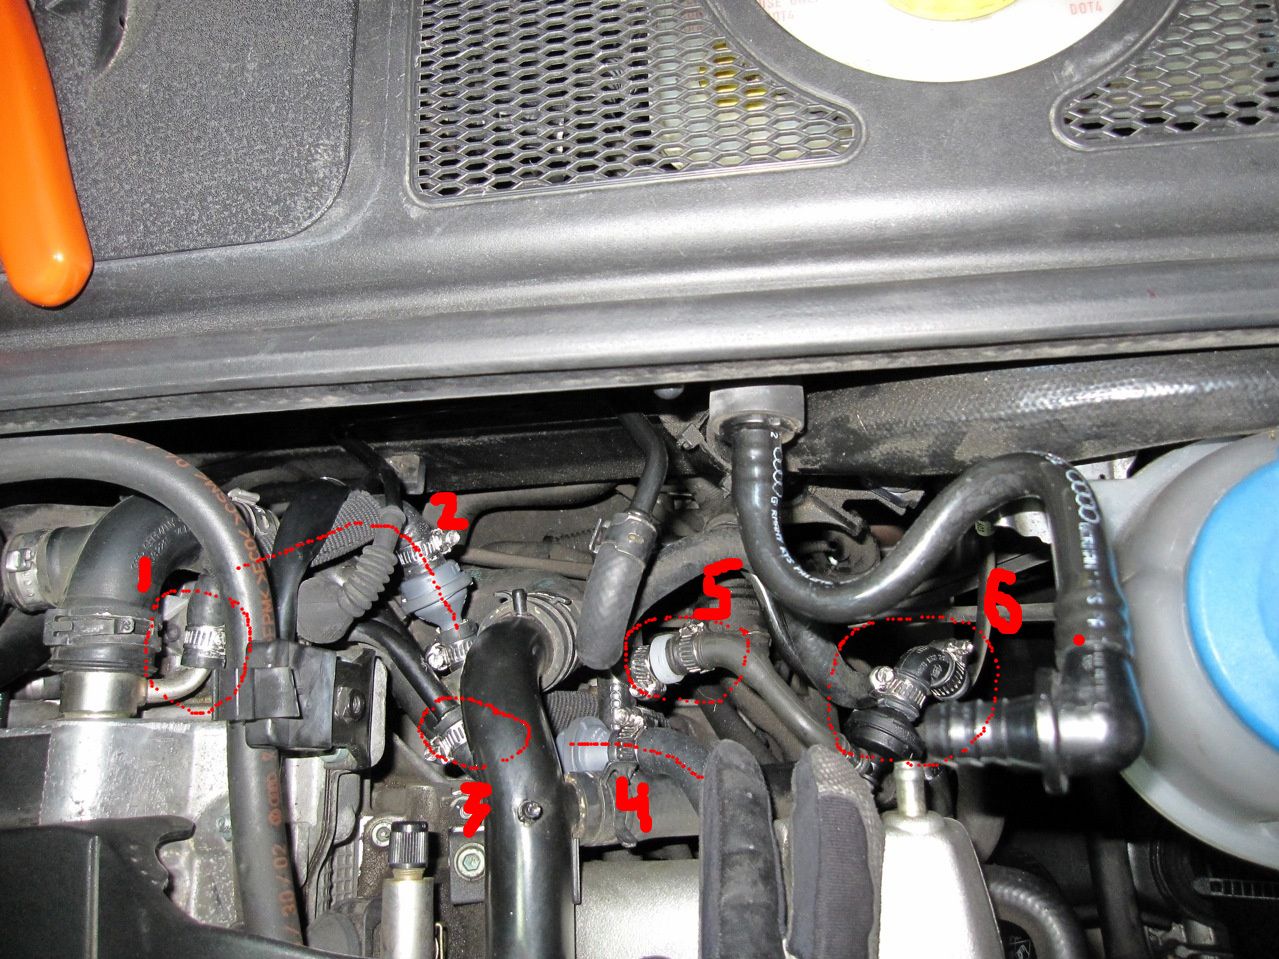
1. attached to silver tube off the back of the block (which BTW does not always appear in ETKA)
1-2 drawn line: didn't have the part number for this so I left the original in place, appeared to be fairly new so I'm not concerned about it.
2. new WTF valve and corresponding clamps
3. difficult to remove hose on metal piece (I used a heat gun on the new OEM host to slip it over the black metal tube - just enough to soften it up)
4. the 2nd WTF valve
5. the US Plastic check valve + new clamps
6. new OEM 3-way check valve and new clamps
Pulling apart the left had size (lost a random clip off the firewall. These hoses were in pretty damn tight.
And assembly of the new replacement piece. Enjoy a healthy snack to celebrate your reclaimed boost pressure and mpg.
For whatever reason I either didn't snap good pics of the finalized assembly. Will do so soon when I swap some of the valves and pieces underneath the manifold.


 Reply With Quote


Bookmarks