


Upon starting, I realized this was the first mod I ever did a few years back on my B5. Not only was it a complete disaster but I was hopelessly confused. It was ridiculous... took me forever too. Bought the part from a dealer at probably 2.5x it's online price, used no ramps or stands, somehow sliced my left hand open which bled everywhere and afterwards pretty much wanted to stalk and kill the inventor of the one time hose clamps.
Pretty funny to think about it now, especially considering my current higher levels of knowledge and confidence in working on my A4. Okay, maybe not too much higher. We'll not get carried away here.
So, I opted to put together a little something for those who might now be where I was back in the day (meaning this will likely be trivial and boring for some of you experts).
I read countless threads and posts concerning running a diaphragm style DV in reverse. Have known about it for some time but never got around to looking into it till now.
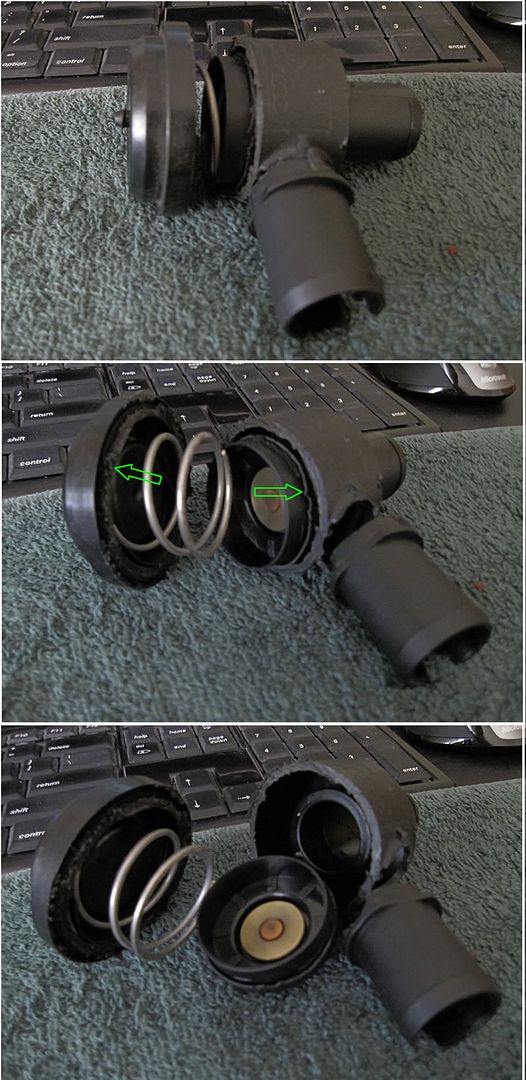
In a nutshell, the theory is that running a diaphragm style DV in reverse creates even pressure coming into each side of the DV's internal diaphragm. The results in a more efficient operation as the DV becomes more balanced. Simple enough.
EDIT: Excellent additional info on reversed DVs from diagnosticator, post 387-398.
But which way does it go, like, when, not reversed? Hmmm, I needed visuals. Go go PhotoChop.
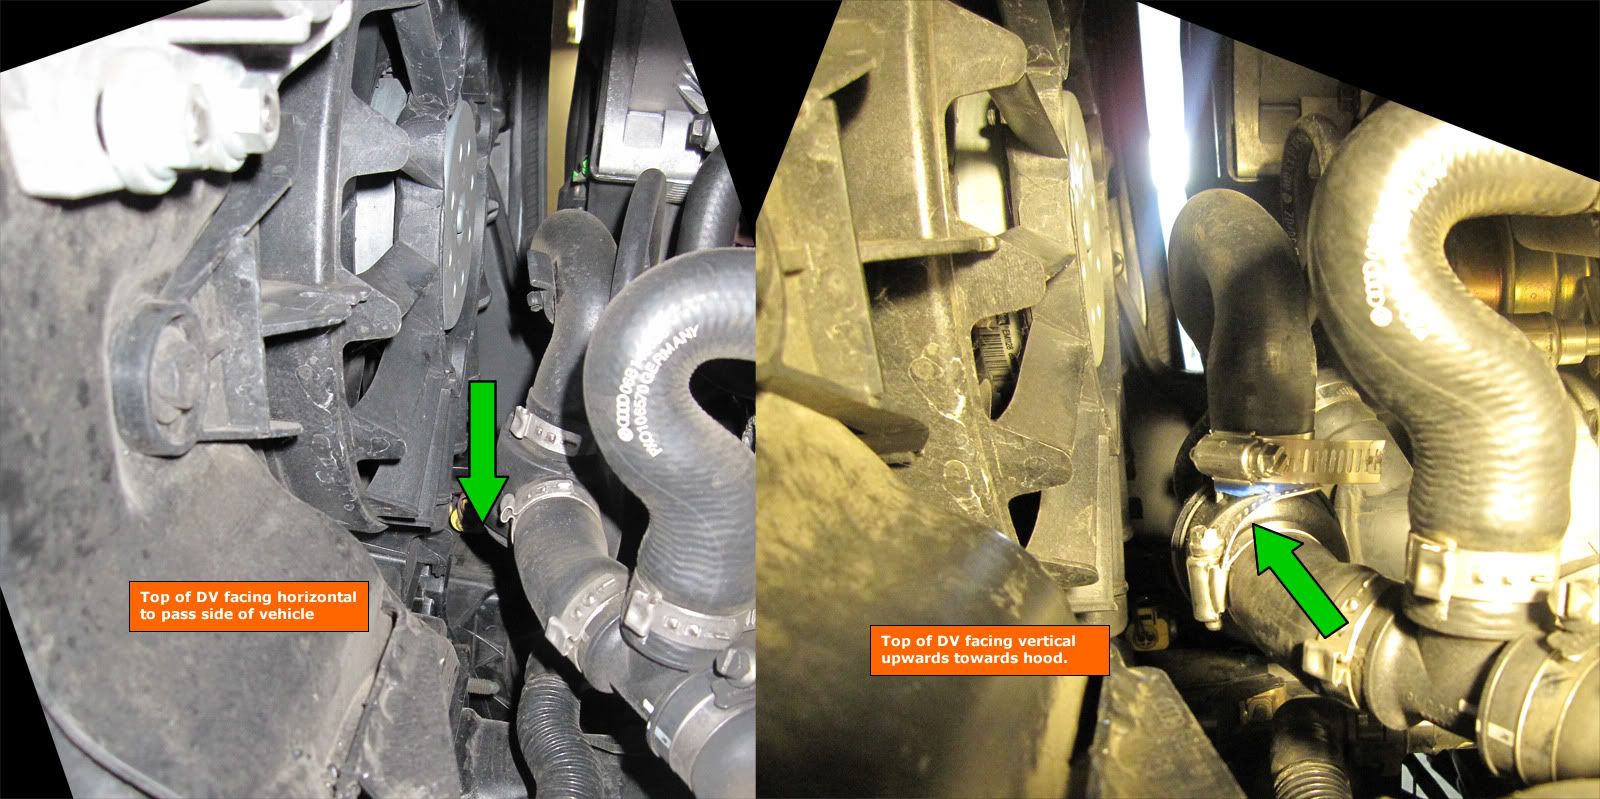
The standard install method is for the top / vac-line opening of the DV to face horizontal towards the pass side of the vehicle. In reverse, the DV is facing upwards as shown here:

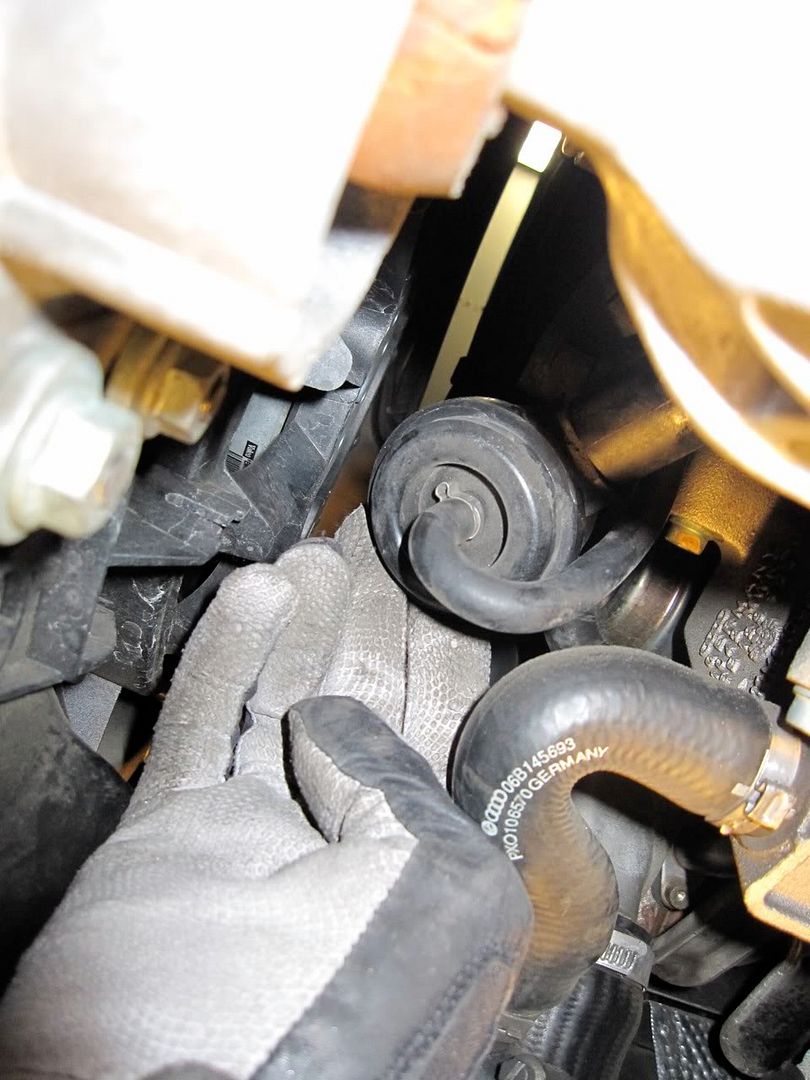
I marked my 710N with painter's tape in hopes of it showing up when installed to make this easier.
Part #: 06A 145 710 N

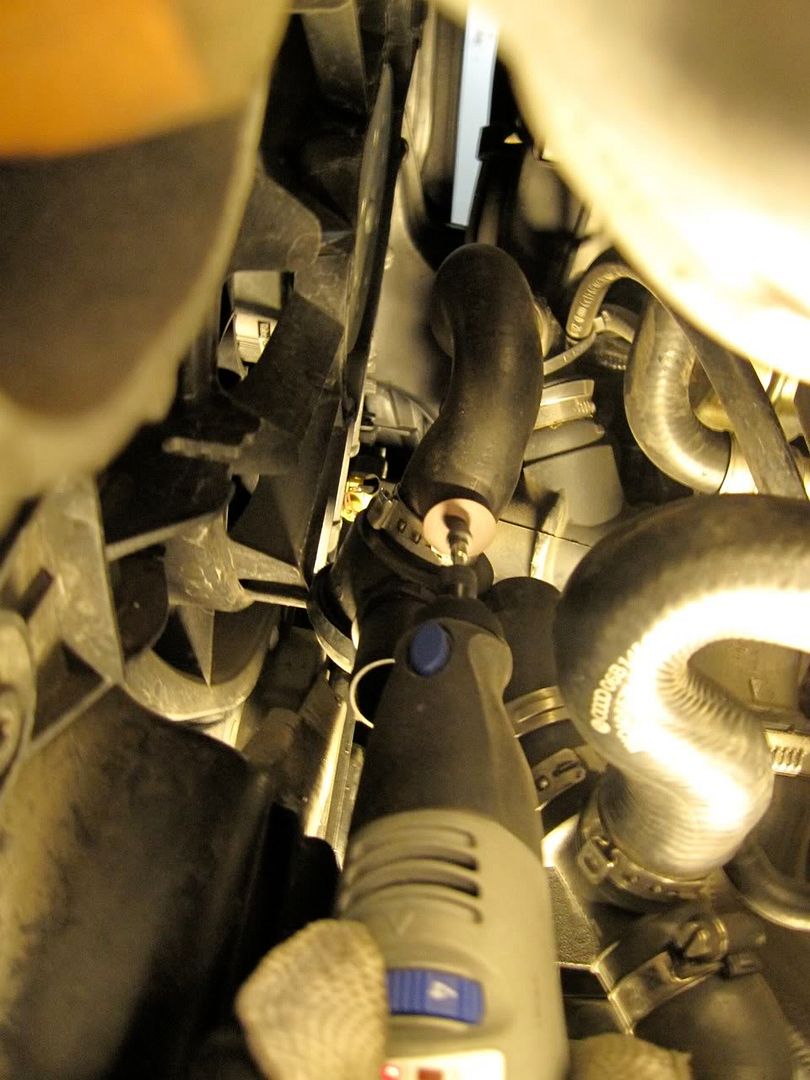
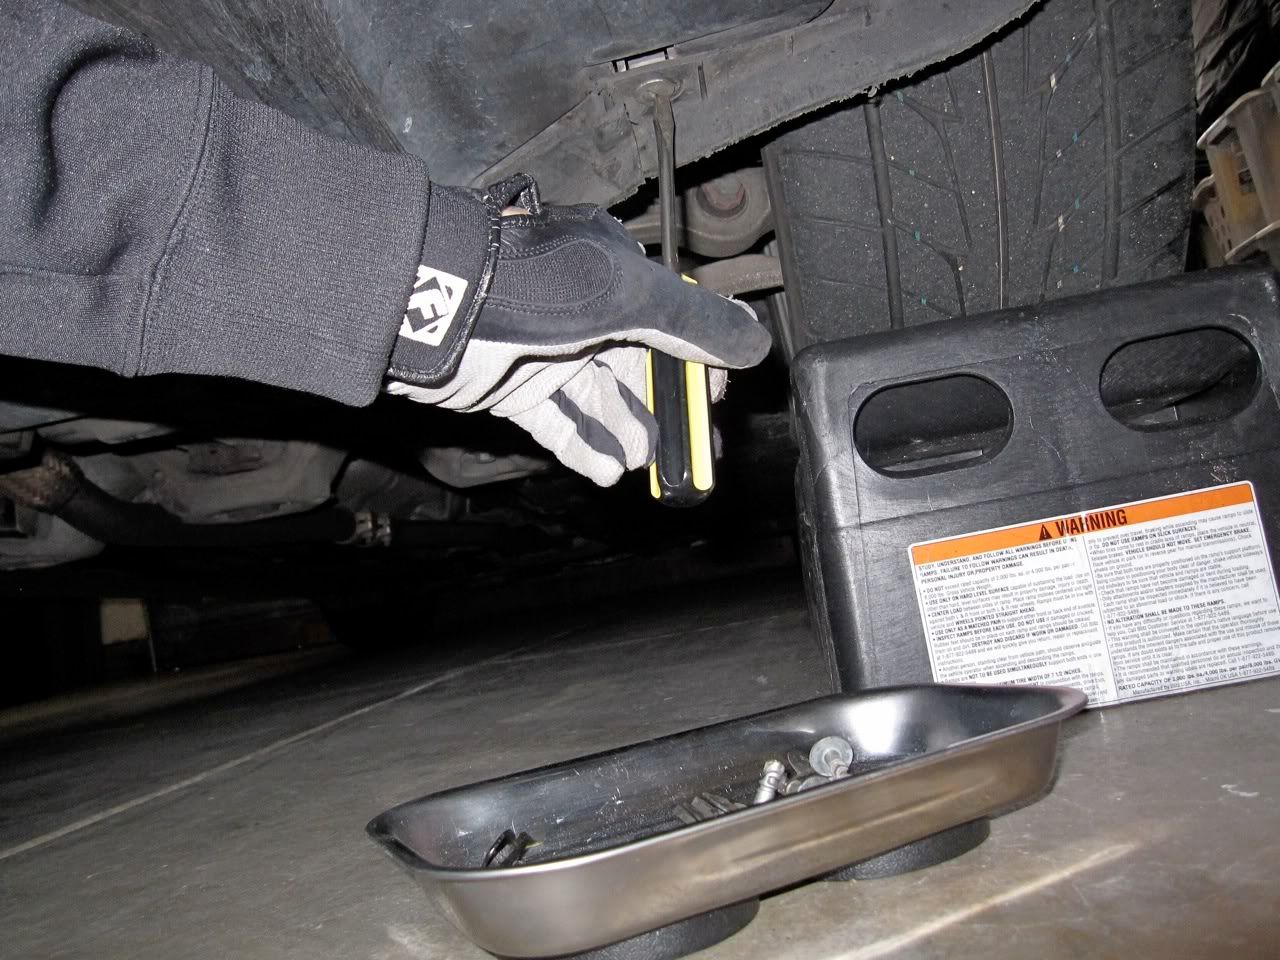
After getting the car on ramps and the skid plate removed, start working on this clamp first with a long screwdriver. (The screwdriver is basically pointing straight towards the DV... it's the apex where the two clamped hoses meet.)
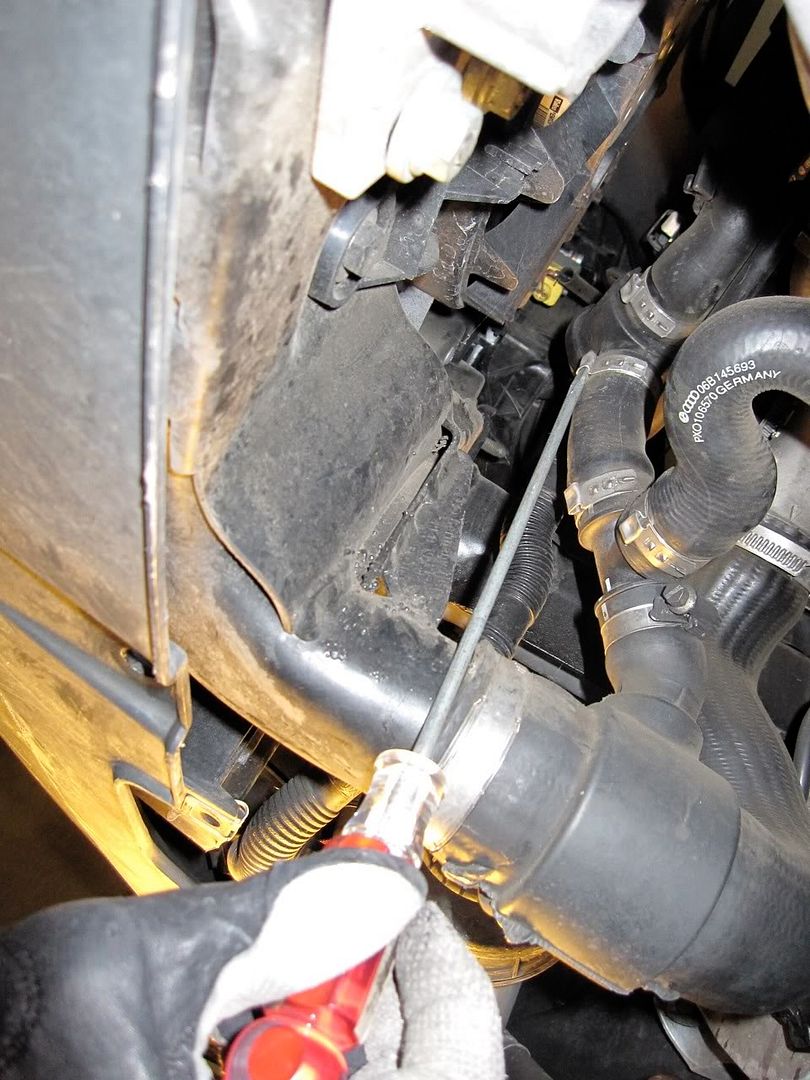
From here, fire up your Dremel and cut that bastard off. It goes w/out saying that using a soft cutting tool is a good idea in case you nick something. Try not to. And don't try to cut through the whole clamp, just the connection point where it's actually crimped. It's really easy with a Dremel. (Yes, go buy one. They're cheap. And awesome.) More serious note, protective eyewear is a must. Unless of course you like hot metal in your cornea or something, you sadist.
Look just to the left of the Dremel's cutting tool... see how the hose clamp is dislodged a bit? That's all you need, then just Dremel a bit and work it free.
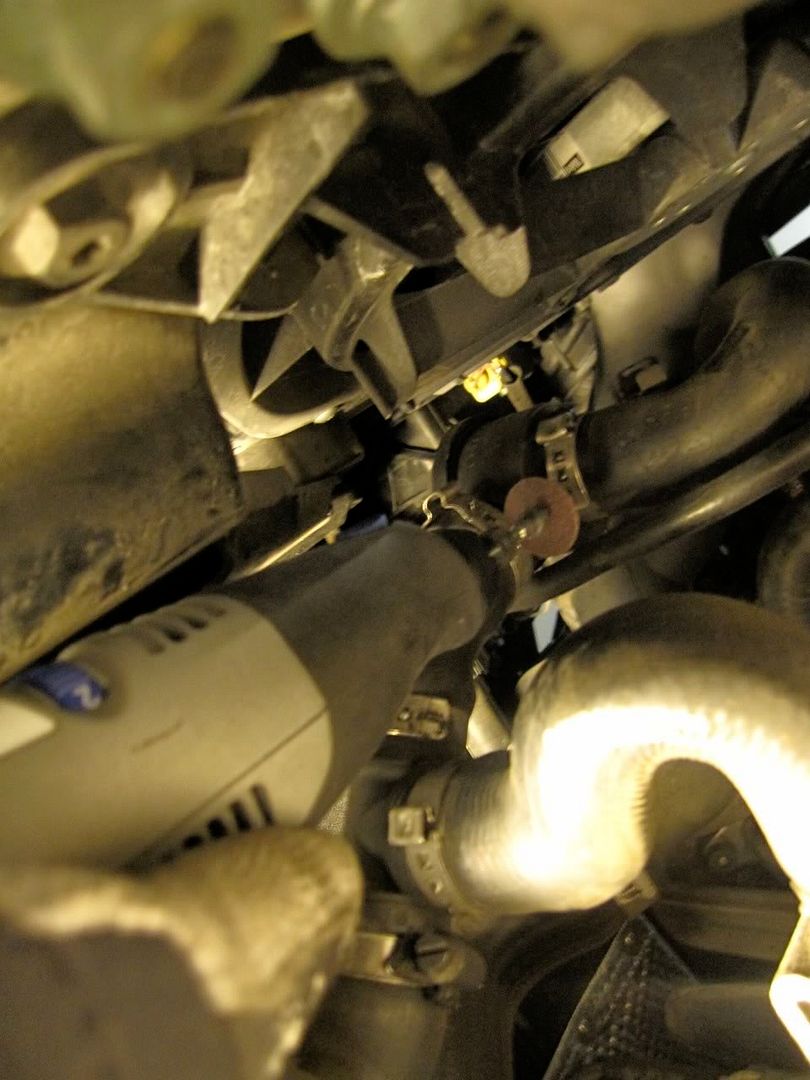
The one time clamp on the top of the DV is not fun. Using a combo of appropriately sized needle nose pliers and that long narrow screwdriver made quick work of it though. Sorta. (ProTip: Yes, I sometimes wear batting gloves when I work on the car. They're fricking awesome.)
At this point I realized this mod needed more quesadilla in it. Do take note of the formidable technique utilizing cheese, turkey and red bell pepper. Win.
From here, you can start attacking the upper, horizontal hose clamp connecting the DV. Screwdriver / needle nose pliers and Dremel.
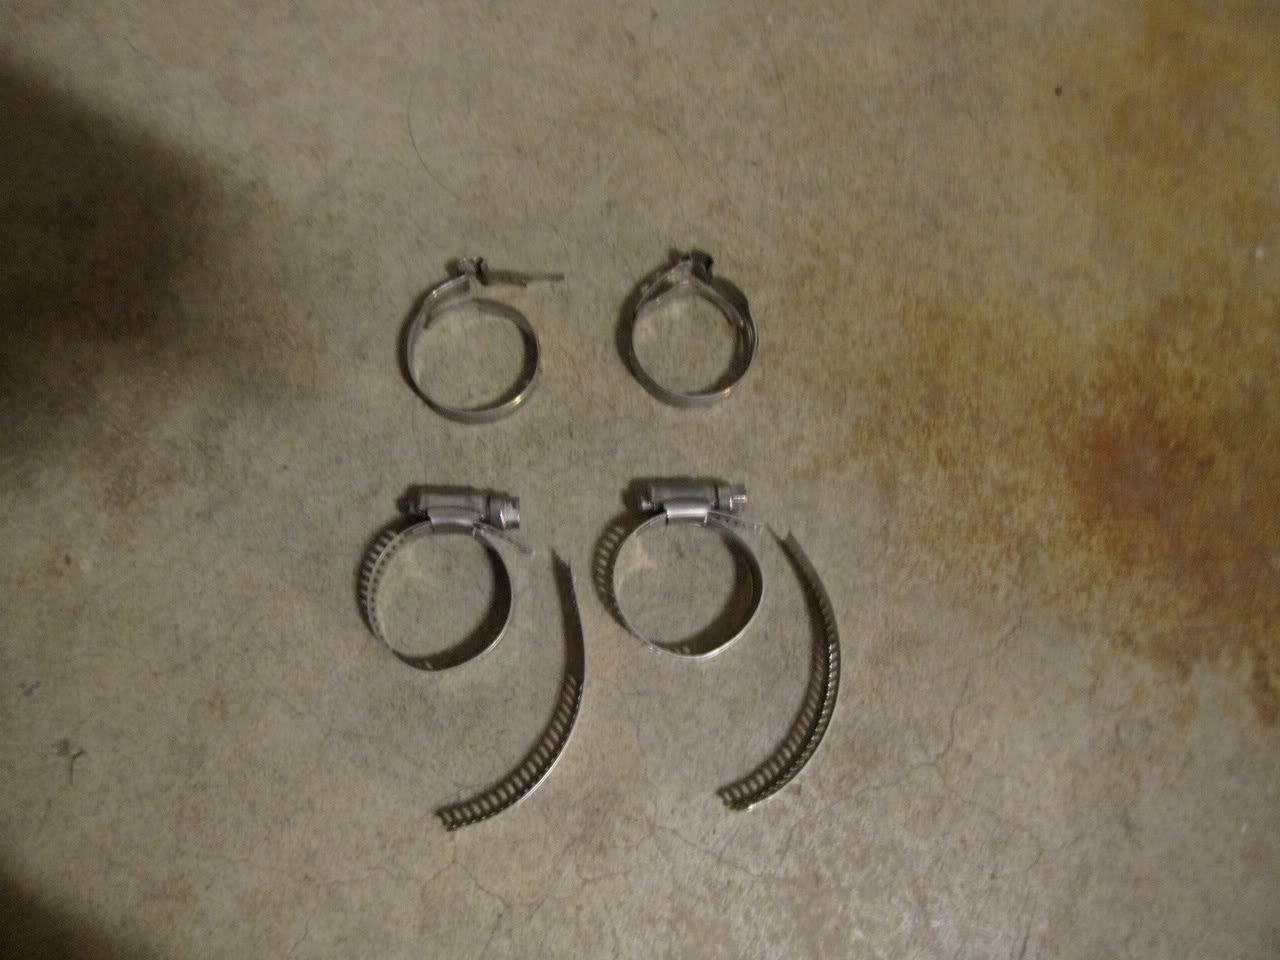
I opted for large screw down hose clamps and cut them to match the one timers. Use of these makes installation of a DV really easy as you can use a ratchet head to screw them down nice and tight (in addition to a flat head screwdriver if need be.)
After prepping the screw down clamps, get them on their respective hoses first so you're not fumbling around with them, the DV, piping etc. Facing the bolt-ends of the hose clamps in this manner gave me the most room when I was to tighten them. Helps a lot... especially if you have long-ass arms like me.

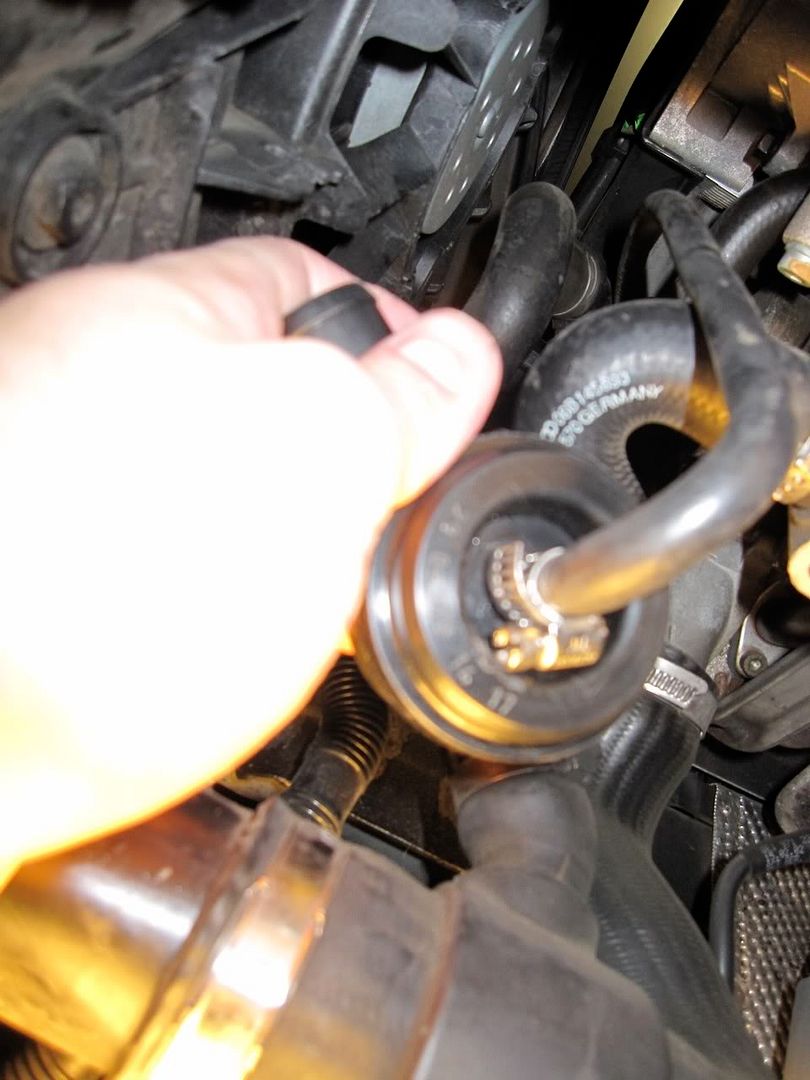
Next, first attach the vac line to your new DV. Obviously this needs to be done on a bit of an angle when torquing down the hose clamp (might need that screwdriver here). I got it close, maneuvered it into place by pushing down on it w/the screwdriver and some pliers and then tightened it. Actually simpler than it looks. IMO, this is far more effective than a zip tie.
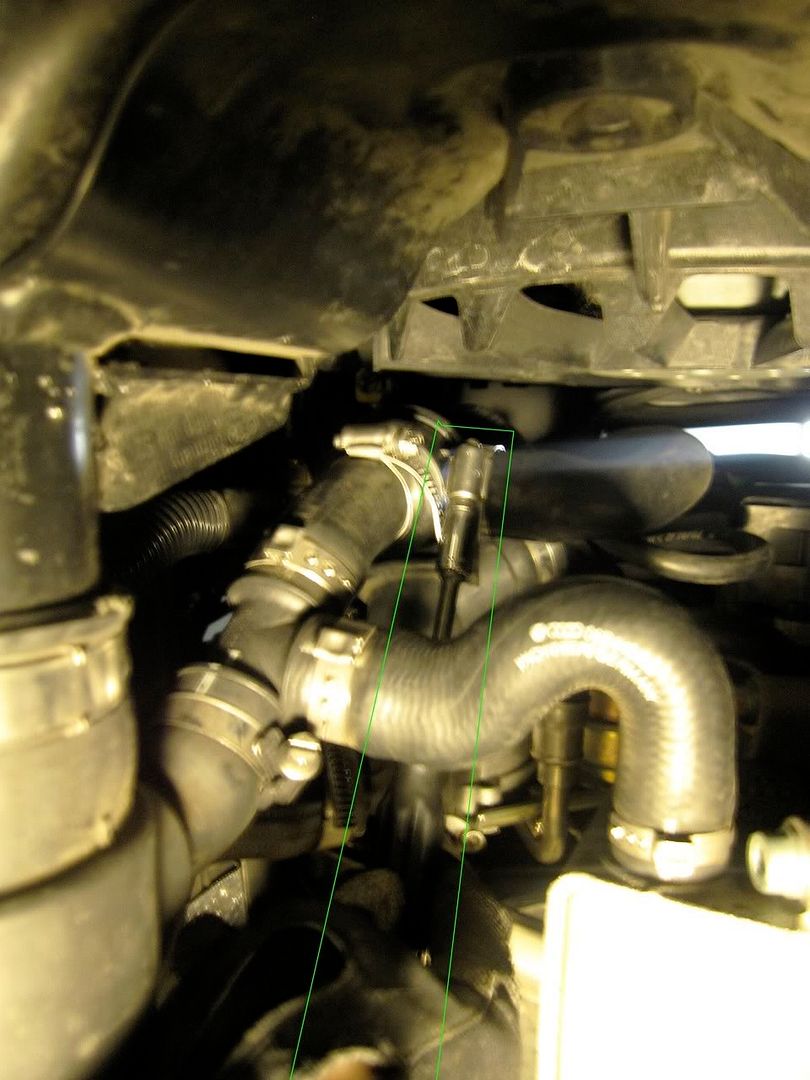
From here, the DV needs to be wedged into the hoses and the clamps torqued into place. Pretty sure I did the horizontal one first as it was a bit more tricky for some reason. Bad pic but here you can see the ratchet driver (like a screwdriver w/a ratchet head end) on the screw down hose clamp. (This pic and the position of the DV are all screwy and was just to show the driver on the clamp.)
****************************-
So then, here's a before and after taken from directly underneath the DV. Notice in the right side pic, the blue tape on the DV demarcating a reversed setup. Obviously, if you're not looking to run your DV in this manner, opt for the setup on the left.
Initial impressions were very positive. With the new reverse DV installed, I immediately noticed the car holding boost more effectively around and past 5K.
I'll certainly admit no A-B test took place (new DV in, standard install + reverse install, compare) but the pre-install behavior was exactly the same as my previous B6. After the install, things felt better. So it's safe to say there is some truth in the revered diaphragm-style DV setup.
Also, with the new DV in place the engine response was more crisp, so to speak. This could have more to do with the DV being new rather than the direction of install. However, the current one only had ~54k on it and didn't appear to be lacking in holding strength. Again, exact same behavior as by previous B6. But, there's no science to back this. Just my speculative opinion.
It's been close to 1,000 miles since I installed this DV and I've not experienced anything negative. No fluttering, CELs, weird noise or modulation in power. Kinda bummed I didn't try this sooner as it appears to be a nice little gain (or reclaim, if you will). I would certainly recommend it, if for nothing else to try it out.

 Reply With Quote


Bookmarks