


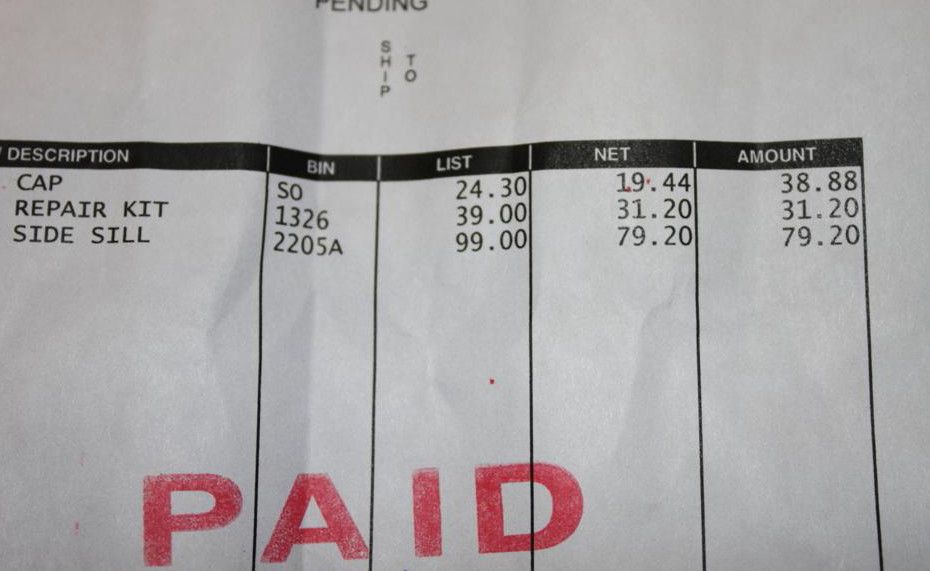
Because some of you have purchased the OEM Side Skirts, you will find attached a DIY
Tools = Generic
Difficulty = 3
Time = 1.5 hrs per side
Manpower = 2 souls for final install
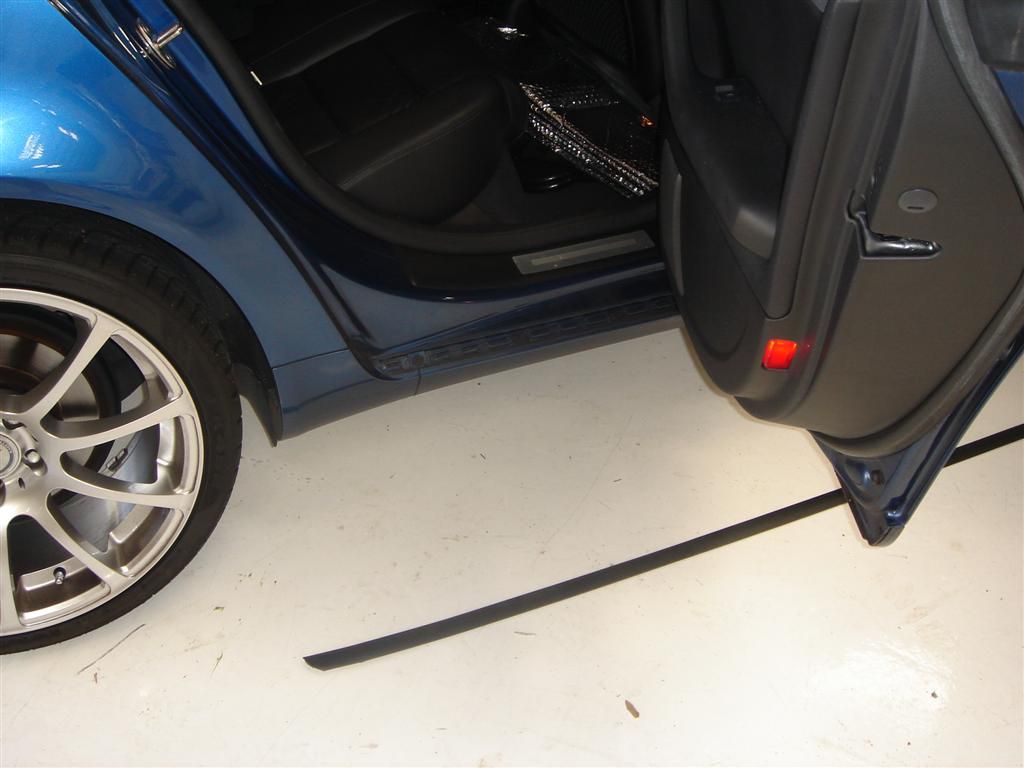
First, remove the door blades from the front and rear door. There are 2 screws holding them in place, front and aft of each door.
AFT

Front
Using a flat screwdriver and starting by one end, lift and pull towards the outside of the car, the doorstep rubber trim
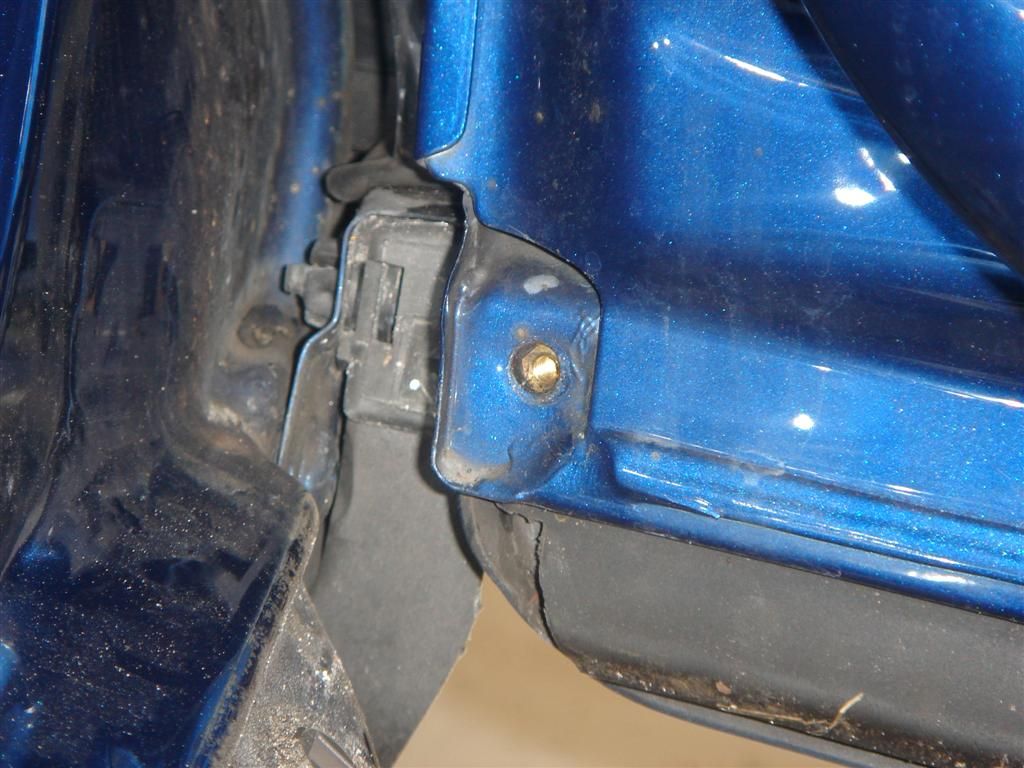
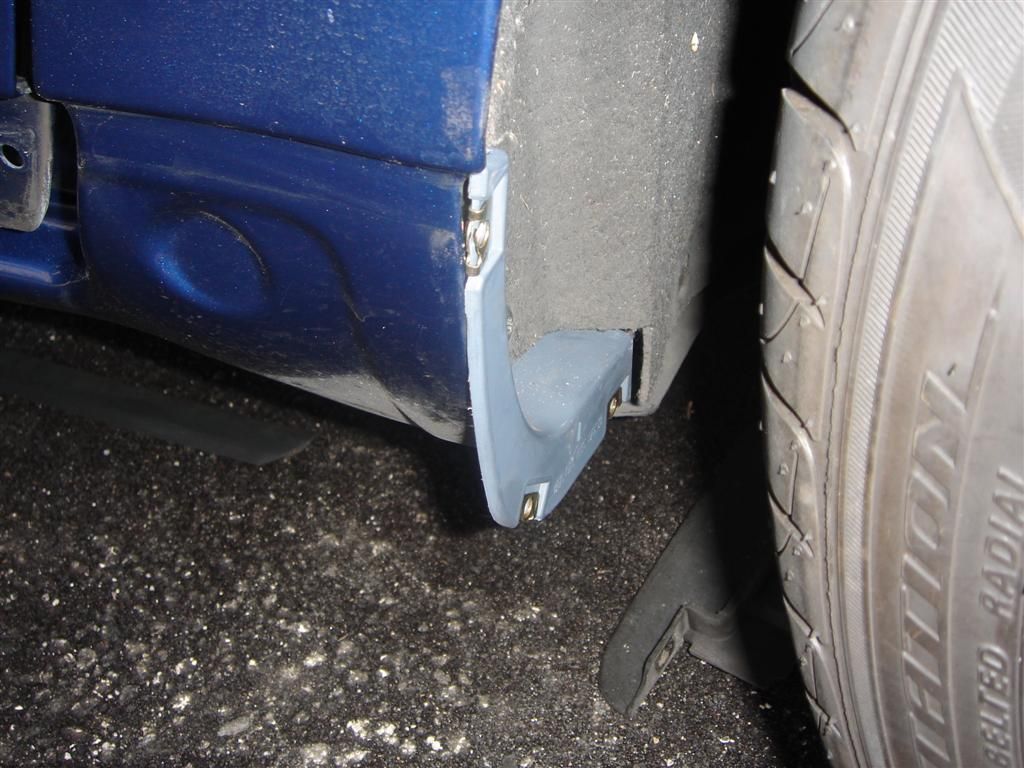
Remove the 2 screws on the front wheel well
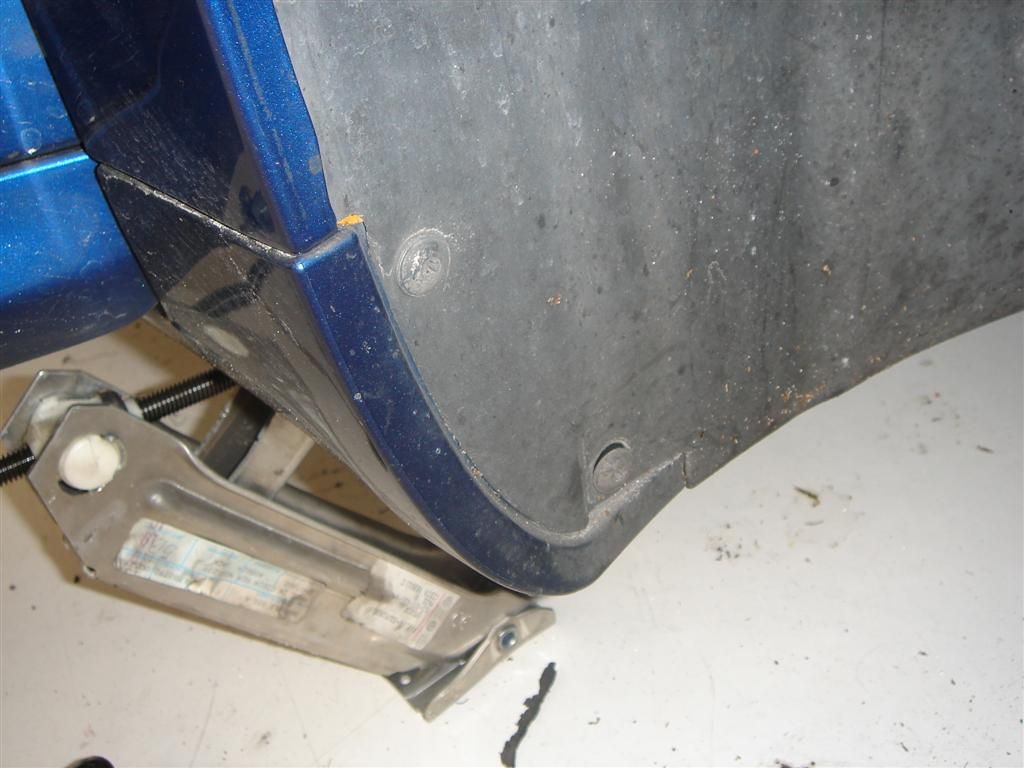
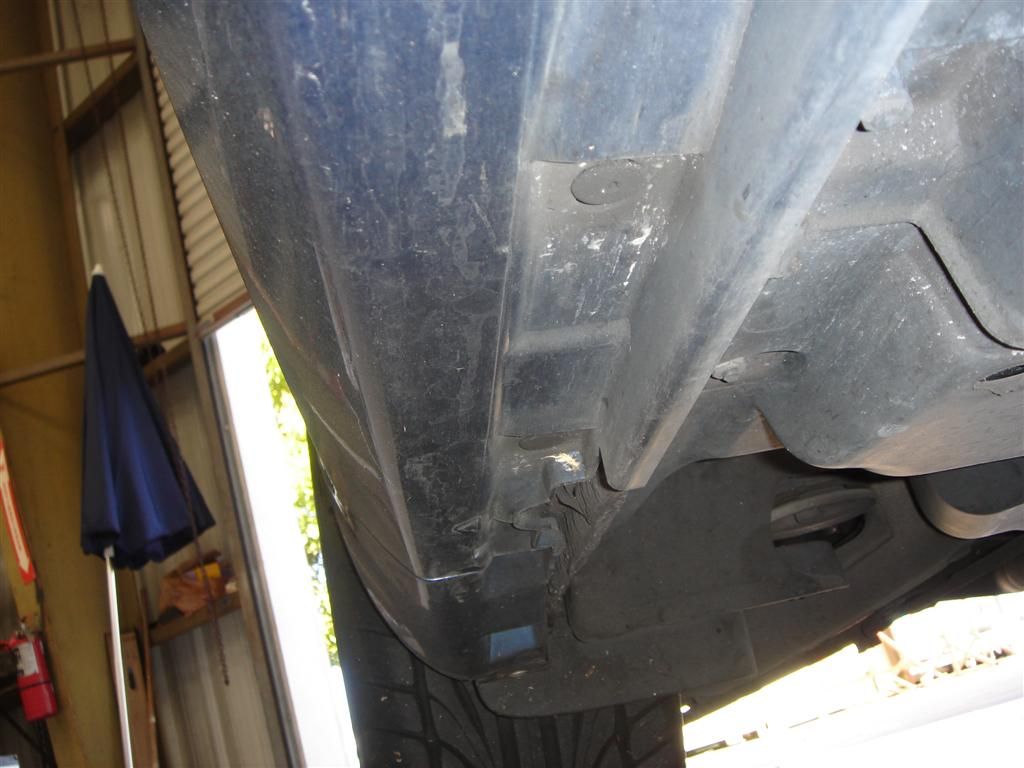
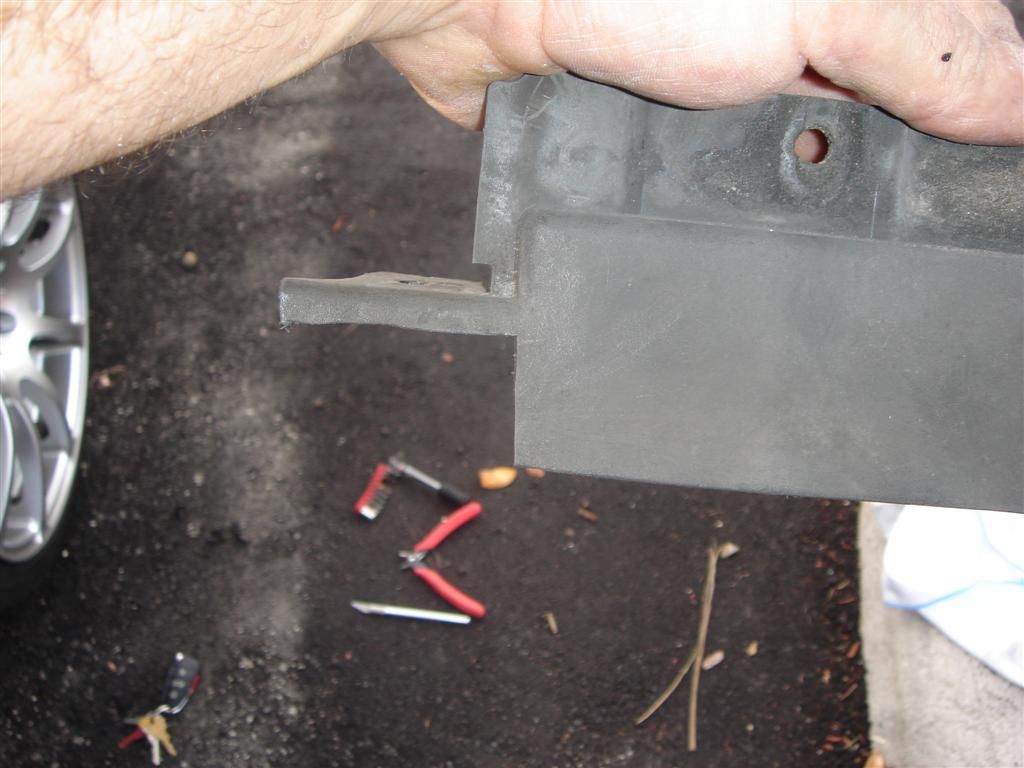
Remove the 2 screws on the rear wheel well. Remove also the trim under the chassis; you will need to modify it later. Remove it completely!
Now remove the wagon of screws on top and bottom of the existing skirt.
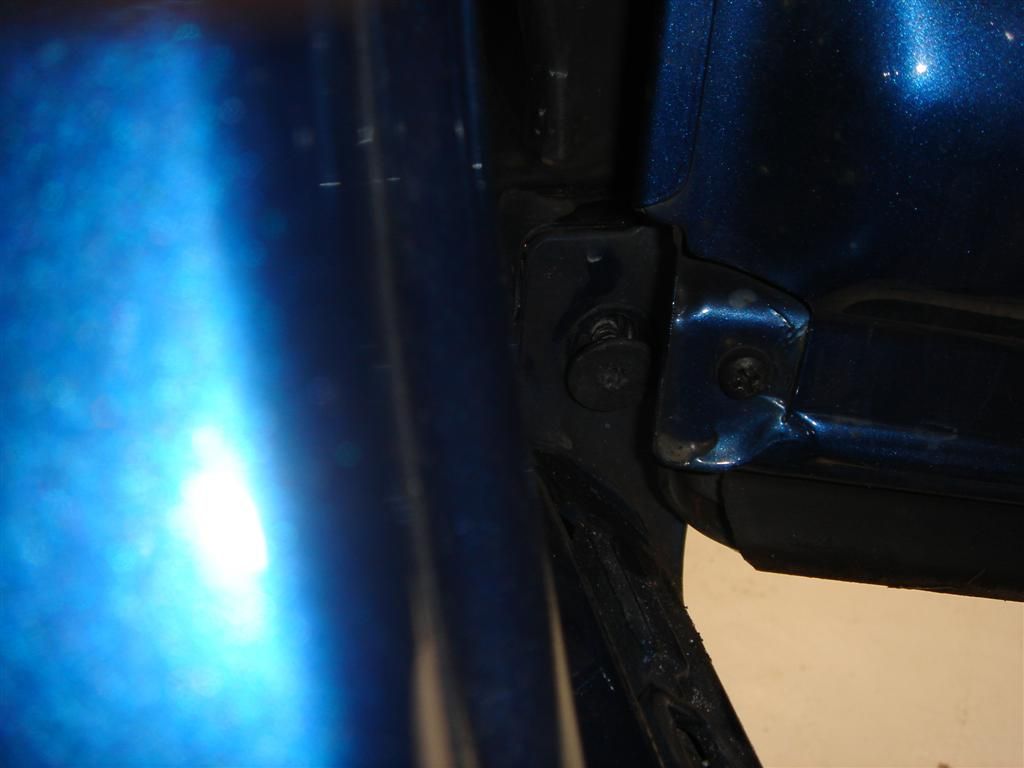
Dont forget this one hiding behind the front door
Bottom
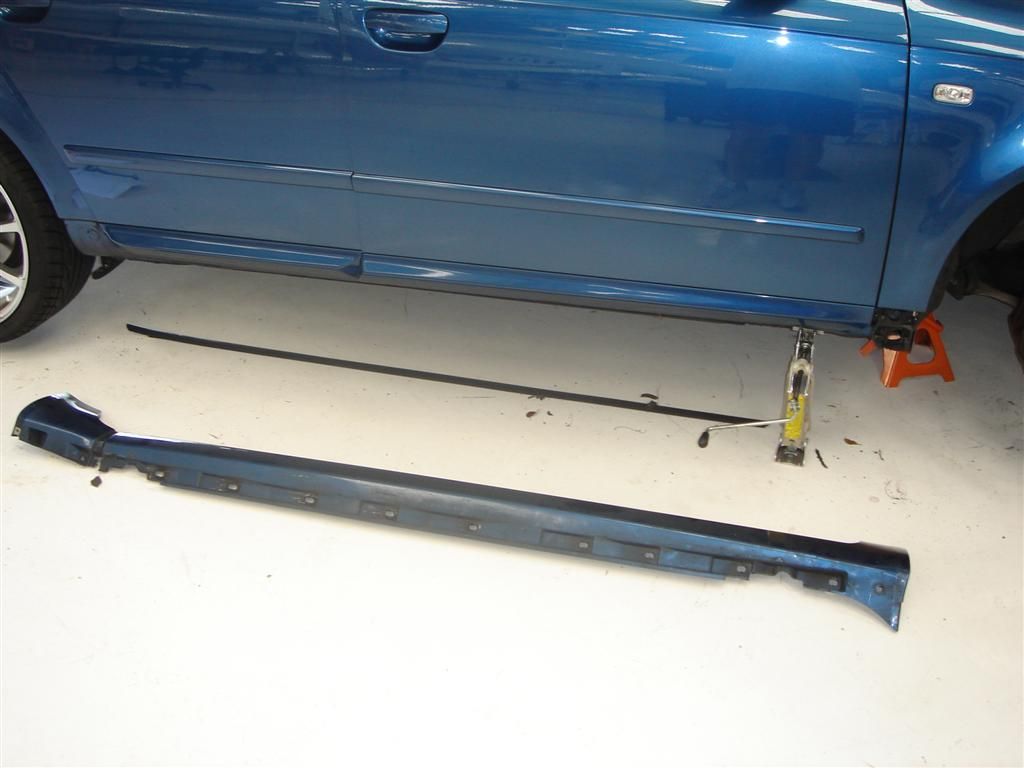
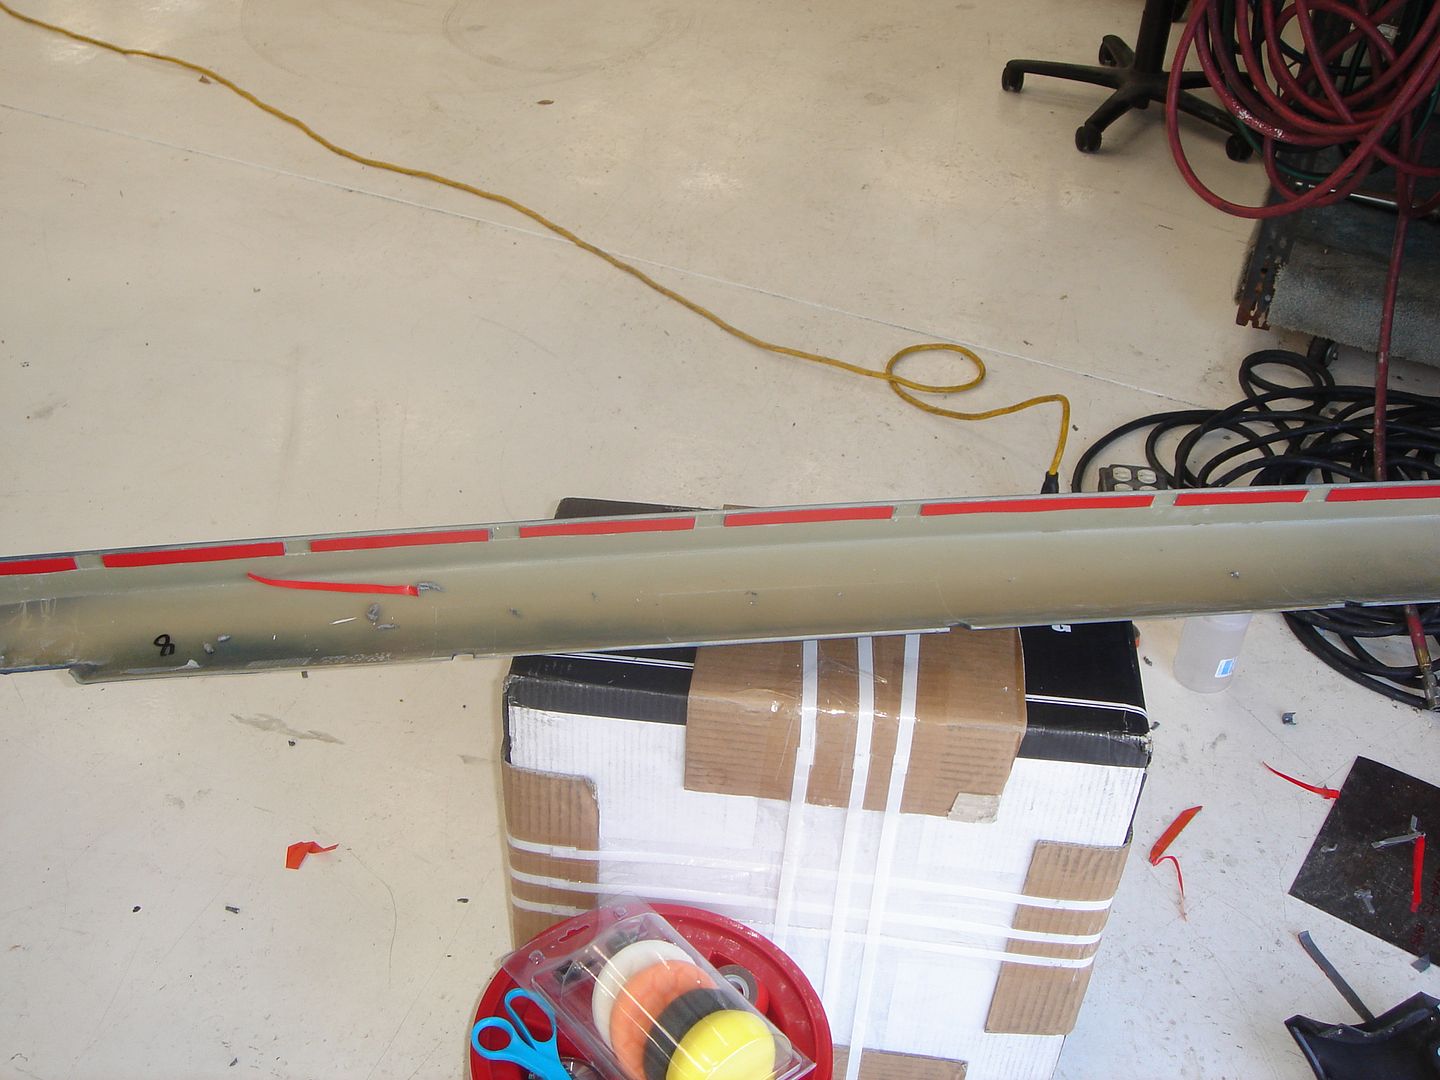
Skirt removed
Clean really well the areas covered by the old skirt, I used MEK.
My kit was manufactured in 2006 and I was not happy by the stickiness of the tape already installed. I decided to remove it, and after a little trip to home Depot, I bought a brand new roll of 3M tape, double sided and really sticky.
Old tape
Once the old one is removed, clean the area with MEK. CAREFUL NOT TO TOUCH THE FRESH PAINT!!!!
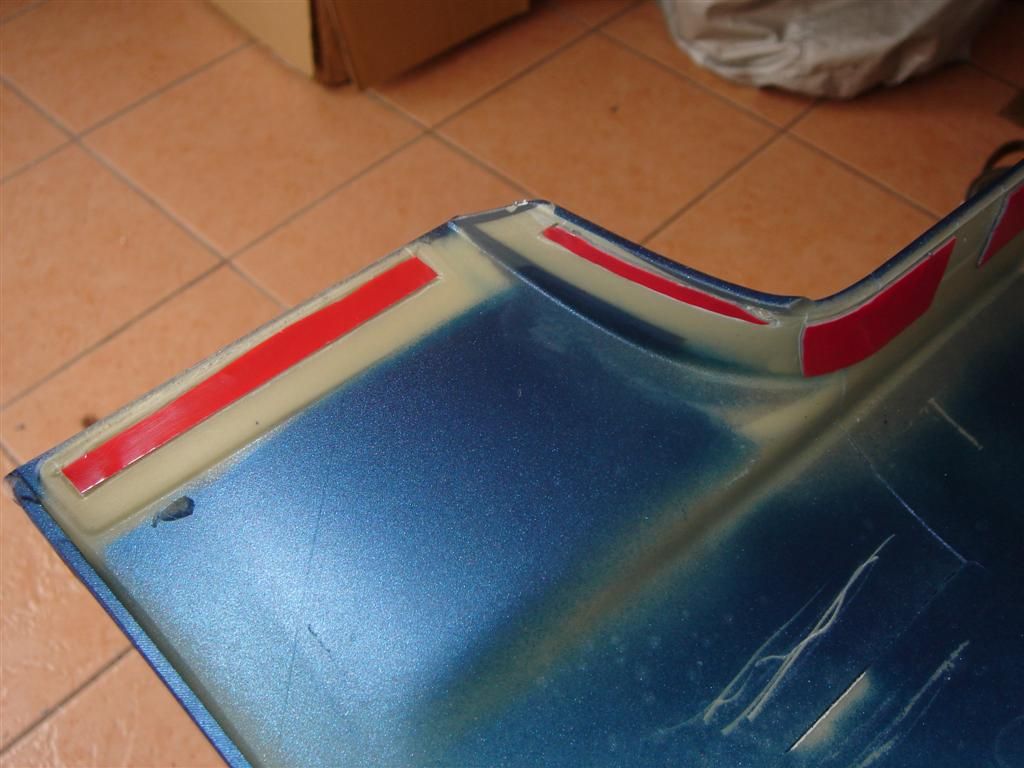
Install the new tape and respect the cut off areas.
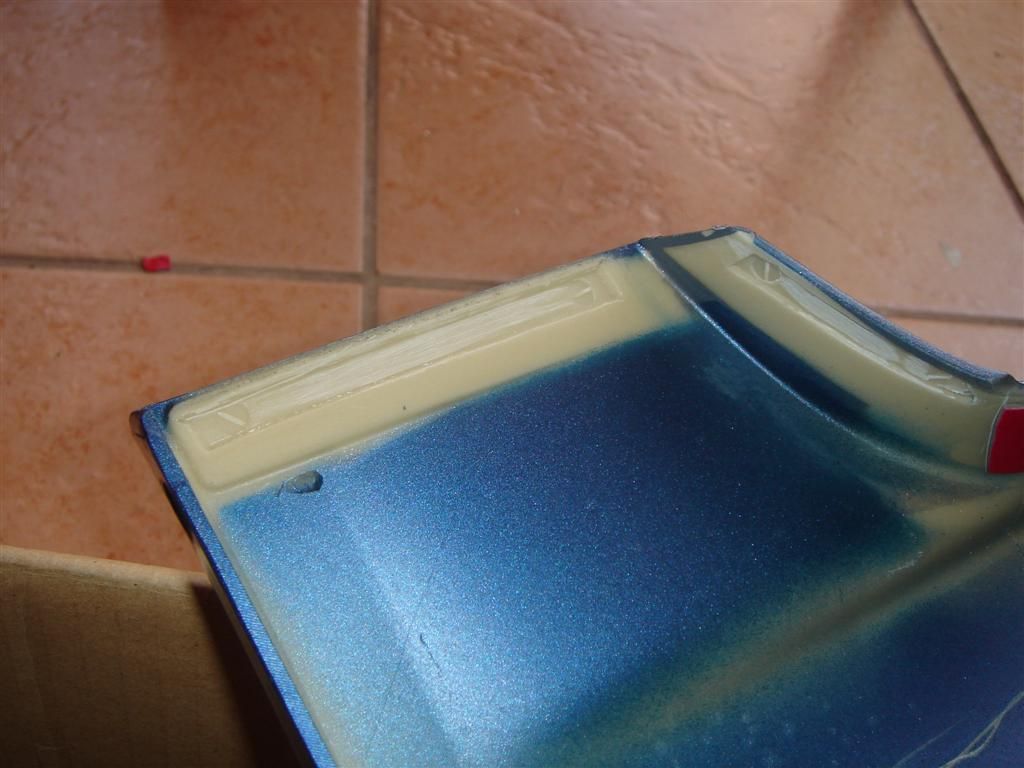
On the rear corners, my set had masking tape on them. Peel it off, clean with MEK and install a piece of tape on each cut off areas of the skirts
Cut off areas

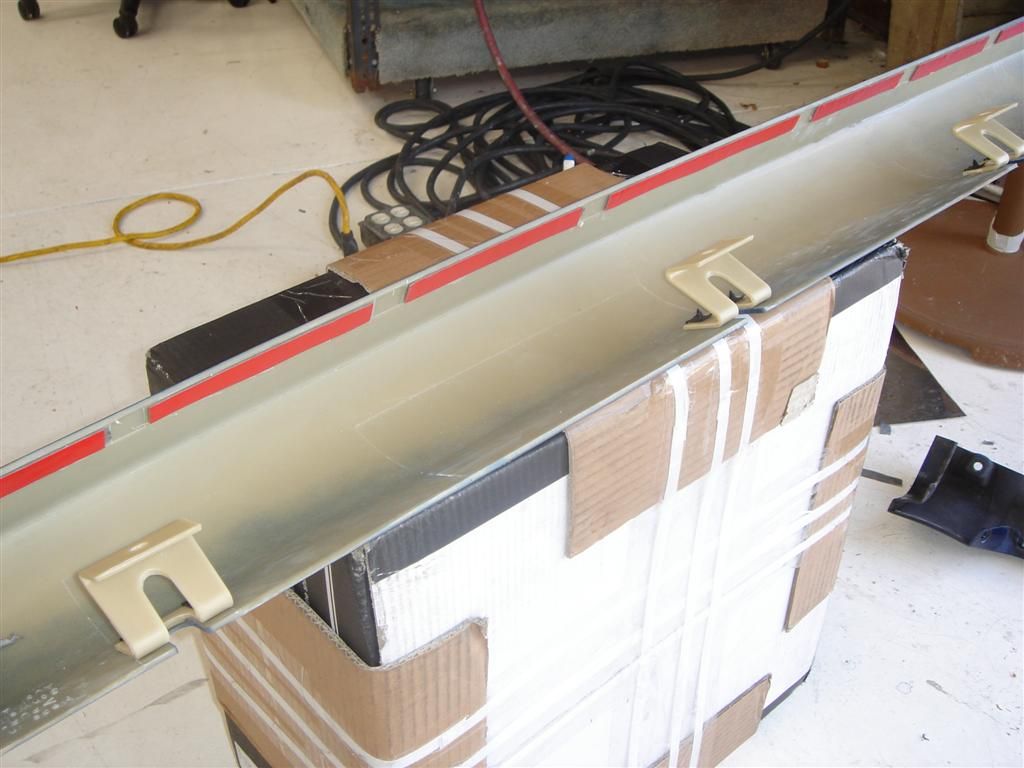
Now with the tape installed
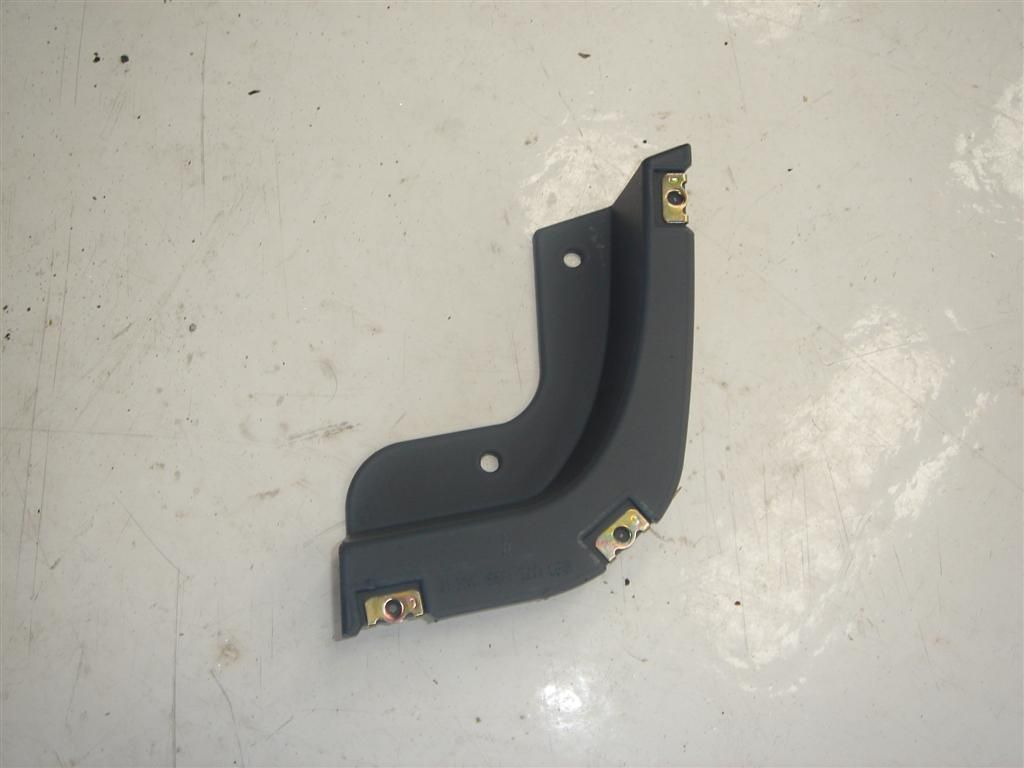
Equip and install the 3 brackets
Equip the new rear bracket provided with the 3 rapid nuts and install on the car.
Installed
This is when you need to call your Friend: Peel off the protective side of the tape on the entire skirt. Starting from the back, present the skirt and install the upper screw on the rear bracket while your Friend is holding the front part of the skirt away from the chassis
Top screw installed
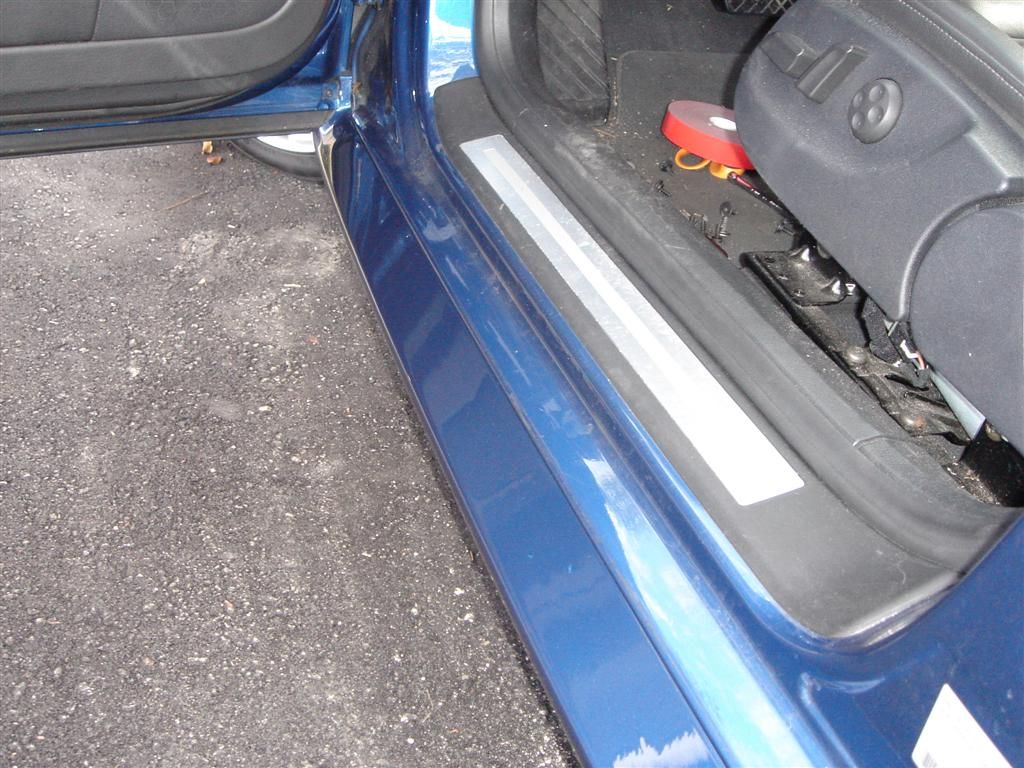
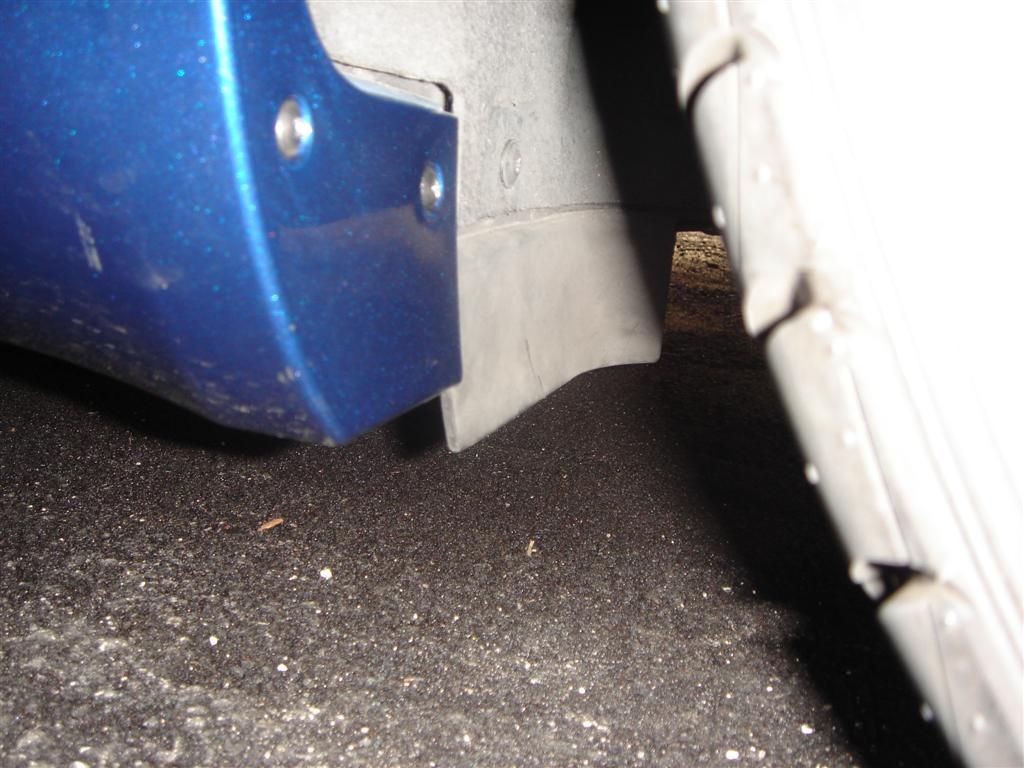
Go to the front and clip the skirt to the chassis. With a clean rag, press firmly on the entire length of the doorstep and the result should look like this
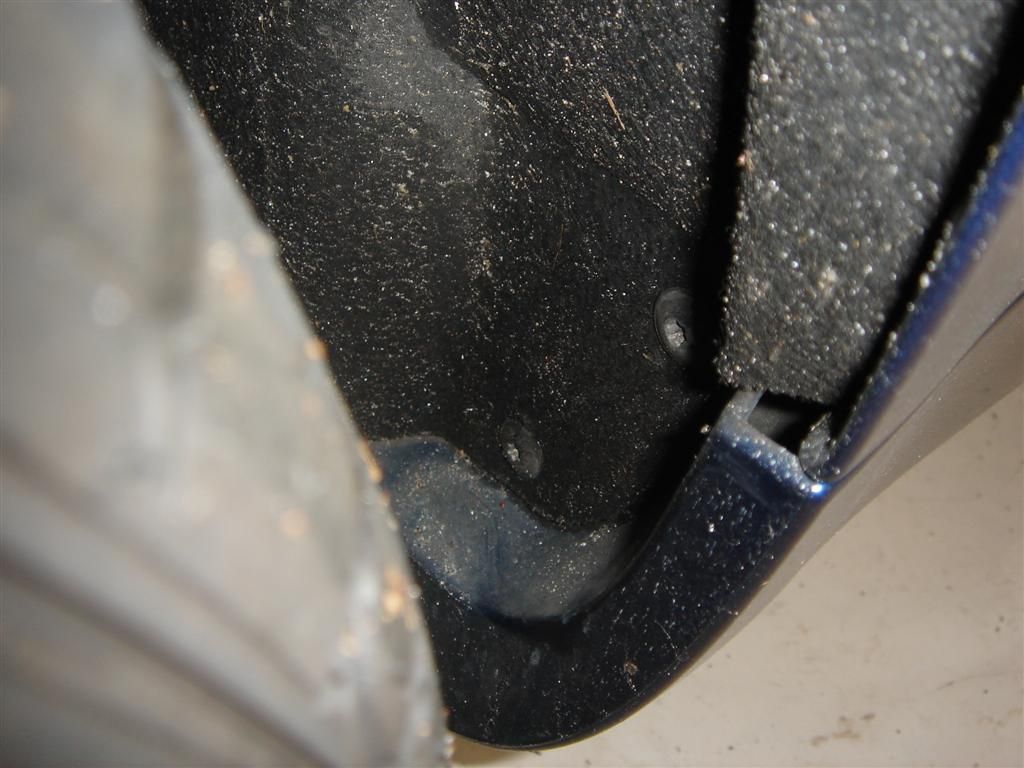
With a razor blade, cut the rear trim as follow because it will not longer fit inside the new skirt
Cut off
Installed
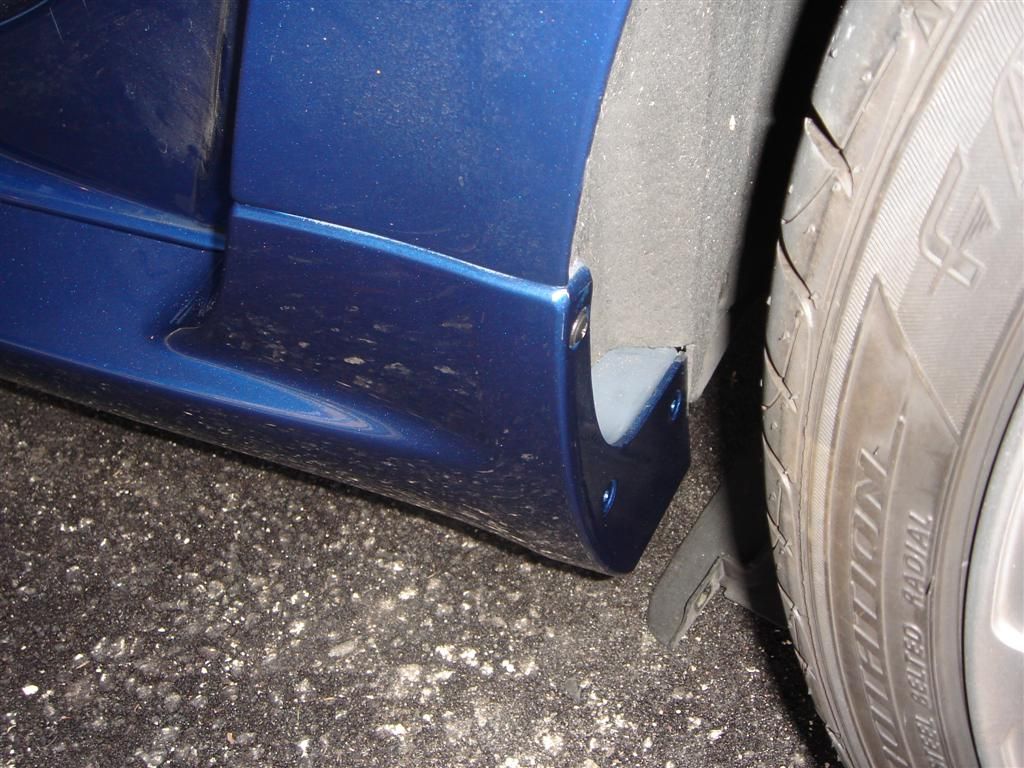
For the front wheel well, you will note that now, the skirt goes on top of the plastic well while it was under before. This is why you need to use now the long screws provided.
Reuse also the same screws to secure the 3 brackets under the chassis to the car.
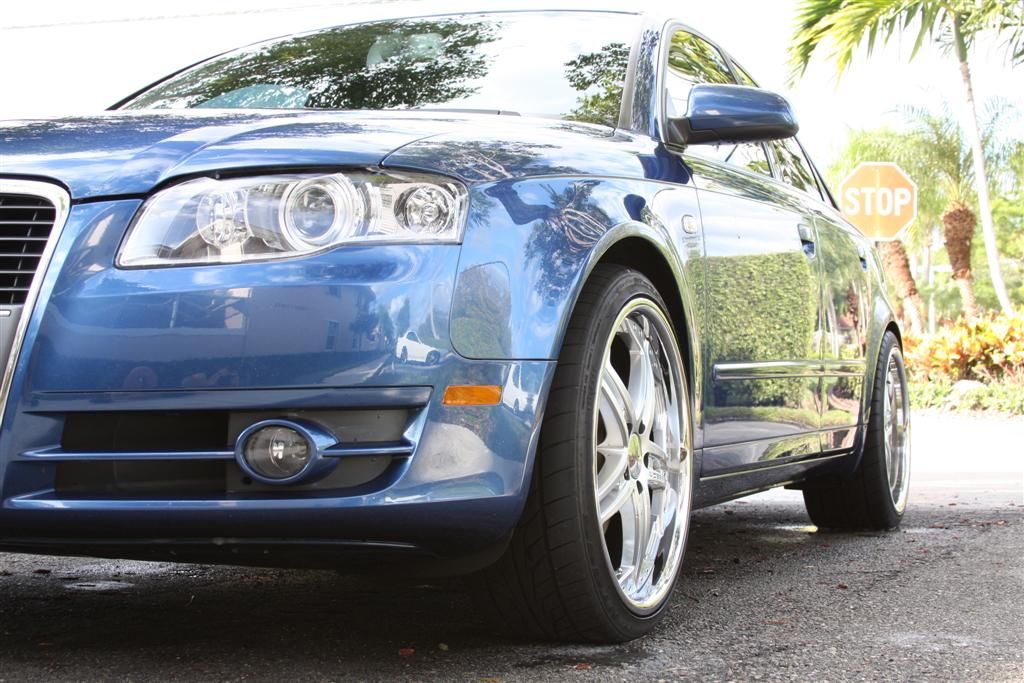
One side done, one to go.

Pictures of the car will come later...after a good bath

Let me know if any question
Phil

 Reply With Quote


Bookmarks