


Because a lot of questions have been asked on the subject numerous times, I took time today, to take some shots while I was doing a LED strip integration. Of course, this is not the only way to proceed, but it is my way, and it’s a safe way (you don’t end up with broken tabs or other issue). This DIY is performed on a Xenon housing (more complex than Halogen) but the same steps can be performed for both type of headlights.
This DIY has 2 chapters due to the number of pictures (too many - Right not granted by Admin)
Time = 1hr per headlight
Difficulty = 4
The Tools
WARNING: The internal chrome components are really fragile and I highly recommend wearing cotton gloves once you start to manipulate them.
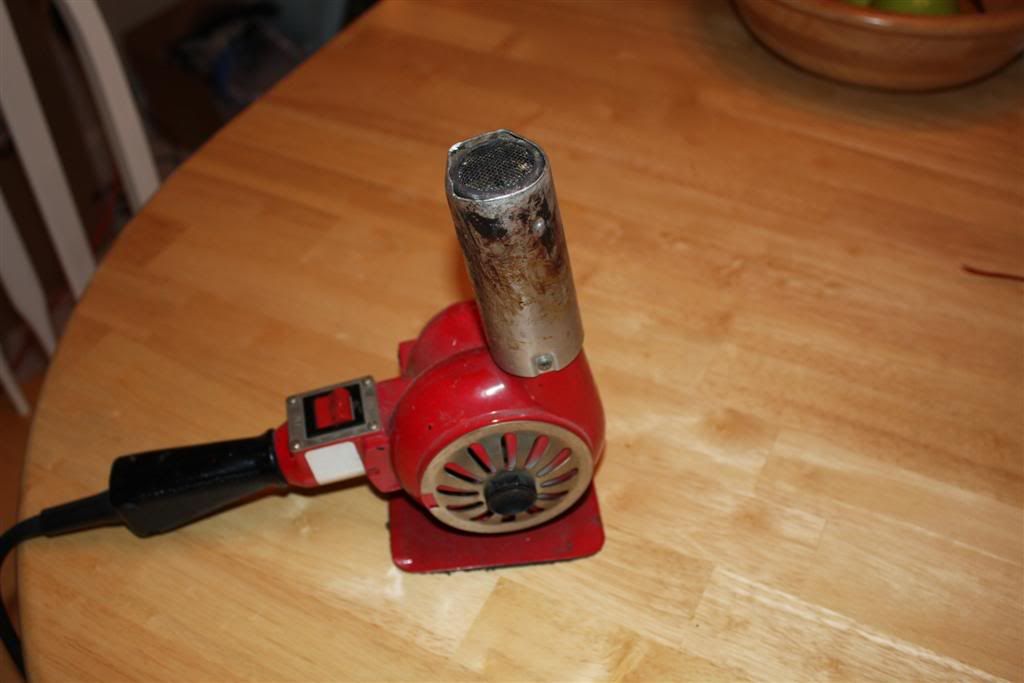
Heat Gun
Some of you prefer to stick the headlight in the stove. To have personally gutted out numerous Xenon headlights and seen the amount of tinny plastic components, I don’t want to take the risk.
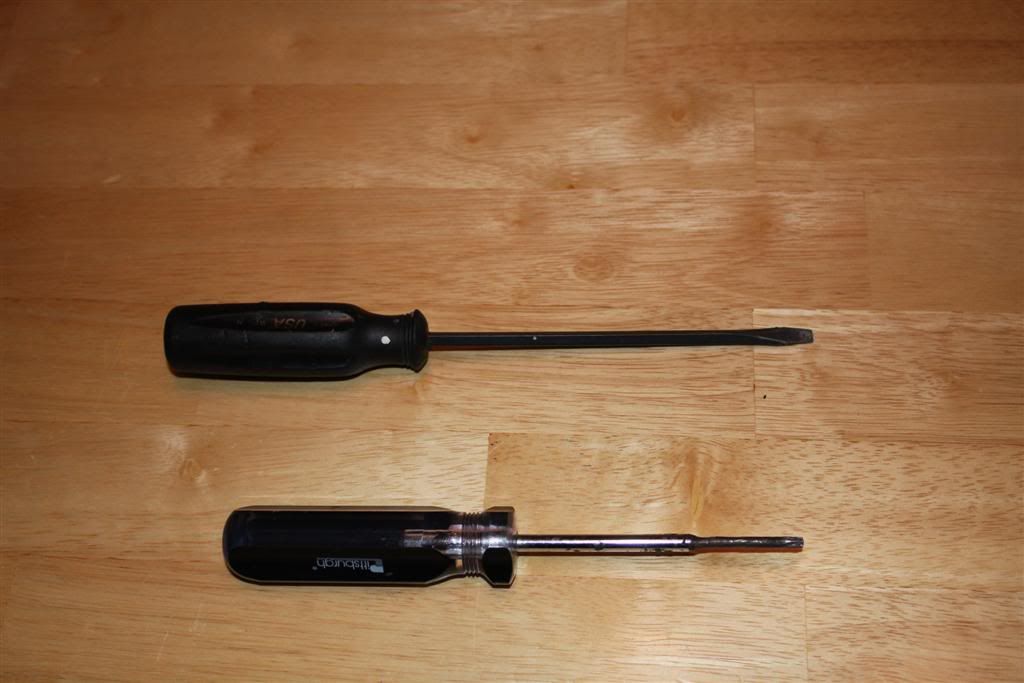
Flat screwdriver
T25 Torks screwdriver (grinded to the diameter minimum, you will understand later why)
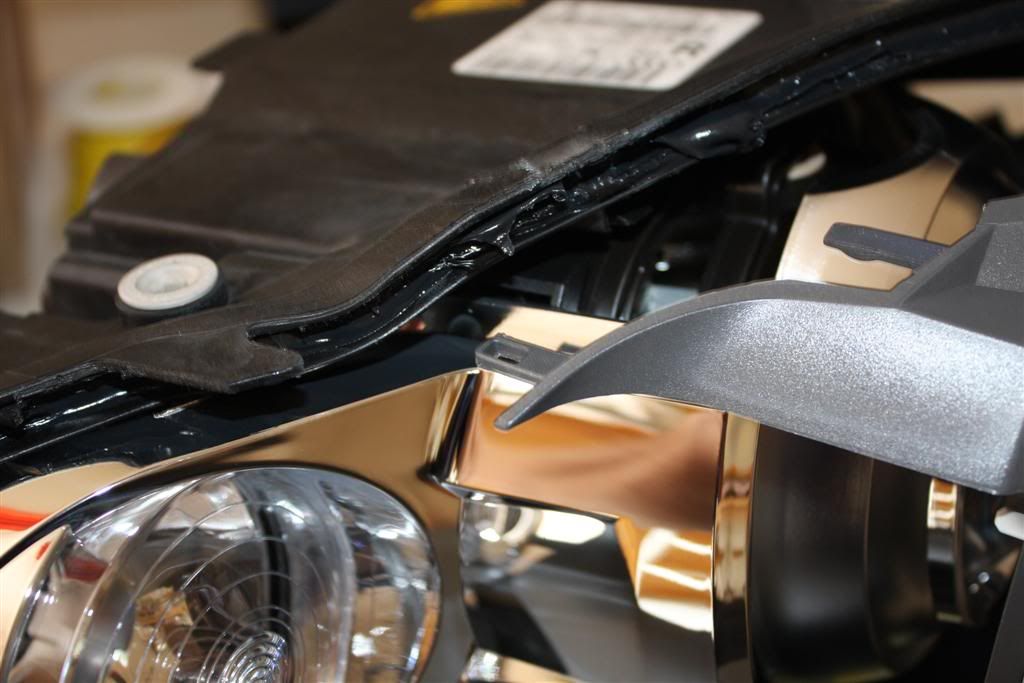
Using the flat screwdriver, snap off the clips: 5 of them
Pull off the rubber protector
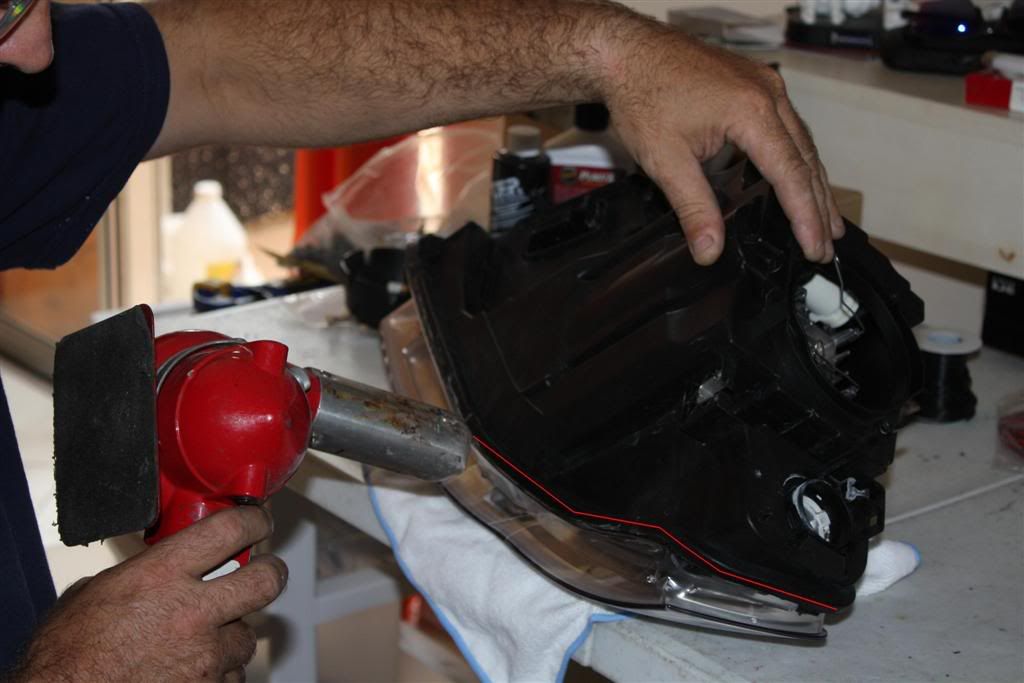
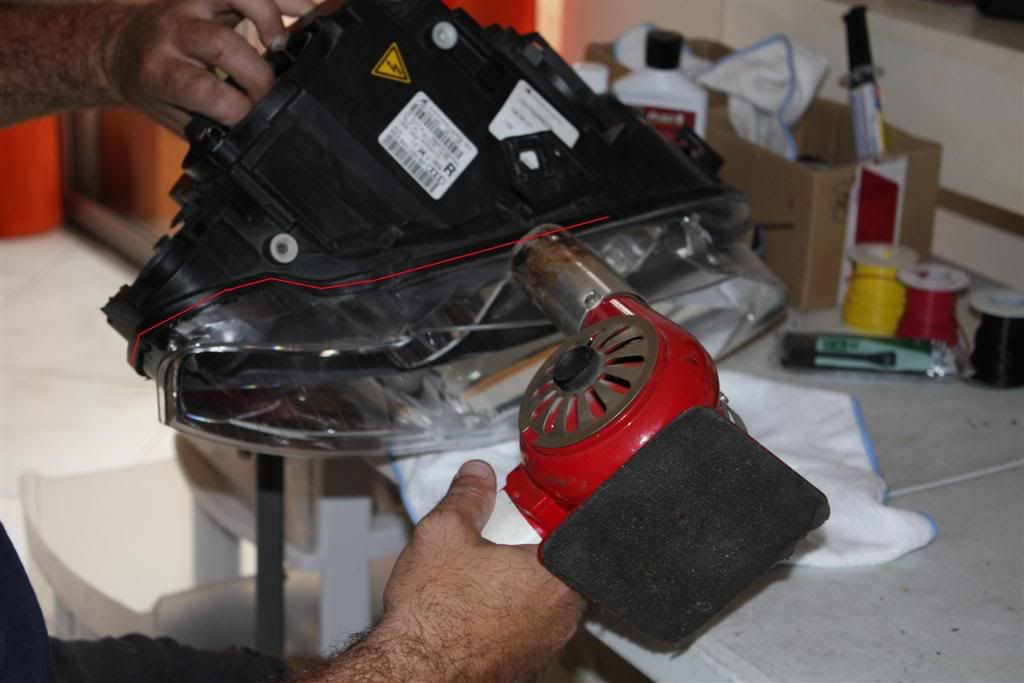
Install the headlight on a soft rag (prevent scratching the lens) and you are going to heat up the seal between the housing and the lens. No need to heat the entire perimeter, the glue used is messy enough when soft and you don’t want it to stick to the chrome. Heat the area for 10 mn.
Materialized in red the area to be heated.
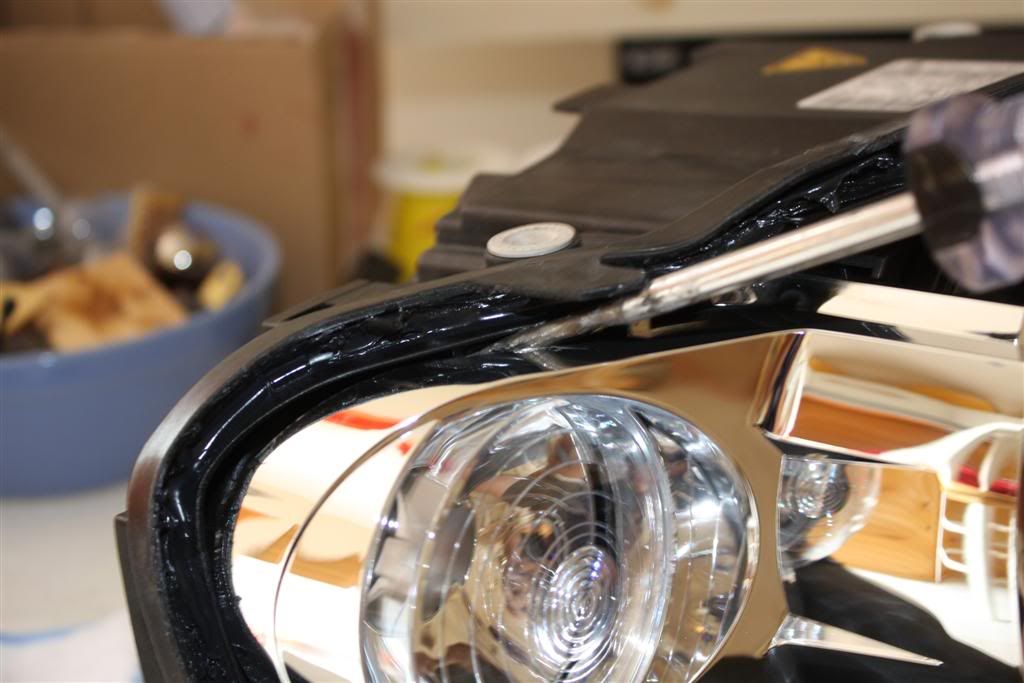
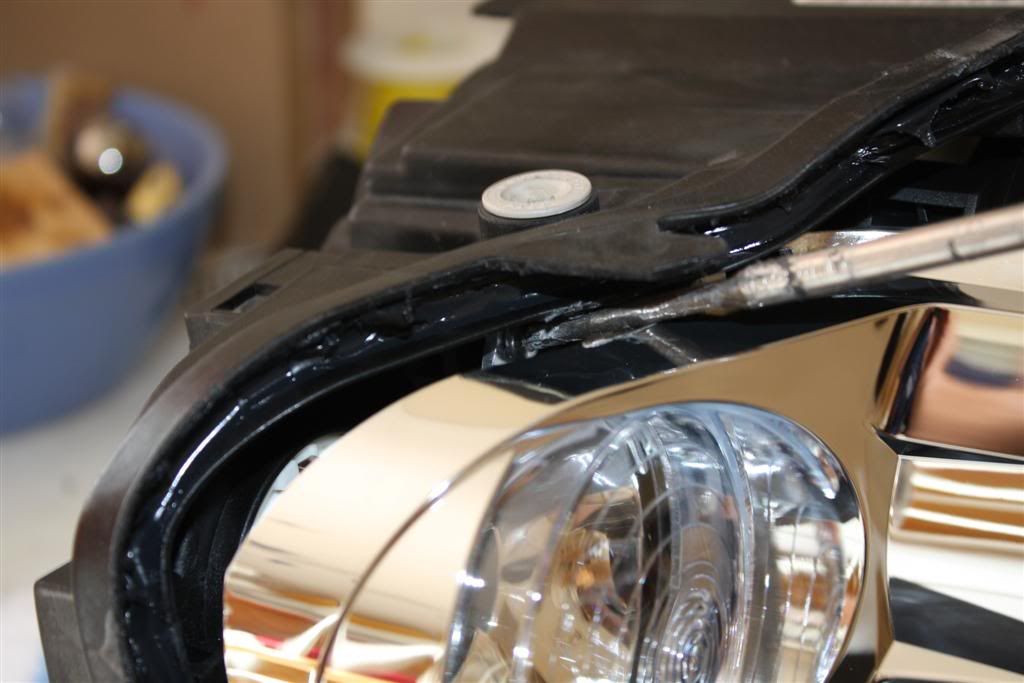
Now, grab two rags, hold the headlight vertically and separate the lens from the housing. The lens shape on the turn signal side provides a good grip. If it’s too hard to pull, you can heat up a bit more the area.

Use a razor blade to cut the cold sealant.
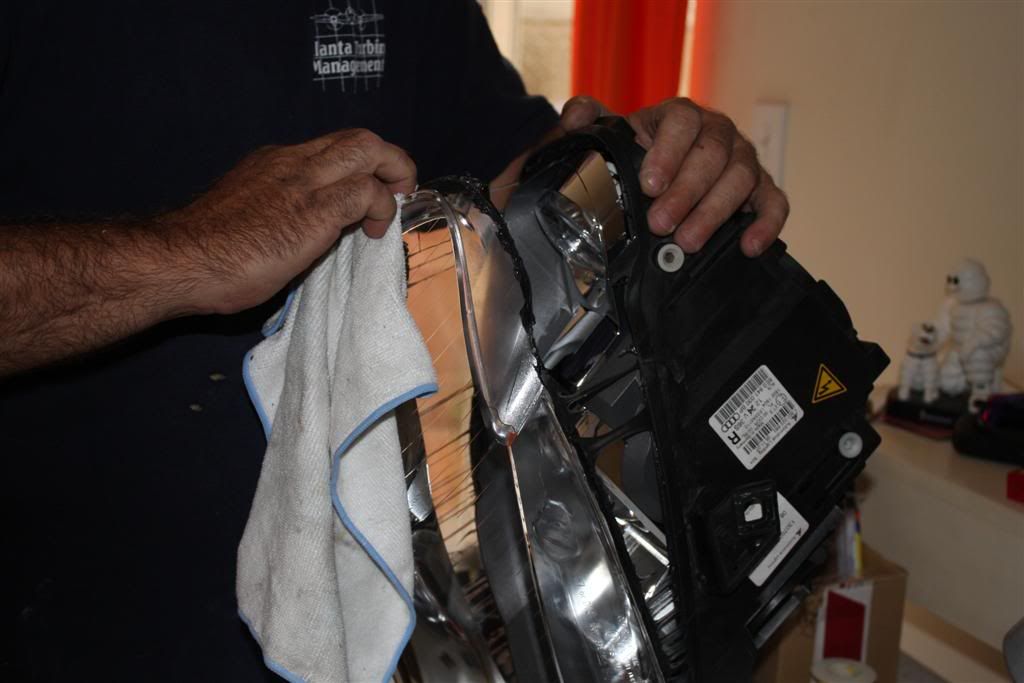
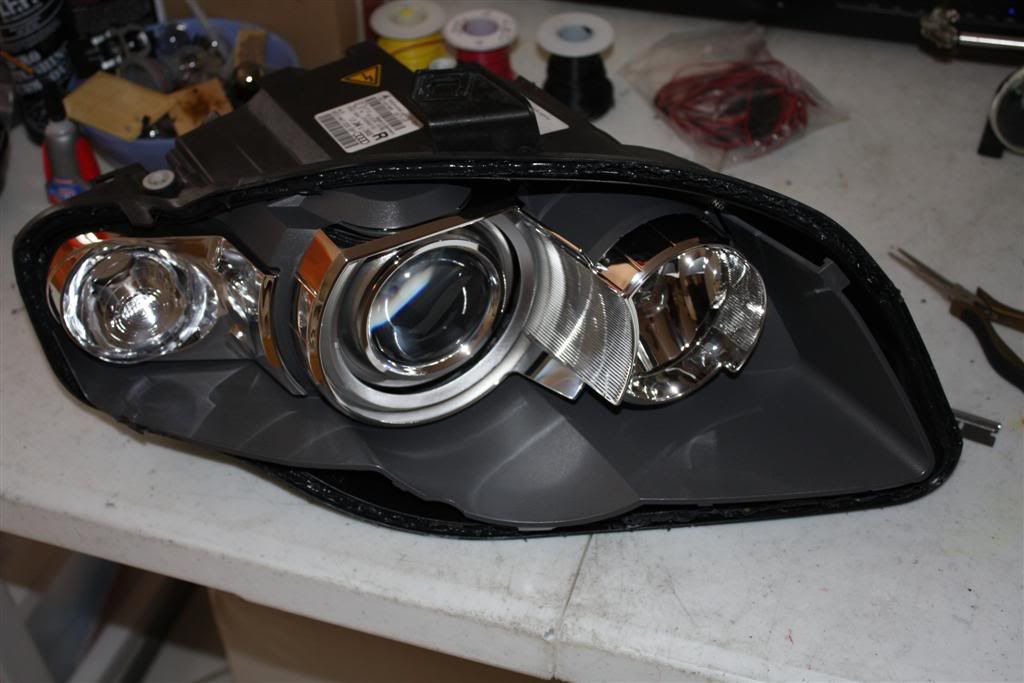
Voila, headlight is open
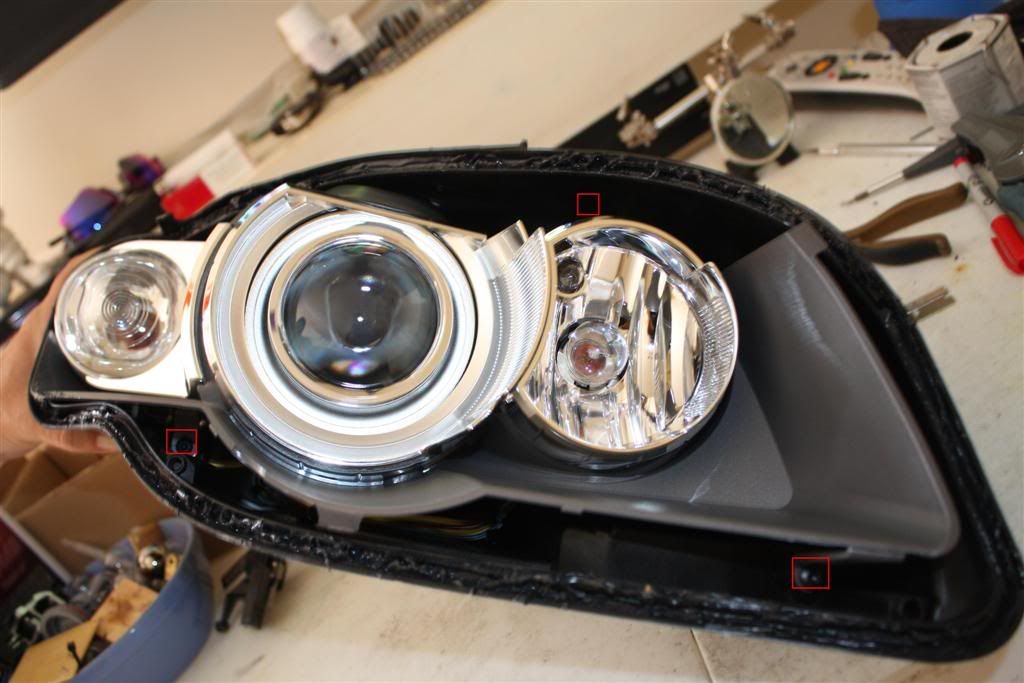
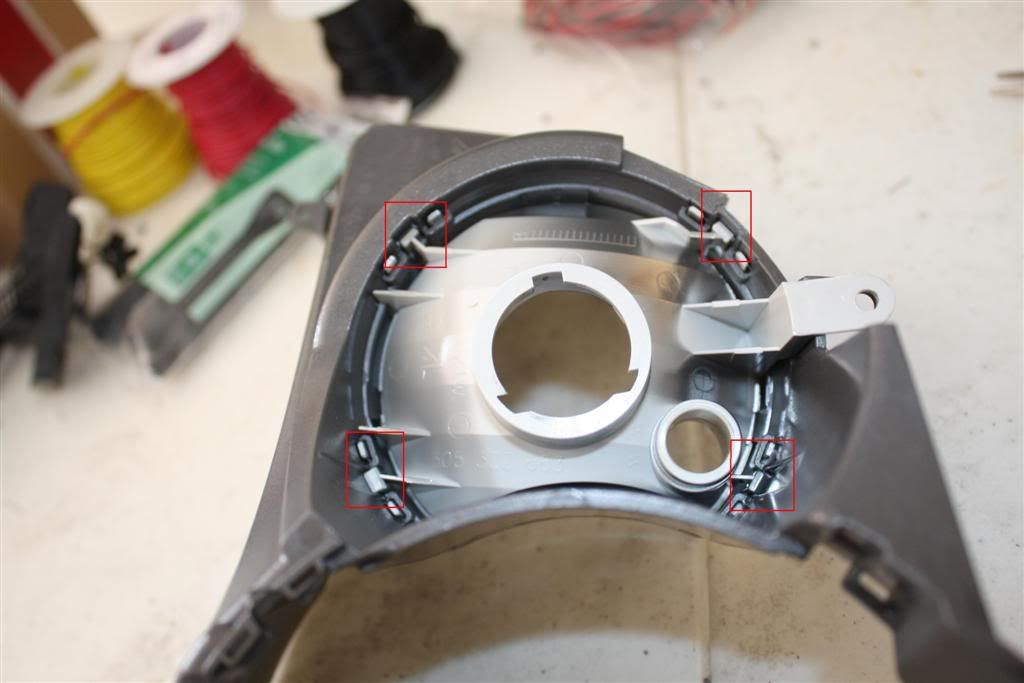
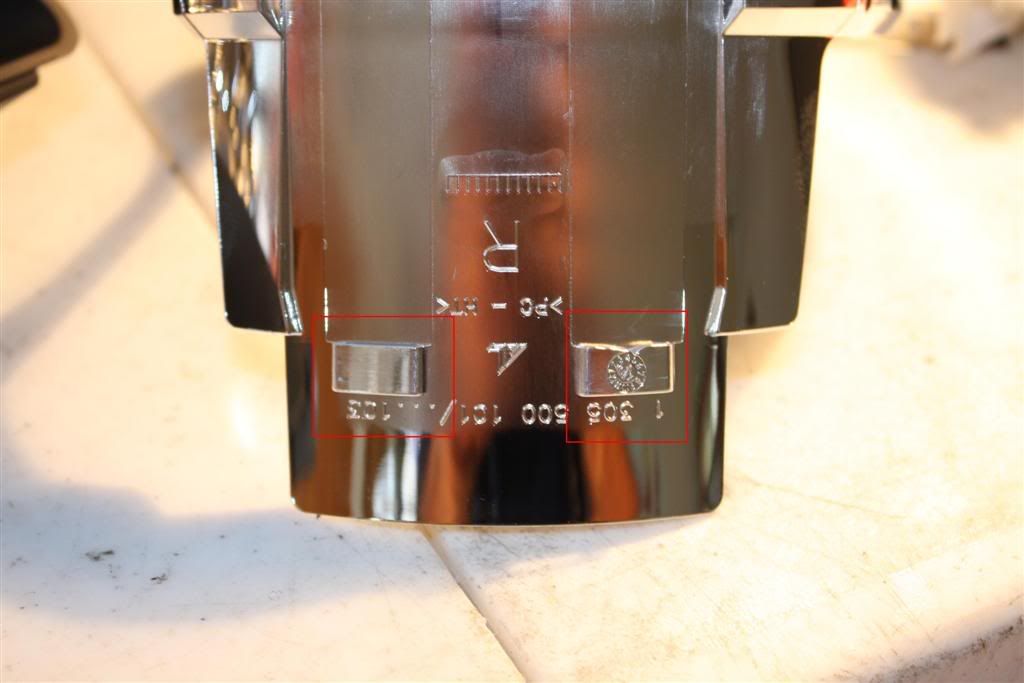
Now you need to remove the internal housing. There are 3 screws holding it in place. Location materialized in red
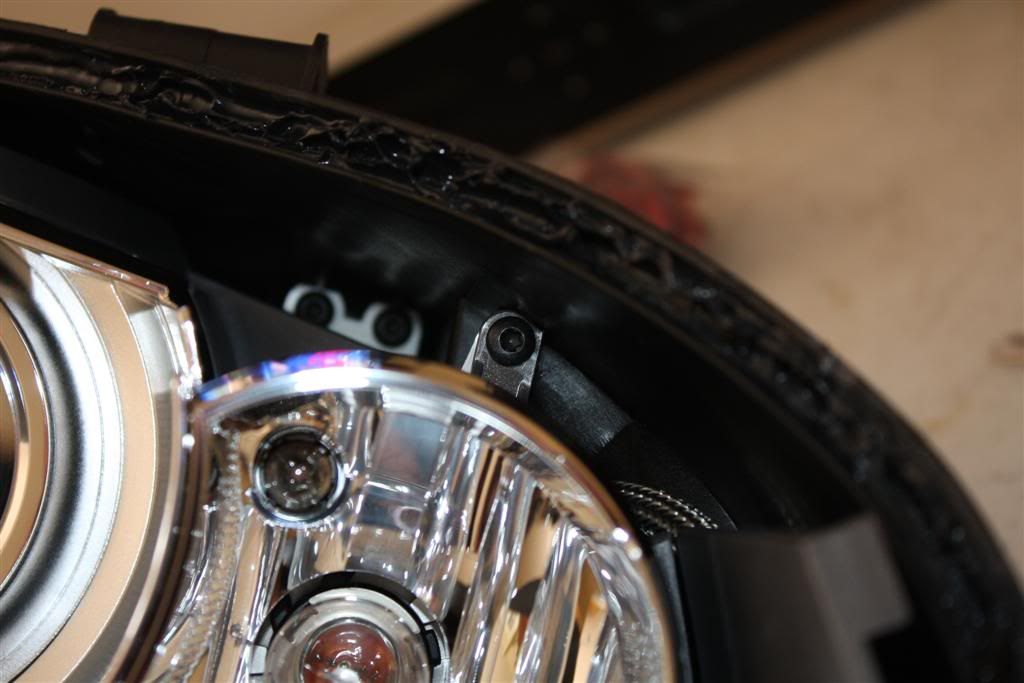
Close up of screw #1

Close up of screw #2
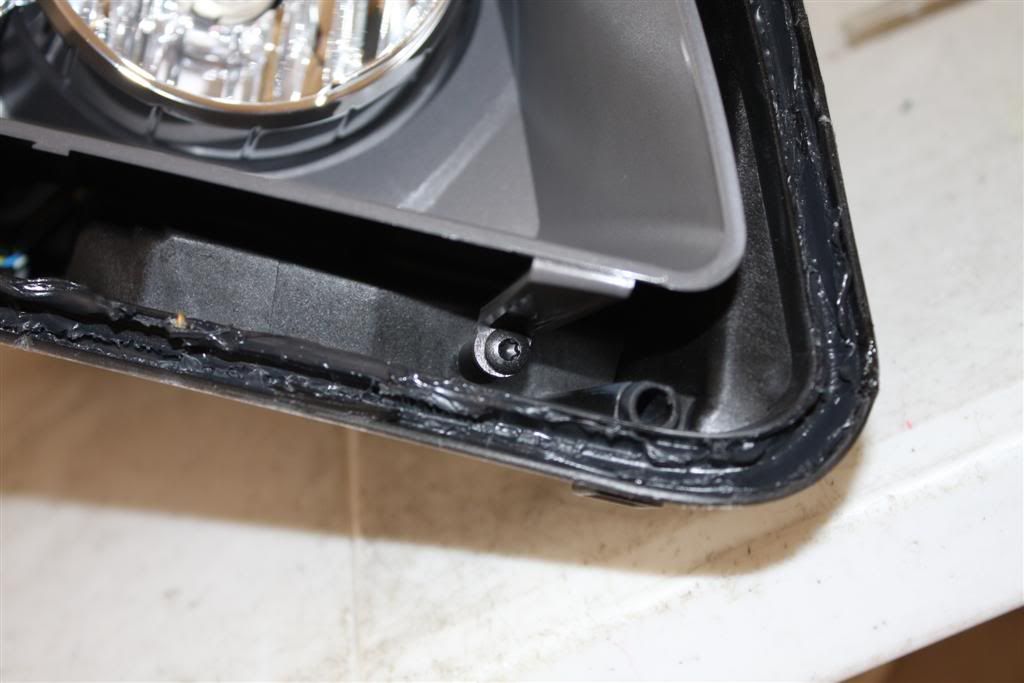
Close up of screw #3
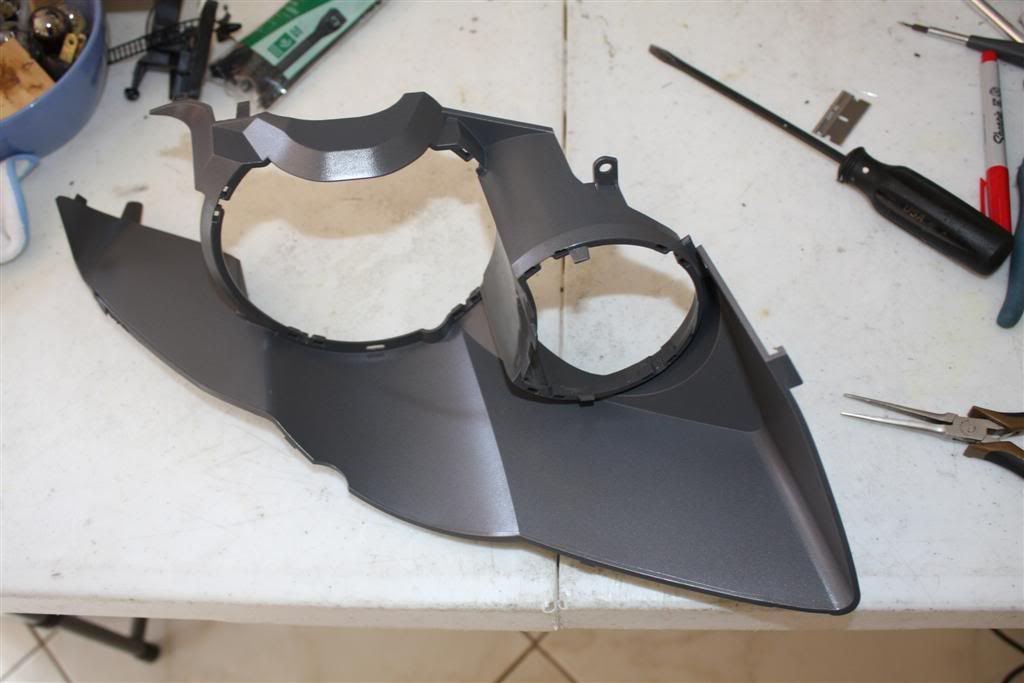
Now, the housing should slide off
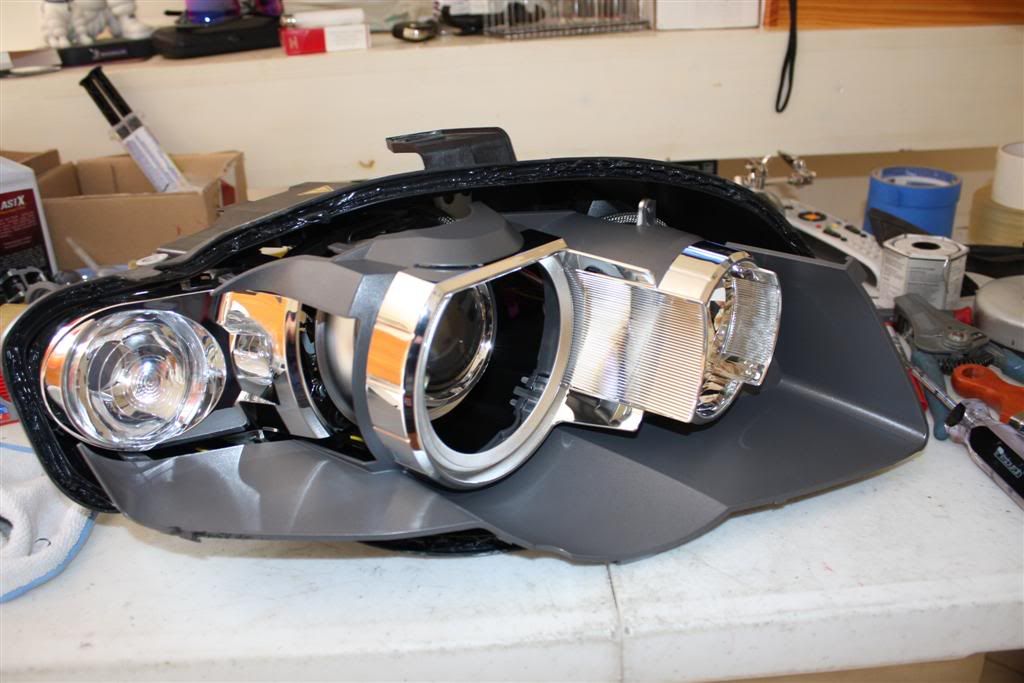
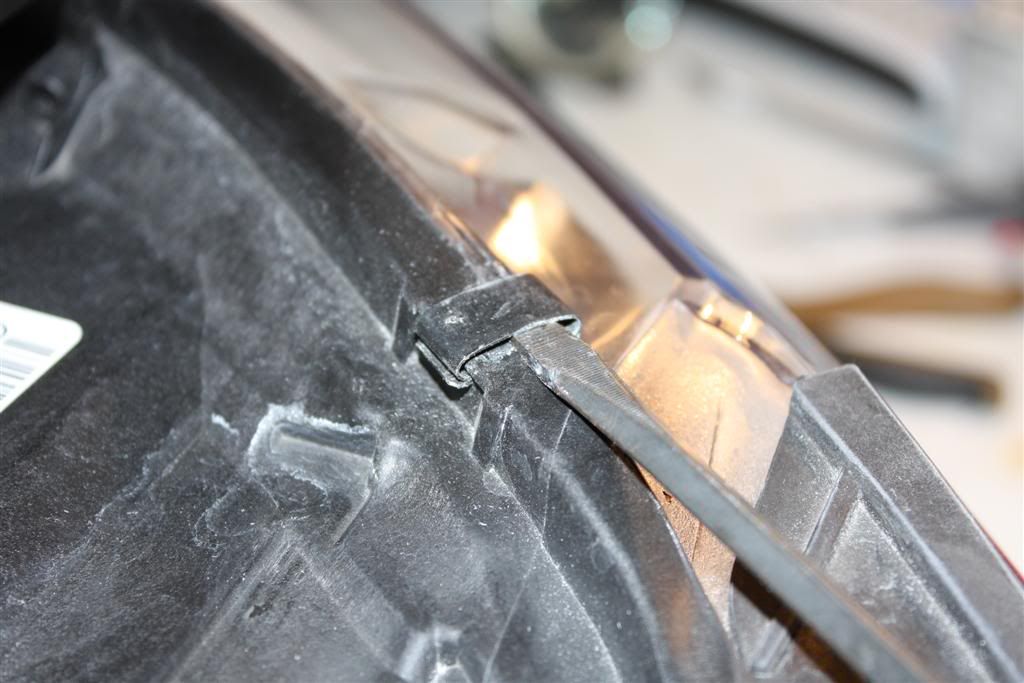
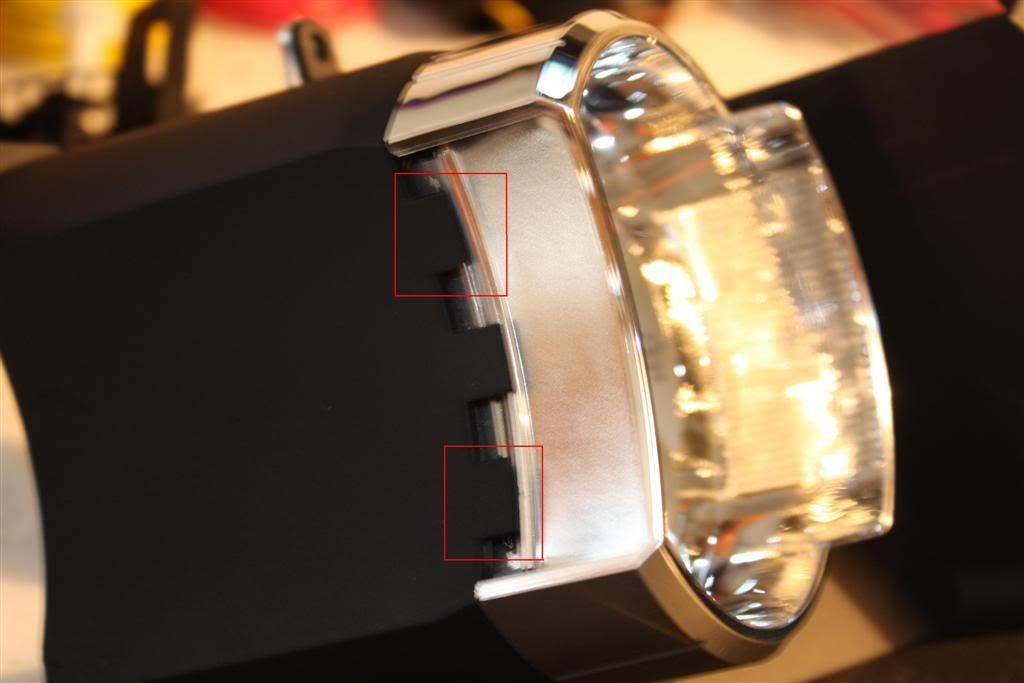
On some headlights, it’s a bit more difficult because the housing stays clipped in the turn signal area. Gently pry under the plastic tab to release it.
Here is a close up of the tab that may stay clipped
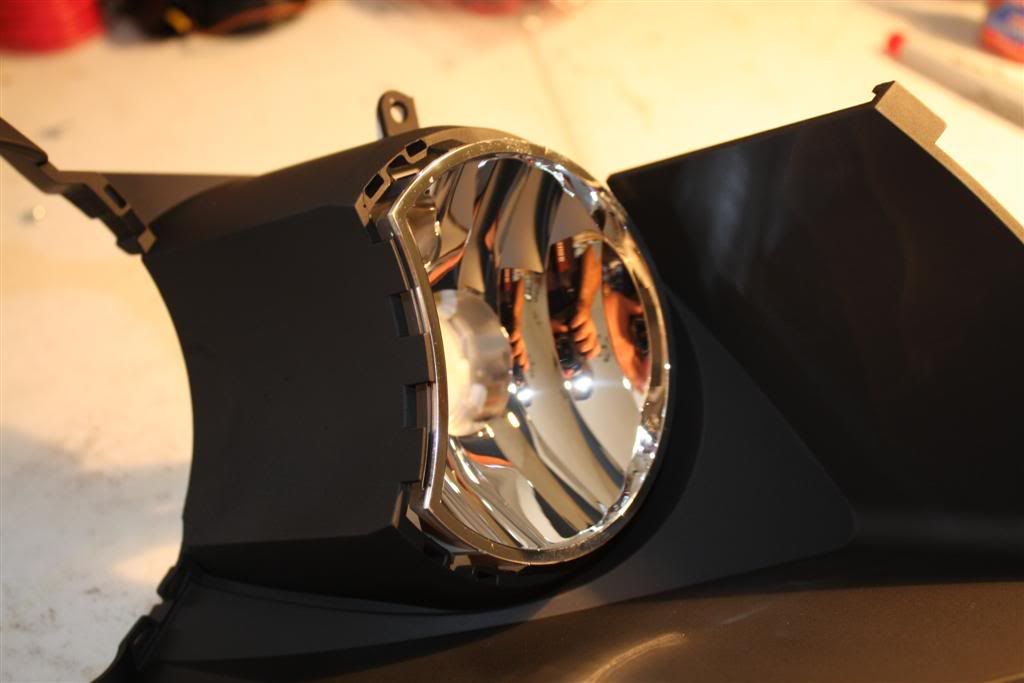
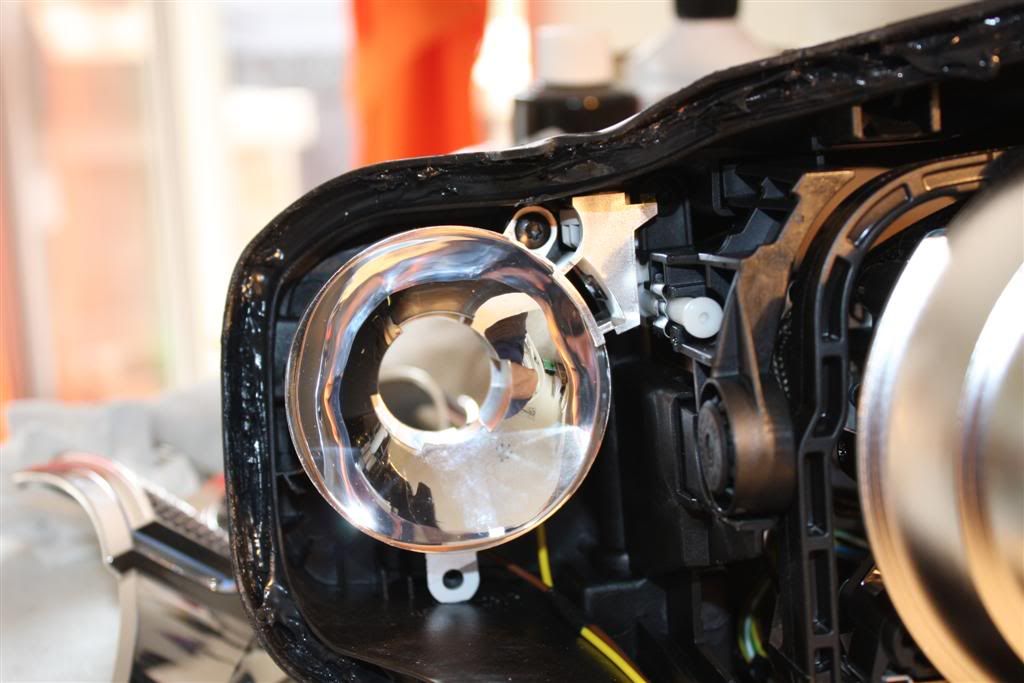
Once the housing is removed, there is an additional screw to be removed right under the turn signal.

At this stage, I have seen people banging the orange corner with the screwdriver: 99% of the time, you will end up breaking the turn signal tabs !!!
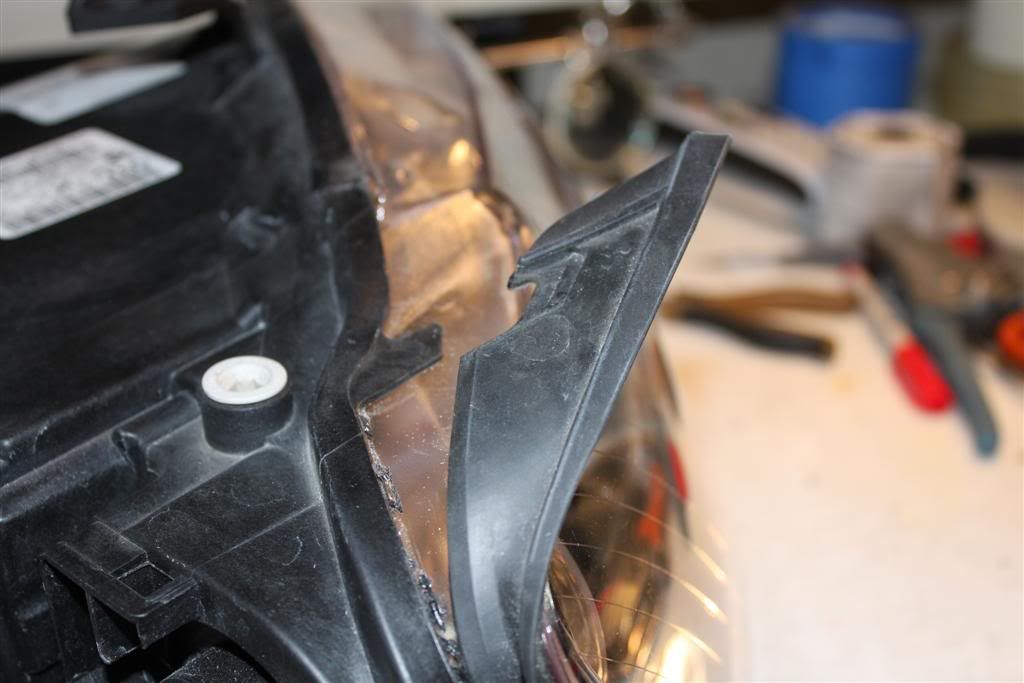
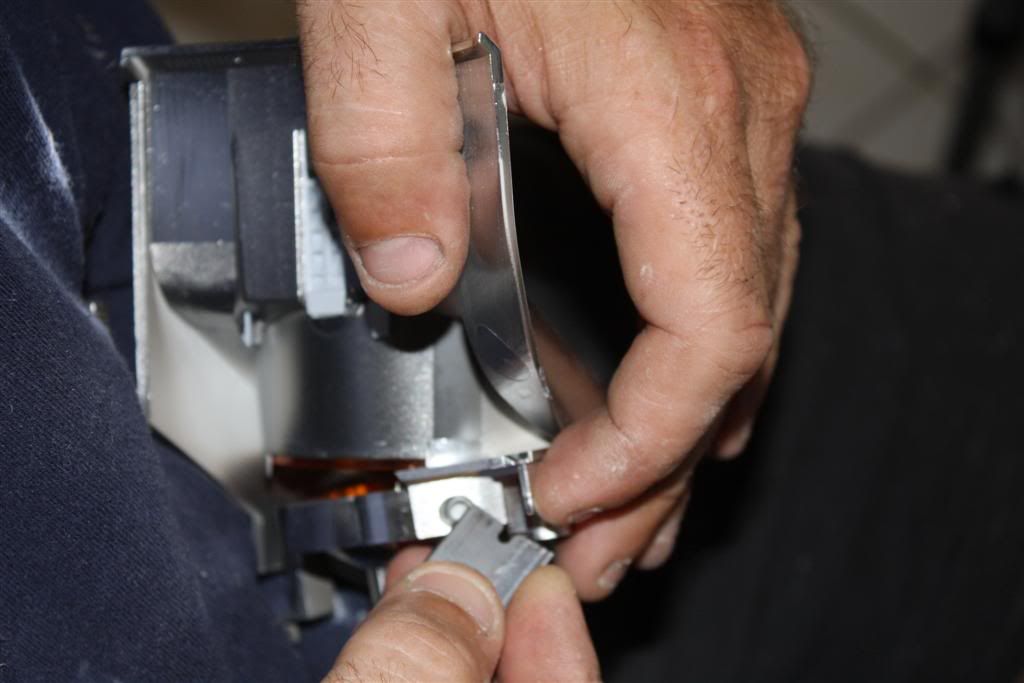
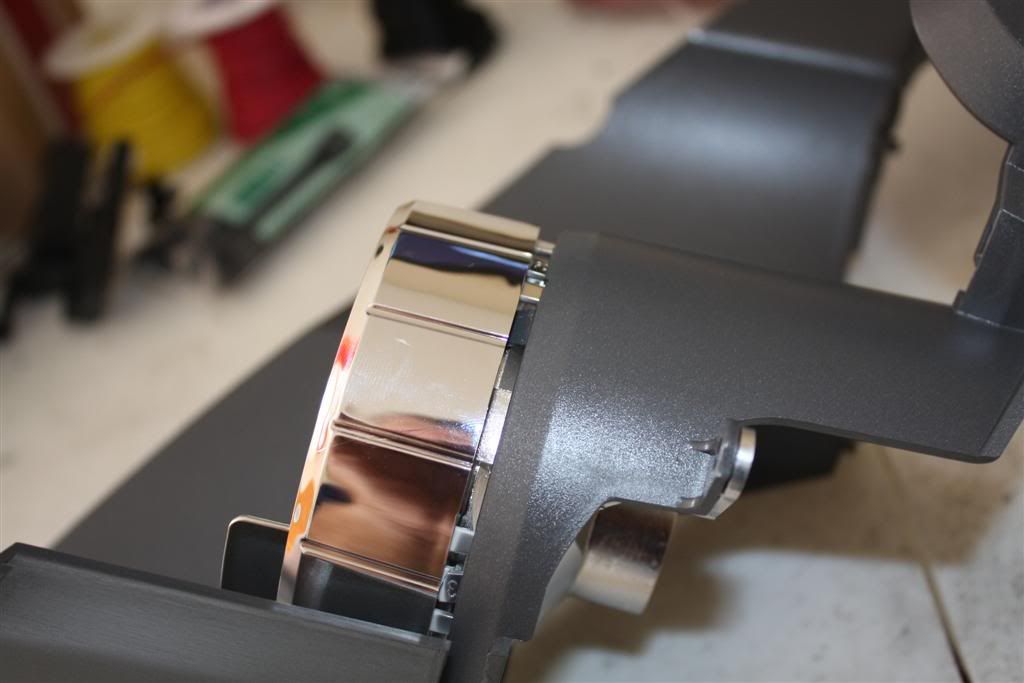
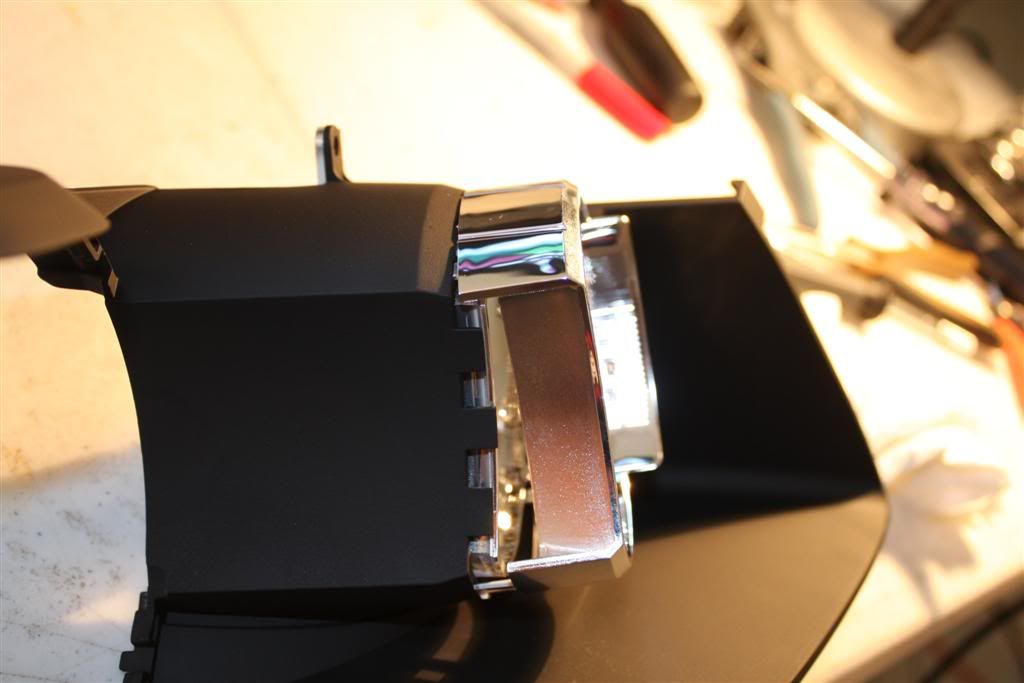
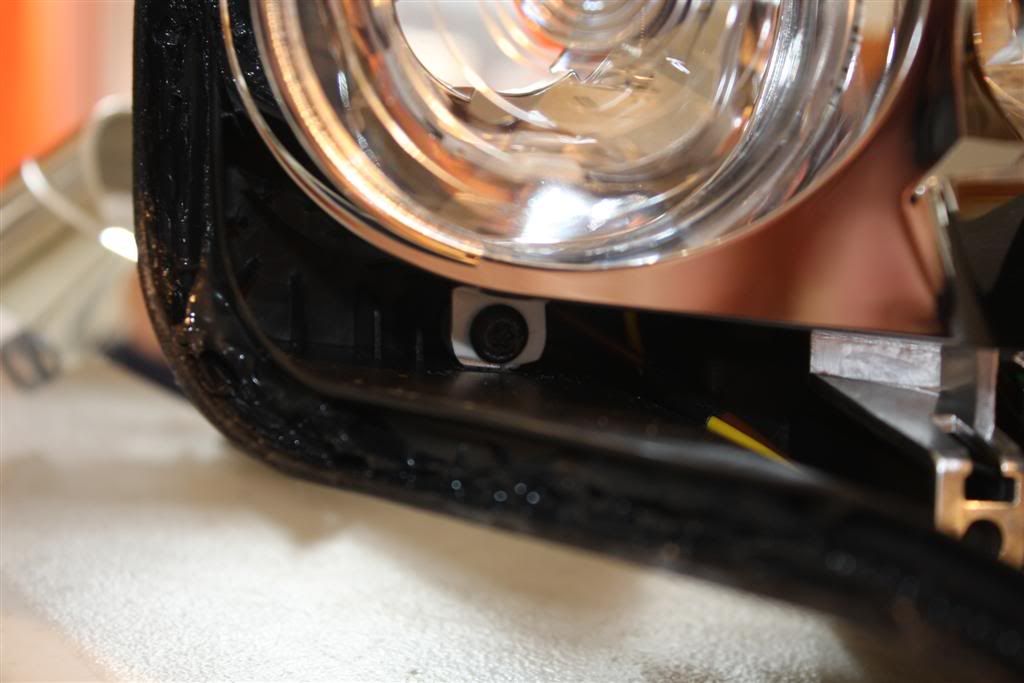
Now, the tricky screw: He is hiding behind the chrome housing. This is where I use my trimmed screwdriver and work it thru between the headlight housing and the chrome piece. Even if you scratch a bit the edge of the chrome housing, do not worry about it, you won’t longer see it once the headlight is reassembled.
You can really see the sucker hiding on this one
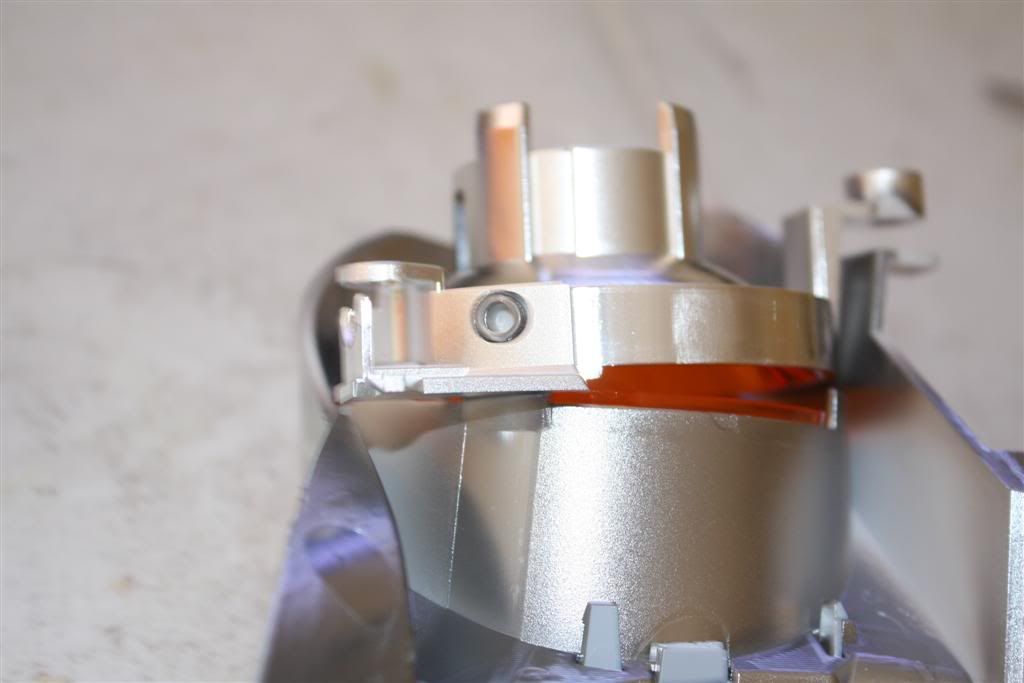
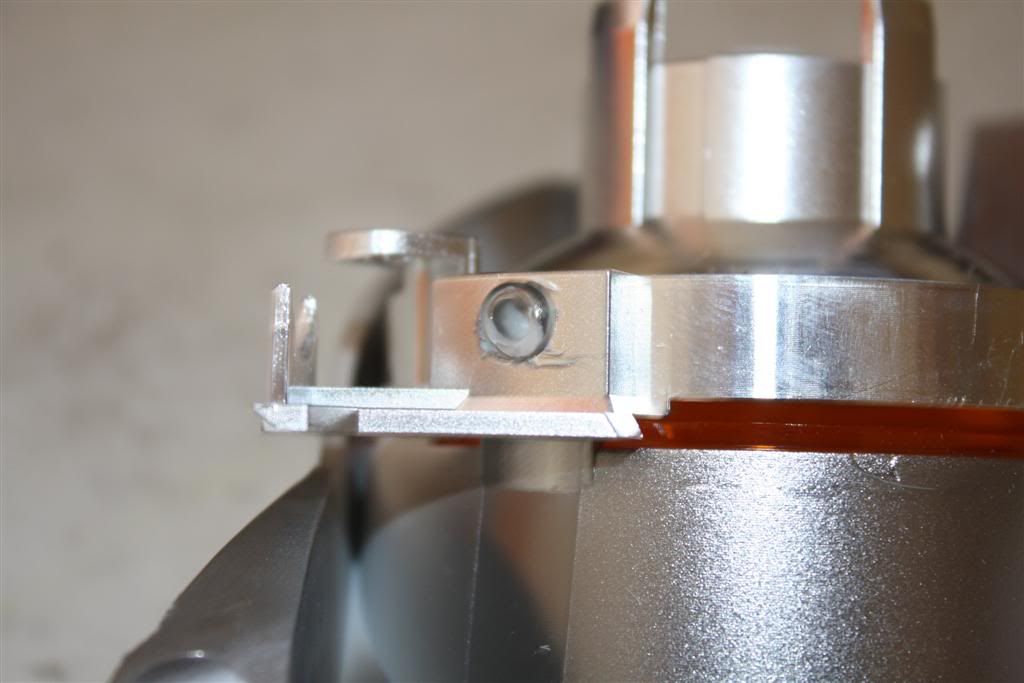
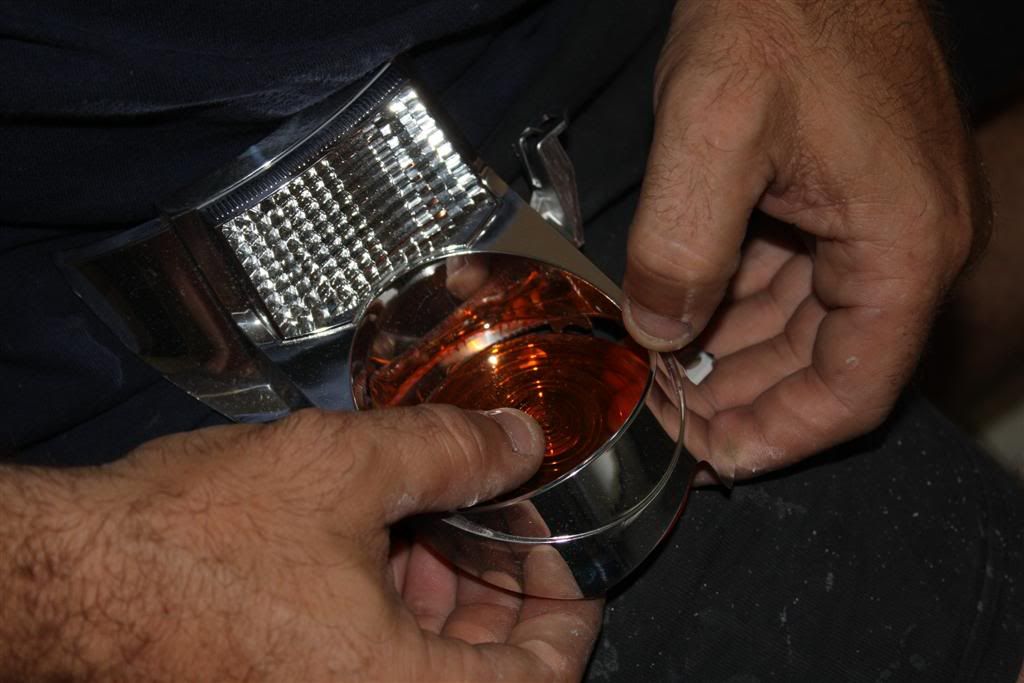
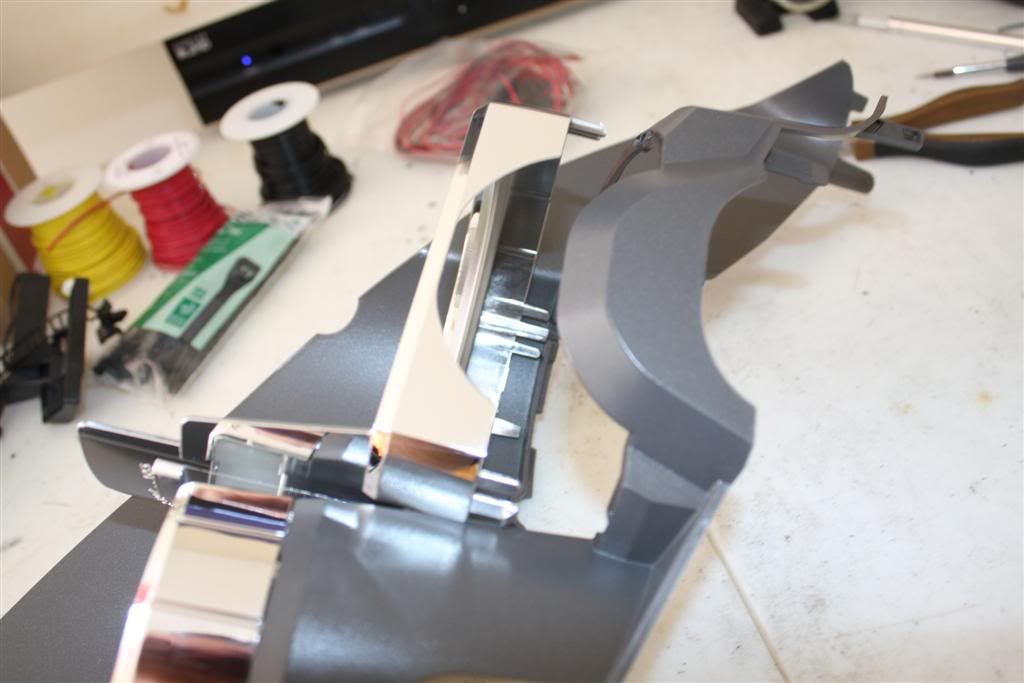
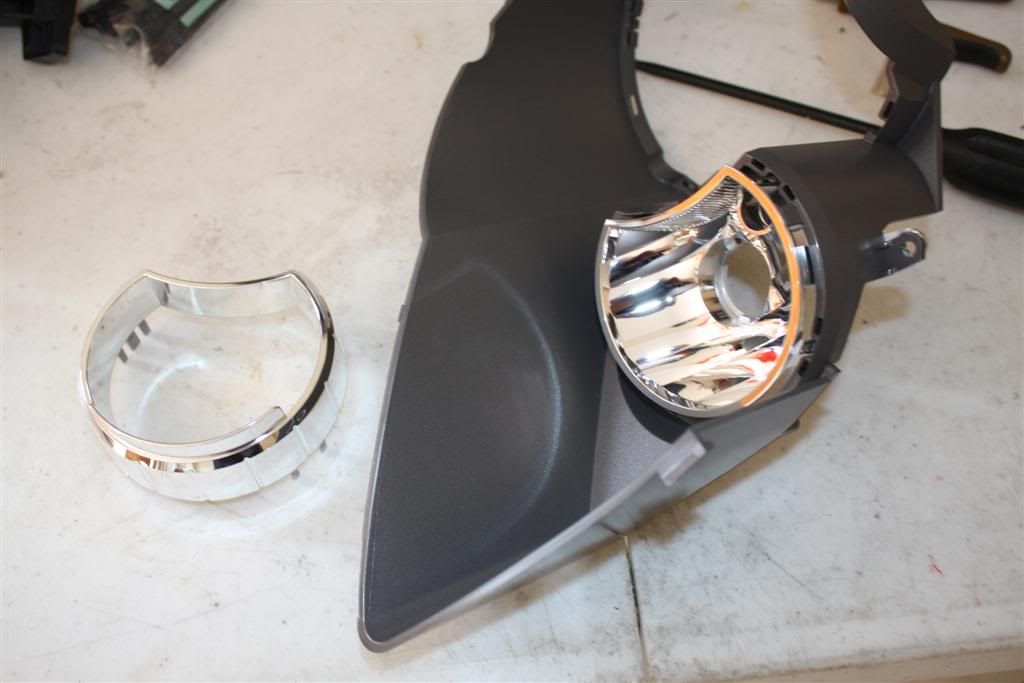
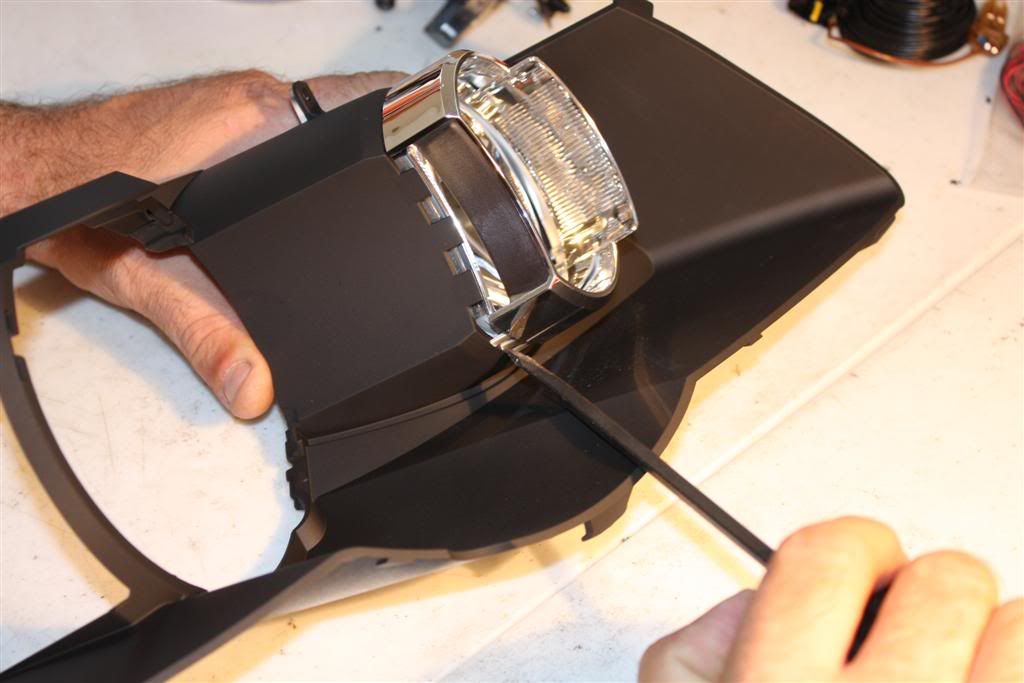
Now, you are going to separate the two plastic parts of the turn signal.
Take a close look at the little plastic shaft preventing the separation
Using a razor blade, you are going to trim just a bit of the edge of the center pin, trying to make a chamfer.
Once trimmed, it should look like this
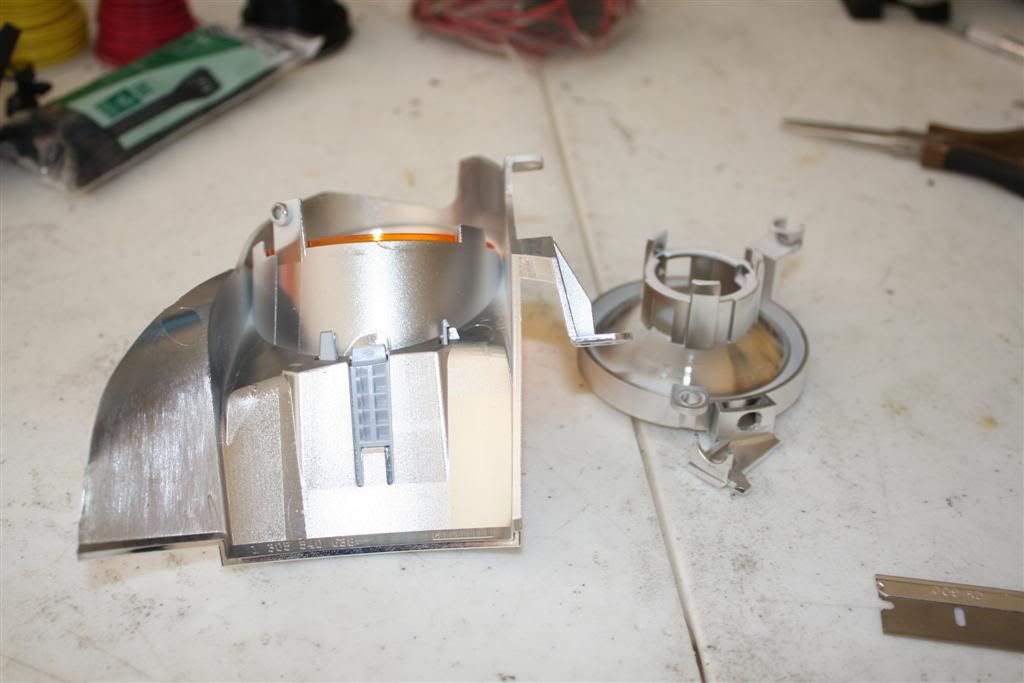
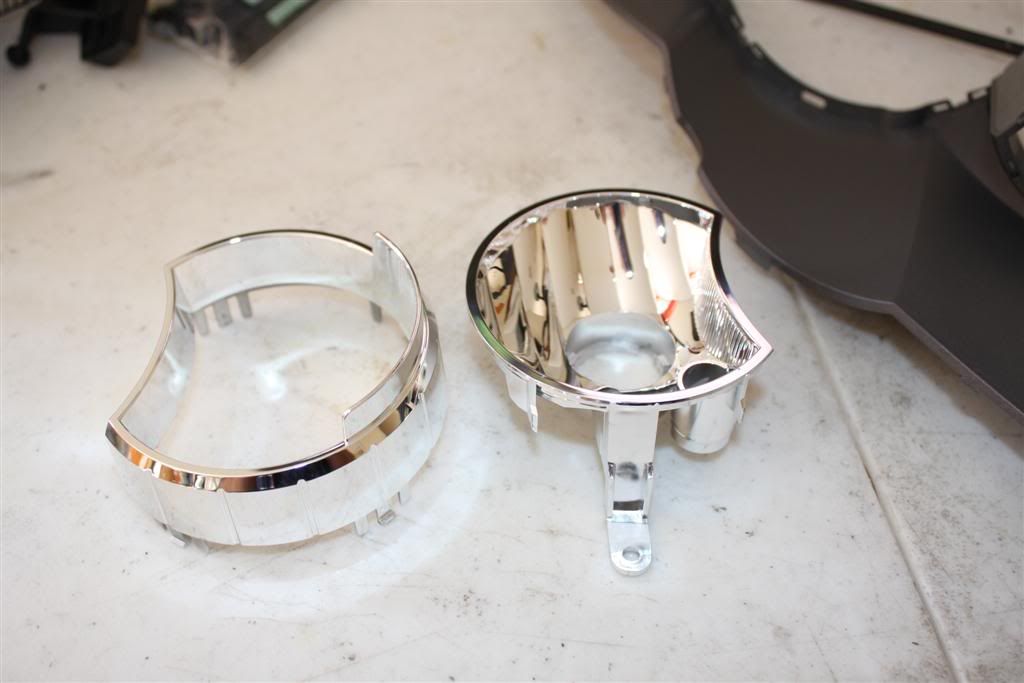
And now, if trimmed enough, you will be able to slide and separate the 2 pieces.

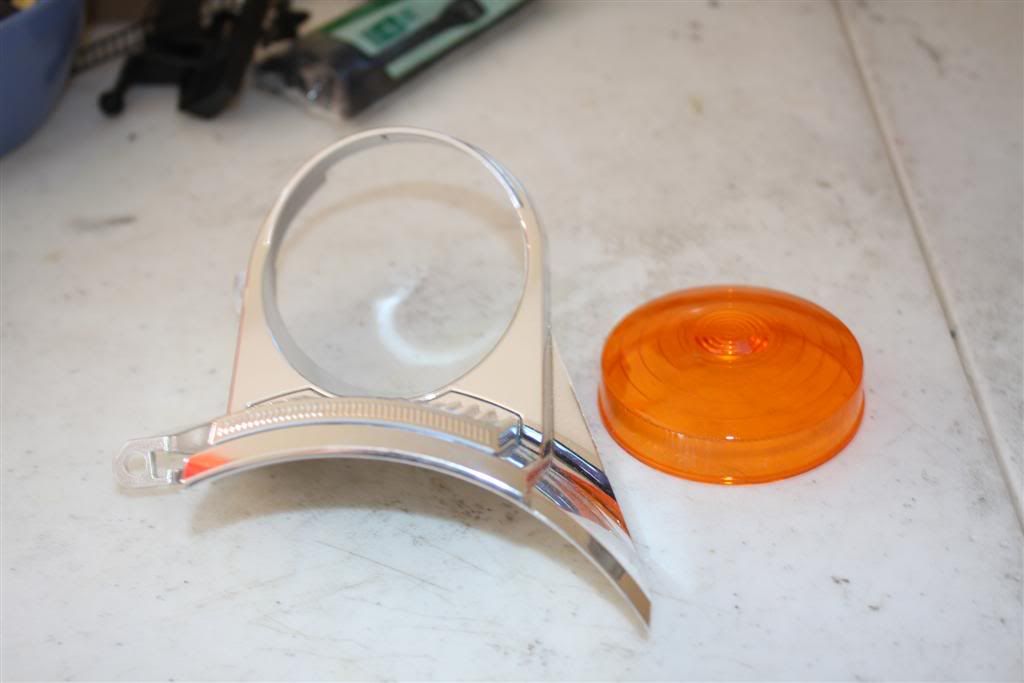
And Voila
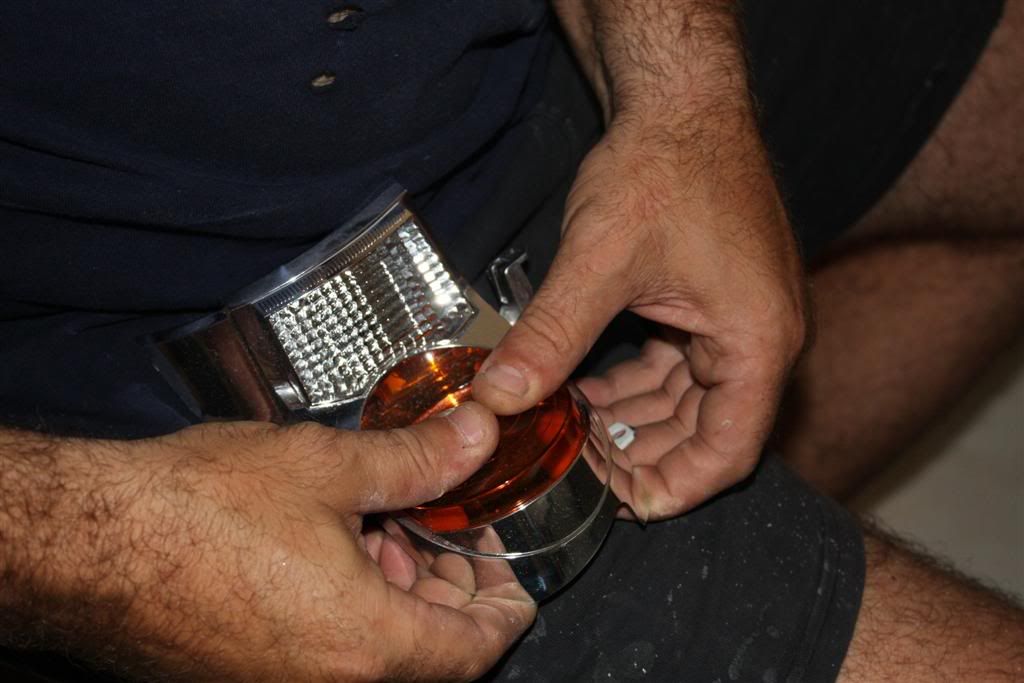
Now, to remove the orange cap, just push on it, towards the inside.

 Reply With Quote
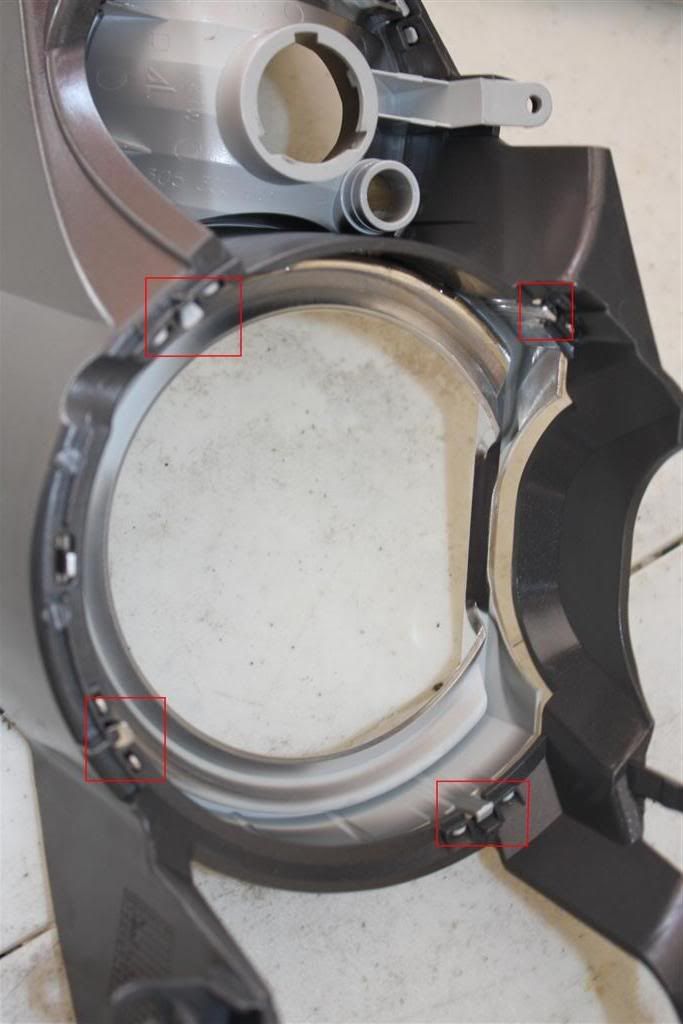


Bookmarks