


Because some of you are sometime looking for a DIY (there is one on the FAQ but a lot of pictures are missing) and since I had a car today undergoing LED surgery, I decided to take some pictures and make my own in order to share.
To start, I did a breakdown with the different tools setup and I will refer these setups during the DIY. The tools I am describing here below here are for reference and in some case, alternate tooling can be used.
Time = 15mn
Difficulty = 3
The Tools
10mm Socket
Socket Extensions
T30 Extended
T25 Bit
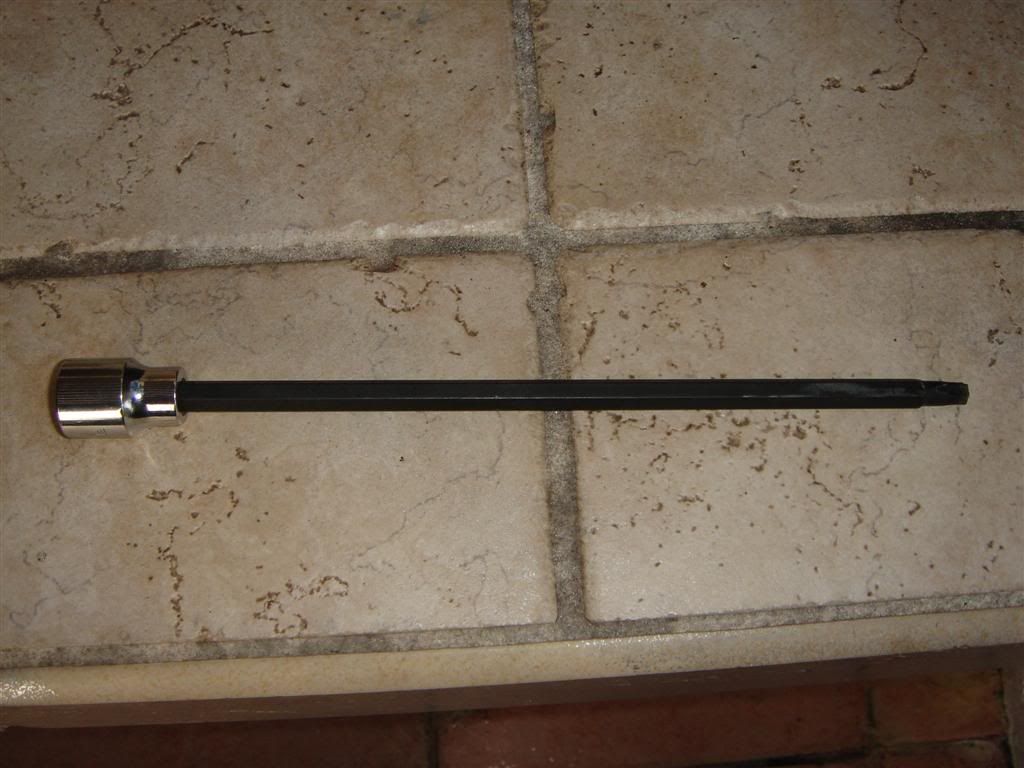
Setup 1
T30 extended – Length 180mm / 7 Inch
I bought this tool on Ebay for $8. I have seen that some of you are using a flat screwdriver with a width that fit the T30 head. A T25 will work as well but has more play.
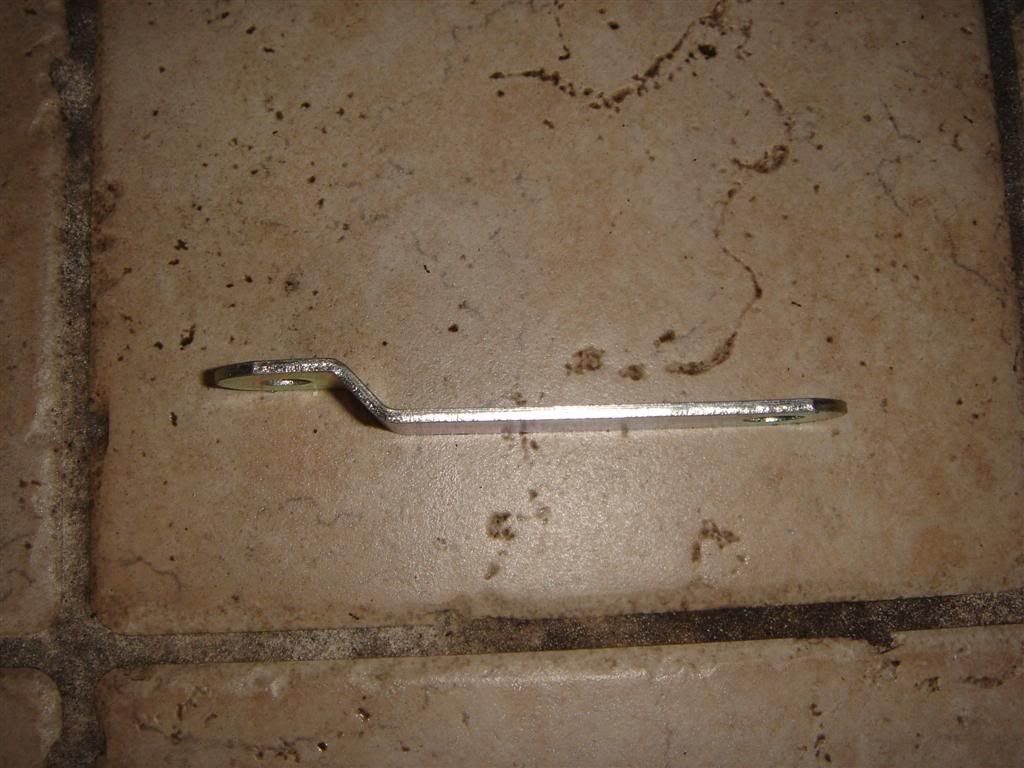
Setup 2
A piece of metal about 2mm thick
Setup 3
Torks bit T25
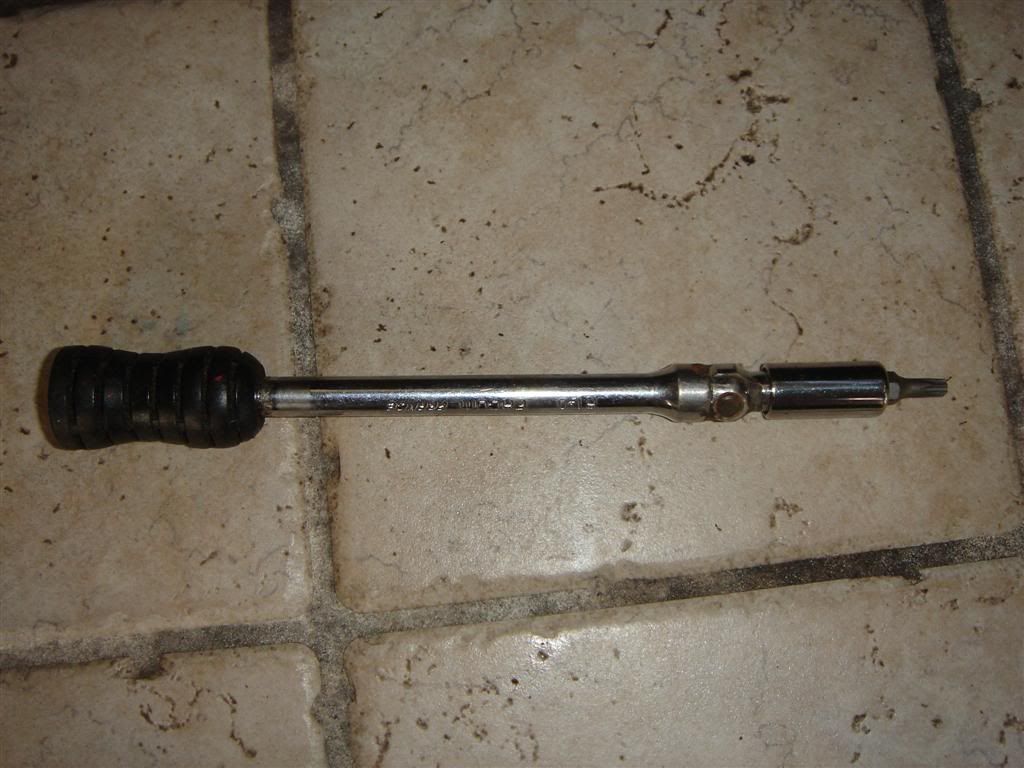
Setup 4
10mm socket with 2 extensions. Total Length = 285mm / 11 Inch
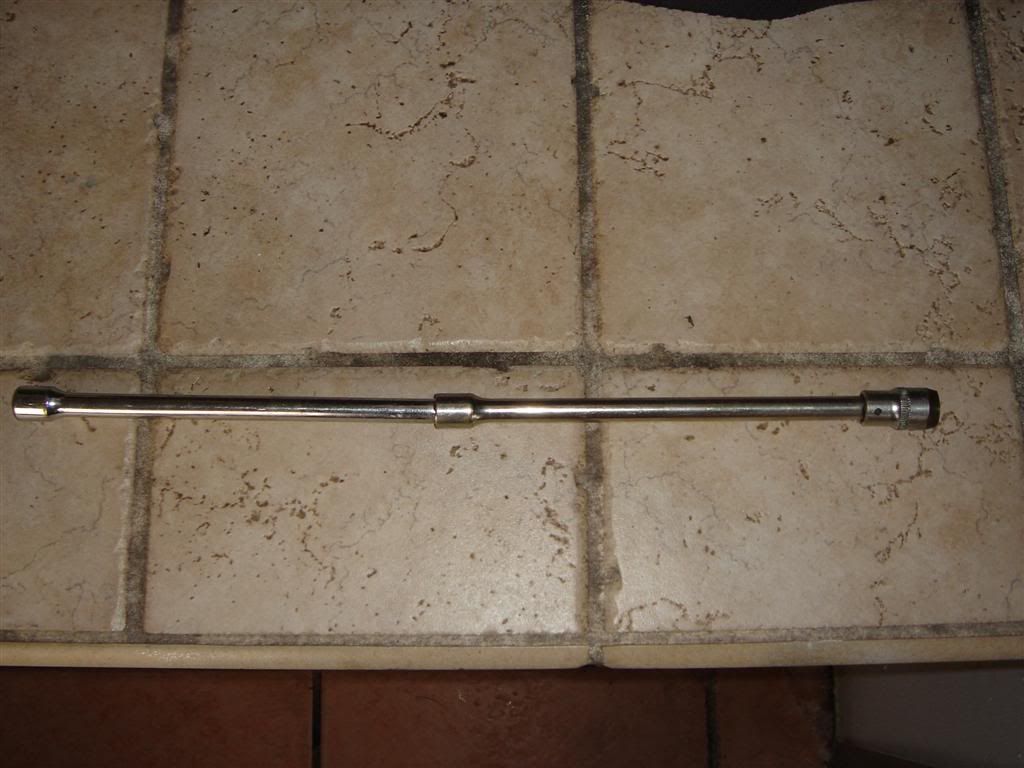
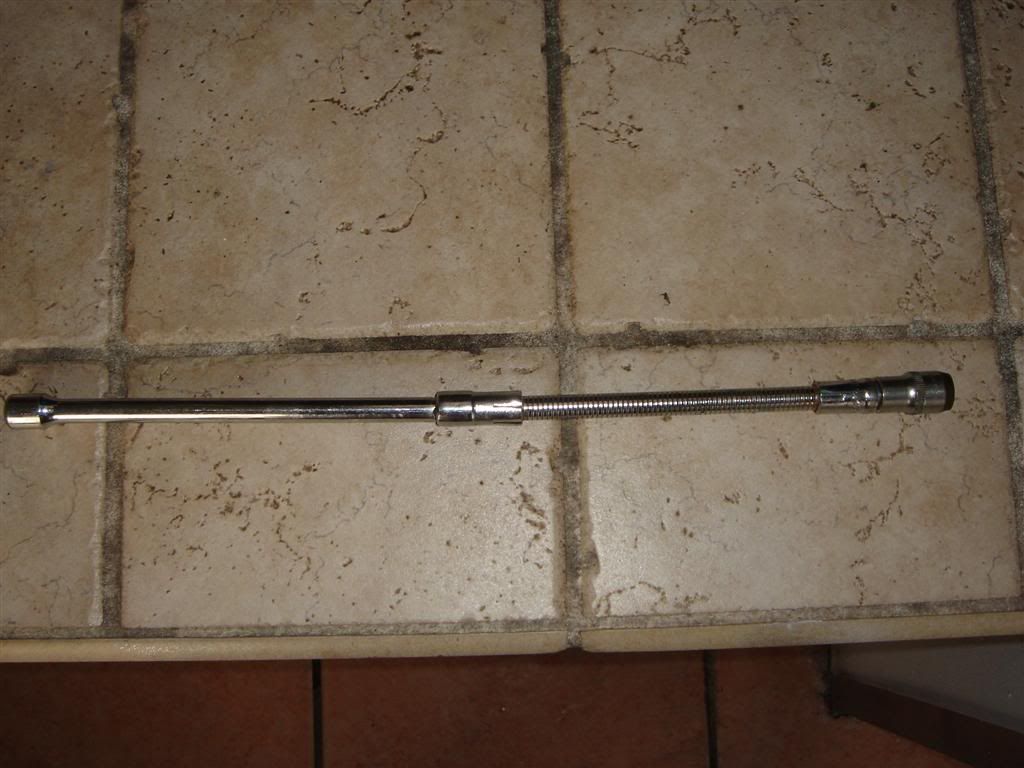
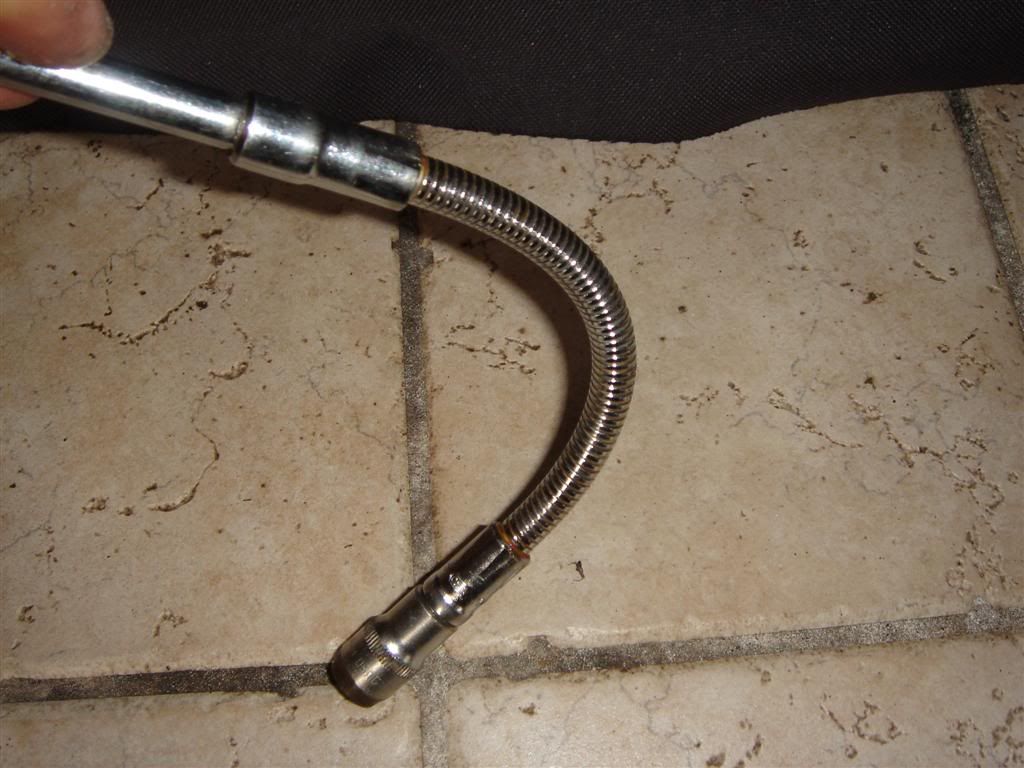
Setup 5
10mm socket with 2 extensions, one of them is flexible, like a spring. Total Length = 285mm / 11 Inch.
Let’s start.
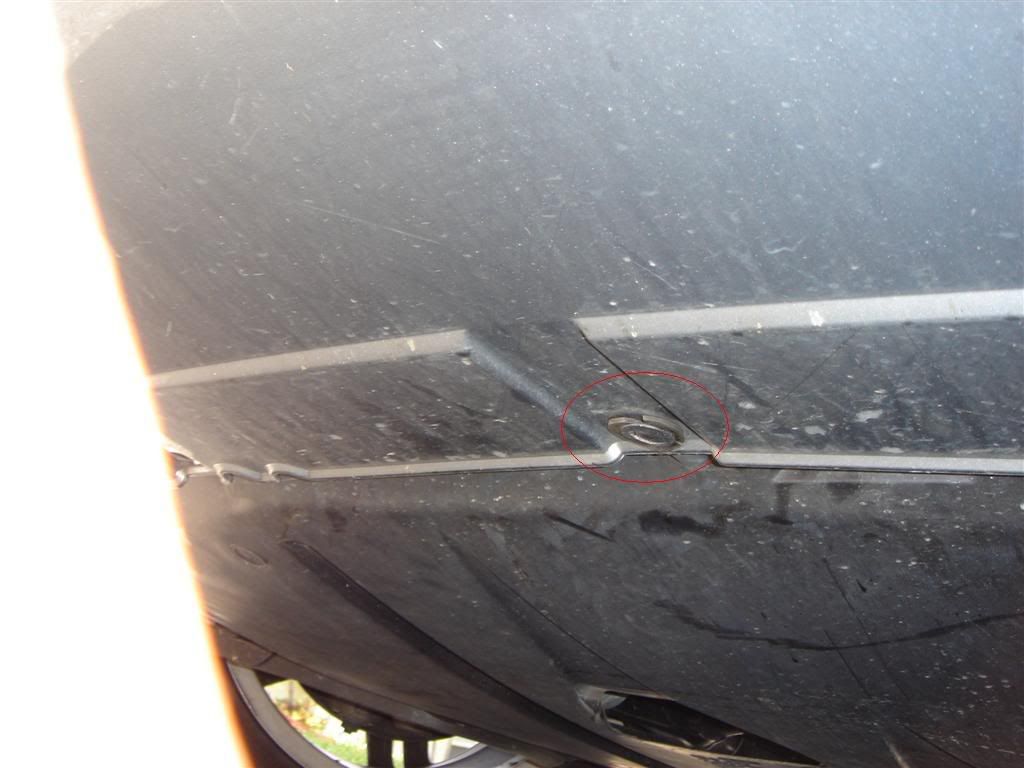
Using Setup 2, remove the 3 locking pins under the bumper
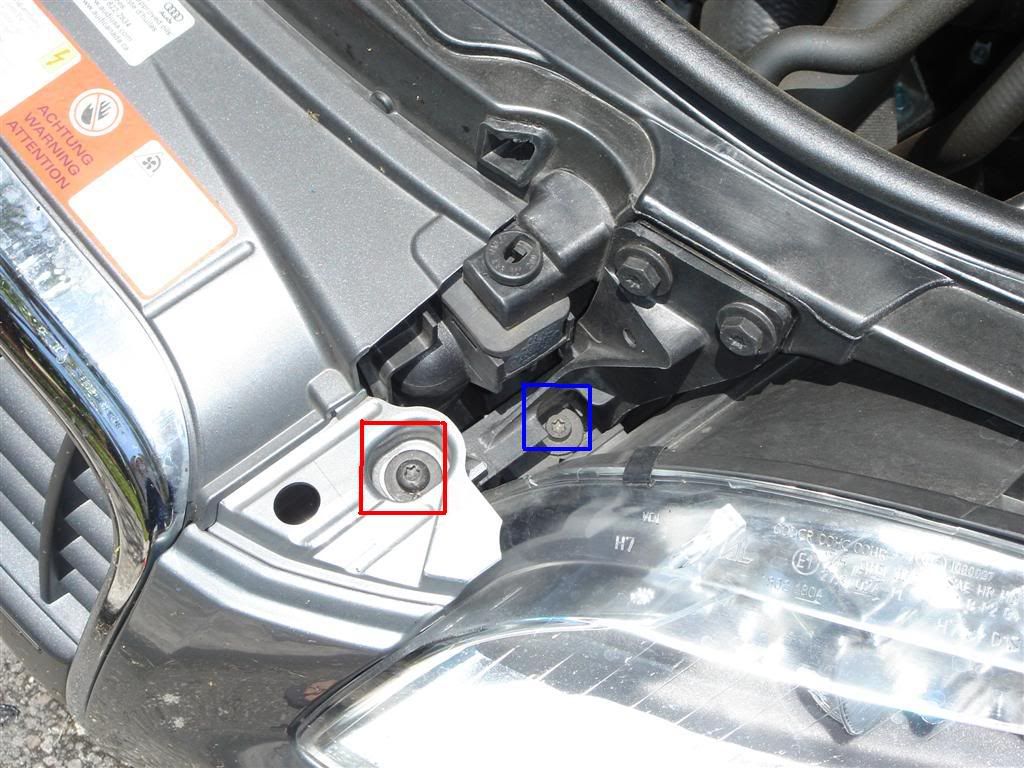
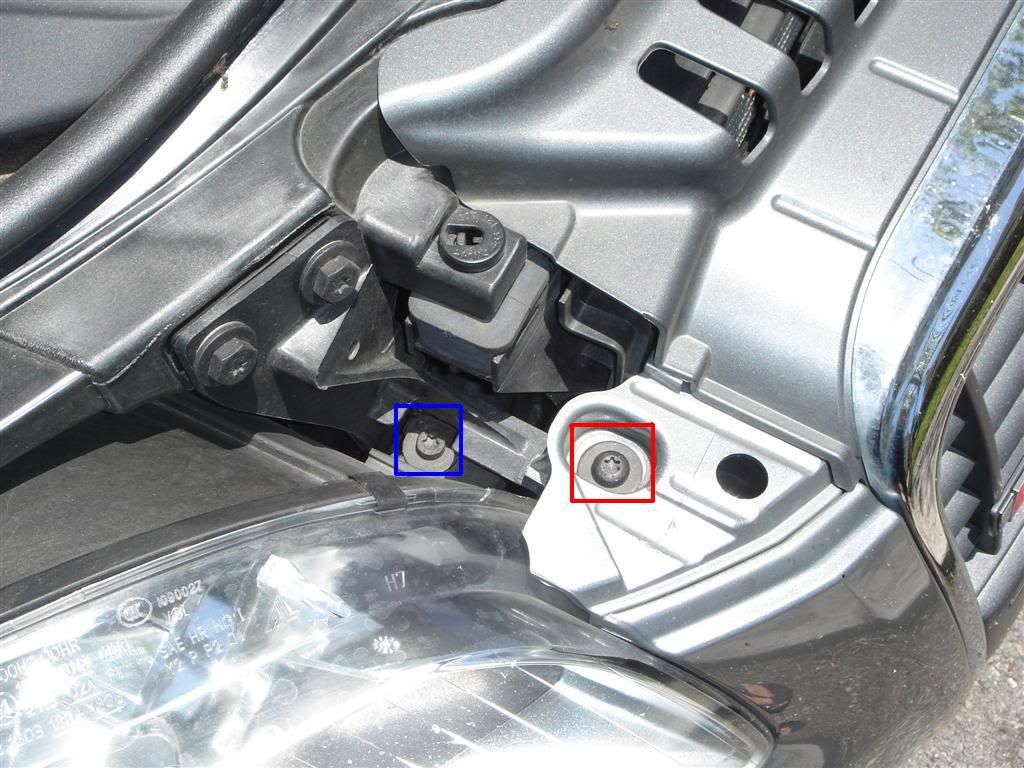
On this top view, I have circled the 11 screws location (2 of them are optional, I’ll explain that later)
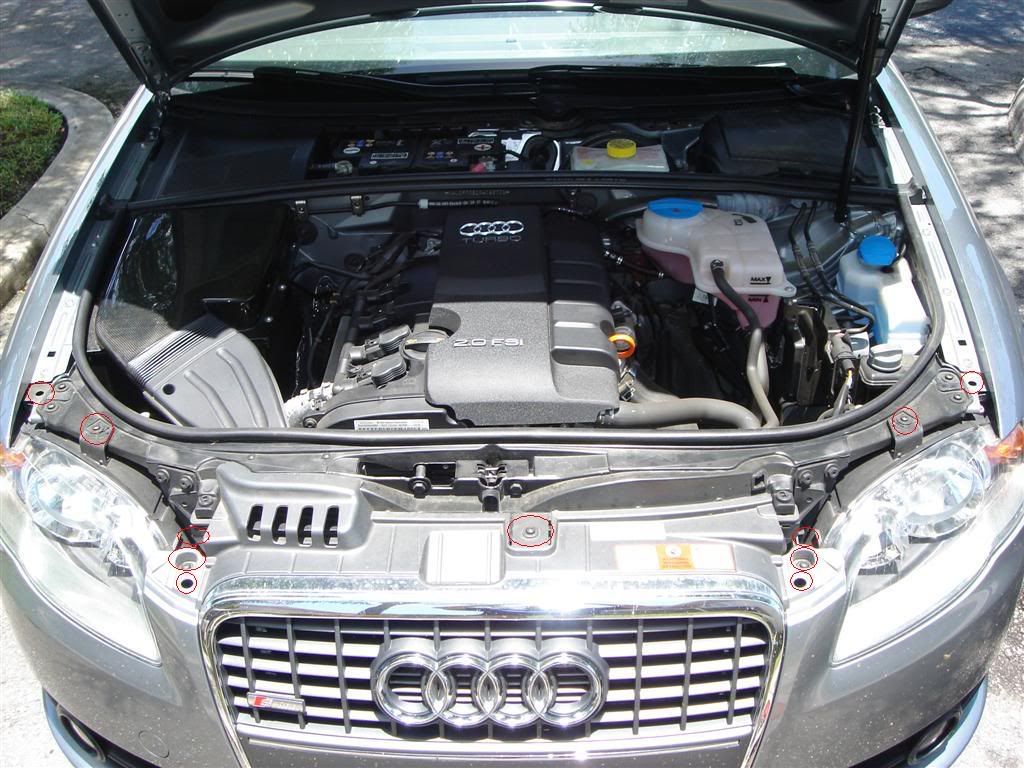
On the following set of pictures, circled in RED, the screws that need to be removed and circled in blue, the screws that only need to be loosen (3 turns should be enough).
Setup 1
Driver Headlight


Passenger Headlight
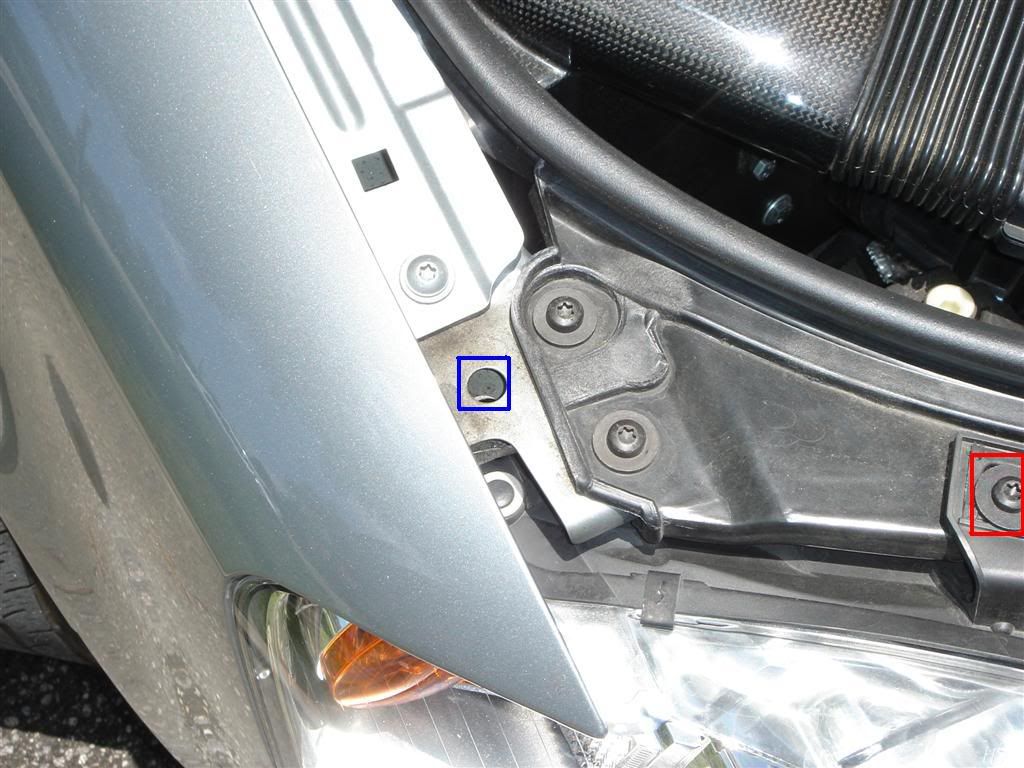
Now, the 2 following locations are optional. I do loosen these because:
1/ Sometimes they are really tight and the bumper is really difficult to pull off or reinstall.
2/ When I reinstall the bumper, I want to make sure that the gaps between the bumpers and the hood are even and identical.
Here, you just need to loose them up, about 1 turn.
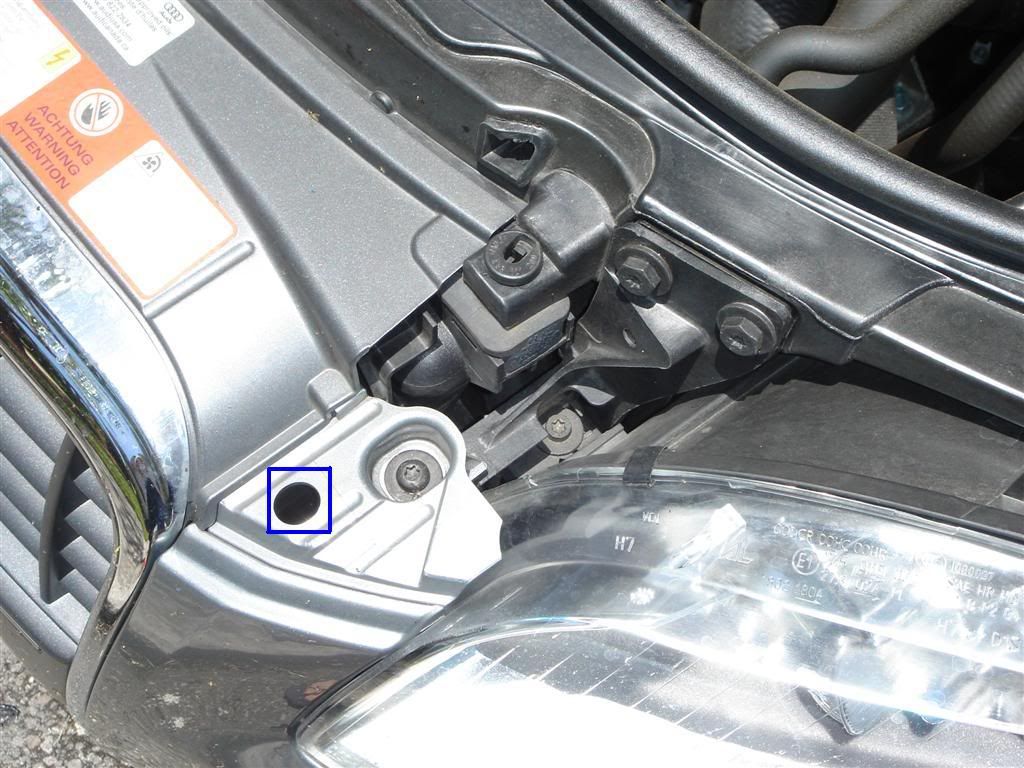
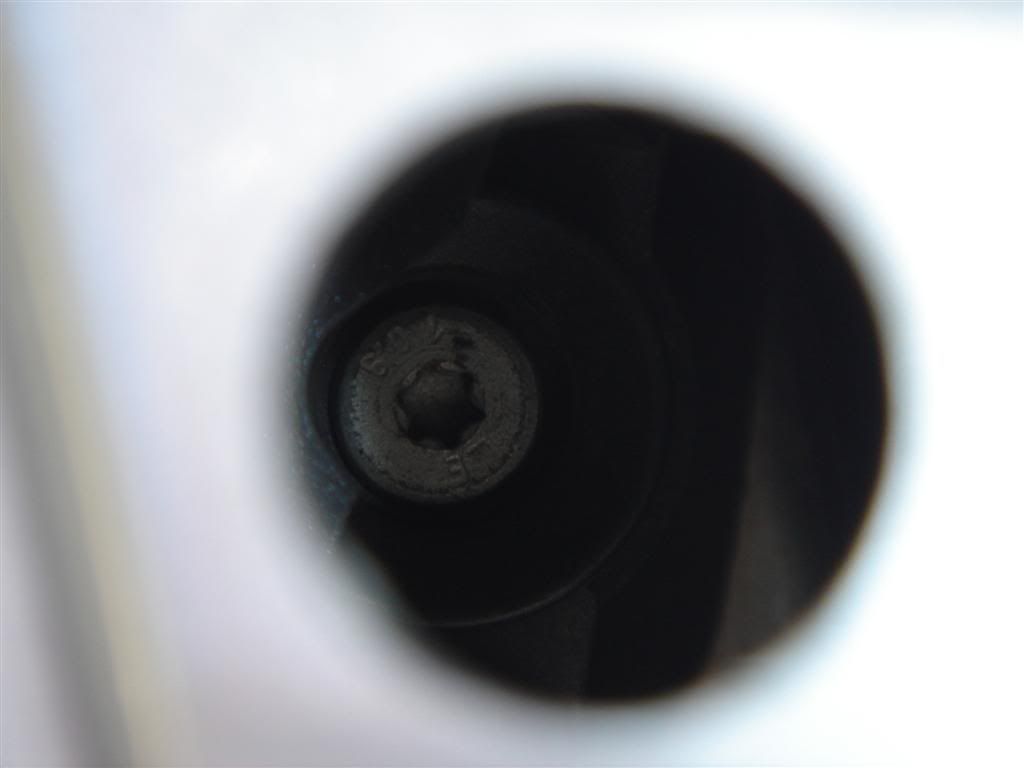
Here is a close up of the Torks head inside
You are done with the top. Let’s start the sides:
Setup 3
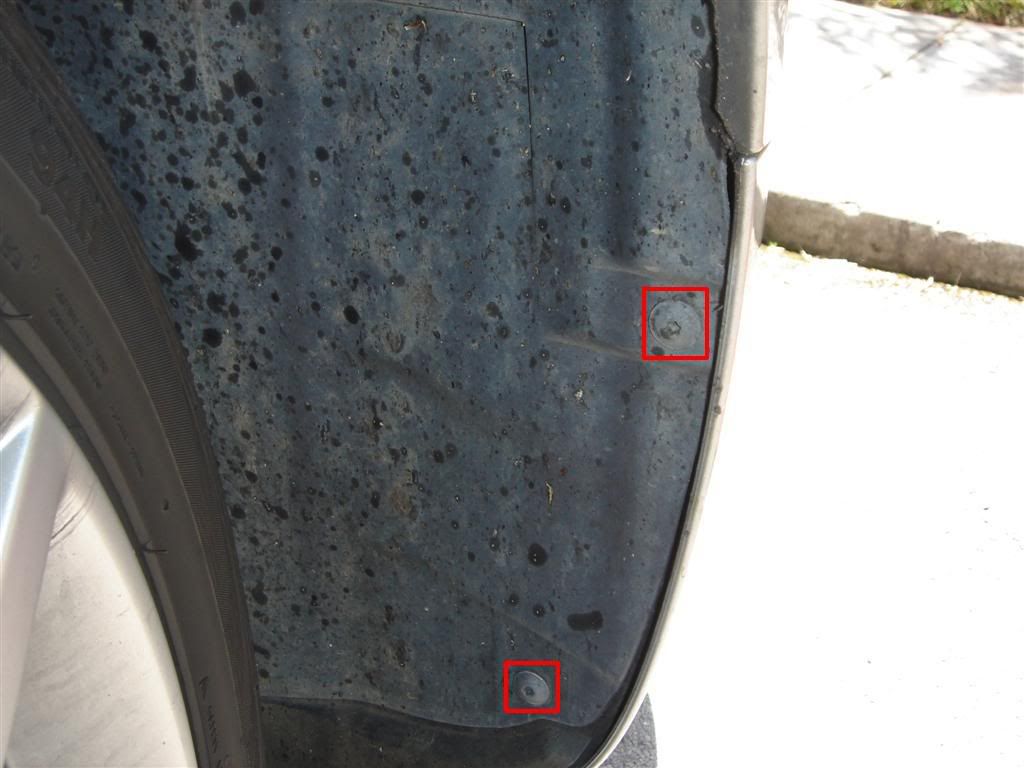
Driver side: Start the car and fully turn the wheels to the right. Remove the 2 screws.
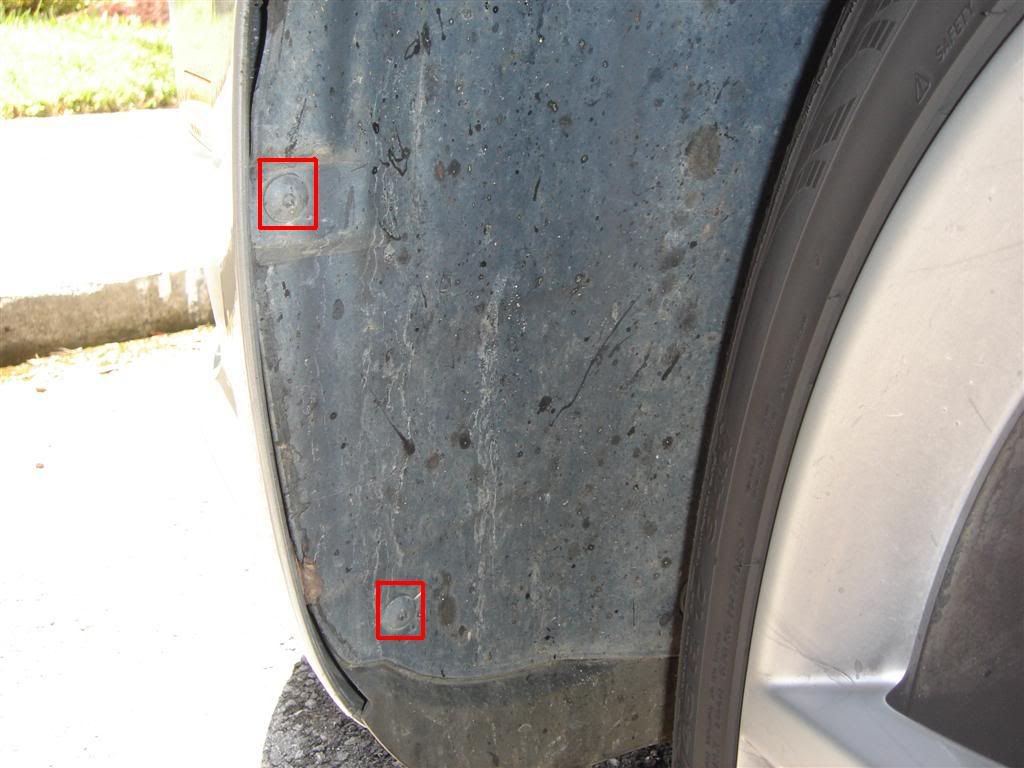
Pull the plastic fender and remove the 2 screws
Setup 4
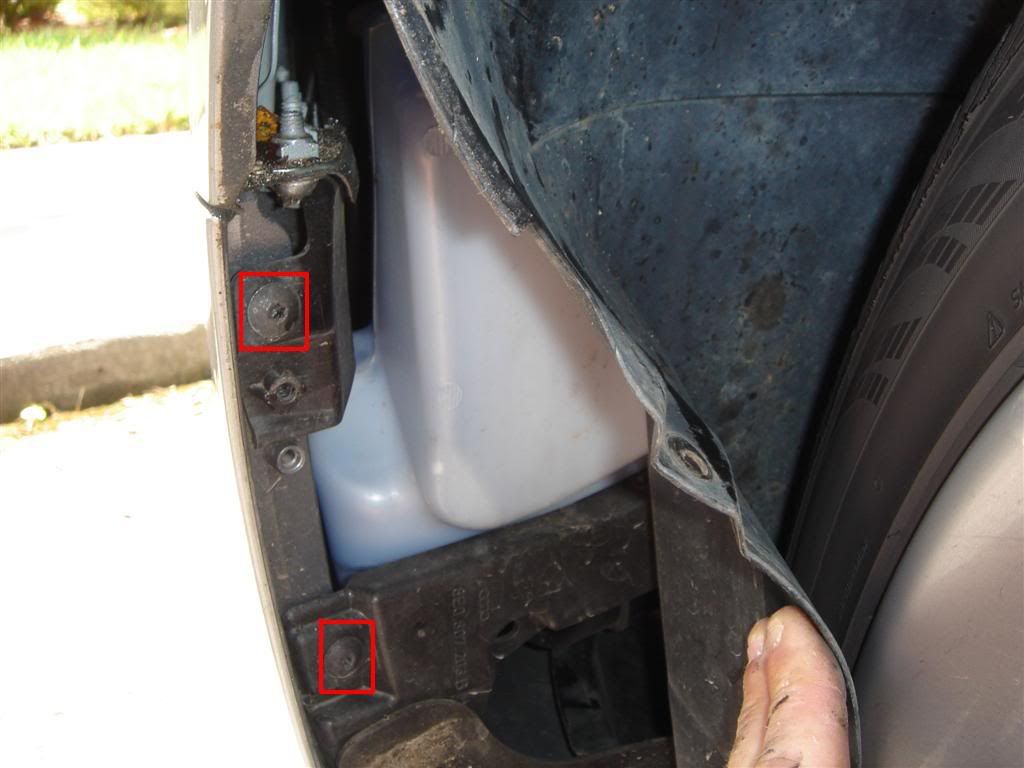
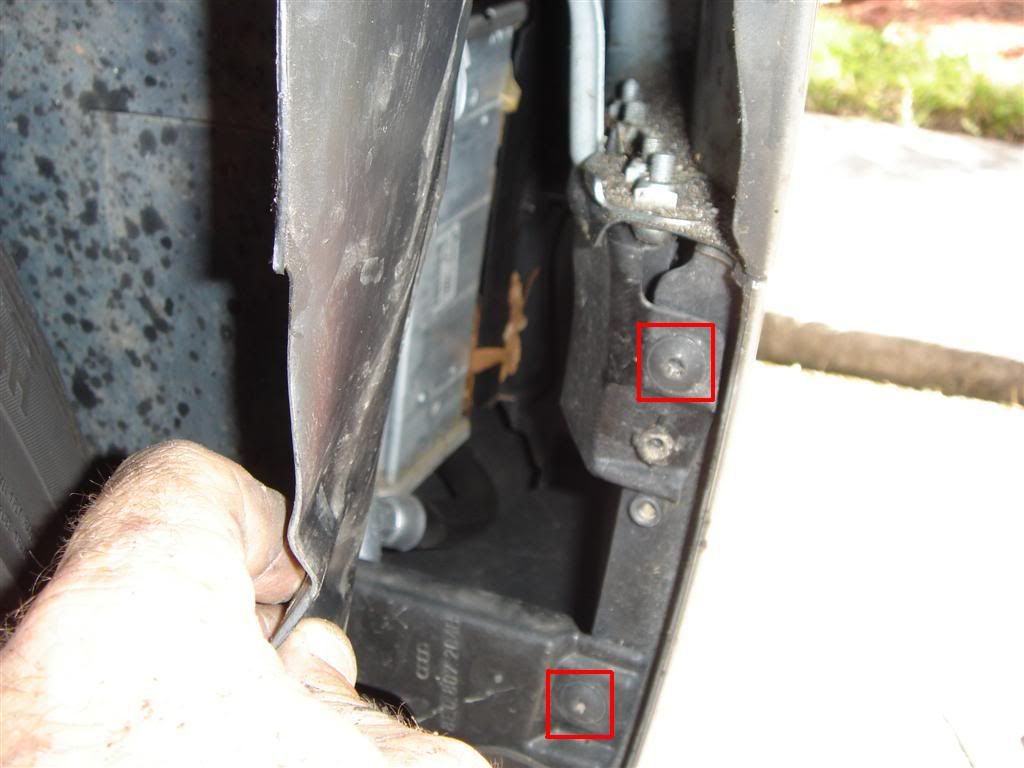
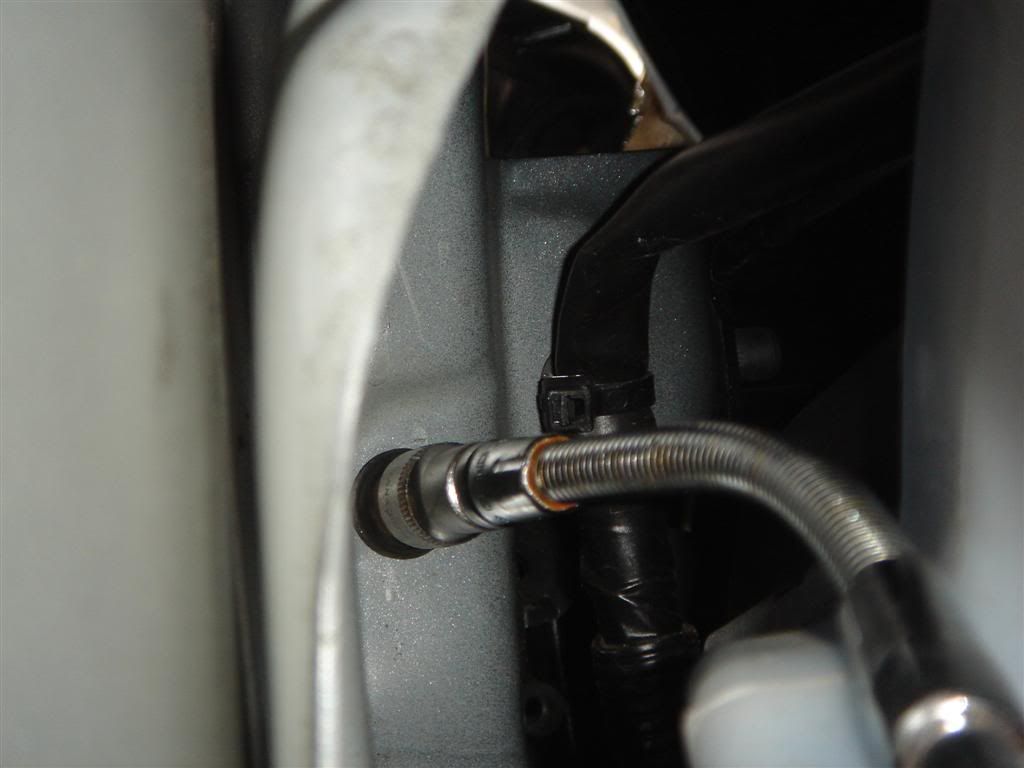
If you now look closely inside, you will see the two 10mm nut that need to be removed.
Now, pull the fender toward the outside to release the clip

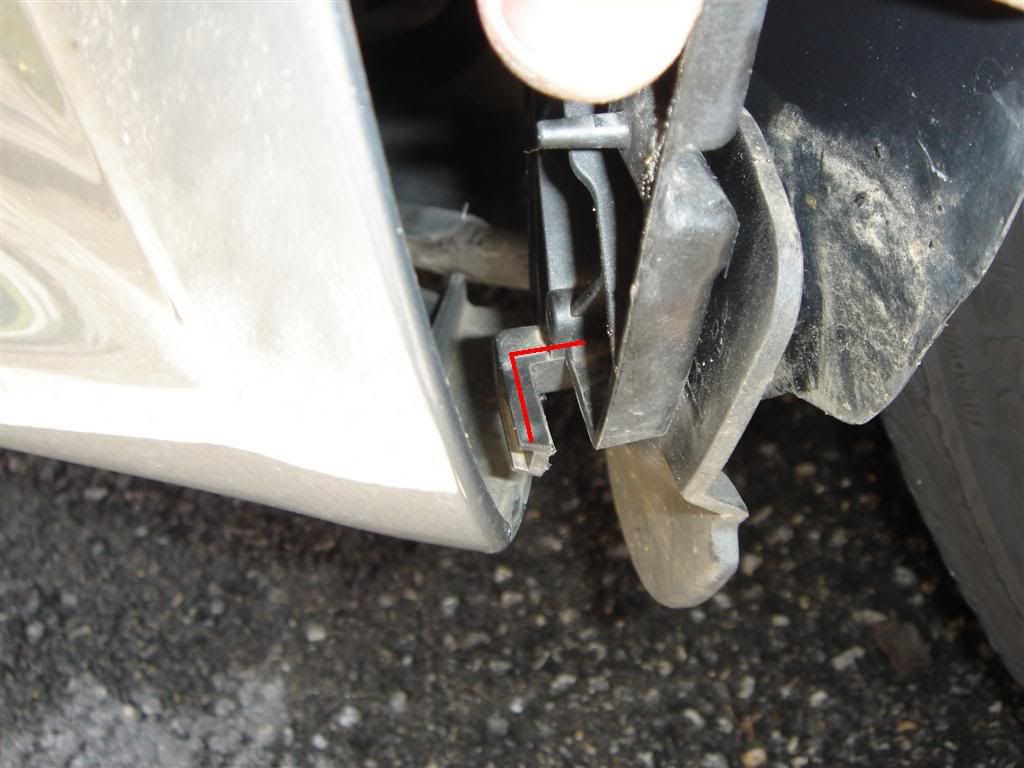
Important detail: On the following picture, the highlighted part locks with the bumper. A better picture, on the right side shows it locked in place. Make sure to remember that when you reinstall your bumper.
You are done with the Driver side, now the passenger side where the process is the same.
Remove the 2 screws
Remove the 2 screws
Here they are !!
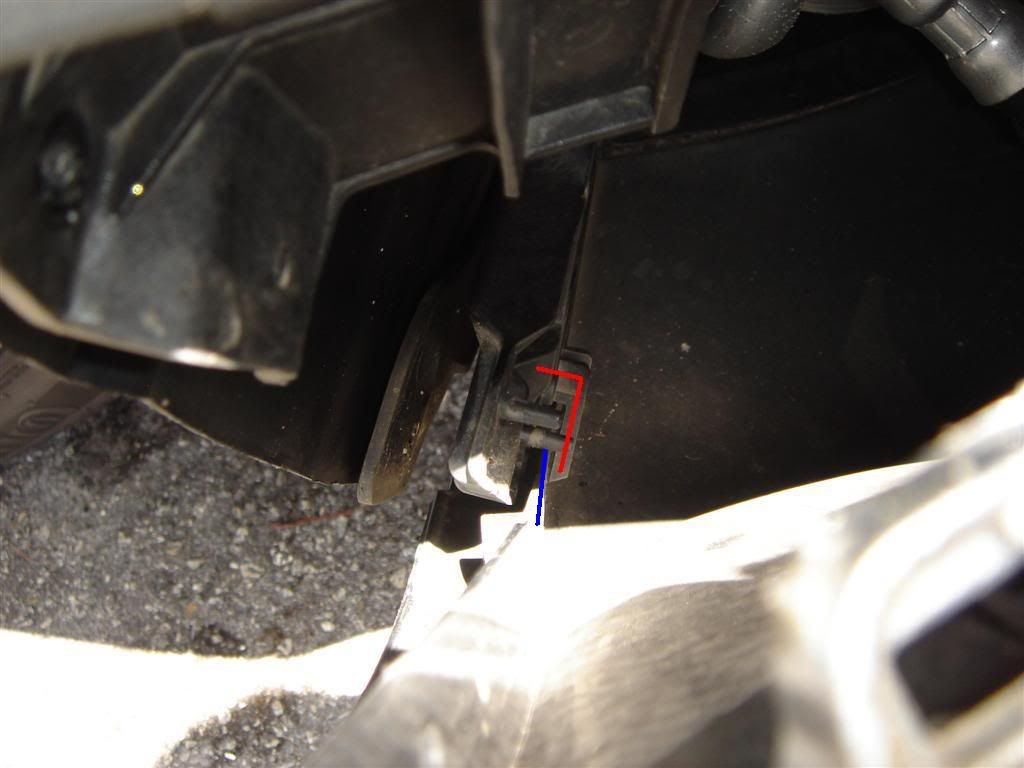
Here is the picture that I was previously referring to where you can see the tab locked in place with the fender.
In Blue, the fender lip
In Red, the locking tab
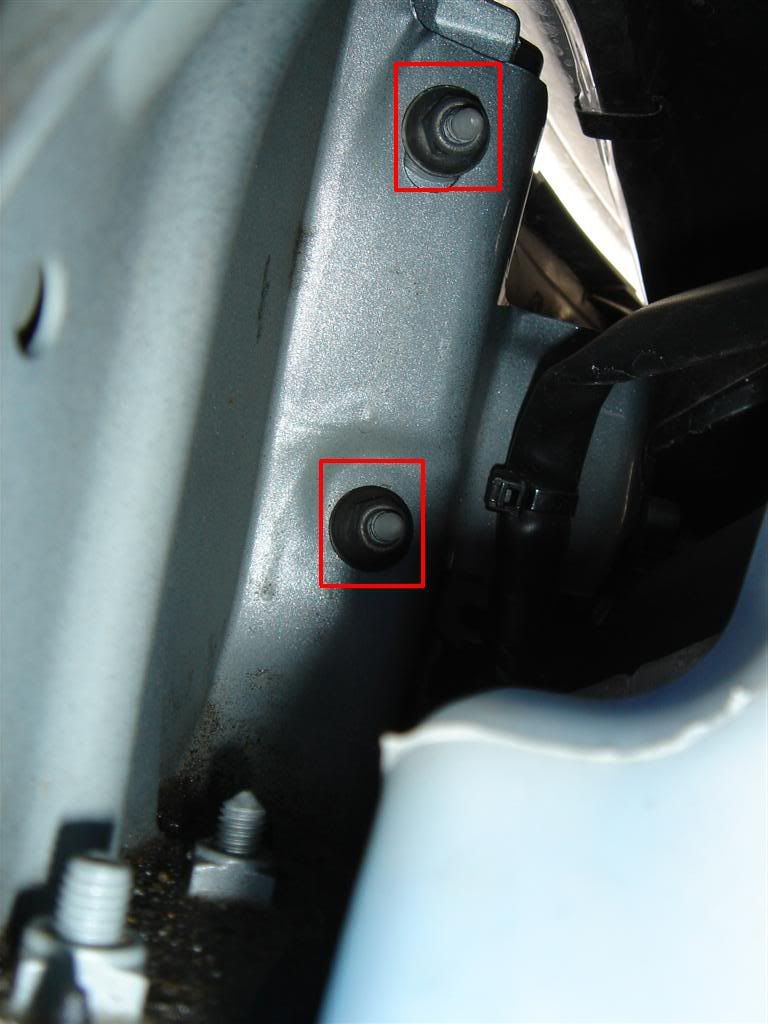
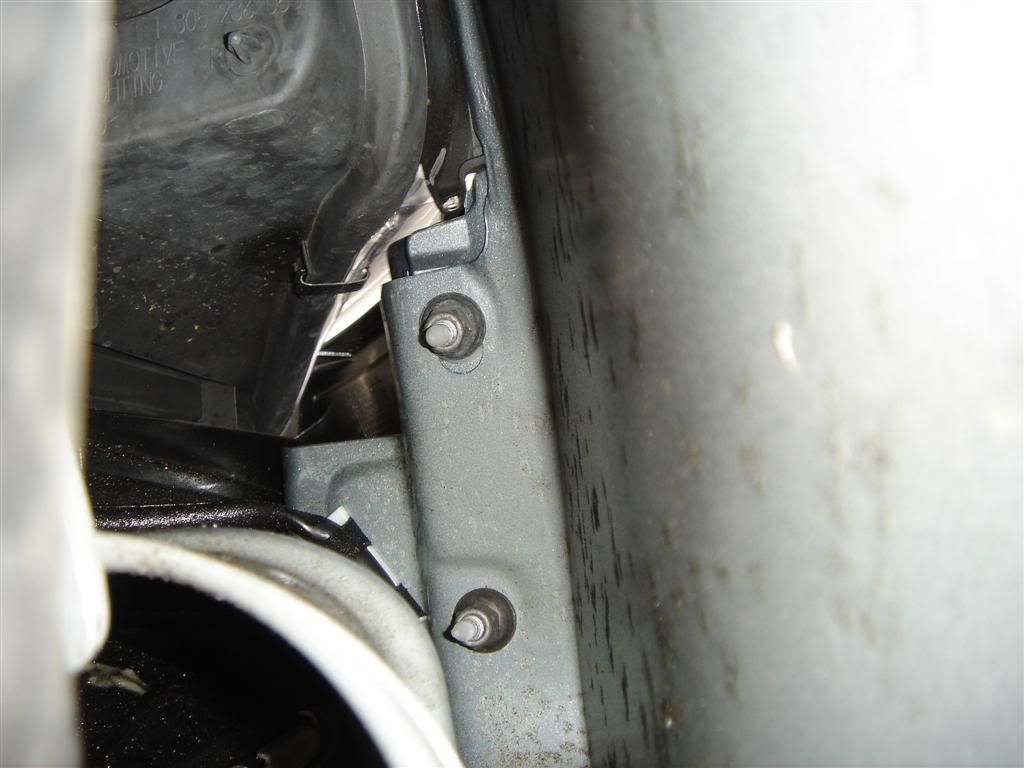
Earlier, I was talking about the bumper height adjusters. Here is a close up
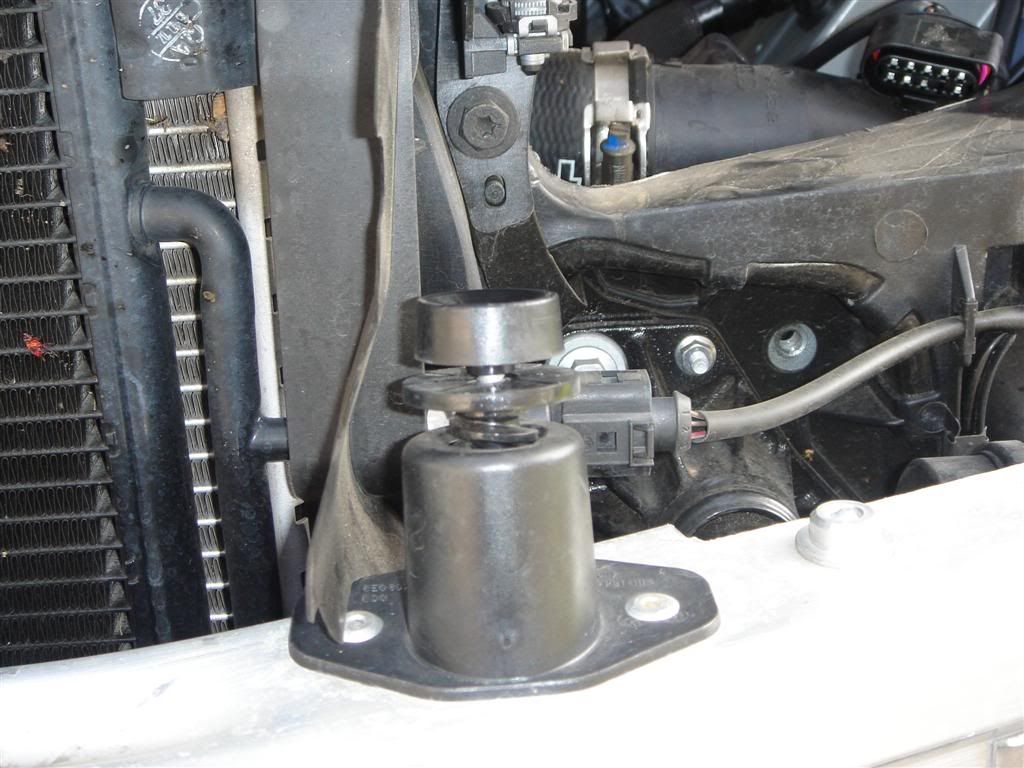
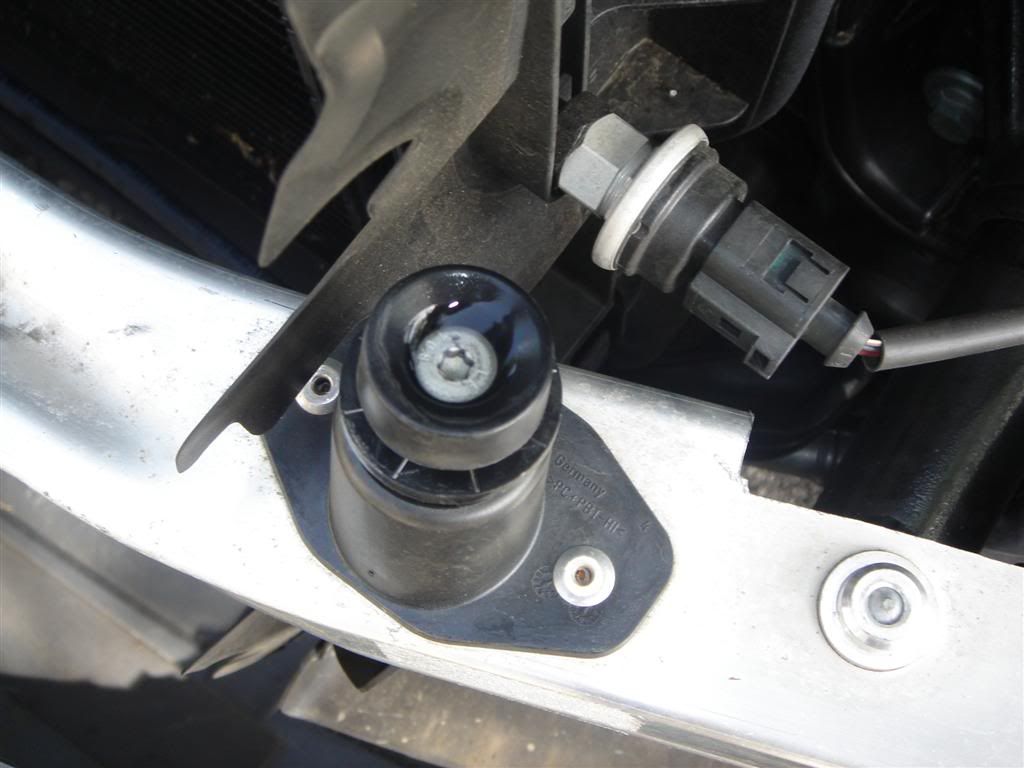
And this is the bumper part that slides into them.
When you are done, slide the bumper back on place.
On the passenger side, there is enough room to stick you hand and reinstall both nuts with your hand. Then, I use the Setup 4 to tight them up.
On the Driver side, you don’t have enough room to do the same and be cause they are not perpendicular (pointing towards the center of the car) this is when I use the Setup 5.
Here is a picture
I hope this helps.
If the Admins what to add this DIY to the FAQ, I have no problem with that
Good luck and I am around if any question

Phil

 Reply With Quote


 - DTM | Sprint Blue Pearl | Black leather/Alcantara | Navi | CF trim | OEM 18" RS4s


Bookmarks