Headlight Housing Removal & E-Code DIY/How-To
Here is a little How-To which may help those that are a bit apprehensive about removing their headlight housings and/or changing out bulbs. The pics aren't great since they're taken with my cellphone, but they'll do the trick.
It's a very easy process, and is illustrated in the owner's manual as well.
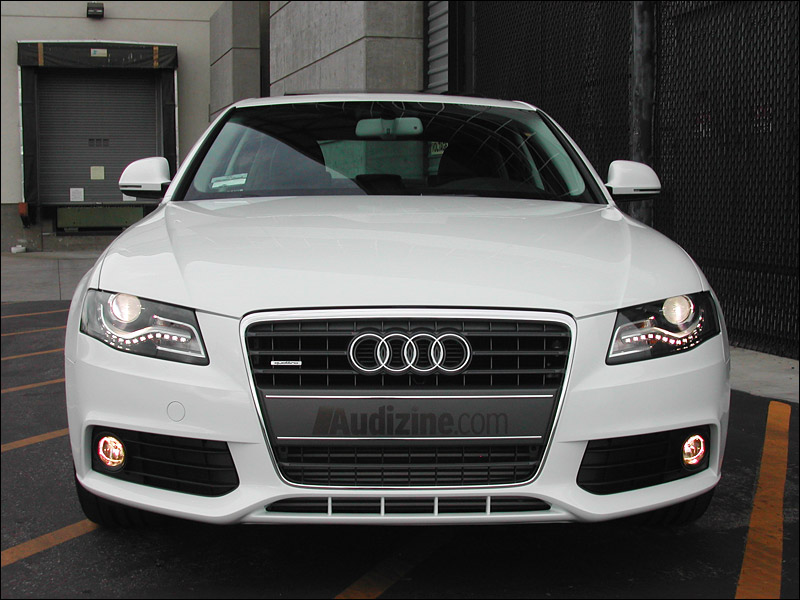
First off, a shot of the US-Spec HID LED housings and E-Code housings side by side. The most notable difference is the amber reflector at the corners on the US housings, but there's also a bulb inside at the corners as well (and not one in the E-Codes). There are also slight differences to the projector lens and beam cutoff which effects the overall light output.

To get to all of the bolts holding in the housings, you first need to remove the upper front grille cover. This plastic over is held in place with four torx head screws, circled here in red. Once the screws are removed you simply pull up on the back of the cover and then and away from you (towards the back of the car).

Once that is removed, getting to the two screws and two bolts securing each housing is a breeze with the proper tools. Again these are all torx heads, and the locations are shown below in red arrows. The two arrows pointing up are highlighting the two lower bolts that don't need to be fully removed. The two screws up top (shown with the downward pointing arrows) can be fully removed. You'll of course need to unplug the wiring harness in order to remove the housing, which is at the top back.

Below you can see the back of the housings and the two ballasts that you'll be swapping out. Both are held in with smaller torx screws. One is for the HID main beam, and the other for the LED strip.

Below are shots of the HID bulb and the front and back of the ballasts.


And below we have a shot of the internals of the housing, with the HID bulb removed. To remove the bulb, you simply turn the base to the left then pull it out. To put the bulb back in place you insert it at a slight left tilt (Ten O'clock) then turn to the right until it clicks into place (as shown in the photo below).

Now just be sure that all of the torx screws are back in place, then it's a matter of putting the housings back into the car. This is actually the most difficult part of the process, and will take a bit of finagling to get lined up and seated correctly. There are tracks on the bottom of the housings which need to line up with the mounting plate on the car. Once in place you'll know it, and all four torx screws/bolts can be tightened back down. Don't forget to plug the wiring harness back in, replace the upper grille cover, then fire up the car and test out your new bulbs/housings.
If you've installed E-Codes like I have, then the very last thing you'll have to do is VAG the car in order to remove the bulb out warnings (since the E-Codes don't have the amber bulbs at the corners).


 Reply With Quote


 It won't really be unique until we get some suspension and new wheels on it.


Bookmarks