


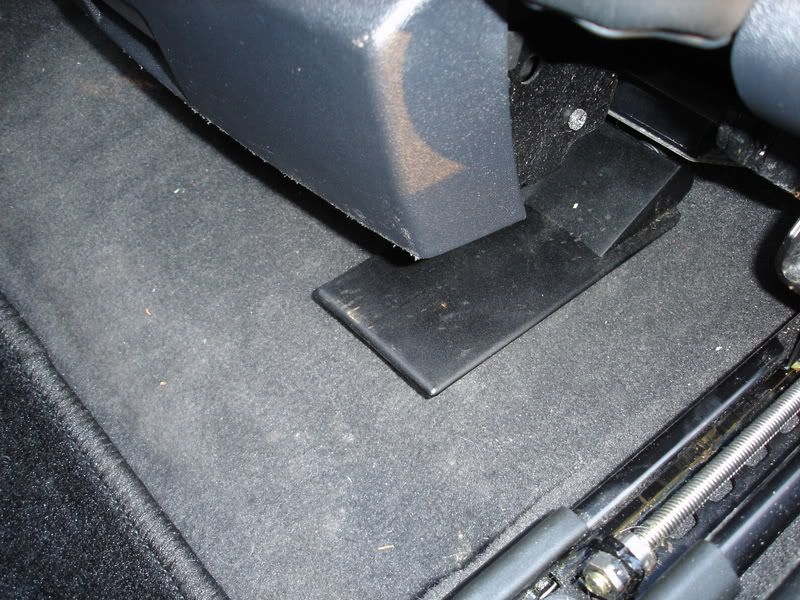
Disconnect the negative terminal from the battery at this point to safely disconnect the airbag in the next step. Use you 10mm socket for this. You don’t have to physically remove the seat from the car, just tilt it back against the rear seat bottom to get it out of the way. While the seat is tipped back, make sure you have the driver’s seat memory module (8E0 959 760) on the underside of the seat. You will see a thick wiring harness coming out of the seat bottom leading to the floor under the seat.
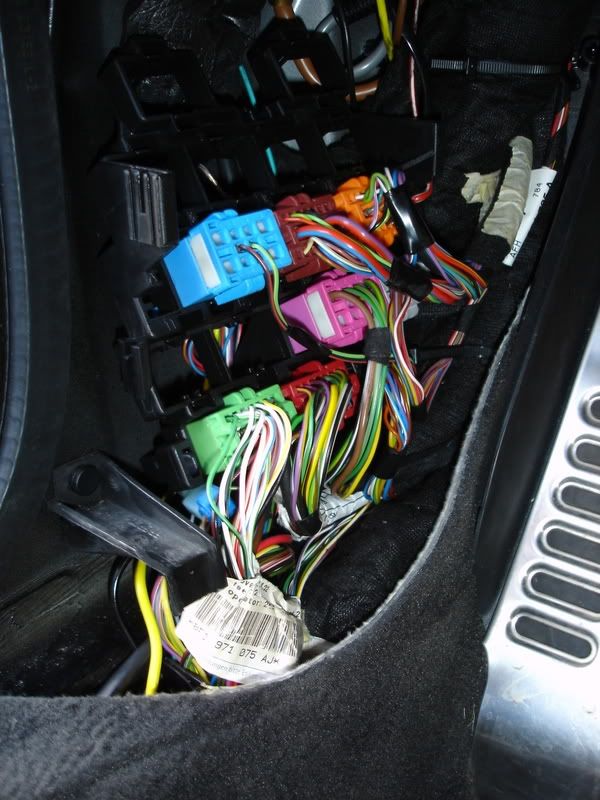
Remove the plastic cover and you will see four connectors; yellow (airbag), red (seat power – the one we will be working on), green (seat heating) and black (seat belt sensors).
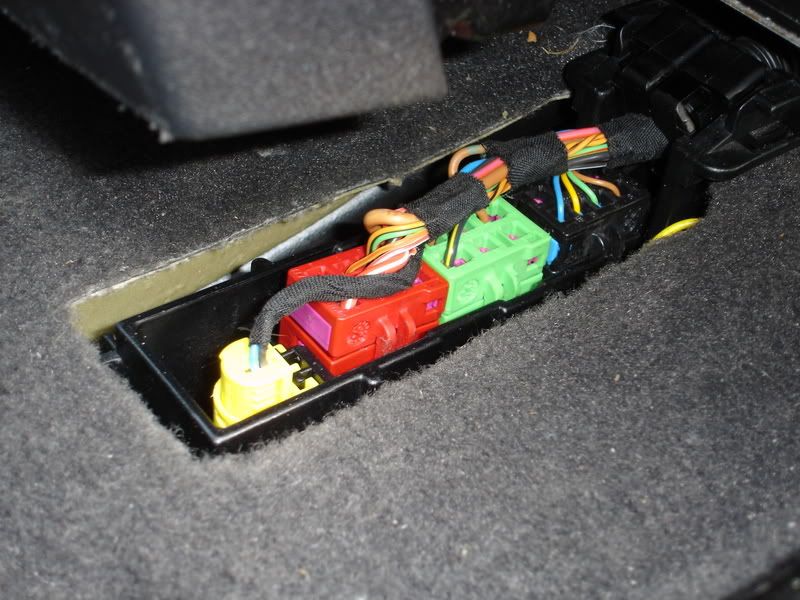
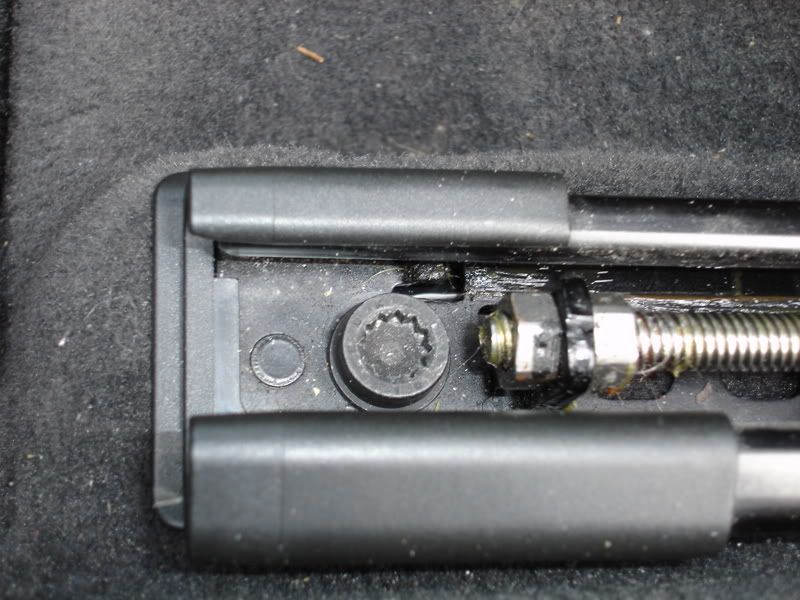
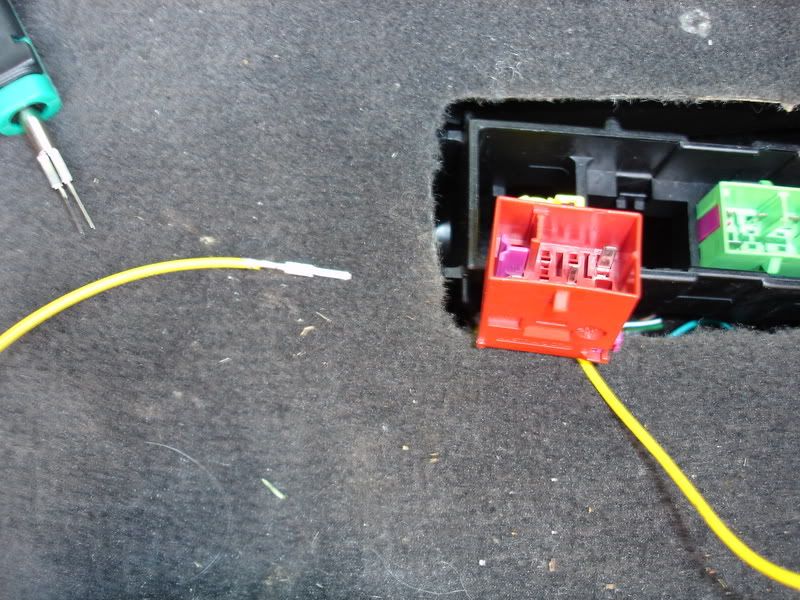
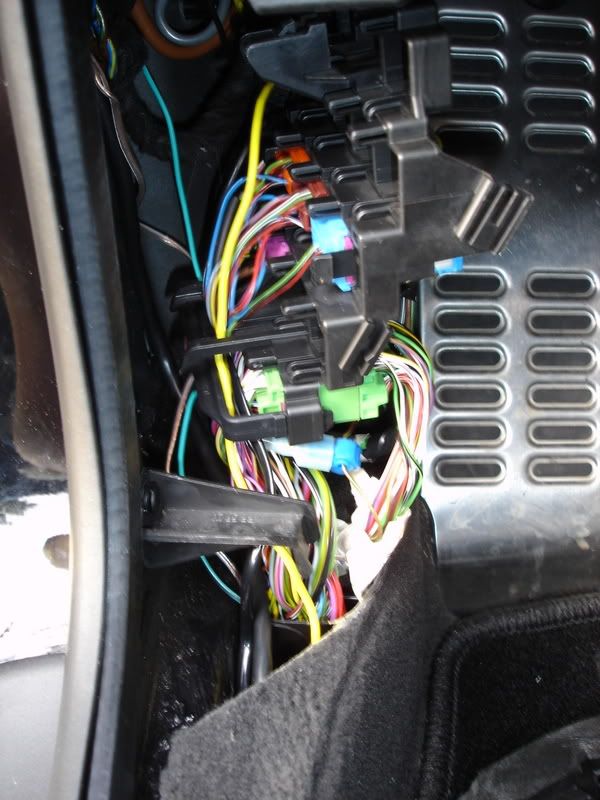
Make sure you have disconnected the power at the battery, and then disconnect all four plugs. You will need to get access to the backside of the red socket (T10o) to insert the three repair wires (000 979 132). To do this you will need to release the plug socket from the black frame holding it in place. Use two jeweler’s screwdrivers or picks to release the tabs on both sides of the socket while pushing down on the socket. Push the socket down and to the side and then pull up on it so it is above the level of the carpet. Now it is in a position to work on it.
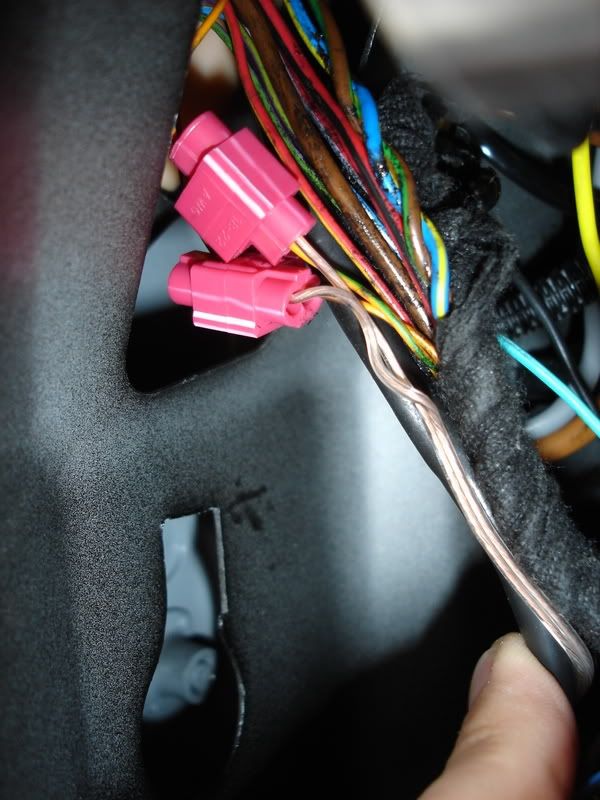
Close up of the socket T10o, with the repair wire 000 979 132 ready to be inserted. Note purple locking tab on the socket.
The red plug socket (T10o) has a purple locking tab that needs to be pulled to insert the repair wires. It is assumed you already have power to the seat, so I will not go into that procedure here. Cut the repair wires in half, so you have three individual wires with the pins on the end. We will be using pin positions T10o/5, T10o/6 and T10o/7. Butt splice your three 3 foot AWG 20-22 wires (some others have suggested CAT 5) to the ends of the repair wires. Insert the repair wire pins into the proper pin assignments from the backside of the socket until you hear them click in place. When you have all three in place, slide the purple locking tab back into place to lock the repair wires and re-install the red plug socket into the black frame in the floor. Plug in the four plugs from the seat harness back into the floor sockets. Run the wires you just installed in the socket under the carpet to the connection station in the driver’s A-pillar.
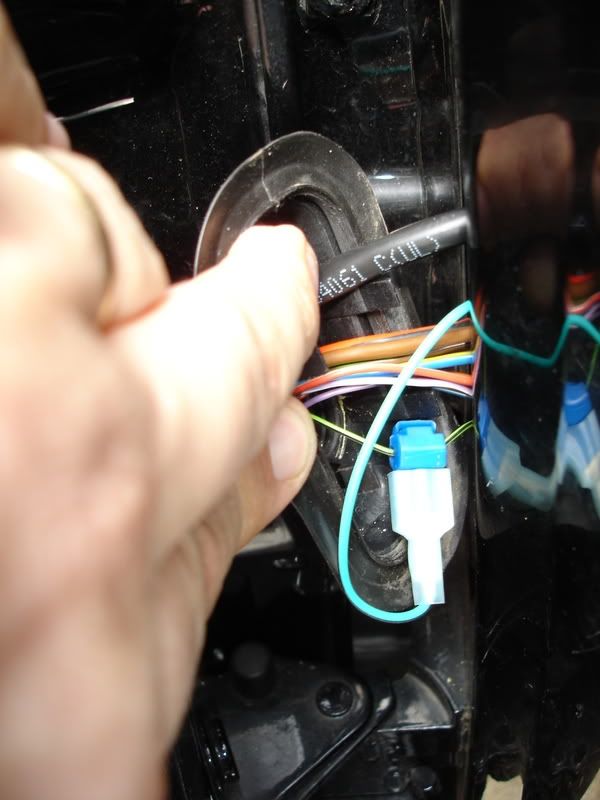
You will need to move the connection station aside to get to the wire harness with the CAN High and Low wires.
Here is where the harness is routed through the pillar. Note the green wire running to the green/black wire.
You will now need to tap the other end of these wires into the three wires located in the driver’s side A-pillar area, behind the connection station. If you look closely at the photos below, you will see I tapped into the CAN wires on the inner side of the A-pillar and the green/black inside the bellows coupling between the outside of the A-pillar and the driver’s door itself. The wiring order is as follows; T10o/6 to orange/green (or/gn) for CAN Comfort High, T10o/7 to orange/brown (or/br) for CAN Comfort Low and T10o/5 to green/black (gn/sw). If you reach up inside the A-pillar behind the connection station, you will find a thick wiring harness. I pulled this down and carefully cut away some of the tape covering. You will find the two CAN wires here. I could not find the green/black wire in this harness, but I did find it in the bellows coupling between the door and A-pillar, so I tapped into it there.
Location of the two CAN wires I tapped on the inside of the A-pillar. Notice how this this wire harness is. It comes out of the A-pillar and heads on up to the instrument panel. Carefully cut away some of the cloth tape wrapping to access the CAN wires here.
Green/black wire tap in the bellows coupling.
Not as elegant as I would have liked, but it worked! You can now re-install the seat and trim panels on the driver’s side door sill. Re-connect the negative battery terminal.
Everything should be working at this point. It was really cool to see the mirror tilt down in reverse and the seat going back to its memorized position. You need to put the mirror switch in the right hand position for the tilt function to work. Mirrors fold with the switch in the 6 o’clock position. Please look up the seat memory programming procedure in your owner’s manual.
Hope you have fun doing this mod now that I have done all the leg work for you.

 Reply With Quote


Bookmarks