
Originally Posted by
Old No.7

Looking good! Good feeling to get this project done huh?
Hell yeah, I've been wanting to do the conversion forever, just never got around to it. Was a whole lot easier than I thought it'd be.
Originally Posted by
Allwheel Driver
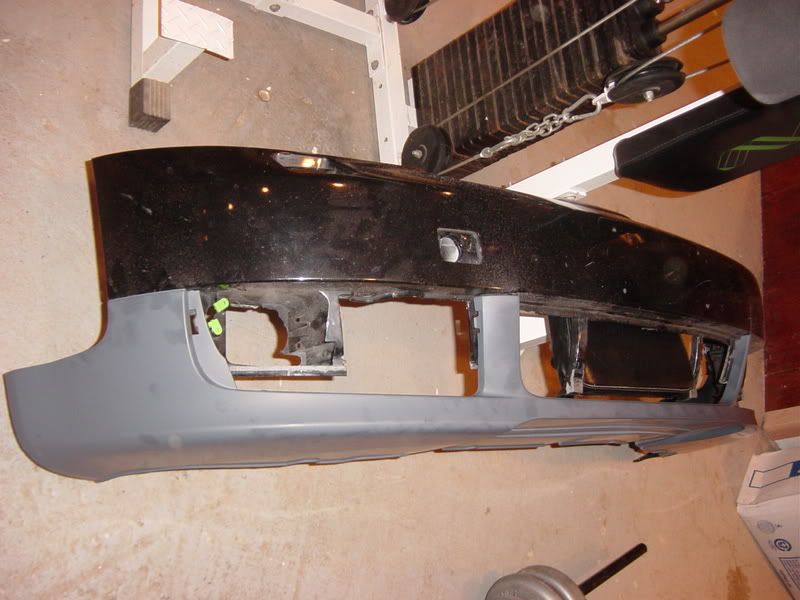
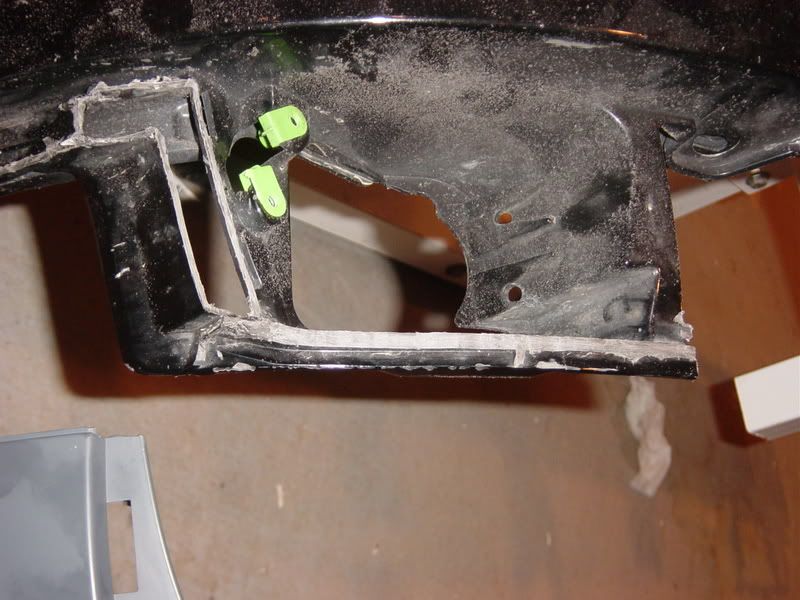
If you trim a little more of the front part of the upright supports, you can get it to snap into the factory holes. The tabs line up, you just need to give it room to snap in. Mine is attached there and it's holding very well.
(7th picture, the right piece on the upper)
I started sanding down the top of that piece as your can see, but I thought if I kept going it would be it less sturdy. I see what your saying though, there's about a 1/4" space between the tabs and the holes that I'll get around to fixing today. You don't have a pic of how much you trimmed from there do you?
Originally Posted by
RLB6
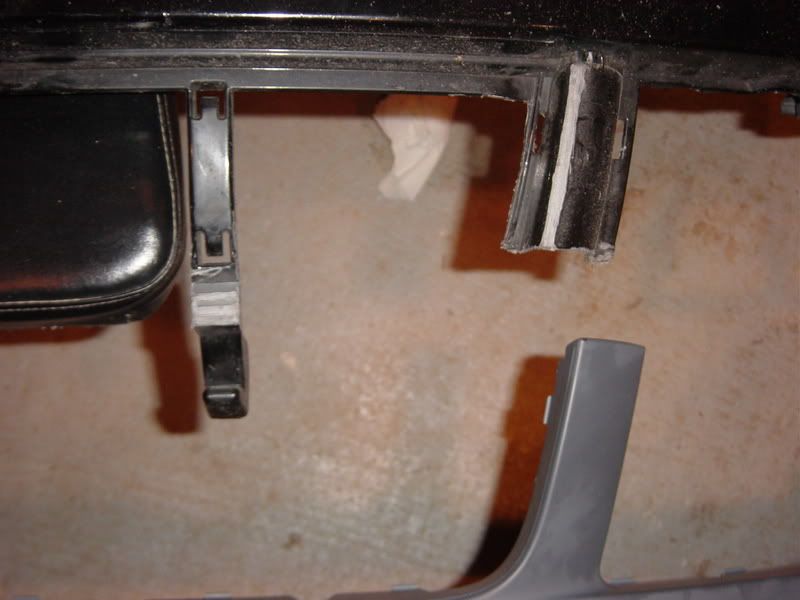
I was hoping I didn't have to do that. Let me know if you need to do any triming of the lower because of the ER FMIC. You're the only one with the same FMIC and doing the same conversion. So, you're my only DIY option

Yeah I totally didn't realize it until I was done last night. I know I'm going to have to cut those two center pieces out but i was thinking i could move them on the left and right near the fogs if theres room and just attach with screws. I might try test fitting it on my car today, I'll let you know how it goes and I'll take some more pics.
Originally Posted by
yioryo nyc
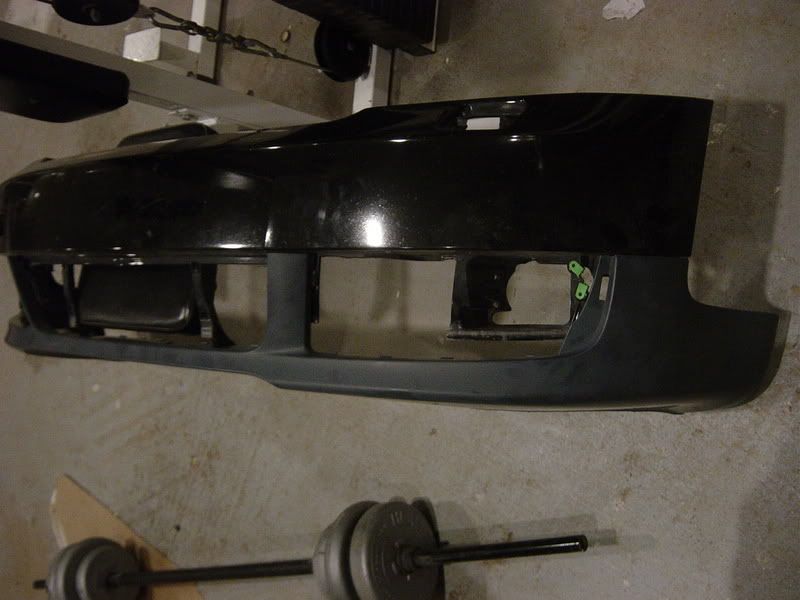
does the color match the rest of the unpainted lowers? If not is it noticably different? I have a silver car with gunmetal wheel and really want to do the USP mod but do not want to paint my lowers.
It is actually not the same color, the lip is a little bit lighter gray than the rest of the lowers. I was thinking if it was the same color I might just drive around with it unpainted for a while but no way now that I see its different than the rest.
Originally Posted by
SKIDMRK
au contraire. The USP primer finish is close, but no where near a perfect match. Keep in mind that it is primer and not a "finish." IIRC, there is a paint code for the lower gray. I've never ordered it, but
www.paintscratch.com lists it as LV7W.
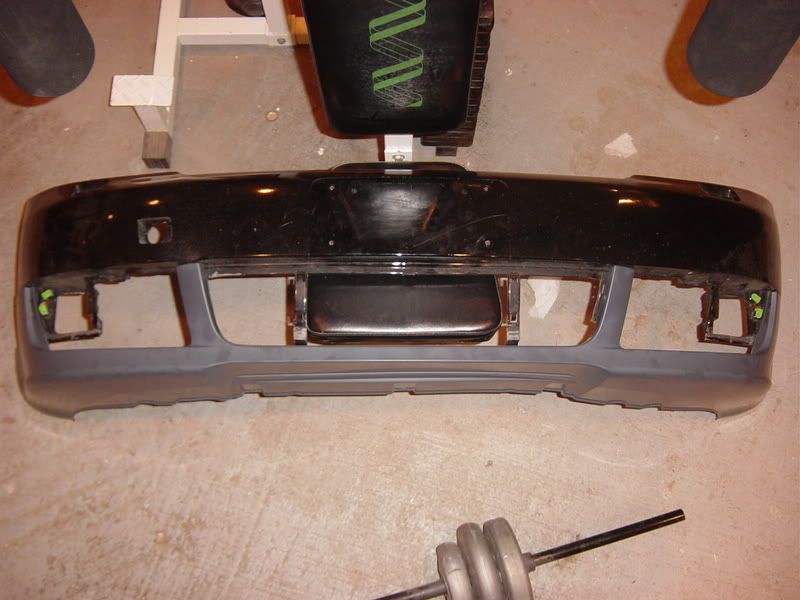
Mine pre-paint to show the color difference.
Looks like in the pics you kept those two center beams with a FMIC as well. How was the fitment? I thought I'd need to cut those off, seems like they'd be in the way?
Originally Posted by
DELUX
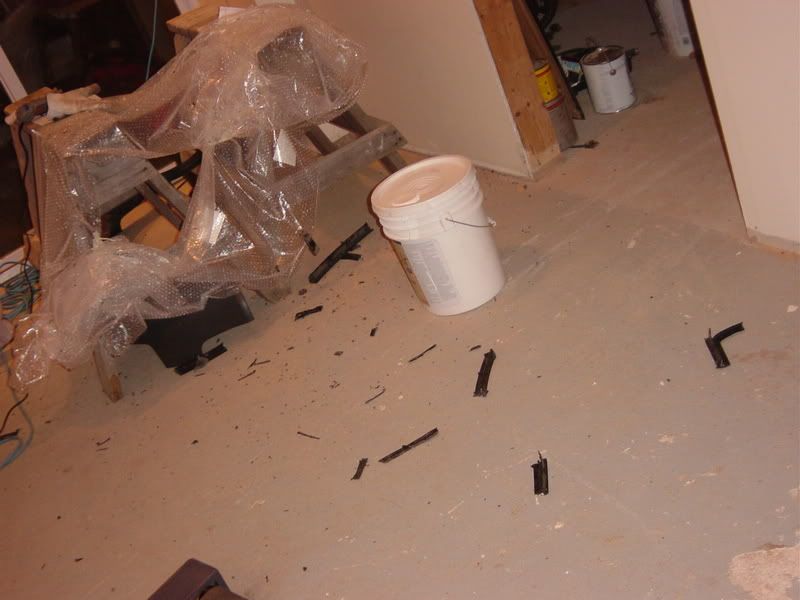
So how much can the USP bumper bench press?

It looks great, can't wait to see it when it's all done! Your car is gonna have the looks now to match all that power under the hood

Hahahaha I put those weights in the pic just so people would think I'm tough. JK
I didn't bother moving anything cause I just took some quick referance pics.
Are you going to waterfest this year? I think I should have everything painted and installed by then. We'll have to meet up.
Originally Posted by
int2str
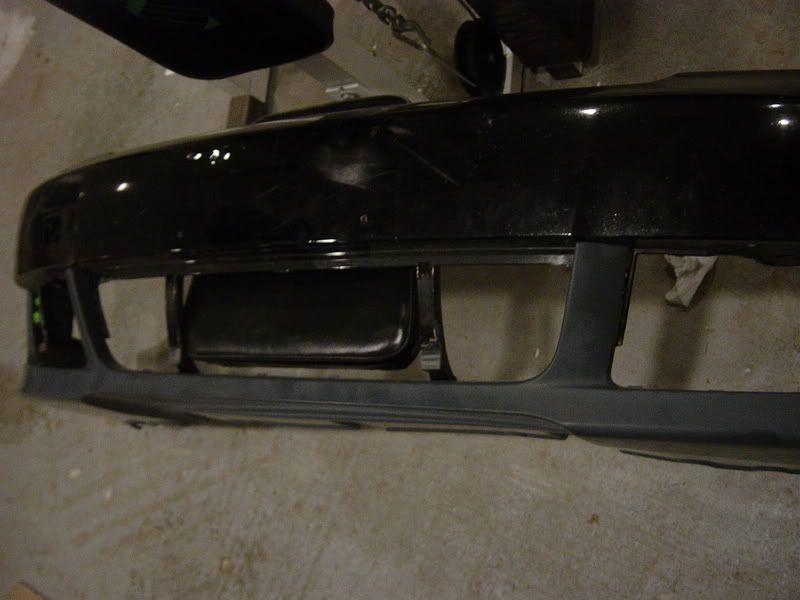
How do the two pieces actually attach?
How confident are you that the connection will hold up a minor "speed bump scrape" ?
I was able to use a few of the original tabs (probably about 8). I will be also securing the two pieces together with small black screws, zip ties, and a whole lot of epoxy, none of which will be noticeable with the grilles on of course. I think it's going to hold up well, if not looks like I'm going back to OEM base model lip
.


 Reply With Quote


Bookmarks