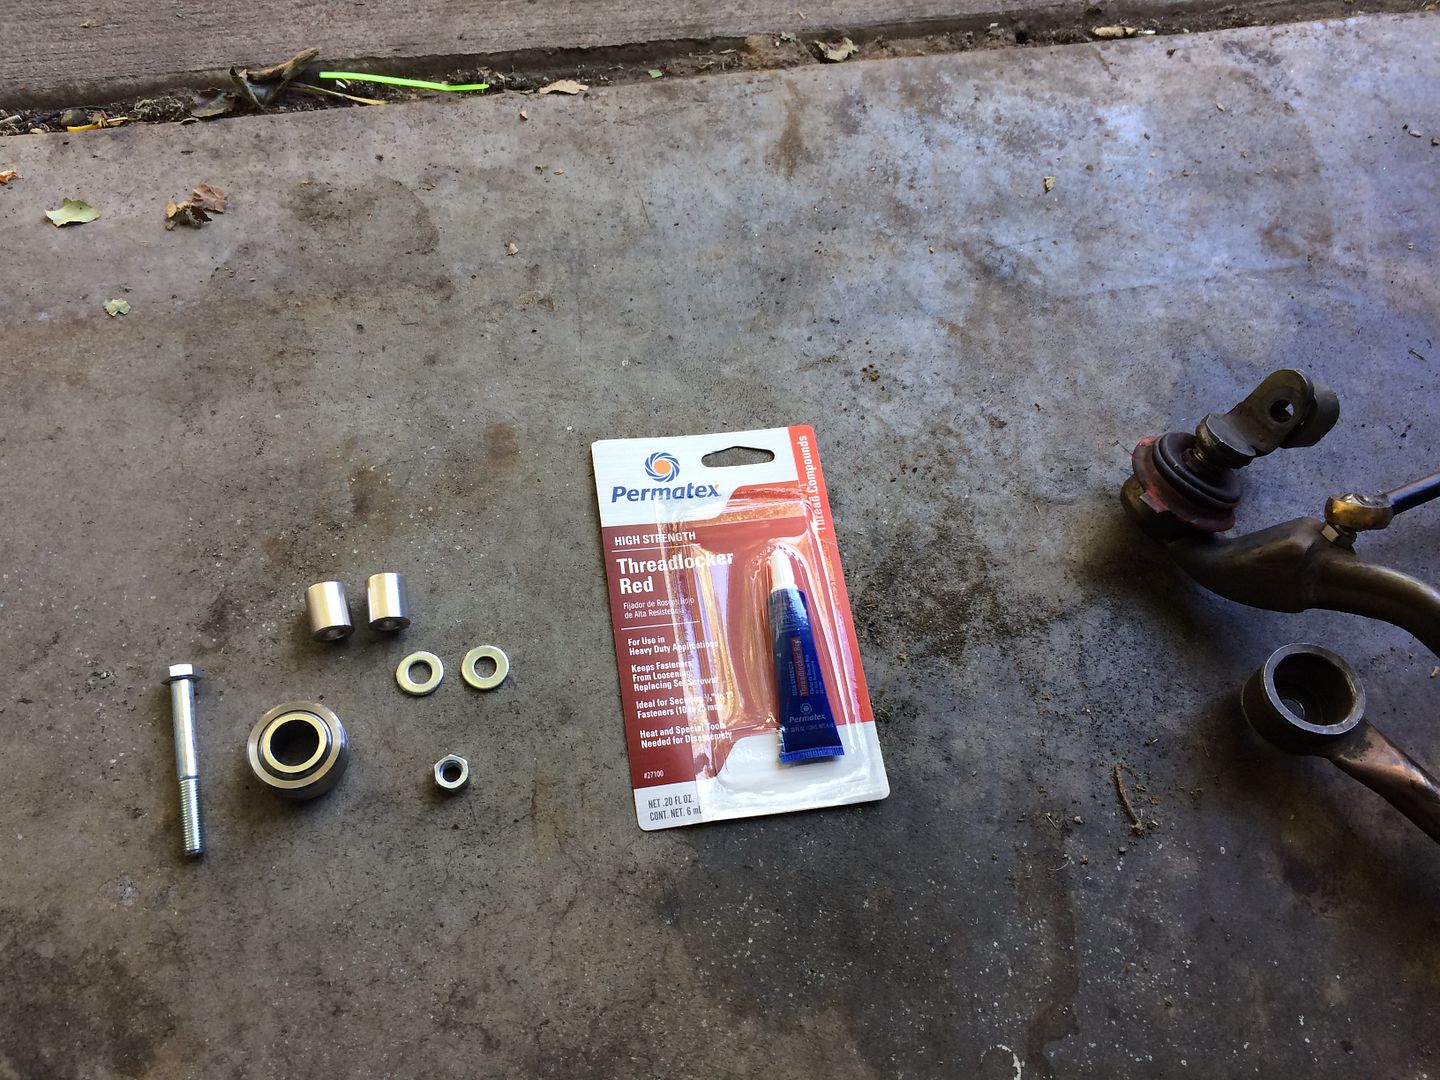
Heres what your going to need to complete this:
Supplies:
1x - QA1 MIB10 Spherical Bearing (1.312" OD, 0.625" ID, 0.562" width)
2x - 0.625" OD, 0.3125" ID, 0.75" long spacers
2x - 0.3125" ID washers
1x - 5/16 2.5" long bolt
1x - 5/16 Nut
1x - Tube of red threadlock
Tools:
Hammer
Grinder with cutoff wheel and/or grinding disk
Vice grips
Drill with 5/16" bit
1/2" end wrench and socket/ratchet
Center punch or marker
Other/Optional:
Beer of your choosing
One hour of your time (Assuming transmission is out)
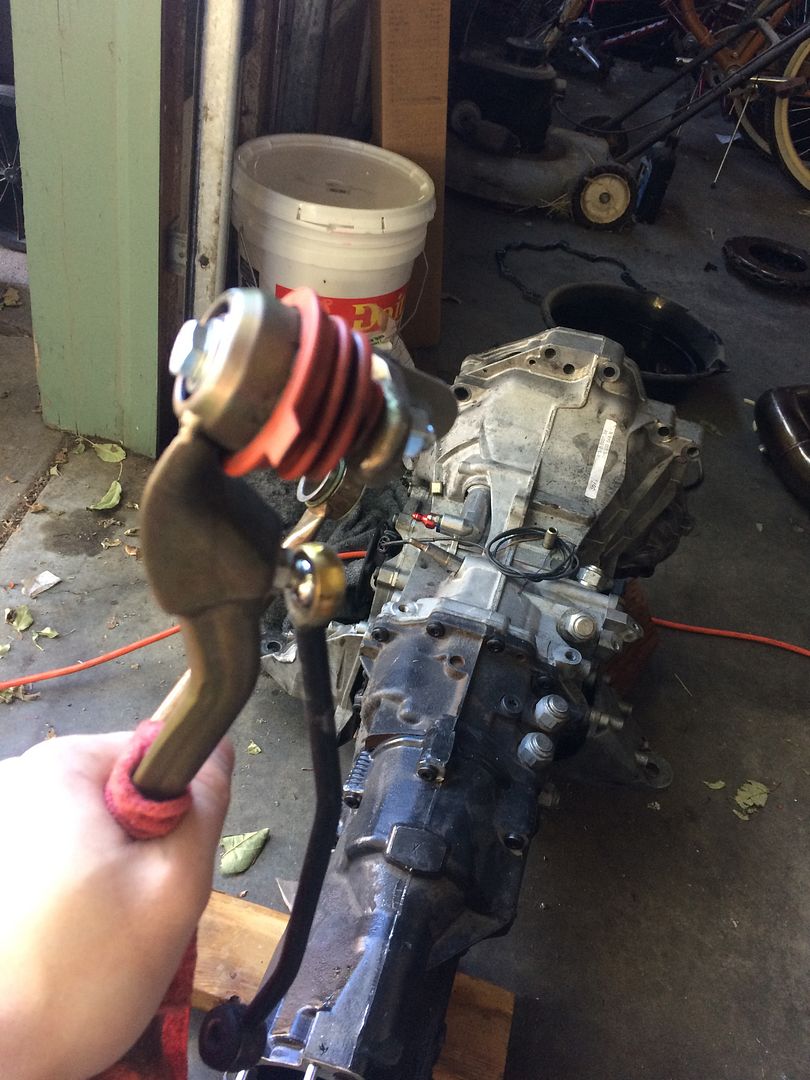
Begin by getting your linkage completely removed from your transmission. This is the portion we will be performing surgery on.
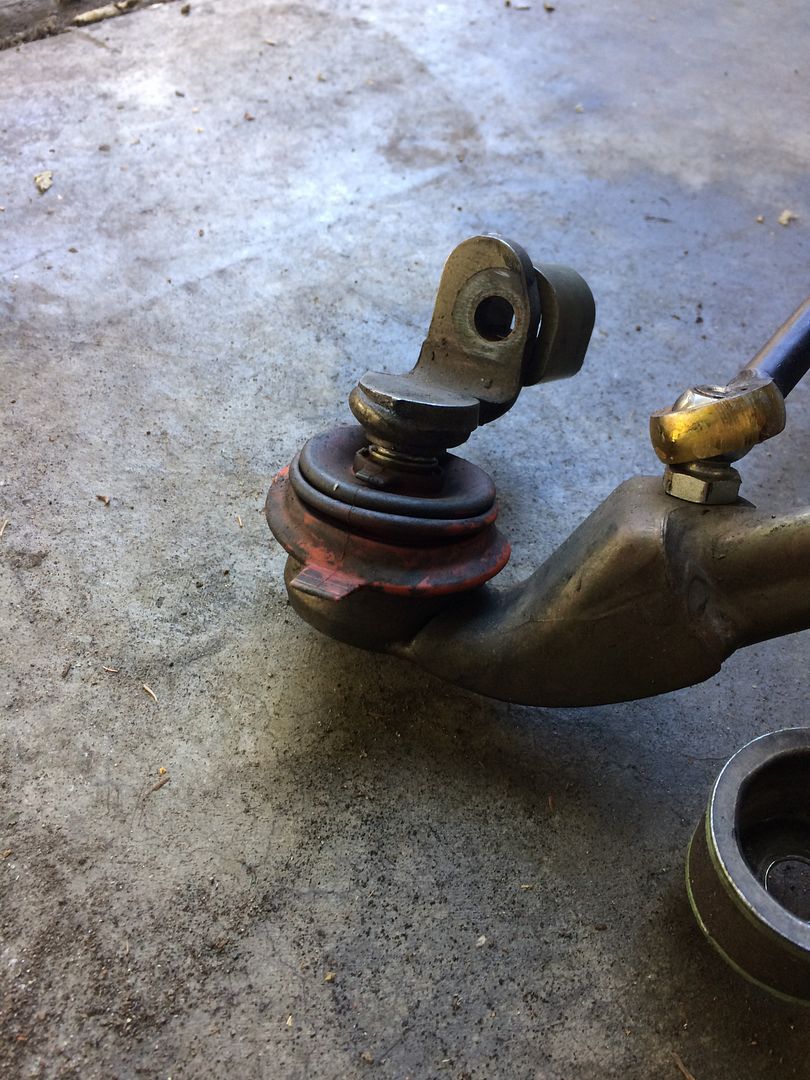
Remove the rubber boot. See those bent down tabs? We want to get those bent out of the way so we can remove the old ball joint assembly.
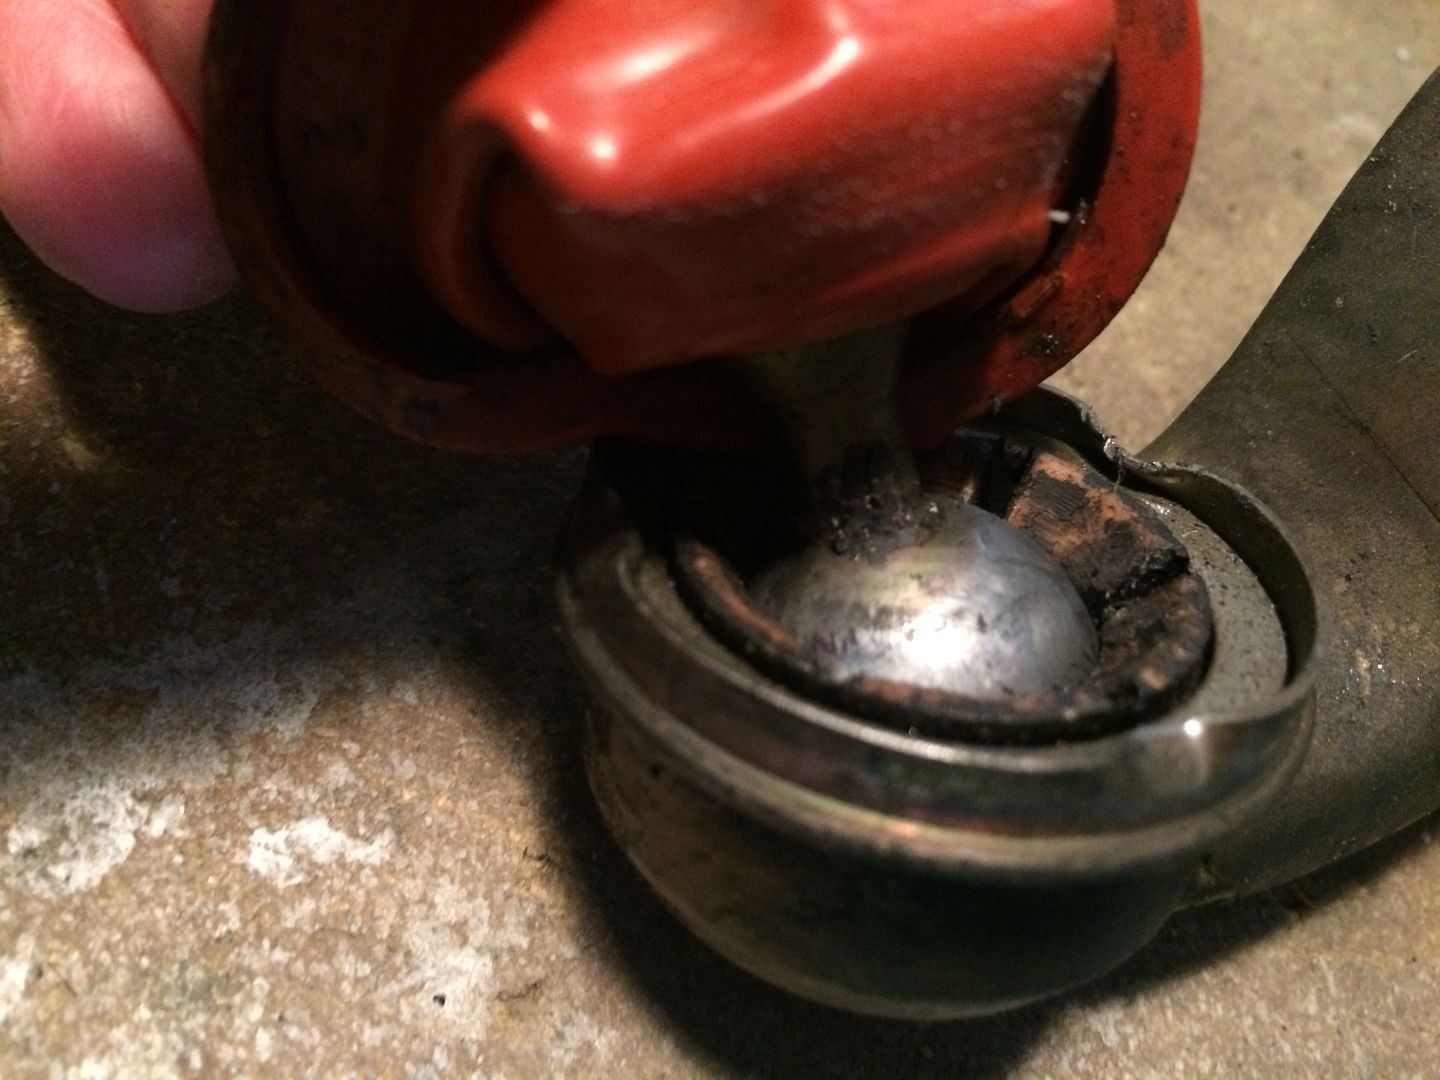
The easiest way I found to do this, was to use a pair of vice grips. Angle the vice grips, and you should be able to bend them up no problem.
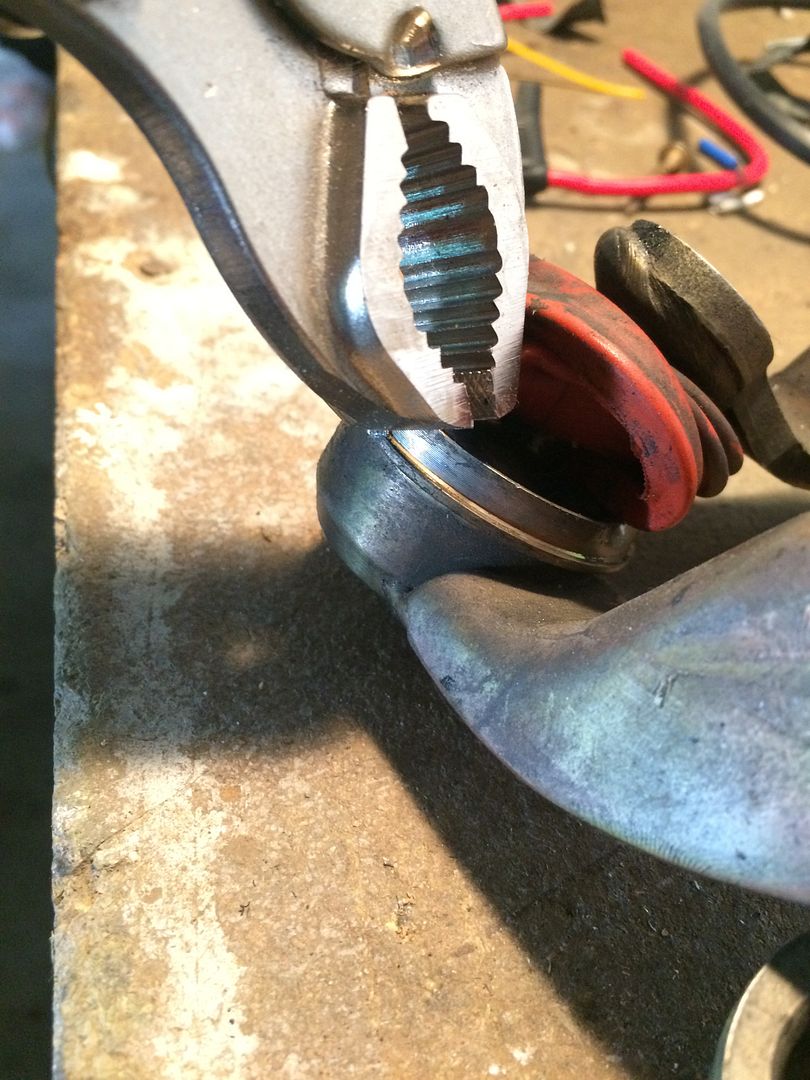
Once you get all 3 tabs bent out of the way, the old joint will slip right out.
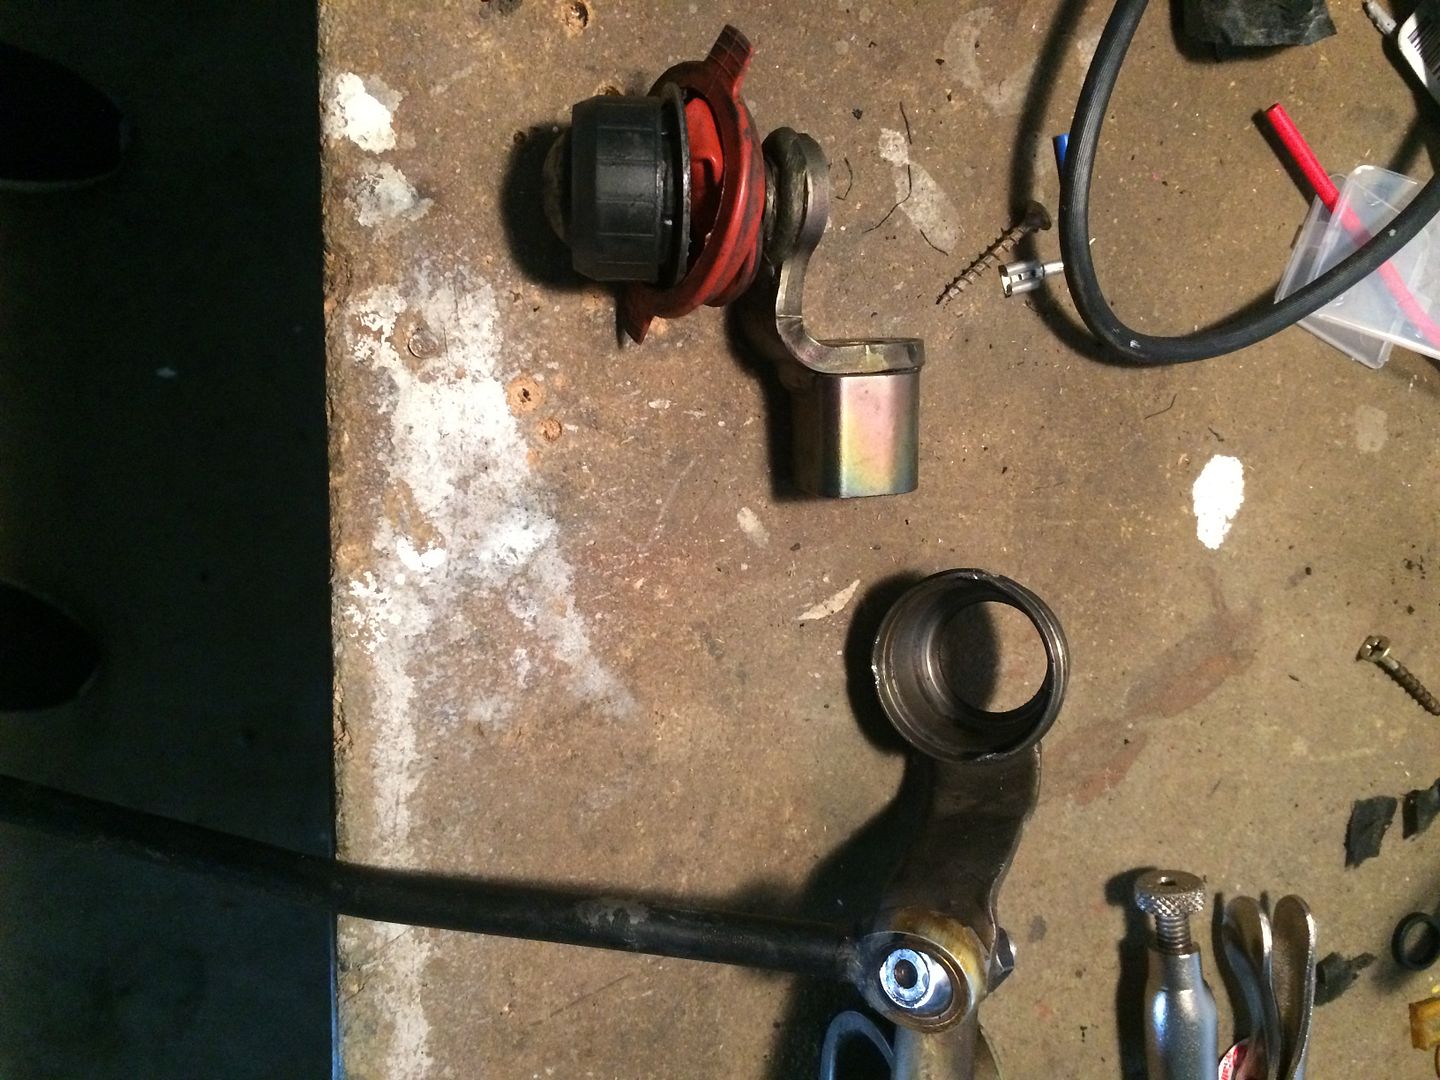
Grab your new bearing from QA1 and liberally apply red thread lock around the outside circumference; this will help secure the bearing into its new permanent home.
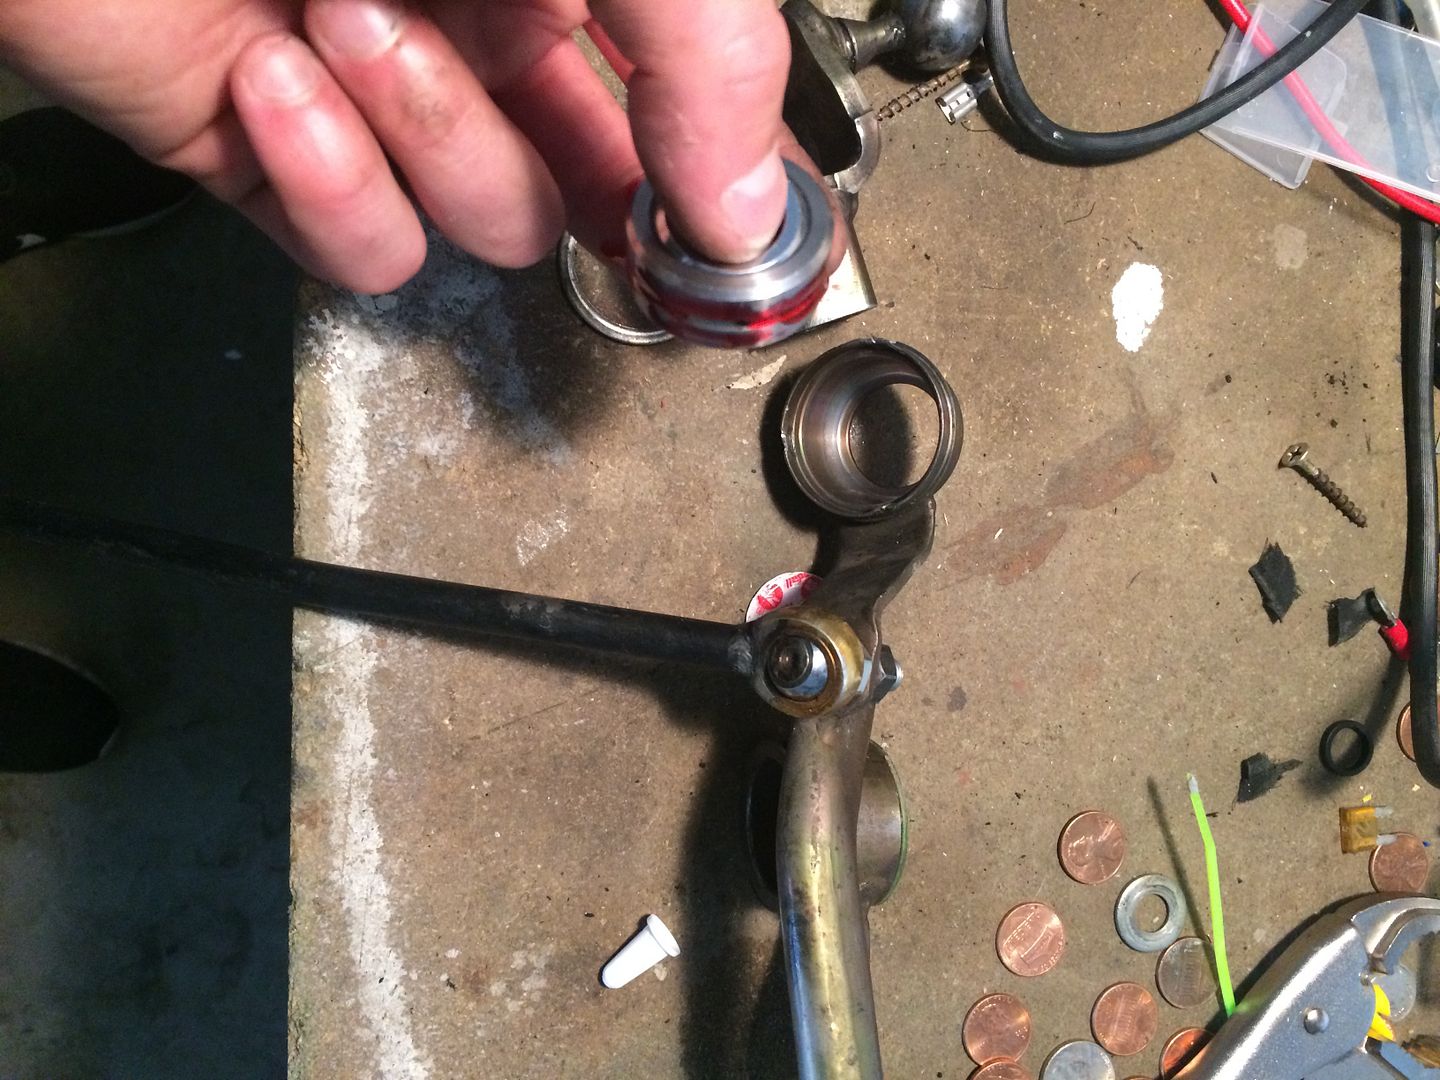
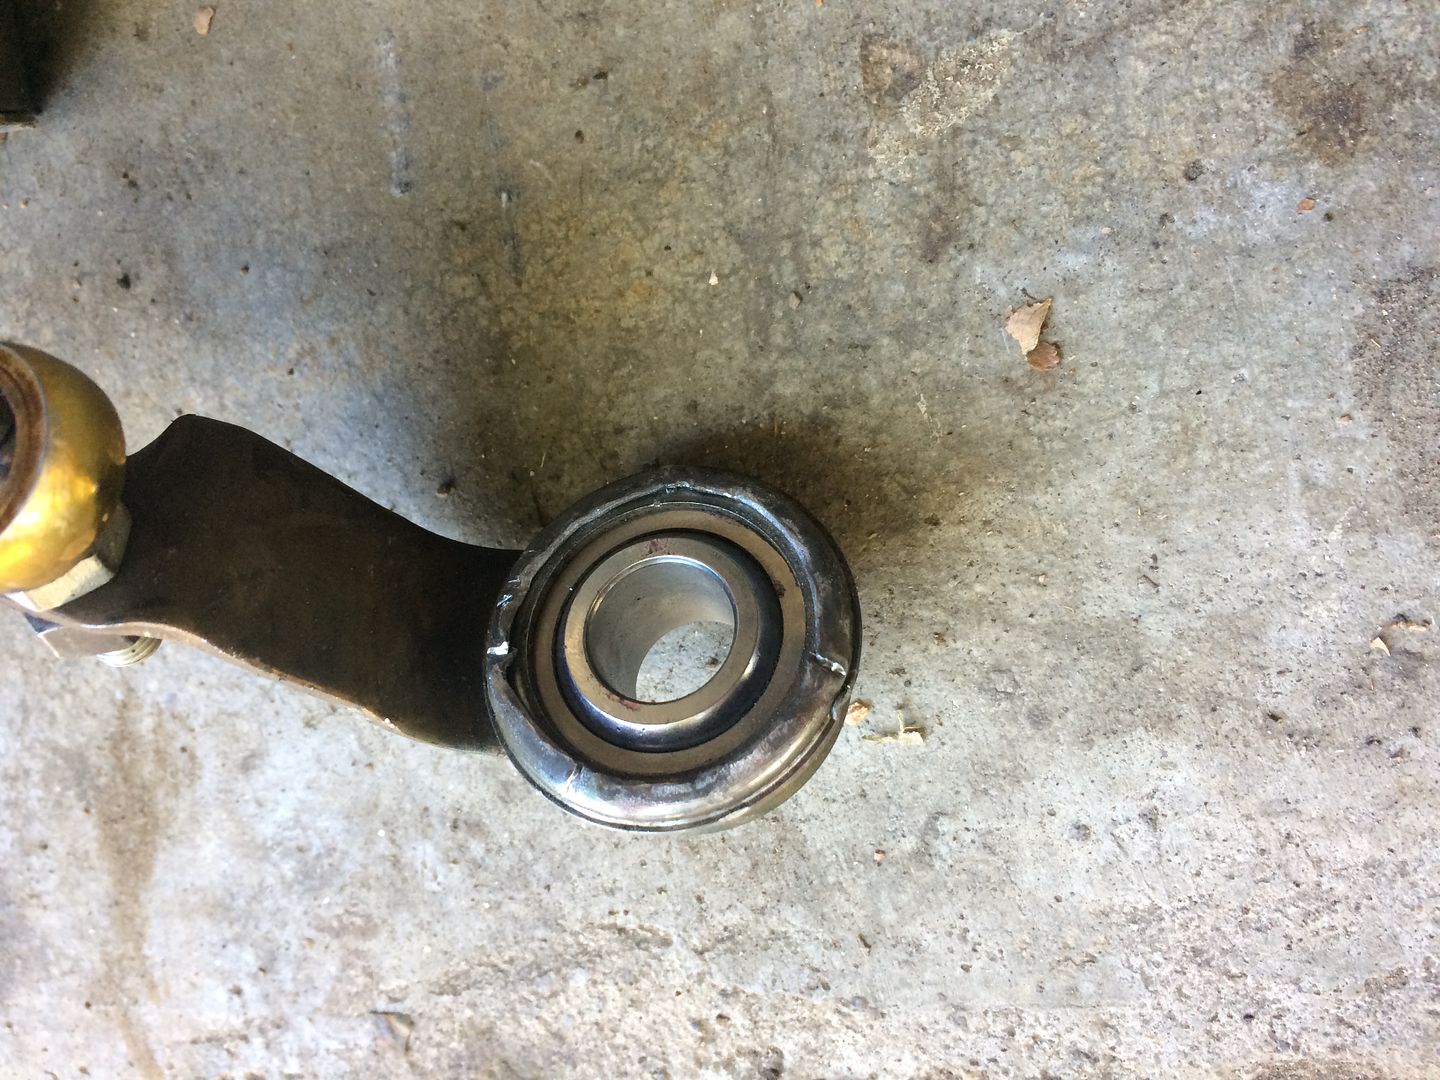
Slide the bearing and old washer into the linkage end. Once in, grab your ball pein hammer and bend the tabs back in to hold the bearing. As you can see, I bent the whole outside circumference in. I would recommend doing this, as you will never have to worry about the bearing coming loose.
Now that the bearing is in, we are going to want to address the other portion of the linkage (the one with the ball welded to it). Take a center punch (or marker), and mark where the center of the ball pivot is (eyeballing it is fine). This is where we are going to drill a hole into.
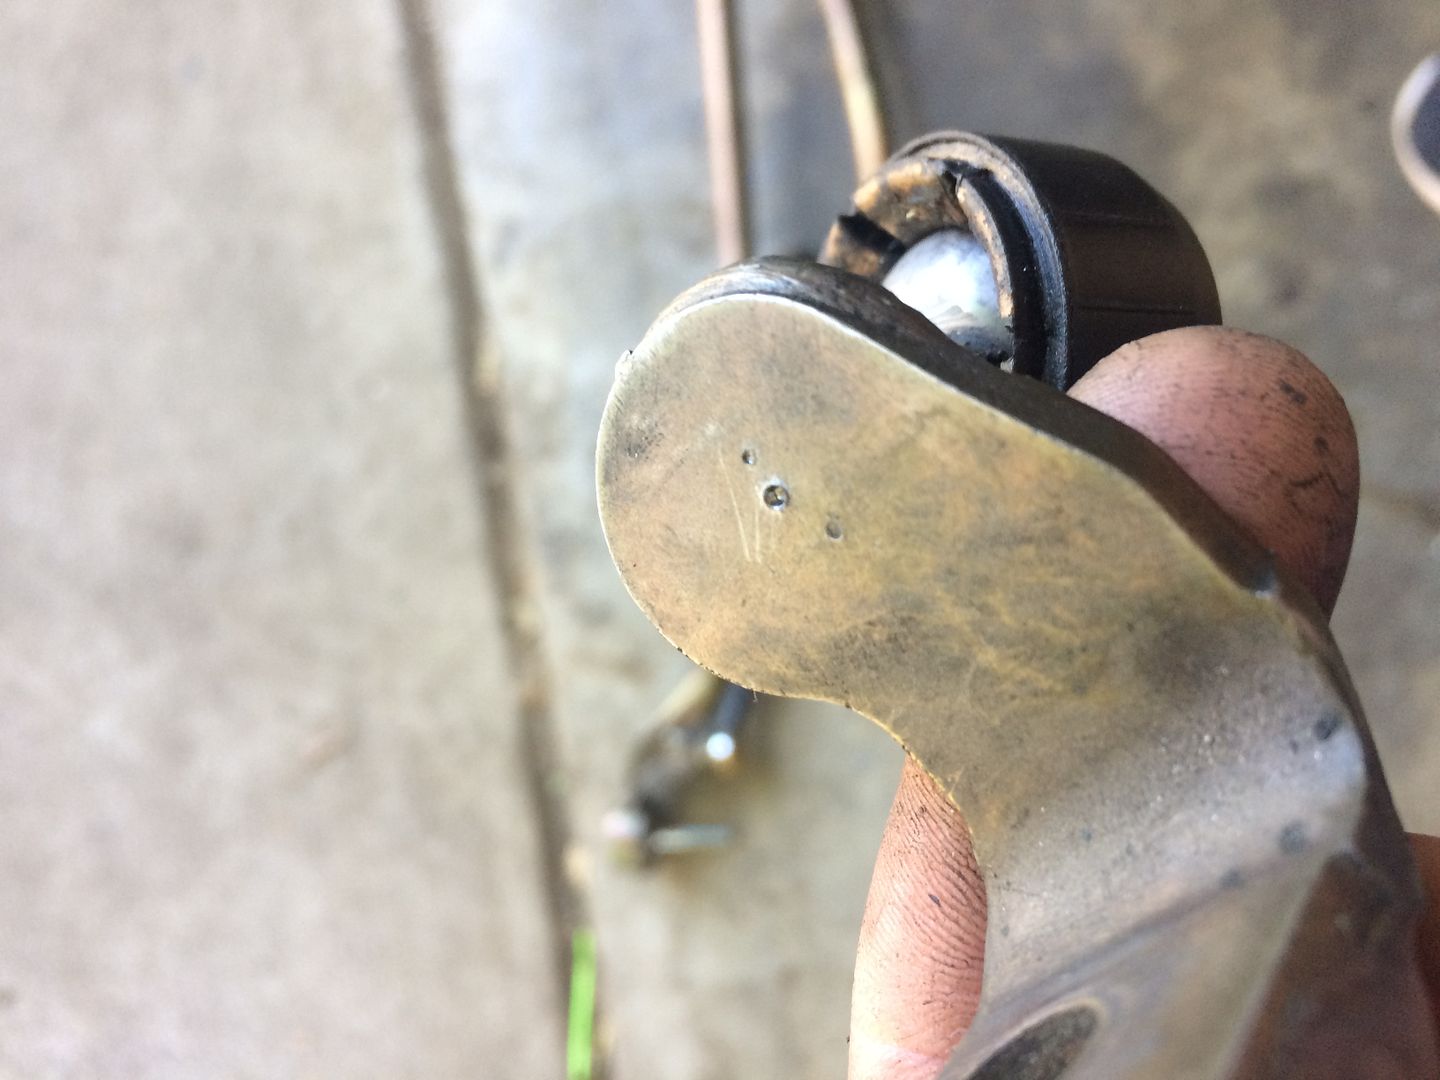
Cut off the old ball with a grinder and smooth the surface flat.
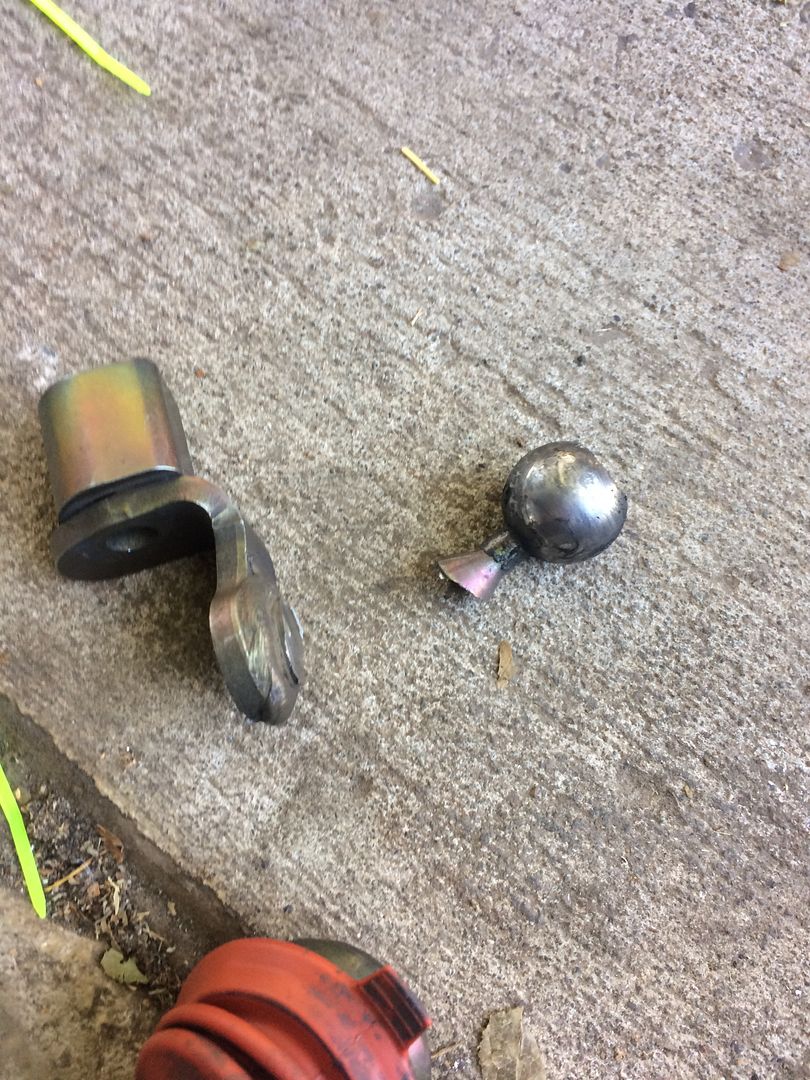
You can now drill a hole at the mark you made.
The following images illustrate how you will assemble your new linkage end.
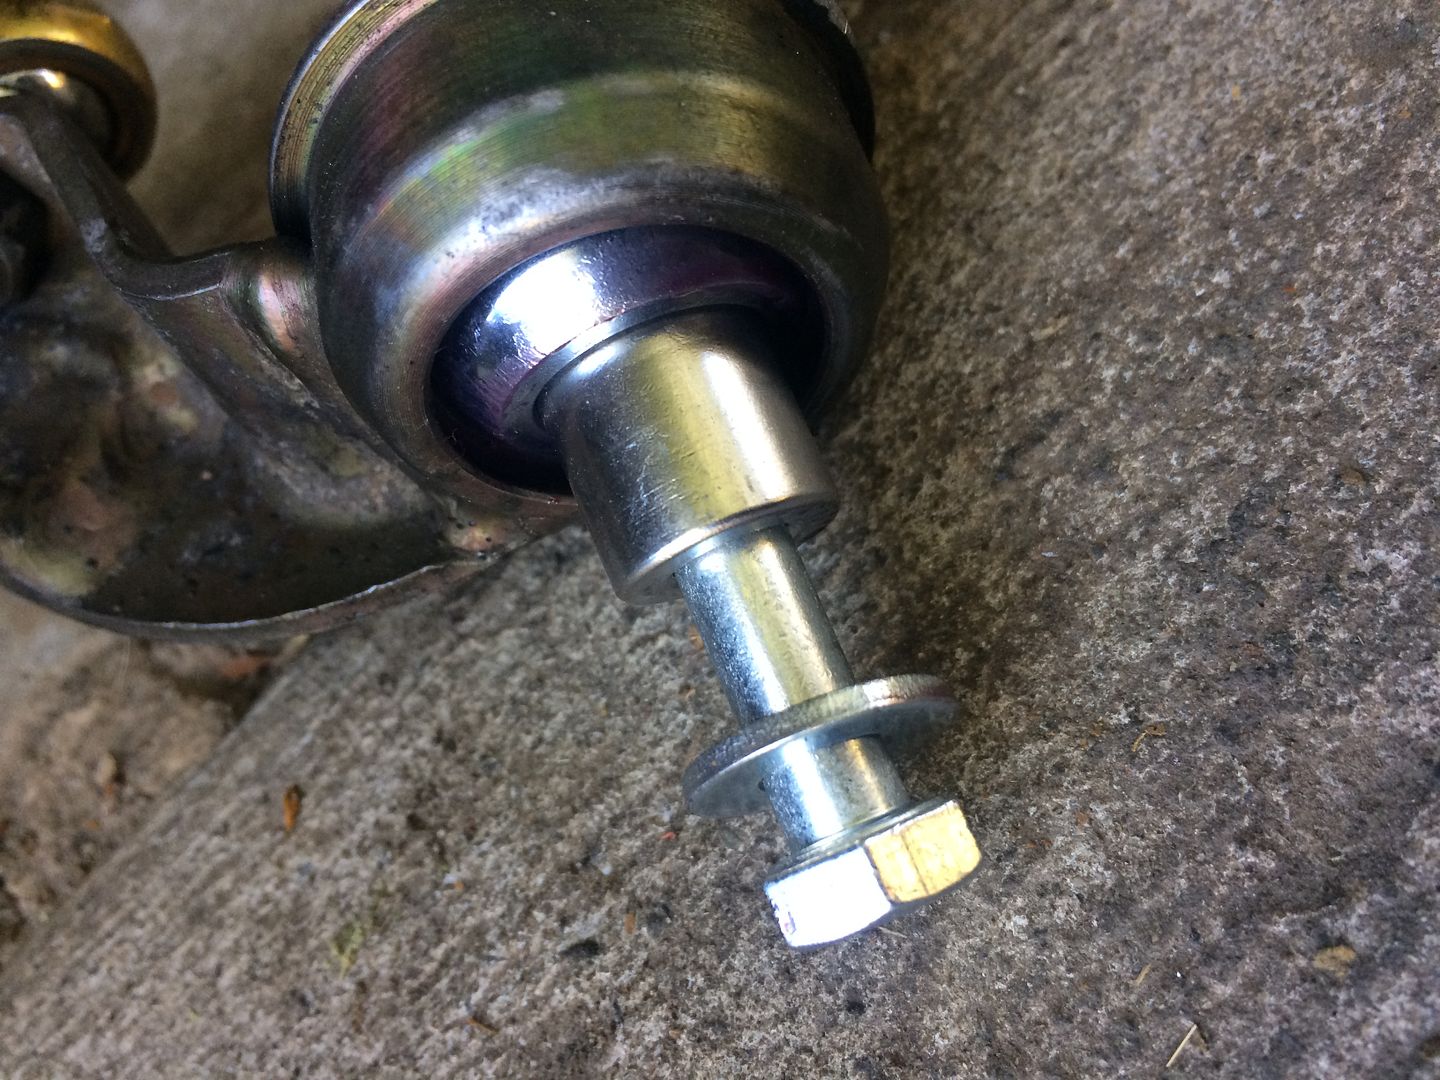
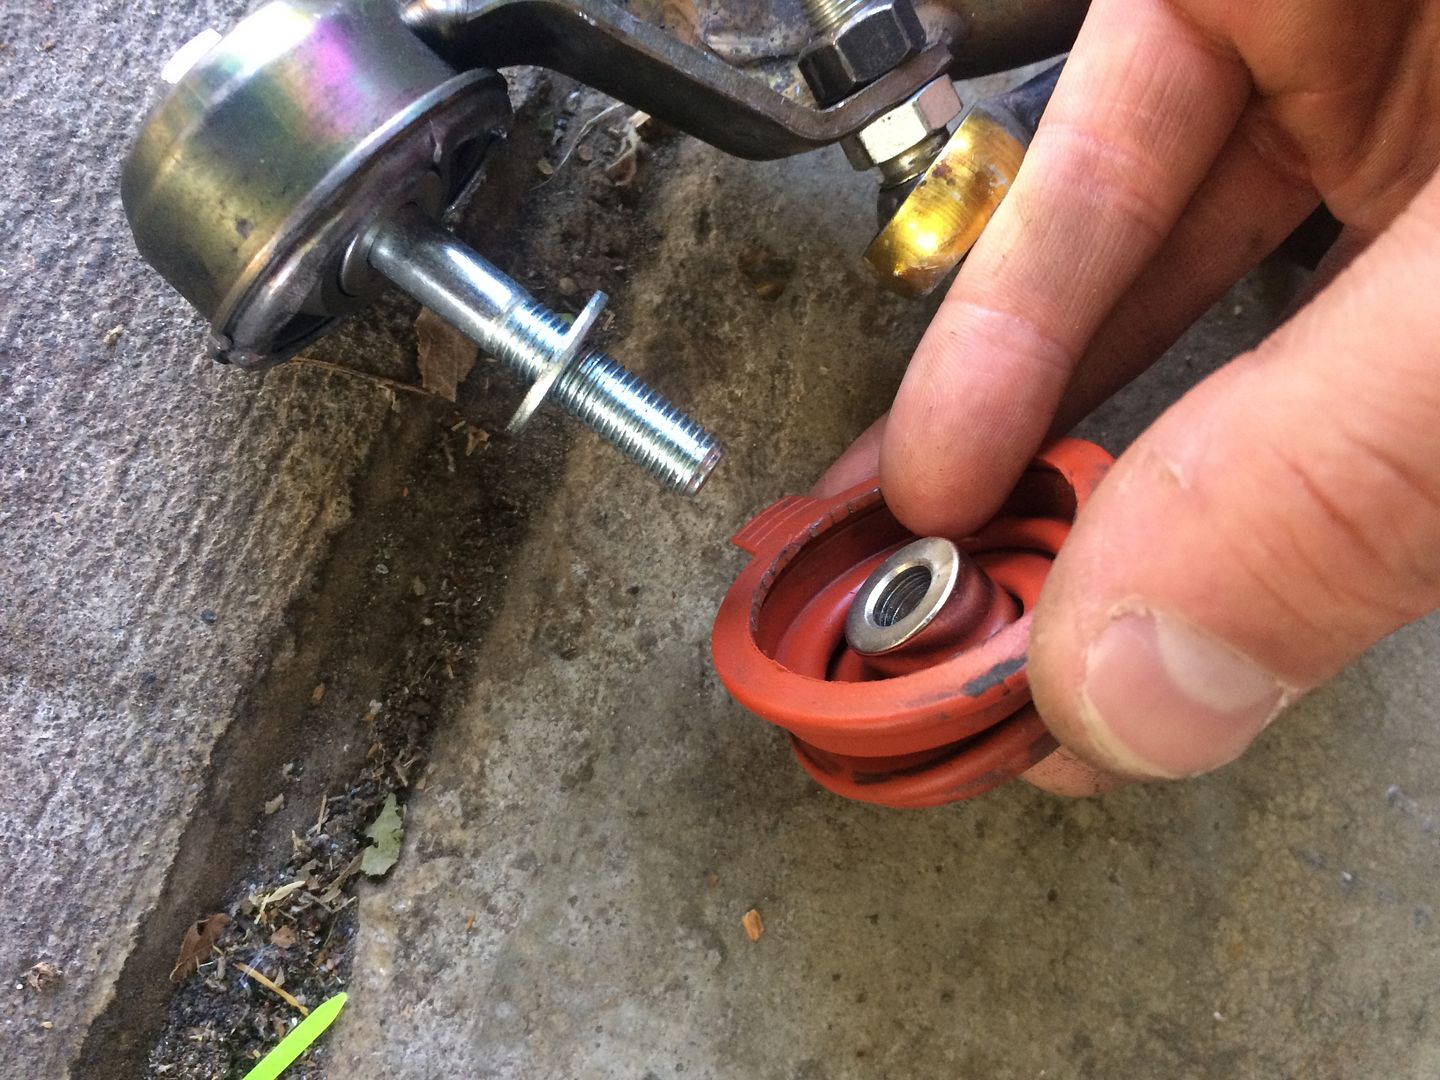
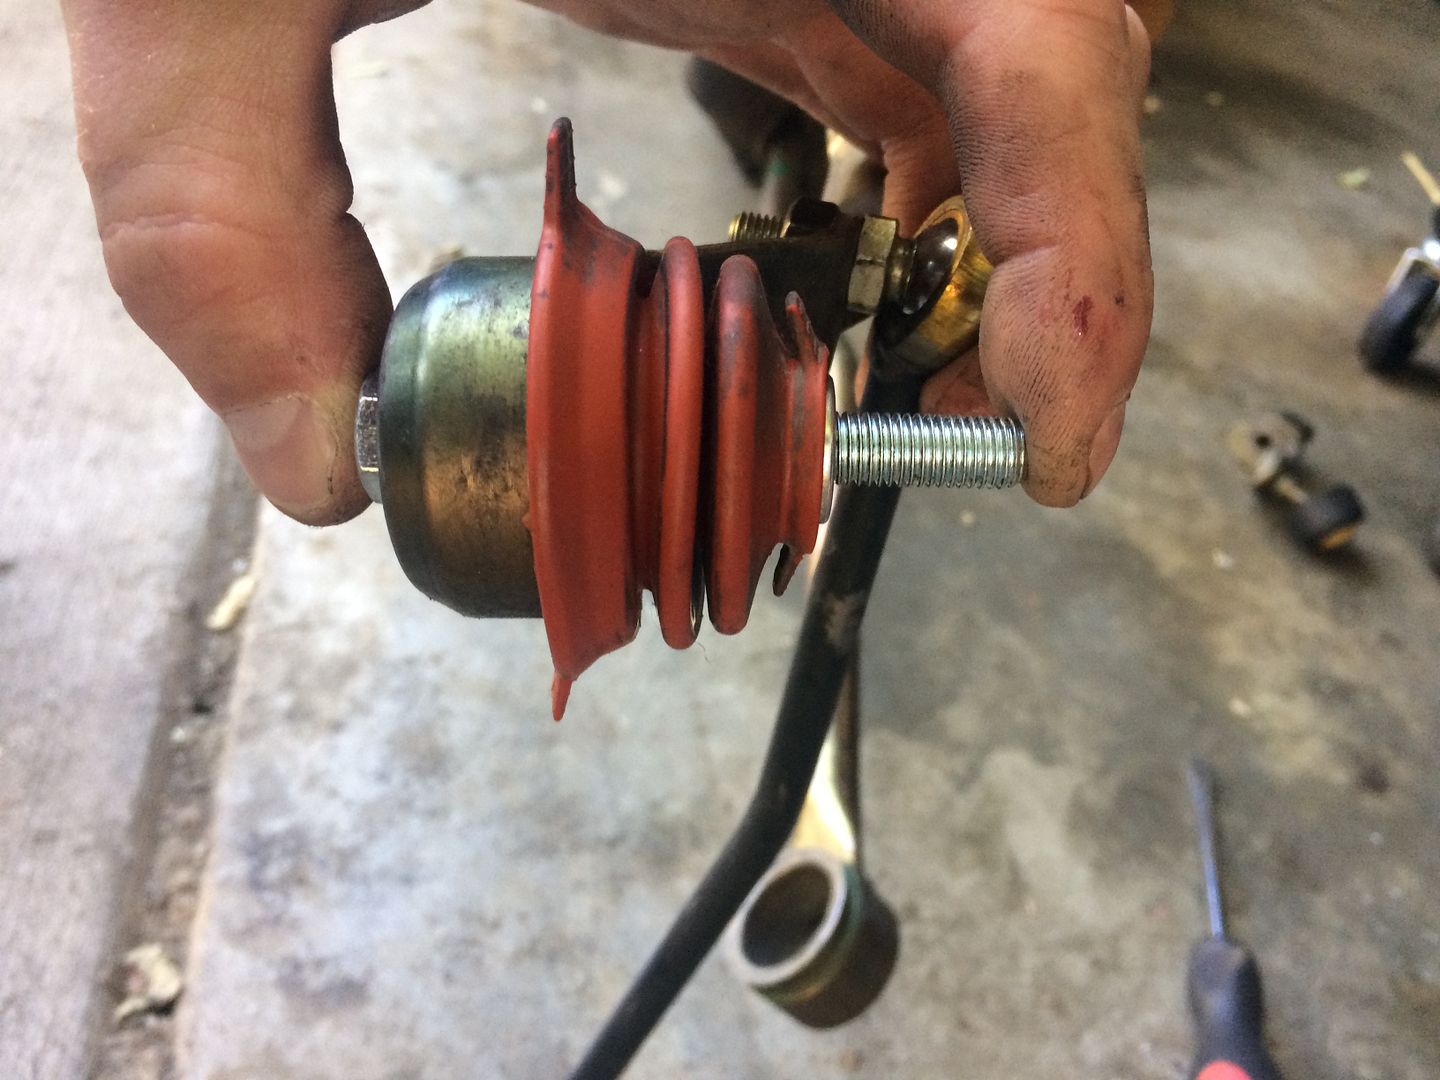
Now, slide on the piece you just drilled a hole through and assemble it!
Last step (this is important).
Bask in the glory that you not only just saved $150+, but also the fact that you came up with your own fix to your clapped out linkage. Relax and drink a beer. You deserve it.


 Reply With Quote
 +100 more since my trans is out and just sitting there begging for this fix.


Bookmarks