Tools Used:
Circular Saw (table saw/miter would be better)
Angle grinder
Wrenches/Sockets
Welder
Ramps
Jack and Stand
Parts Used
Turbo Gasket, Lock Nuts
Flanges/Gaskets/Nuts and Bolts
Exhaust Hangers *3
Just Under 6' of straight Pipe
Flex Joint (I used a 4" section, stock was 2"
45 degree bends *2
180 degree bends *3
O2 bungs
Manifold paint (if you want it colored, I used vht ceramic/silica paint which has held up perfect minus about 4" from the turbo which is the stock k03)
Tip/Tips if desired
I'm probably going to eventually get a muffler or resonator to bring the volume down a bit, to me it's perfect without load but driving it has a bit of excess, cruising is good, just when the dv cycles letting off the throttle.
I borrowed a buddies cheap flux welder so the welds aren't the prettiest but the are functional and only 3 are gonna be seen so not a big concern to me.
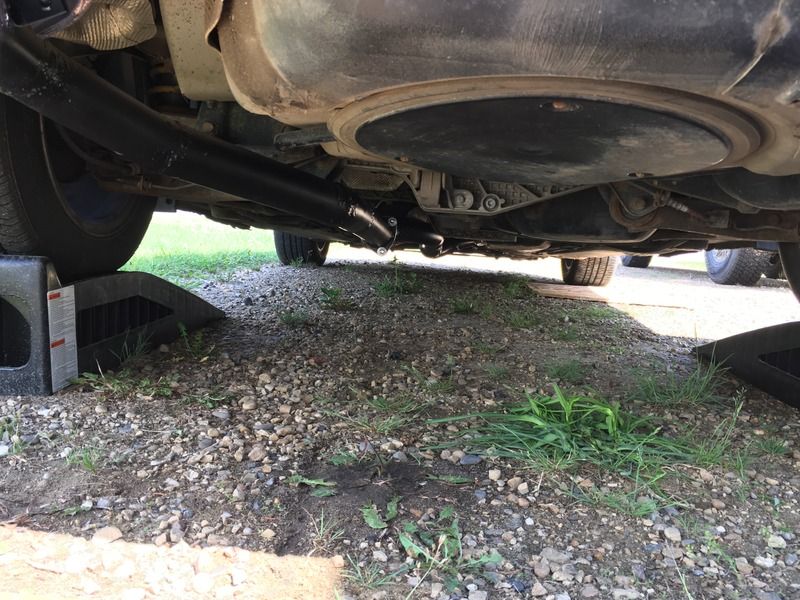
Basically I cut the exhaust just on the engine side of the flex pipe and unplugged the o2 sensors (getting to the ties holding wires in place was almost the hardest part of this. I pulled the cat and downpipe up through the engine bay (took a little playing, I have a samco tip with k&n cone on, I had to remove the Maf and come to get it out so if you have any air box it'll have to come out). There is one mount on this pipe as well to remove; the remaining piping had a mount on the resonator and two on the giant muffler. Once all this is out of the way you can start fabing and welding.
First I cut off the turbo flange off the stock cat with an inch or so of pipe which was 2.5id meaning my 2.5od pipe fit perfectly inside, I can't remember how much I used as I held a 45 in at about the angle I wanted and cut the pipe to what I needed to fill in gap. I welded the 45 to a two foot section and found I needed to angle it up about 10 degrees for the 45 to work, just used the angle grinder for this. I then test fit (you'll be doing lots of this so make sure it's comfortable getting under your car). From that I held up a 45 against the 2' hanging down, marked, cut, refit, marked and welded (from now on I'm not going to repeat these for everyone's sake). I also added a hanger (you can reuse the spring hanger off stock dp, or get new) and a flange (on a slight angle see below) This was my first section.


The second section was simpler but took lots of measuring and grinding to get angles proper and ready for welding. If I did it again I would adjust another slight 10-15 degree bend before the 45 in the downpipe to shift the final outlet to a more centred position (I'm not happy with where it ended but I worked with it). Right on the flange I took a 180 and cut it to route the piping to the channel. From that I added the flex pipe (once again if the downpipe ended up in the right spot that could be put right after the flange). After that was just under 2' of straight pipe then another 180 cut to s over to where the stock resonator was with a hanger and a flange. (This flange was added so the last section could be removed and a muffler can be added or swapped out easily to change the sound).
I put one o2 bung on the top, and one on the side of the 45 (this has a spark plug anti fouler with an extra bung welded to the top to try to prevent check engine light until I get a new tune, I don't know if it works yet as my Maf crapped out and I'm waiting on my new one so currently getting a cel for having it unplugged).


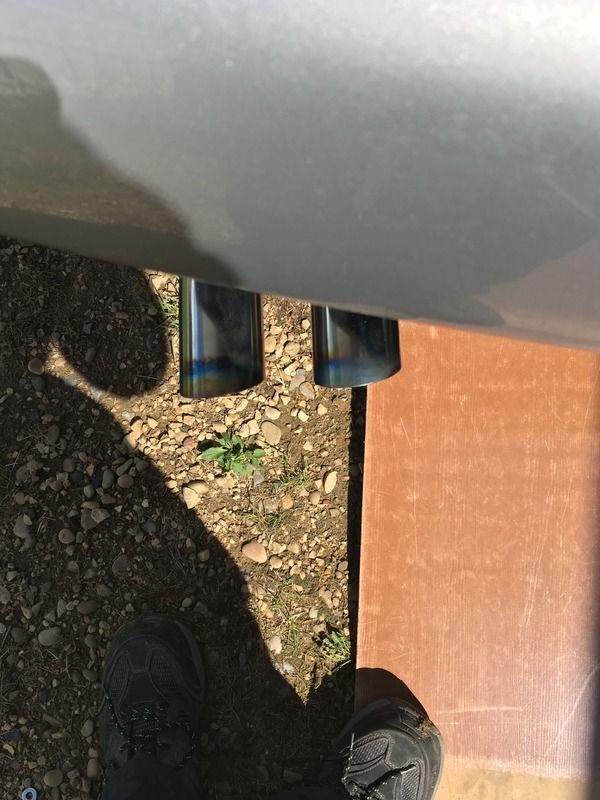
The last section was very simple. From the flange I used a straight pipe, I cut a 180 to roughly two 45 pieces. I used the first angles towards the tips location, another straight pipe, the second 45 angled up to the correct height then less than a 6" section with the tips welded on and two hangers.


Overall if it was angled perfect the first go around I could have made due with the two 45 bends, two 180 bends and I would have probably needed around 7' of straight pipe. Having the downpipe built like that it is exceptionally easy to remove and install, it just takes rotating it once 360 to get the flange through the bottom and its in place.
The mid section is more difficult to remove as I needed the back on ramps and the front passenger side jacked up to install it. The rear section is easy to install though I got the tips at a slight angle and about half an inch further out than I wanted but it doesn't look horrible.


 Reply With Quote

 . Everyone i know and i don't think it sounds ricey; our cars have a deeper sound to them, they're not like hondas with an ear piercing scream lol. So even at WOT they sound good, pretty similar to an Abarth 500 I've noticed


Bookmarks