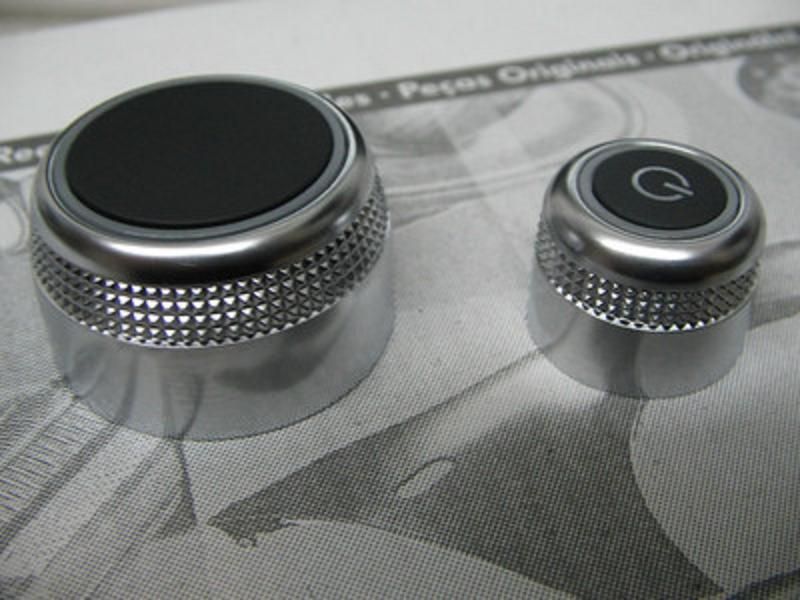
Here's an image of how the A3/TT buttons look like at night when un-modded :
*Image borrowed from another forum*


In my car once installed using Euro A4 RNS-E Chrome buttons:

Tools needed:
4 X Radio removal keys
1 X #0 Phillips Screwdriver
1 X #4 Phillips Screwdriver
1 X Jeweler flat head screw driver
1 X Pair of long noses
1 - First remove the RNS-E from the car. (If this is complicated for you dont attempt this DIY)
2 - Remove the 3 top #0 Phillips

3 - Remove the #4 Phillips, 1 on each side


4 - Remove the top lid and put it aside.
5 - Remove the 4 X #4 Phillips on each sides


6 - Pull the lock ears on both sides towards the outside to unclip them (Dont remove them)

We can see the face plate connector in this image, note where it is for later.

7 - Remove the 2 #0 Phillips on the bottom of the unit

8 - Pull gently on the face plate, it will move upwards as shown below and it will bring the screen up with it

9- Push the face plate back to its original position by pushing on the exterior, the screen tray will stay in place

10 - Remove the 3 #0 Phillips that secure the screen to the tray, dont strip them they have blue loctite, hold the screen in place once the screw are removed since the ribbon of the screen is still attached

11 - Now to remove the ribbon, pull the brown tab towards you with your jeweler screwdriver. Once the ribbon is removed, slide one side of the screen out of its track, then the other and put the screen aside.


12 - You can now remove the connector of the face plate and place the face plate in front of you on a towel.

13 - Remove the 7 #0 that hold the board in the red rectangle

14 - Lift the board gently, the ribbon is on the left. Push the black tabs away to release the ribbon using the jeweler screwdriver. Once removed, put it aside.

Beware picture taken with potato, it show the black tab in released postion.

15 - Remove the 6 #0 Phillips of the metal plate, remove it and put it aside

16 - Remove the L shaped plastic spacer/shim

17 - Remove the 5 #0 Phillips screw holding the board

18 - Unclip the tab holding the board's ribbon like we did earlier using the flat head jeweler screwdriver


17 - Now that you have the board in your hands, remove the power button from the board by pulling on it (Mine is chrome but its a TT button that didnt fit properly and trying to mod it to fit properly gave me nose bleeds)

18 - Install the A4 RNS-E Chrome button

19 - Re-install the board and ribbon.
20 - Now back to the faceplate that you can lift without all the buttons falling because you put back the board right, RIGHT?
21 - Pull on the mode button, remove the spring from the oem button and install it in the A4 RNS-e chrome button and install chrome button. You might need to make the tabs a bit tigher using the long noses but test the button first.


22 - Put everything back using these steps in reverse.
23 - Enjoy


 Reply With Quote


Bookmarks