The idea of using hockey pucks as mounts has been around for a LONGGGG time! But I have personally used this idea on my mk4 Gti for the small dogbone mount, and also on 2 mk3's replacing the mounts with stacks of whole pucks! Oh wait and even on my moms old 96 camry :)
Like all DIY's, I hold no responsibility for your your injuries or death! But for the love of god please be careful and have fun!
I am in the process of swapping my rear differential and figured while I am at it Ill make a little upgrade to the mount. So here it goes...
What's needed...
1. 2 Hockey pucks
2. Some grease , I used a synthetic mobile 1 grease. It is just to lube up the pucks and dowel so you can press them into the housing a little easier.
3. Adhesive, I used a 3M Plastic adhesive. This will be used to adhere the 2 pucks together.
4. Tools will vary of course but here is exactly what I used.
a.) Dead blow hammer or rubber mallet
b.) Medium to large vise
c.) Coping saw
d.) Hack saw
e.) Grinder/sander bench top or handheld
f.) Flat head screw driver
g.) Sandpaper/steelwool, something abrasive enough to clean the housing.
h.) Round File or dremel
OK, got everything? Good.........
Step 1: Remove the mount (Obviously).
Follow this DIY written by A4SoftWalker for a great step by step on how to remove the mount...
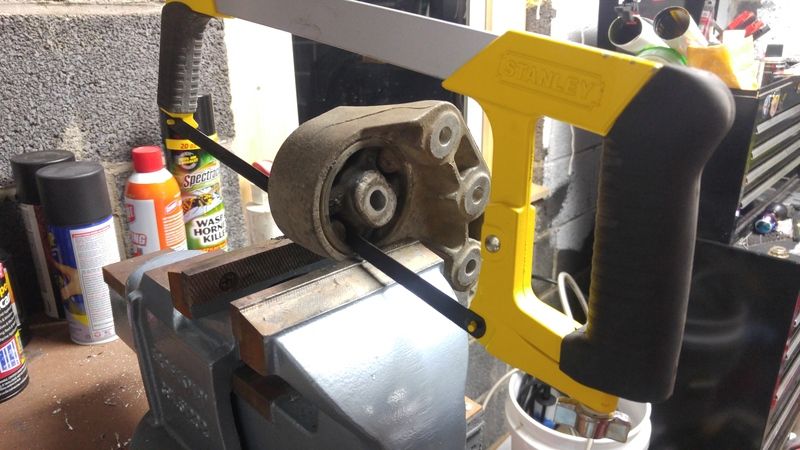
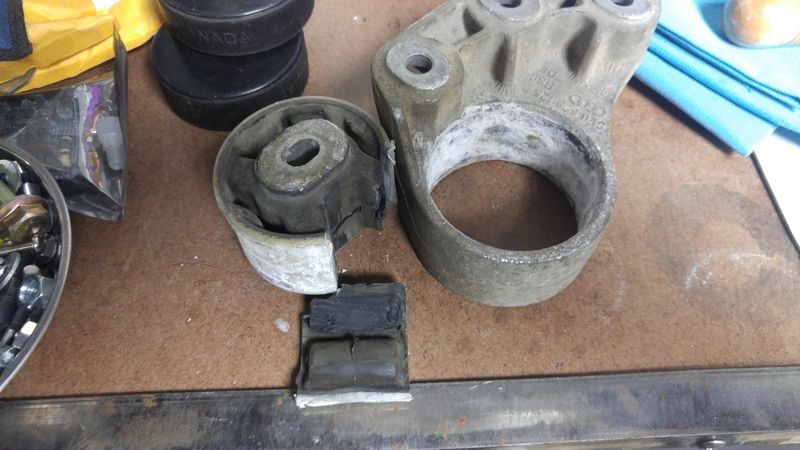
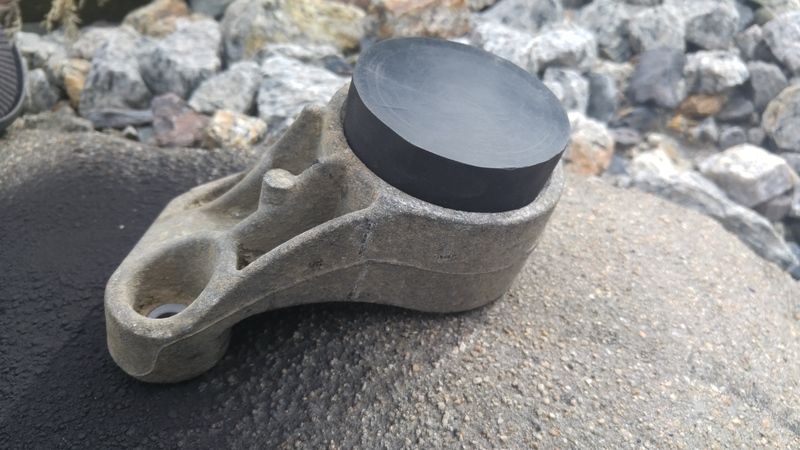
Step 2: Cut the mount out of the housing. Take note the orientation of the dowel! Not sure if this matters but the hole in the center is oval which allows some play while mounting it back up I am assuming.
I did this by removing my blade from the hack saw, inserting it through the mount, reattaching to the saw, then hacking away. Be sure to only go through the mounts ring, do not start cutting into your housing!! I cut it in 2 places and was able to pry and tap out with the hammer and the flat head. Once out you will see a bunch of white crust on the housing, clean this out by scraping/sanding whichever you choose.
Step 3: Grind the Hockey Pucks
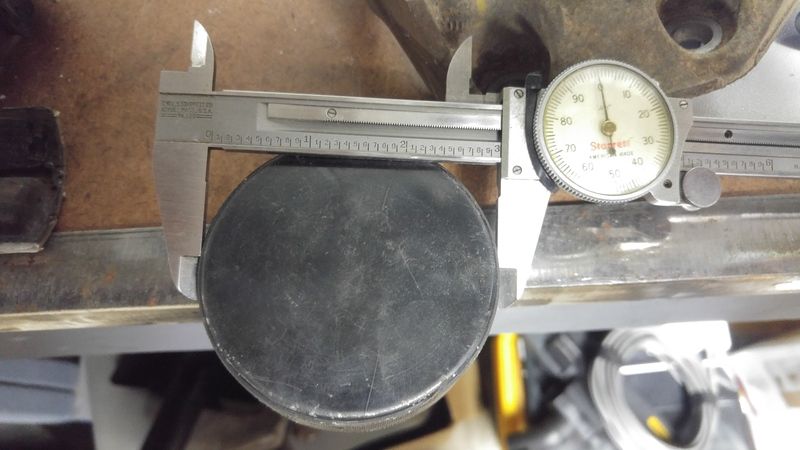
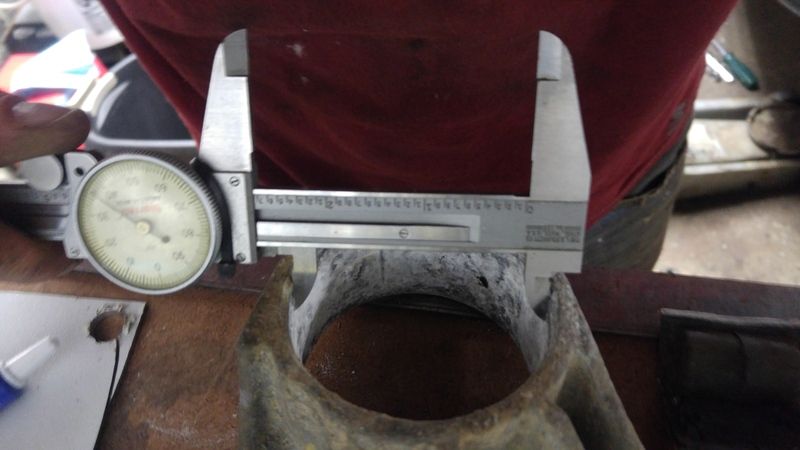
The diameter of the hockey puck should be right at 3" The inner diameter of the mount housing is 2.75." So you get the idea on how much you have to grind off the 2 pucks right?! Good! So get to grinding! You will want the pucks so you can just barely press them into the housing by hand. The reason for this is, once you insert the dowel (were getting to that part) they will expand a bit.
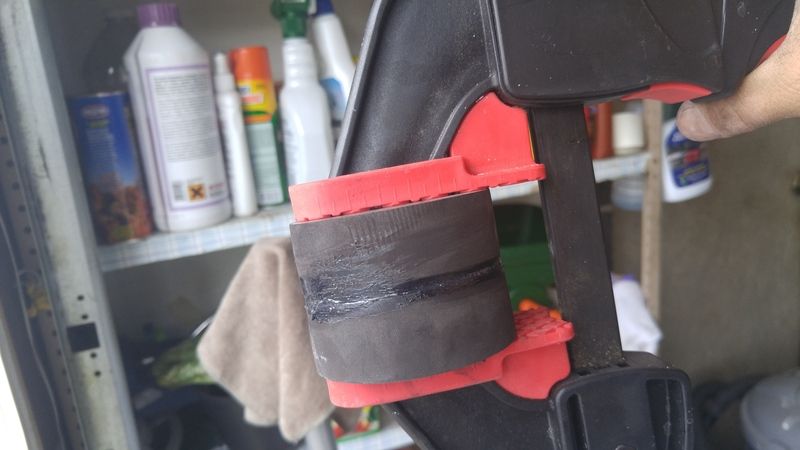
Step 4: Glue both the pucks together
You know what to do here, clamp together and let dry/cure per whatever adhesive you decided.
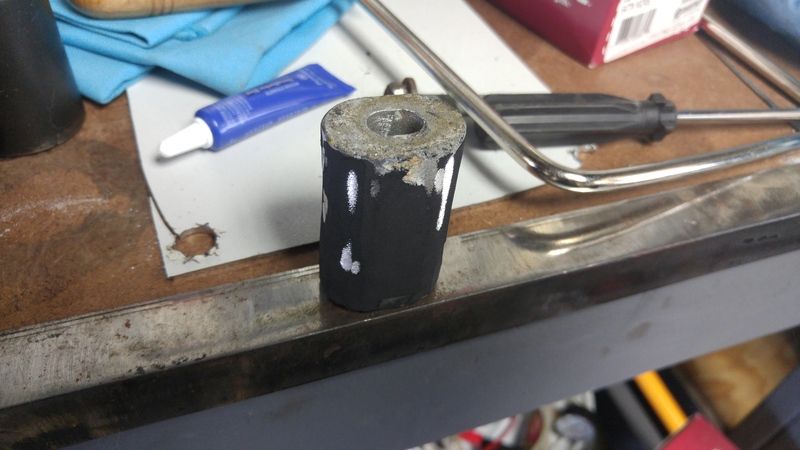
Step 5 : Cut/Grind the dowel free from the ring/rubber
I left a bit of rubber on mine but clean it as you wish. With the rubber on it helped it from sliding back out after pressing it in ( I guess you can use some adhesive here to if you like.)
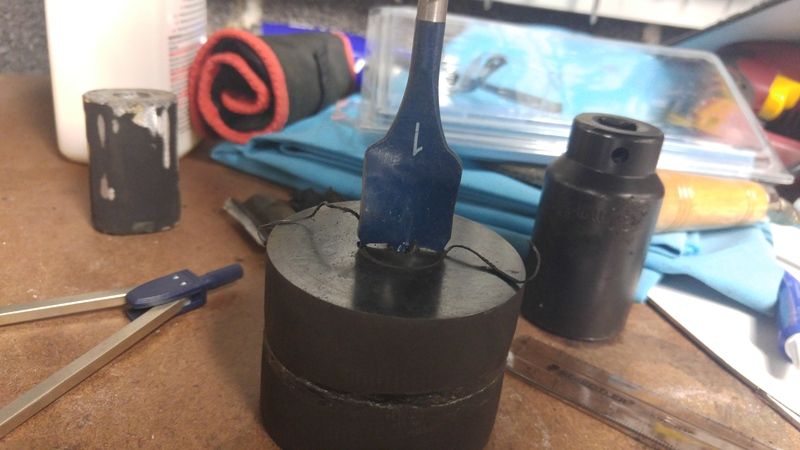
Step 6: Drill the Pucks:
Find the center point of the pucks and drill a 1" hole as straight as possible through both. Once you have made the hole trace out the oval dowel onto the puck face and make the hole the same diameter width as the dowel. Dont go to BIG! Or the dowel will slide back and forth, you want it to be snug/tight. I used a combination of the coping saw and a round file. You could use a dremel or drum saander if you have one.
Step 7: Press the pucks and dowel into the housing...
I first made the mistake of not grinding the hockey pucks down enough. I pressed the dowel into the pucks first however, when I went to press the assembly into the housing, I couldn't because of the dowel expanding the pucks. Sooooo....
Before inserting the dowel, Grease up the outside of the pucks and the inside of the housing...Tap them into the housing a little at a time. You can even use the vise to squeeze them in. As noted in step 2 remember the orientation of the oval opening....
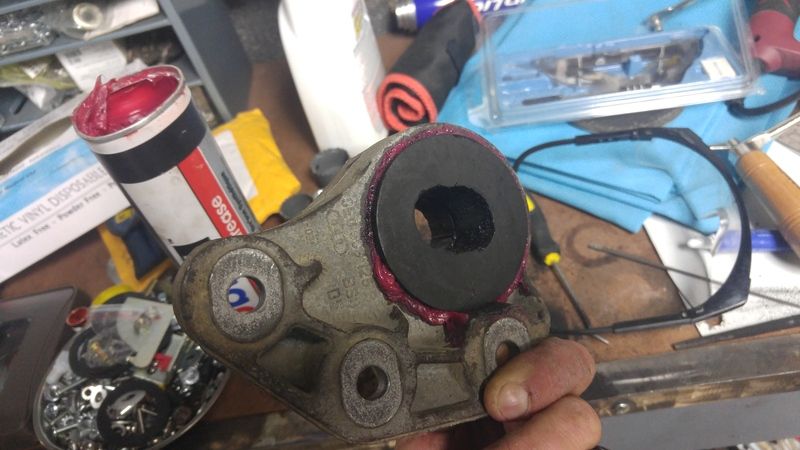
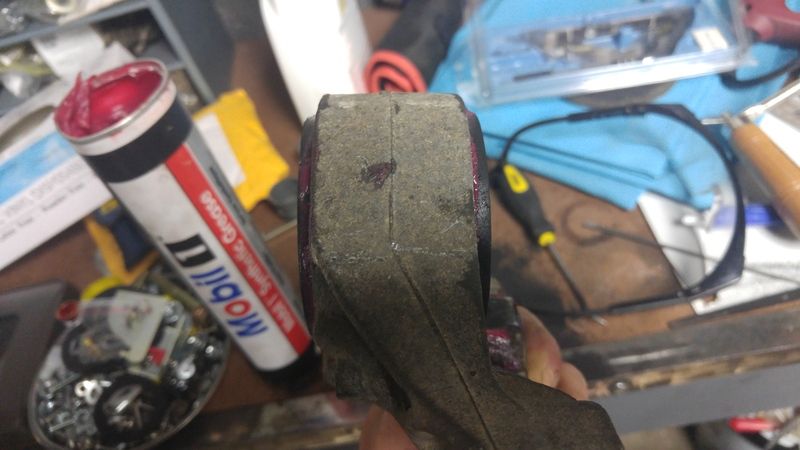
Step 8: Press the dowel into the pucks/housing.
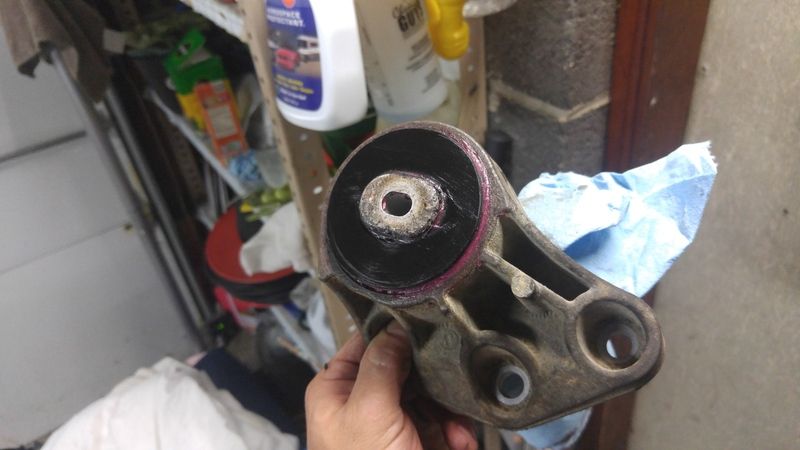
Take the dowel and grease up the dowel and the inside of the pucks, tape the dowel in a little at a time. Again, the vise can be used to squeeze it into the pucks, once bottomed out tap the remaing bit through using a socket and the hammer/mallet.
Step 9: Reinstall!
So this is where I will have to return to leave the feedback as I have yet to reinstall, maybe you will beat me to it! But I will be editing this soon! Thanks everyone and enjoy!


 Reply With Quote


Bookmarks