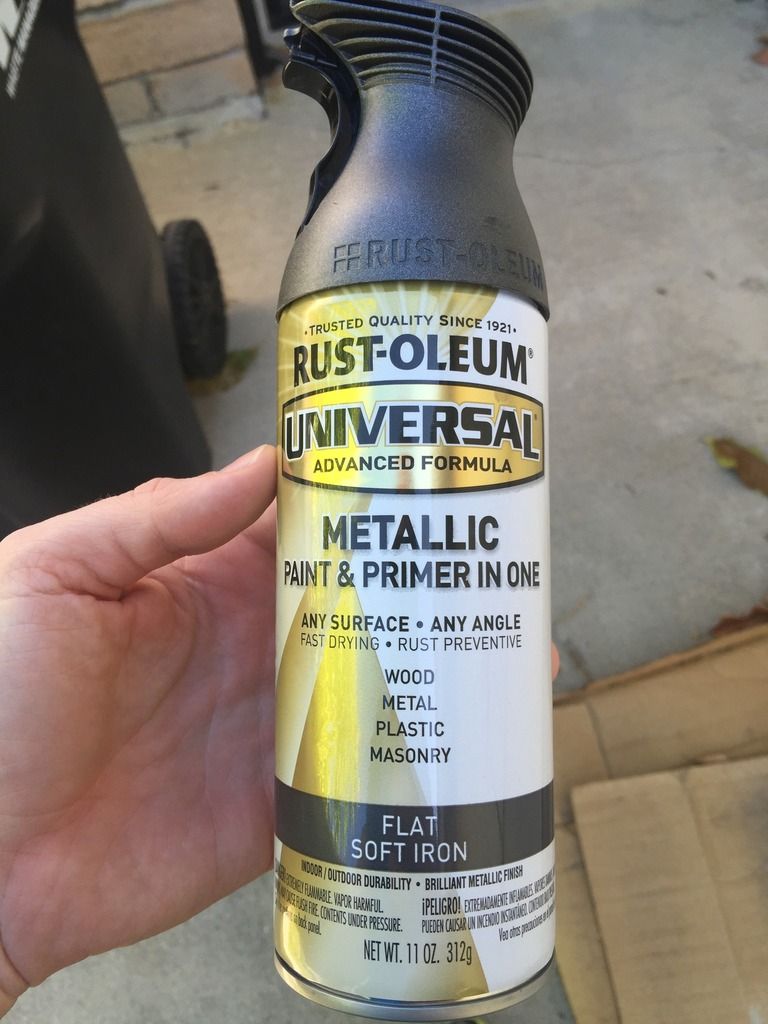
What I used:
To remove the badges, I waited until the car was in the sun for a while on the side I wanted to remove, to heat up the paint and emblems, making removal easier. Very easy process, just used fishing line and carved back-and-forth behind the badge, up and down while moving across... they all came of fairly easy this way, the Audi rings on the trunk being the hardest because of the location. Taped off around them to be able to reposition the exact same way, and also protect the paint while using the fishing line.
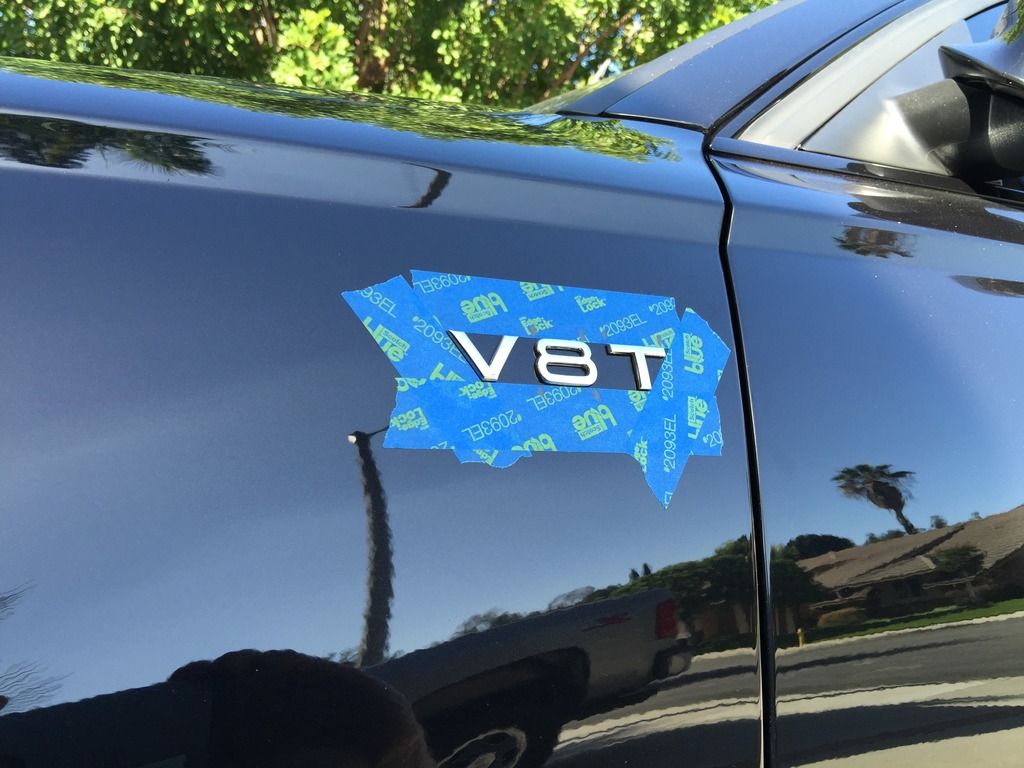
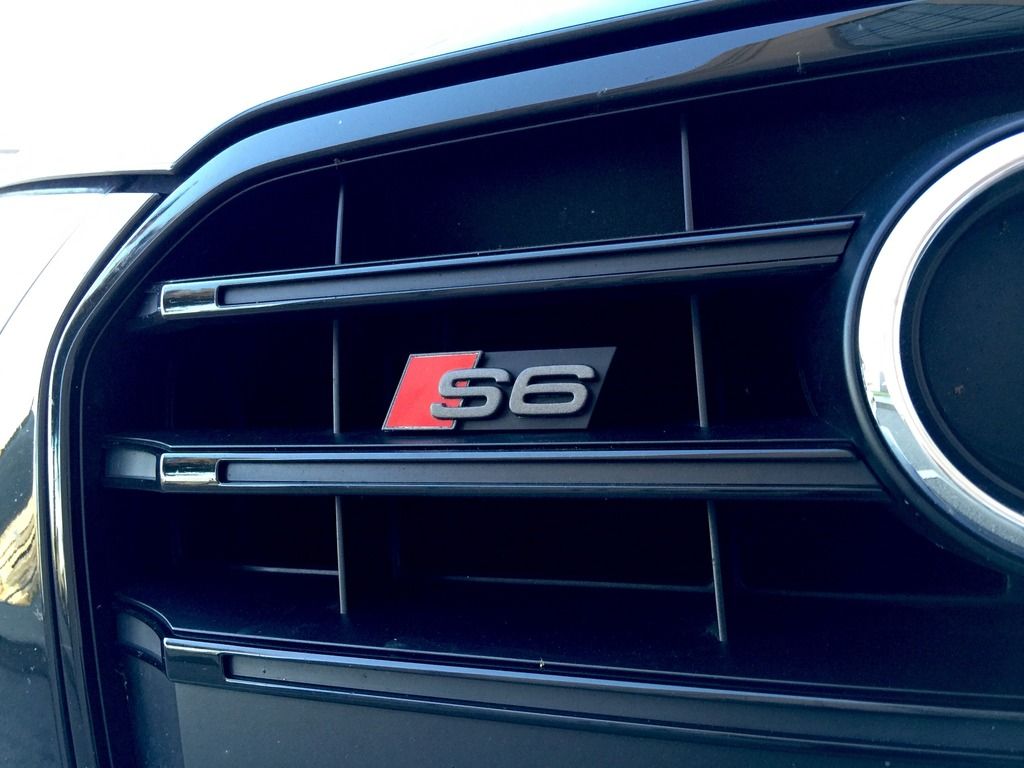
Was able to remove all pieces on the car except the grill this way. The front S6 grill logo was easy, reach behind with two fingers and push down the lock tab, and it pops out. The Rings on the front however, I'll likely order a new ring and re-paint... then break the rings off the grill. Don't want to deal with the labor of removing the grill for that piece! So the car is all done except the front rings at this point. Once emblems were removed, I removed the adhesive that was left behind with a bunch of goof-off, and patience!
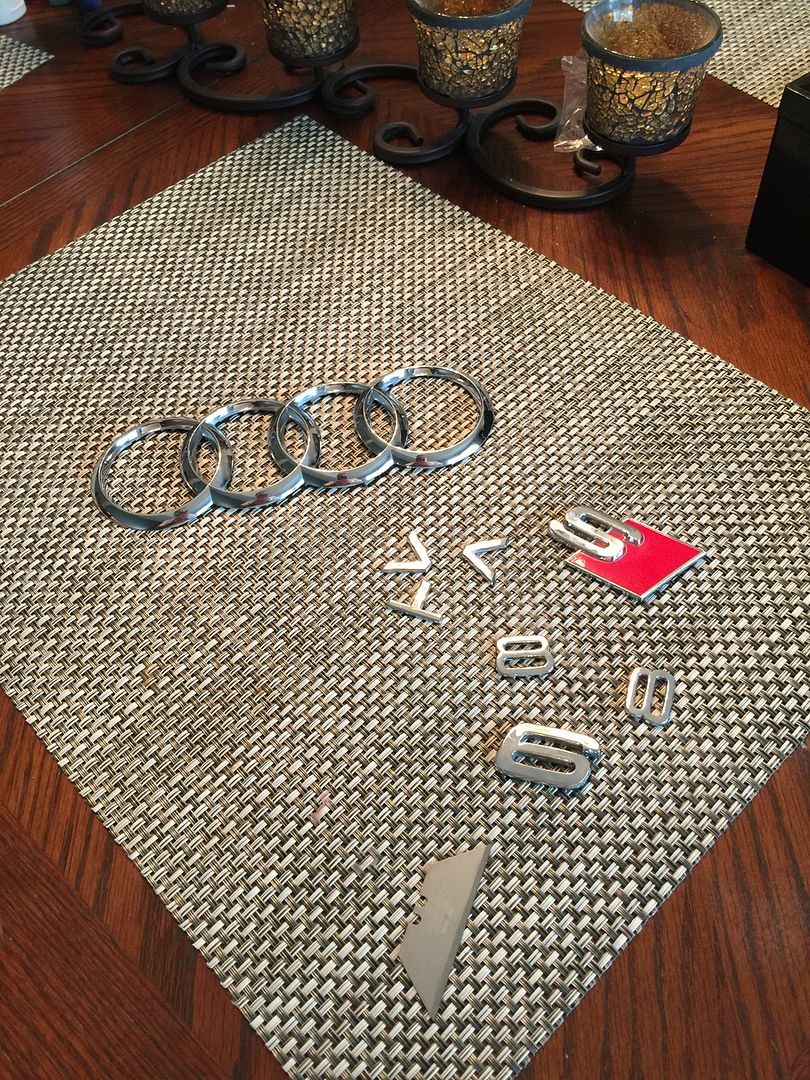
Prepped each piece by sanding with 220 grit sand paper, and taped off any of the red showing in the S6 logo, as I wanted to keep that contrast as well. Was not super easy to tape around the "S" with blue tape, but with enough patience it's not terrible. The hardest part is removing all the leftover adhesive from the backside of each... I mostly used a razorblade and my fingernails and just went to work. Not terribly, just a little tedious. Goof-Off or Goo Gone may also help here.
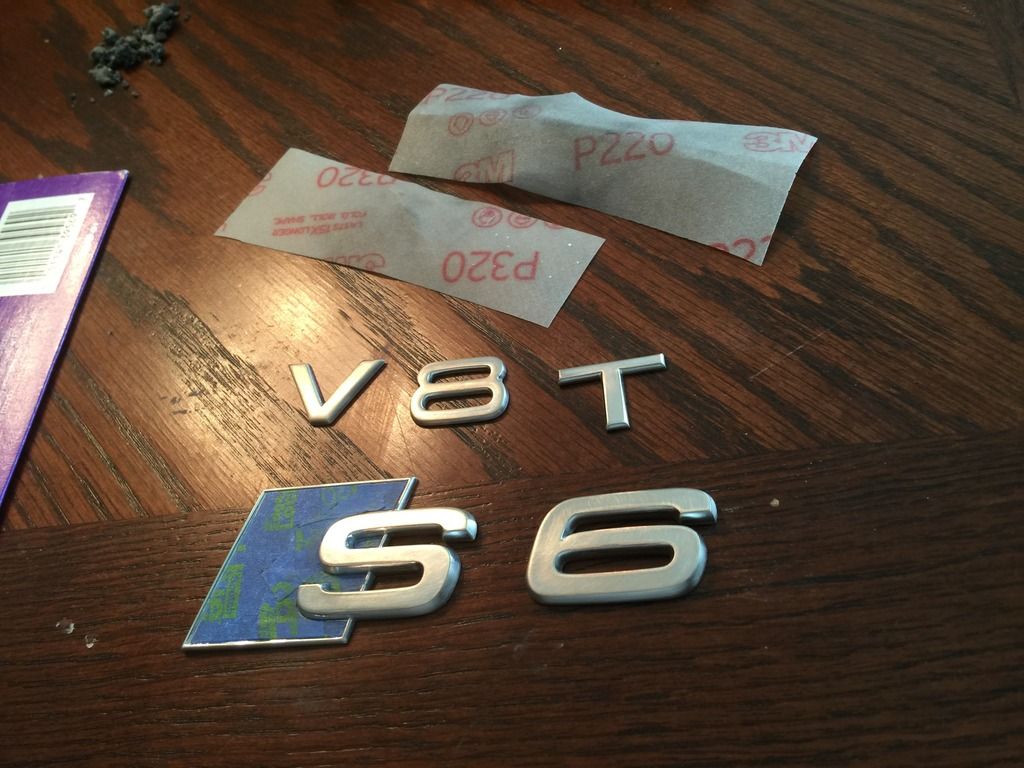
Once all the pieces are sanded, I washed them all with warm soapy water, then used rubbing alcohol on each piece to properly clean/dry them for paint. At this point, I was very careful not to touch them parts to be painted if at all possible.
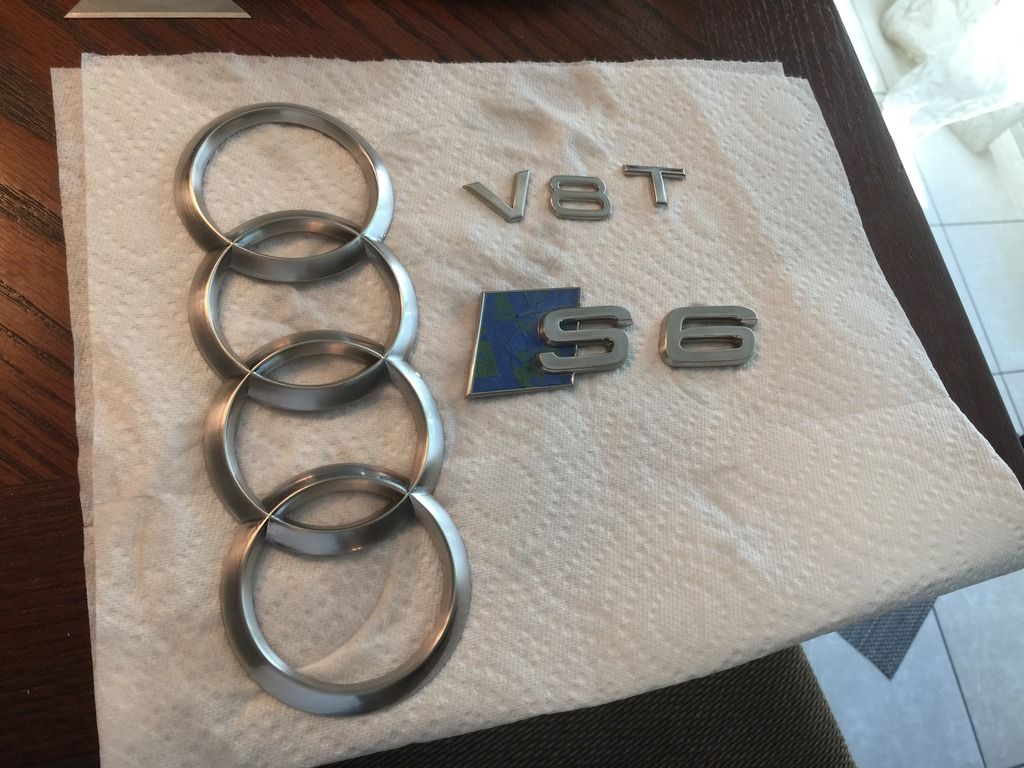
I rolled up a small piece of blue tape and stuck them to the backs of each piece, elevating them off the painting surface a 1/8" or so... this helps make a cleaner edge when painting, and avoids any possibly lifted edges! Here is the second batch ready for paint.
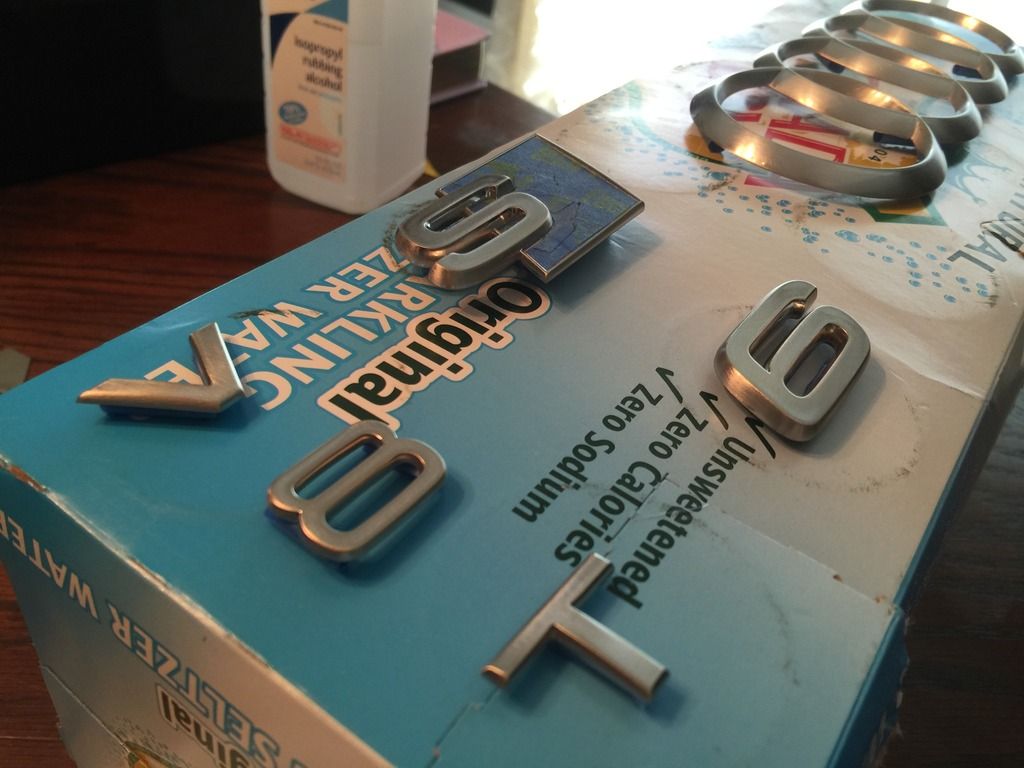
Painting was straight forward... 3 coats of paint, waited about 20 minutes between coats, let sit for an hour before handling, and they came out great!
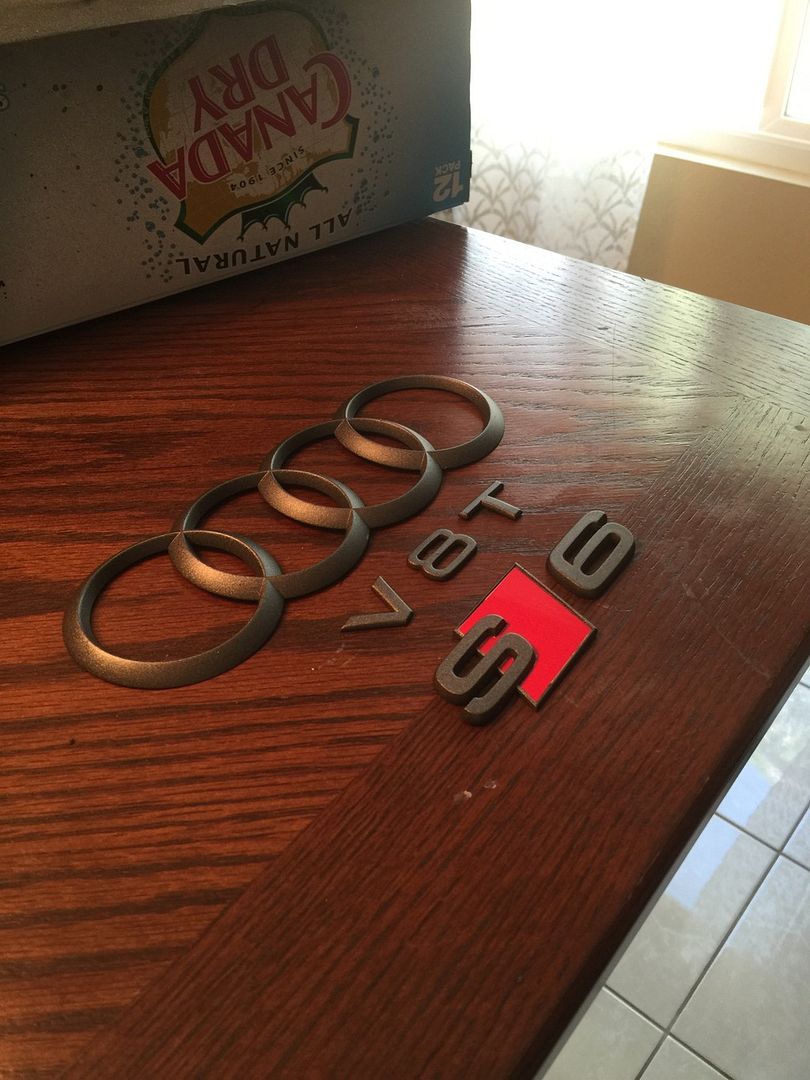
A better idea of the color, in the light (see how different it looks when compared to the indirect soft light).
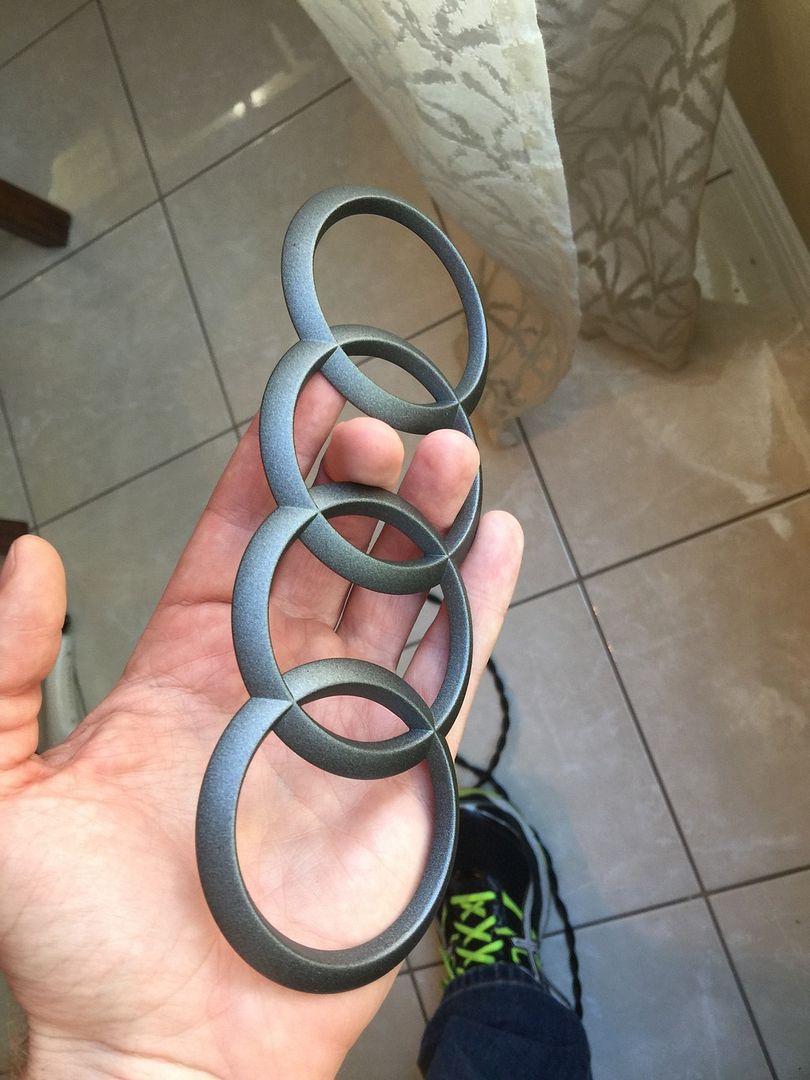
Then it was just a matter of installing new tape on the backside of each... 3M automotive tape works best, closest to the OEM adhesive.
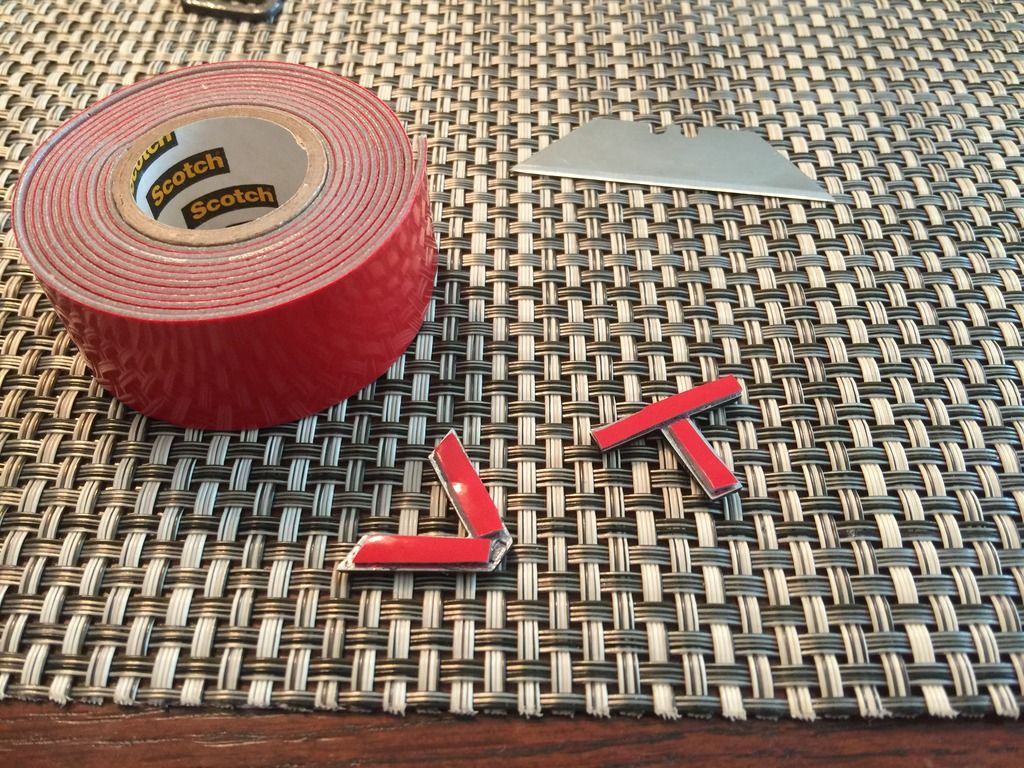
Re-installation was easy with the tape still in place, and that's about it...
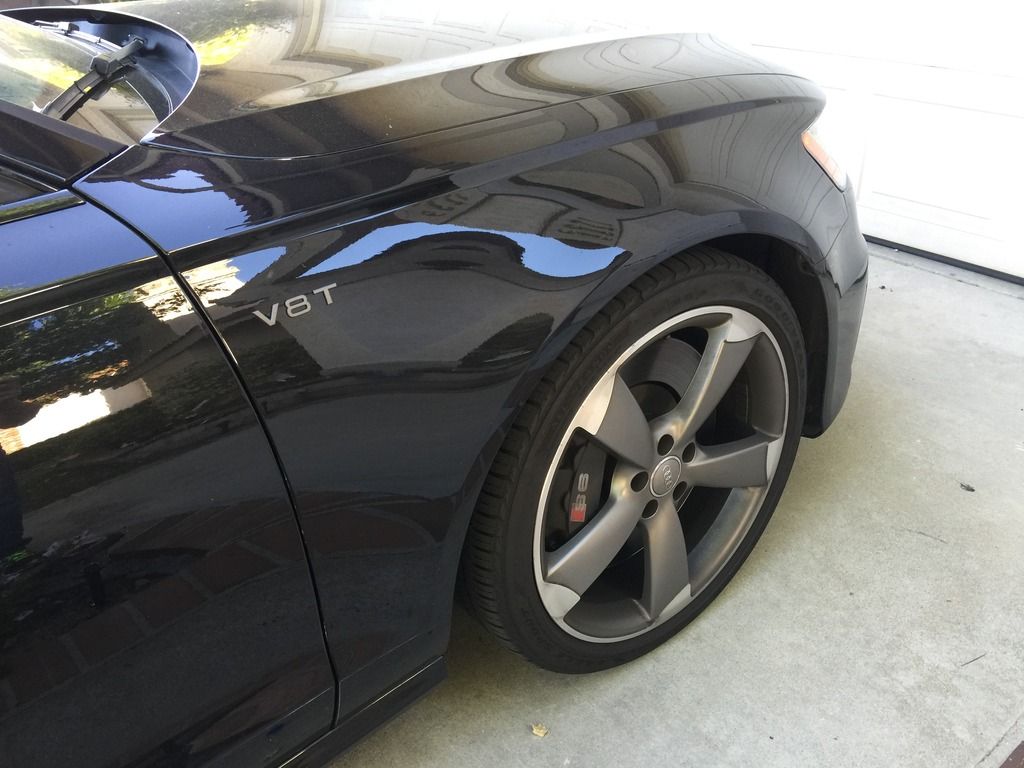
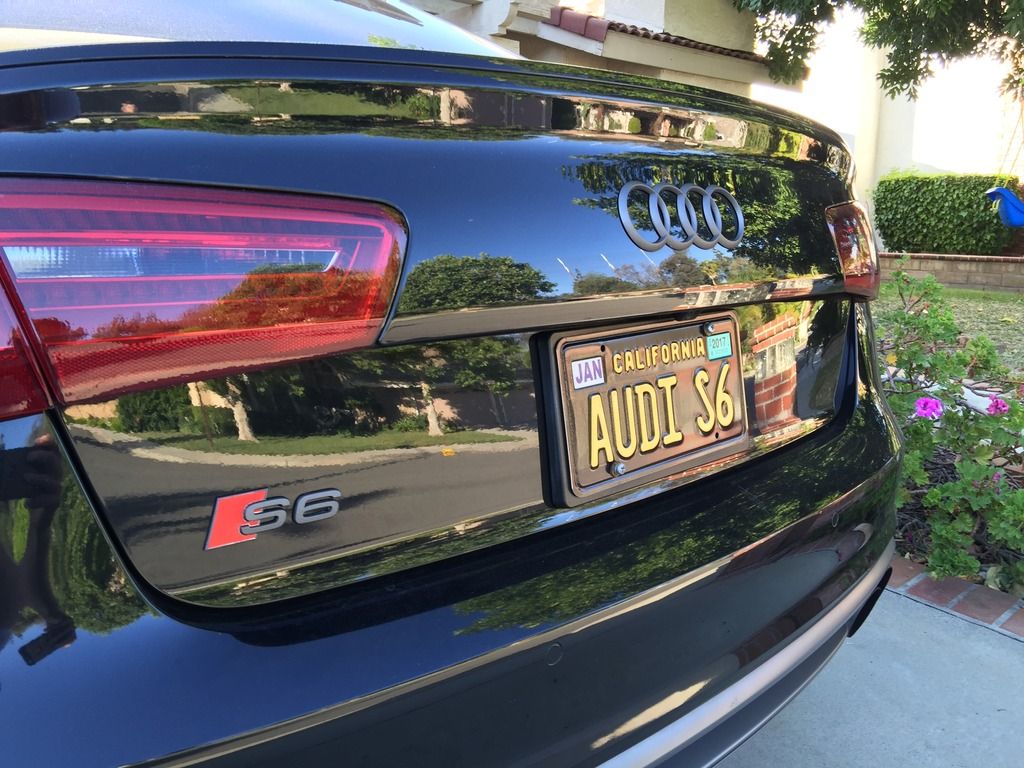
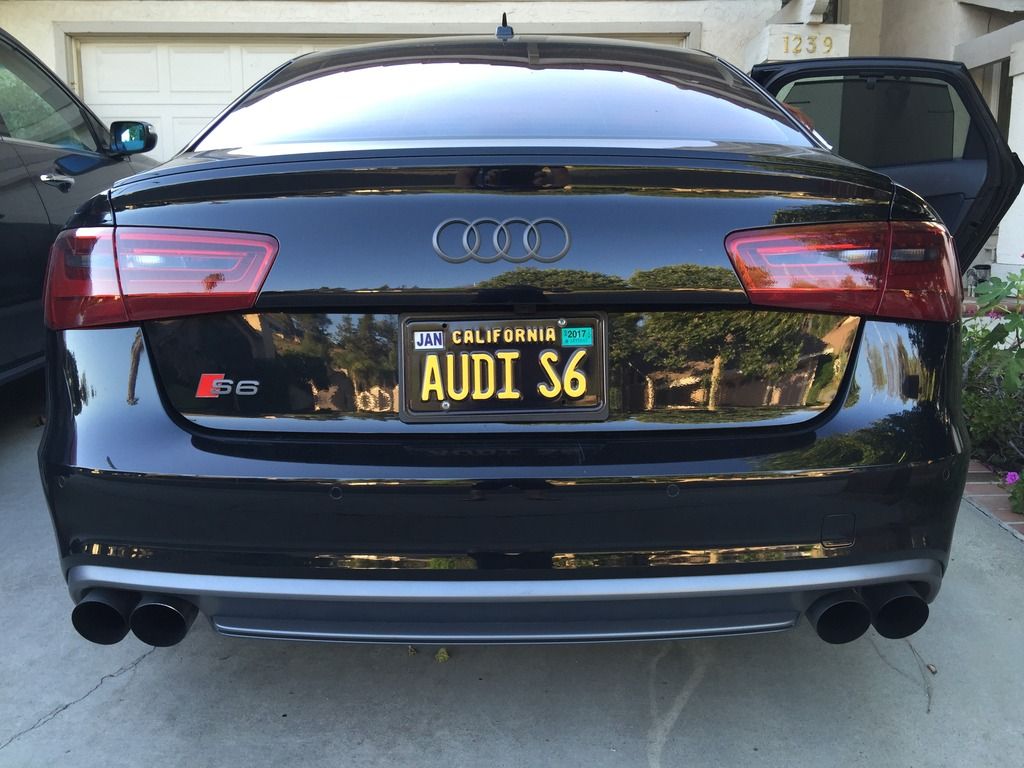
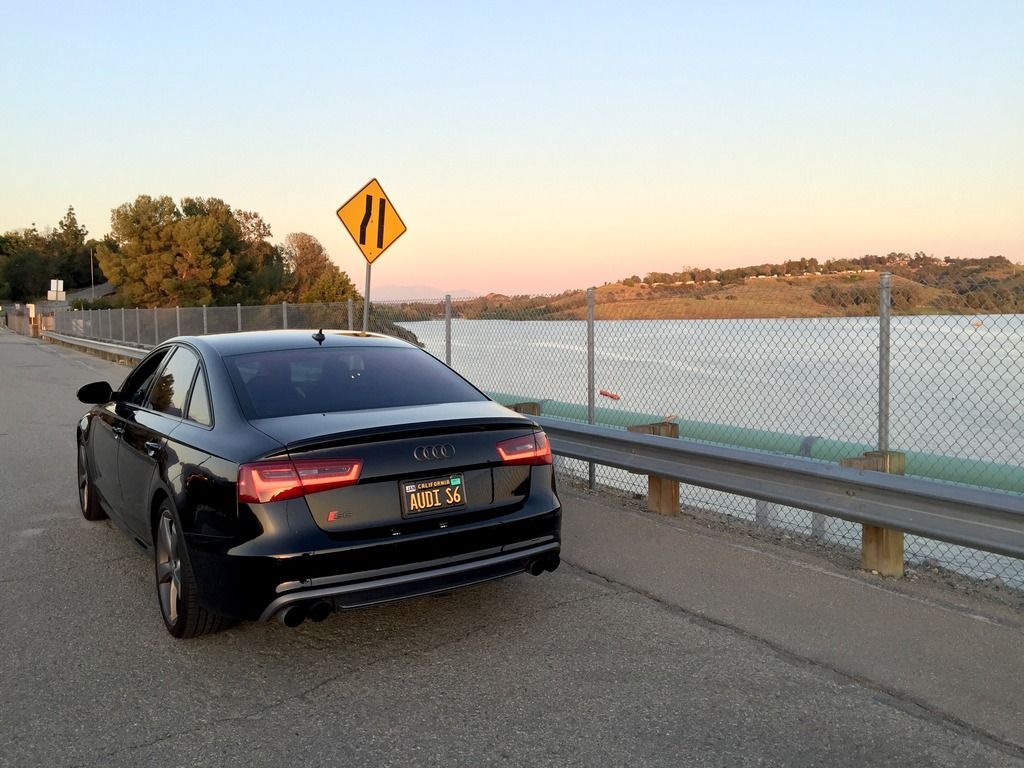
It makes an unbelievable aesthetic difference to the car, shouldn't have waited so long to do it! All-in cost was $20, and probably 5 hours of work total. Debated getting new ones from TAG (which is still a good option for those not wanting to deal with the painting), but really the biggest hassle is removing the logos and adhesive from the car, which you would have to do anyway! The rest was easy, and actually enjoyable to me.
Also had the tail lights tinted the same day, with Laminex... to complete the darker look of the car. So much happier now!
Before:
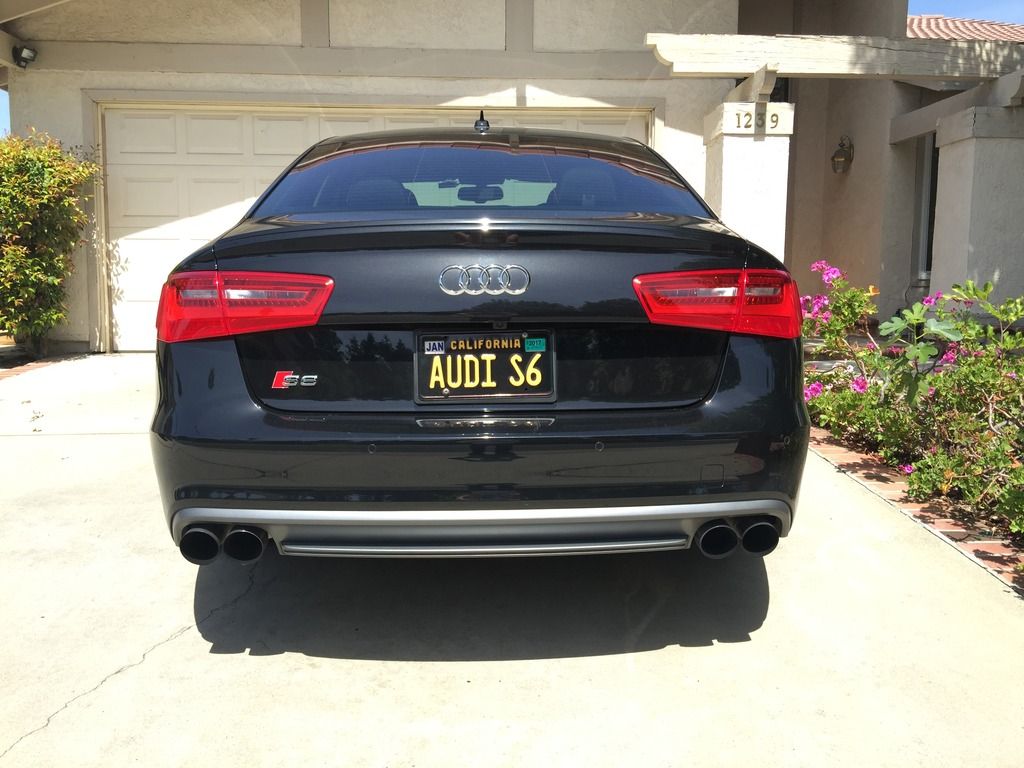
After tint (before emblems painted):
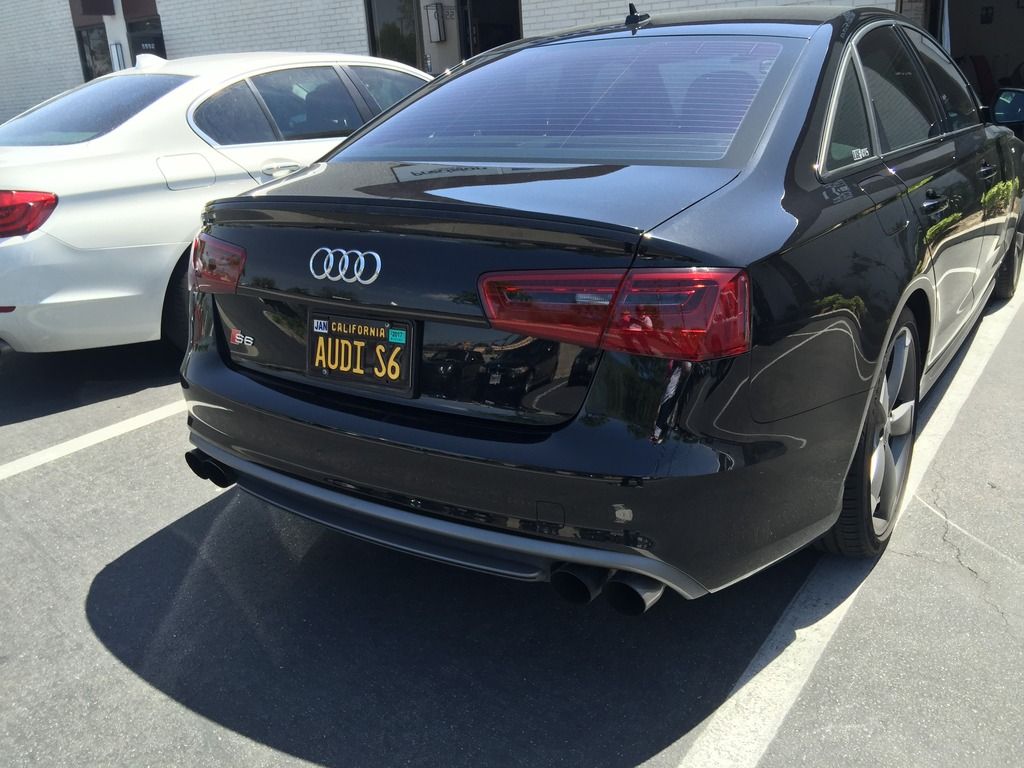
$120 all-in cost for tint and emblems... finally happy with the overall look of the car. Well worth it.


 Reply With Quote
 I like the color you chose on the black, well done. It certainly looks so much better than the total blackout emblem BS, but that's just my opinion.



Bookmarks