http://deautokey.com/product/audi-b8...ite-error-free
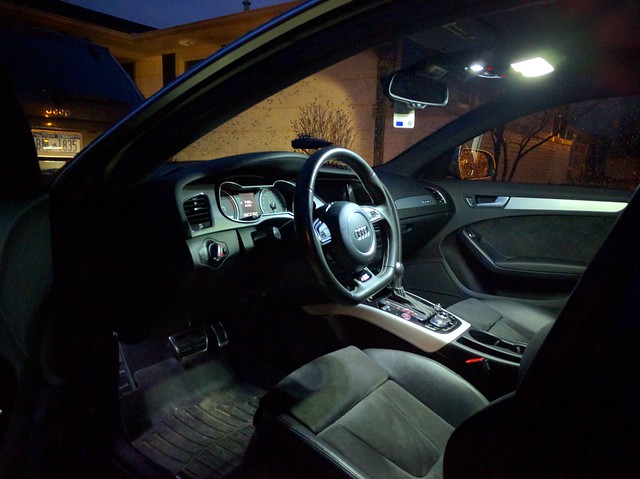
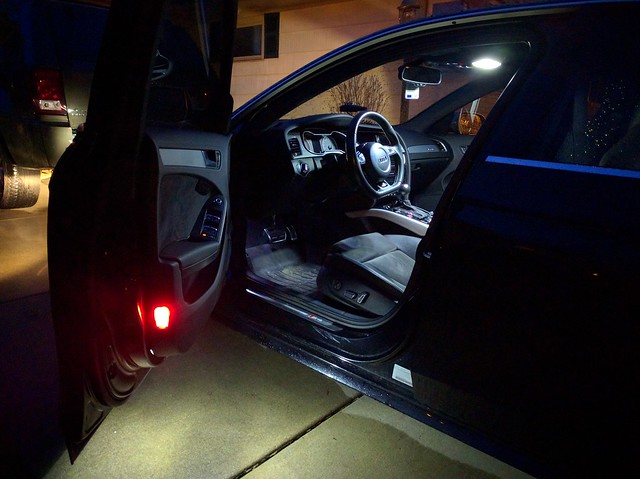
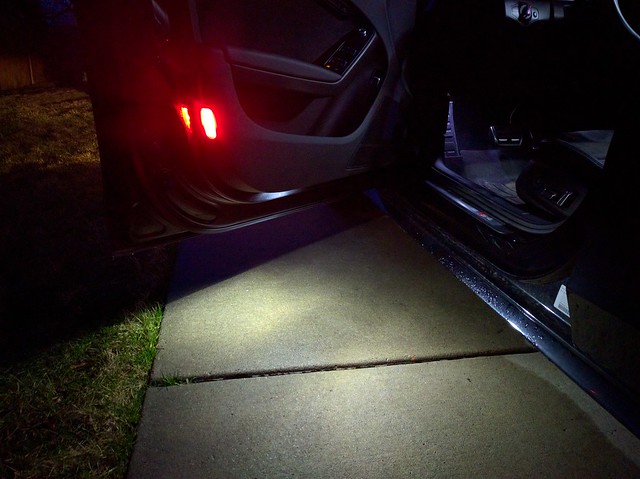
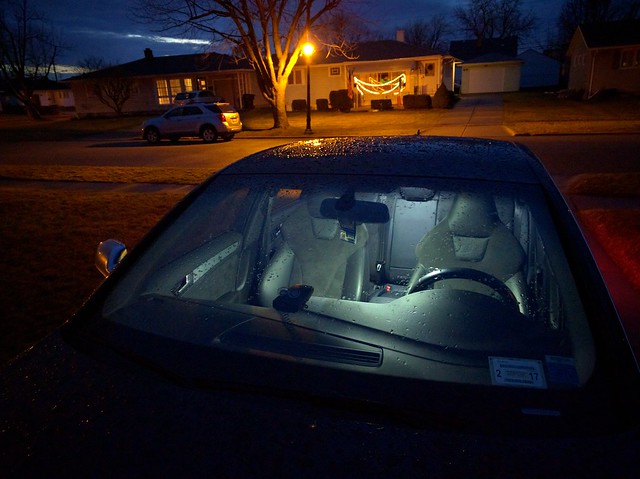
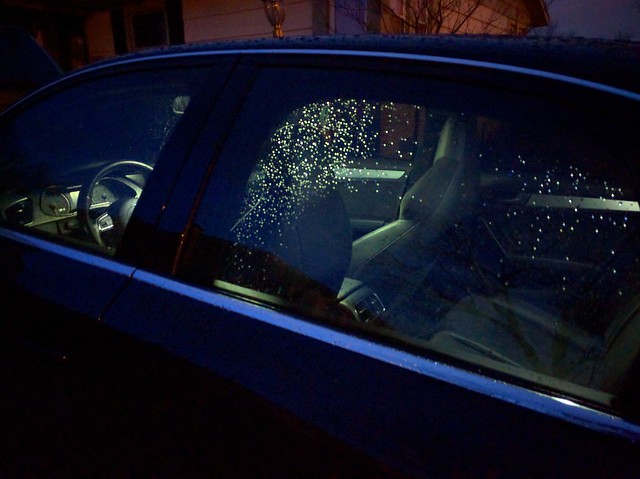
I have installed several LED light kits before and I will say this is definitely a good quality LED kit at a reasonable price compared to some of the more expensive ones ($100+), all bulbs also come separated and labelled for convenience and ease of installation. The LED light output is exactly what I was looking for, they fade out just like OEM, no error codes (well except one see the end of the review/DIY), and the install process is very easy to complete as listed below.
This is an easy DIY, honestly a 1 out of 10 on difficulty to complete, took me maybe 30-45 minutes having no experience changing bulbs on an Audi and taking pictures all along the way.
Tools used:
T20 Torx bit and screwdriver
Soft pry tools
*Ross-tech cable-To check for errors
*Sunglasses-Because RaceCAR!!
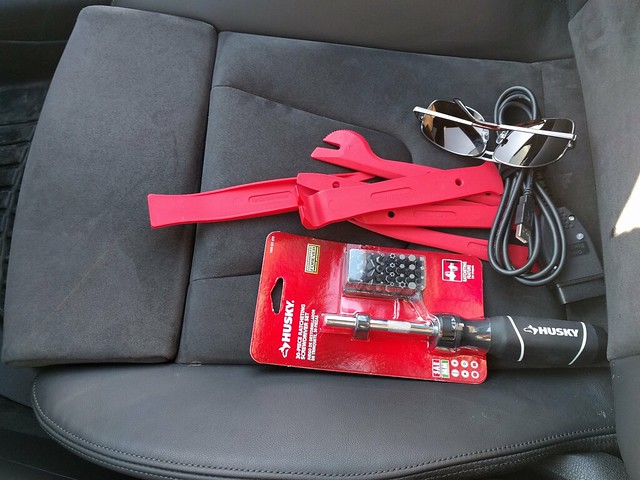
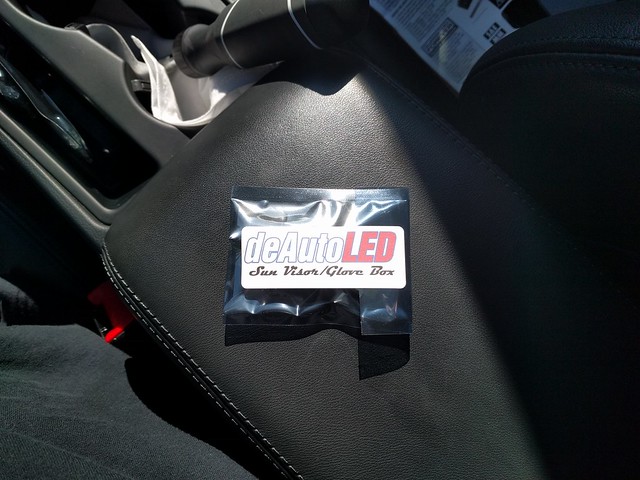
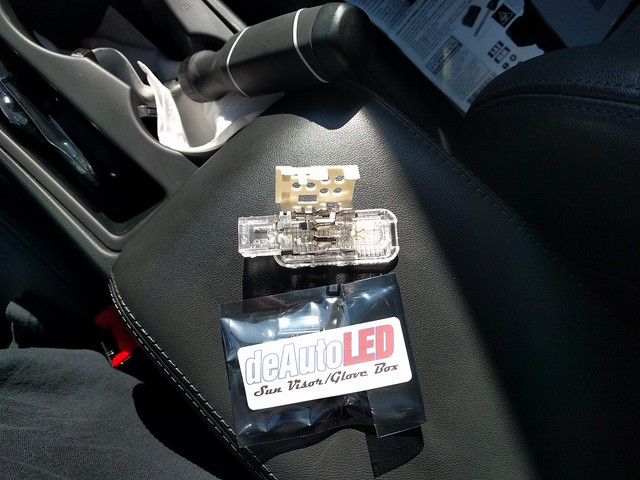
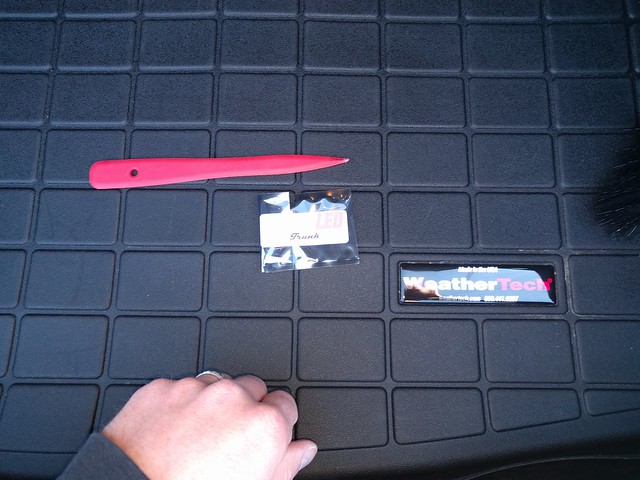
DeAuto LED kit:


1st step (Your order may differ)
ē Locate the T20 torx screw inside the sunglasses holder which holds the entire light assembly up


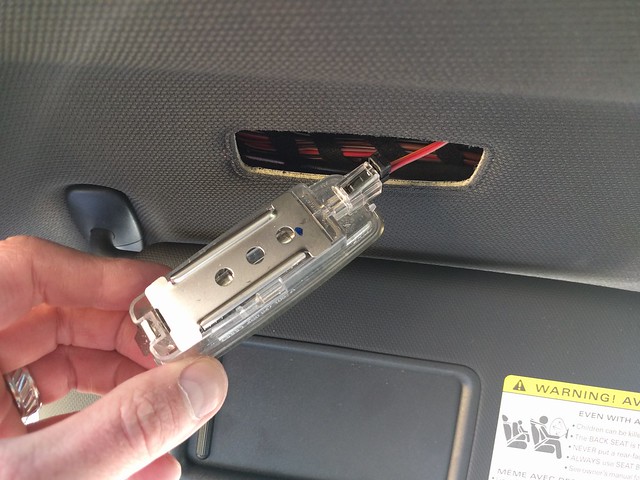
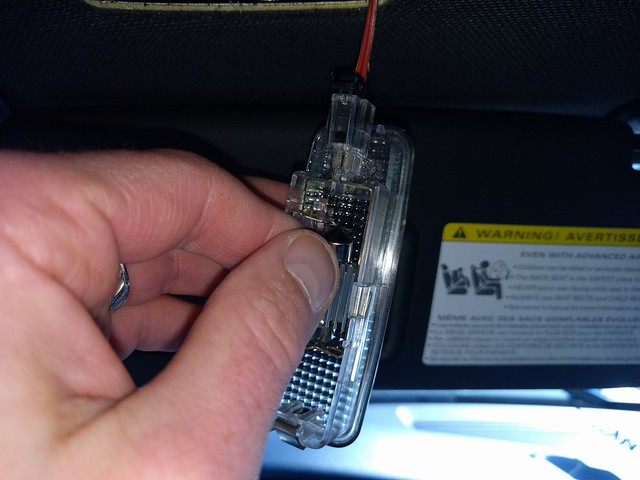
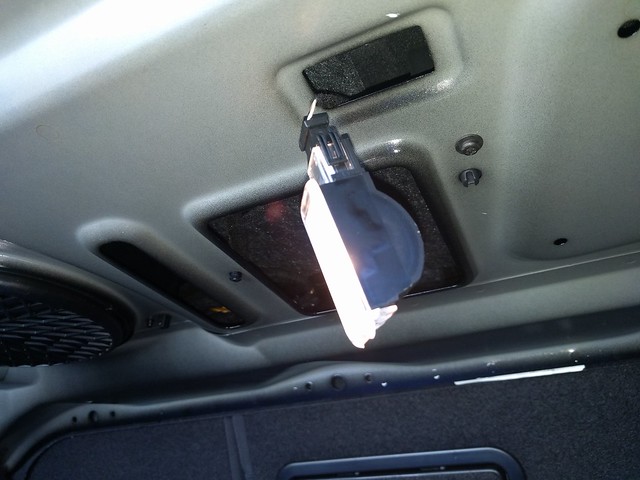
After removing the screw, you just have to use a little force to pry down the assembly from the end closest to the front of the car. This will release the assembly which will now just hang down by the wiring harnesses. (Be gentle)

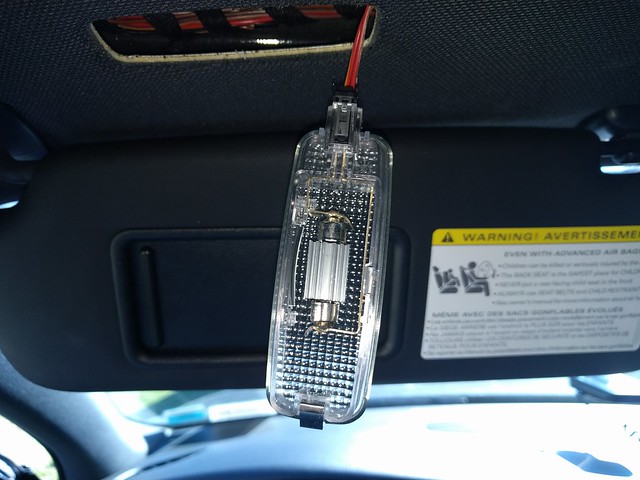
On the backside of the assembly you will see the 2 knobs that hold the Map light bulbs as well as the 2 dome light bulbs which have to be taken out from the front side (see pics below)

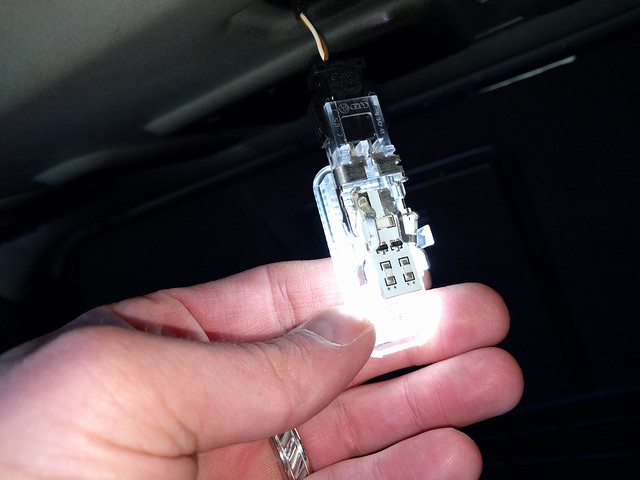
Just turn the knobs ľ turn to remove and pull the bulbs replacing with the LED bulbs. This is the only part in this kit where I had the polarity of the bulbs reversed so just make sure you check them by clicking the on/off buttons before moving on, if they donít light up you just flip the bulbs and they should be all good (make sure they have power as the car kills power to conserve the battery after sometime).

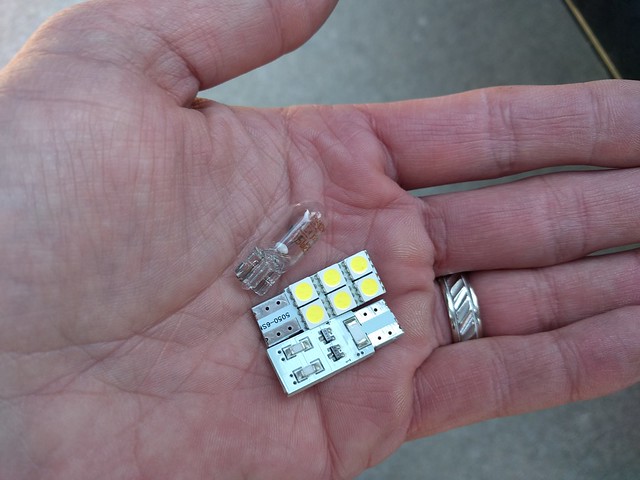
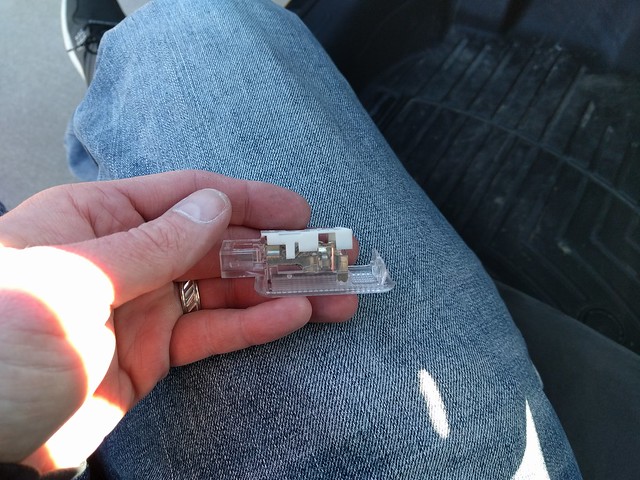
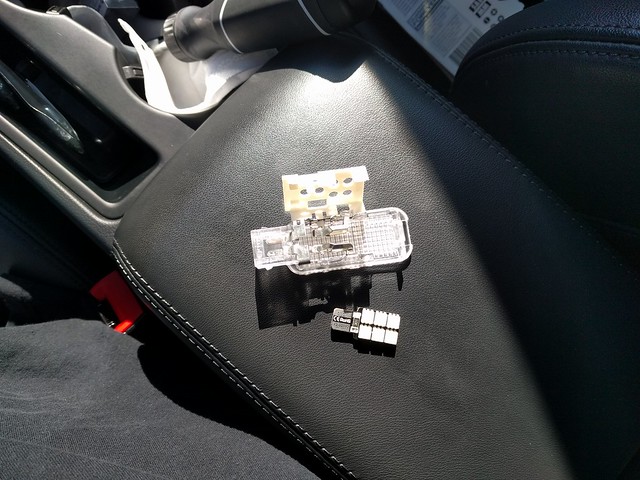
OEM bulb vs. LED bulb:


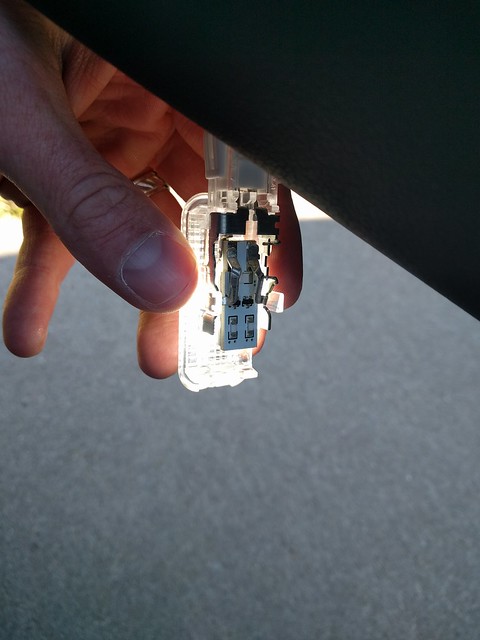
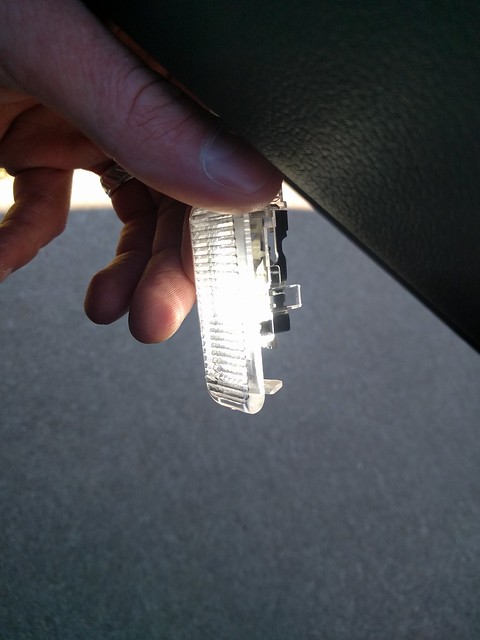
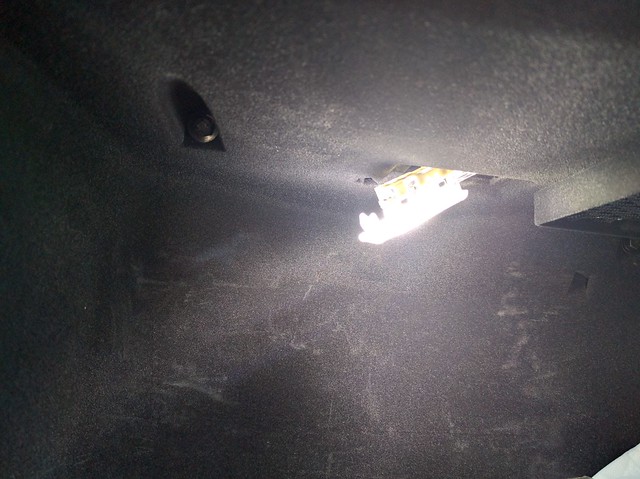
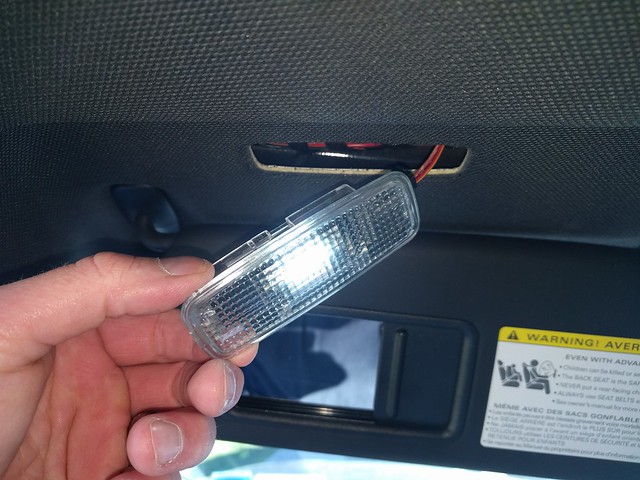
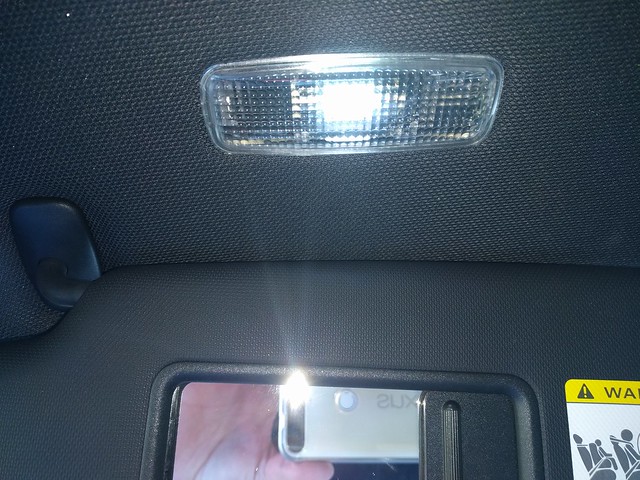
LED bulb inside holder:


After confirming the map lights work put the assembly back into place and re-screw in the T20 torx screw and move onto the dome lights.

At first I thought I could tackle the dome lights from behind using the Audi lug bolt cover pullers as tweezers but they wouldnít budge and for good reason as youíll see from the front pictures.

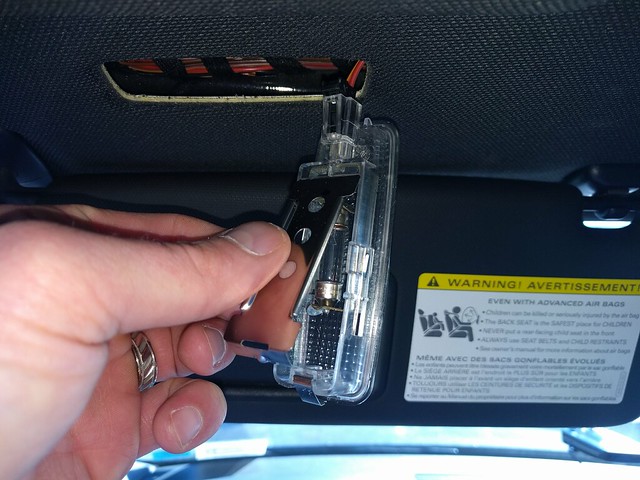
FAIL LOL: Pic of the pullers, this will not work due to the notches that hold the bulbs in place, see front side pics.

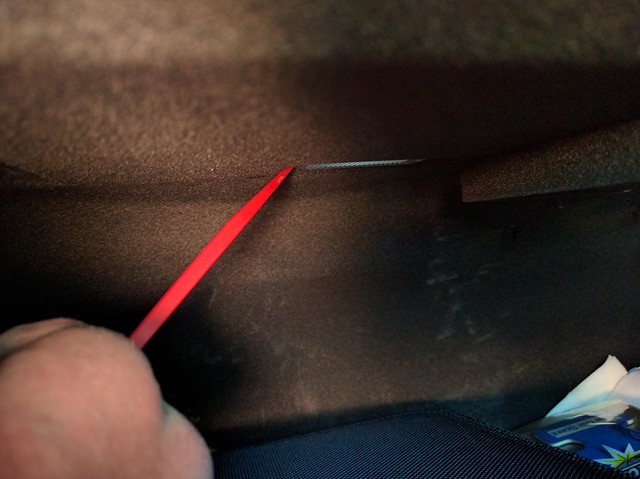
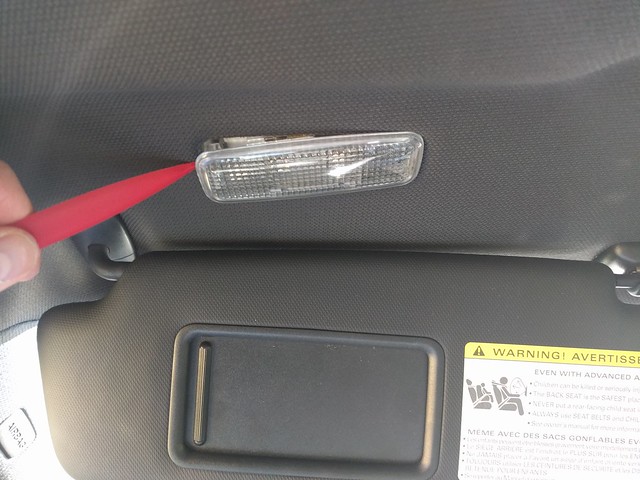
So to tackle the front side of the assembly to get at the dome lights I just used the pry tool and gently pried out the cover

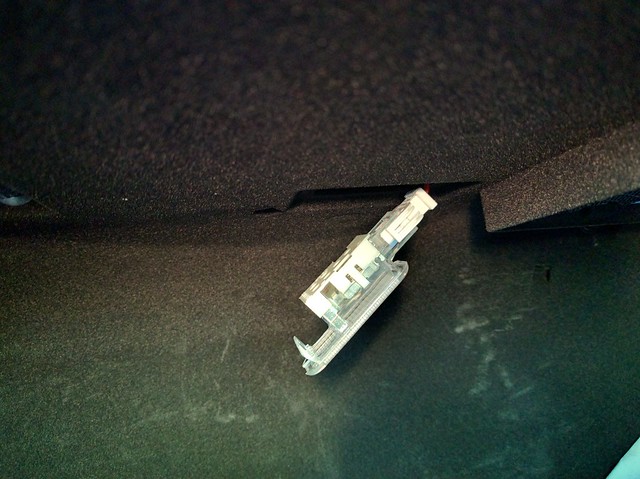
Cover removed. I just used pried both terminals apart with my fingers and let the OEM bulb drop out since it was too difficult to pull them out with my fingers.

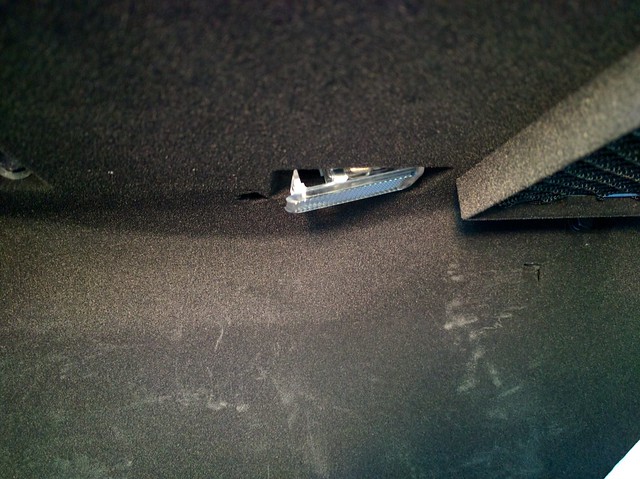
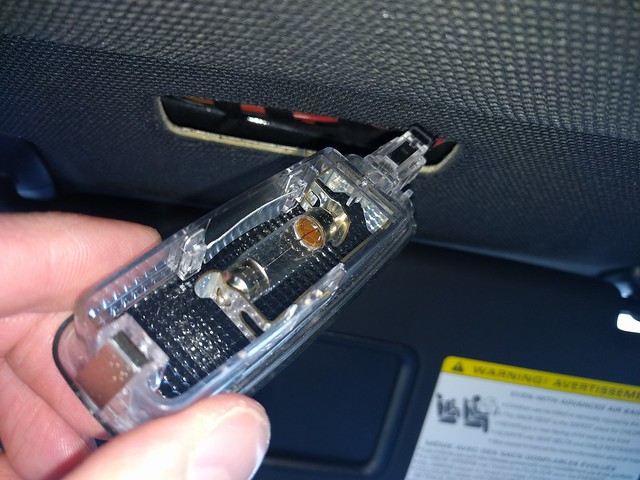
This is a pic with a bulb removed, here you can see the notches that hold the ends of the bulbs in place, preventing you from pulling them out from the backside.

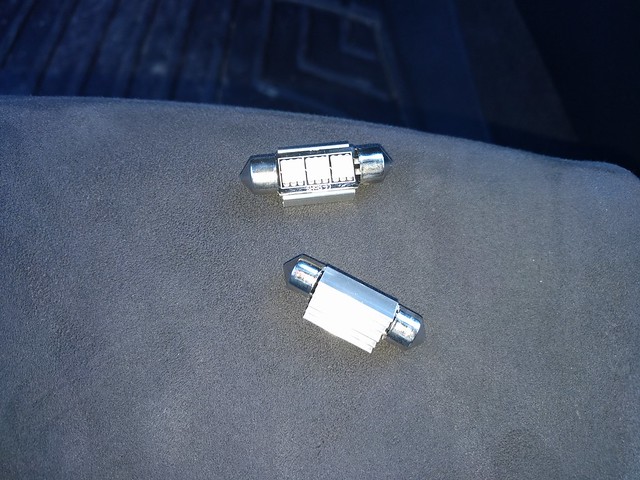
Dome light LEDs Front and Back view:

To install the LEDs I just started an end of the bulb in the notch and popped the other side up/in with a little pressure. These bulbs are one sided so just make sure to straighten the bulbs out so the 3 LED smd's are centered and pointing straight down. Make sure to test them out before reinstalling the cover and flip the LEDs if they do not light up.

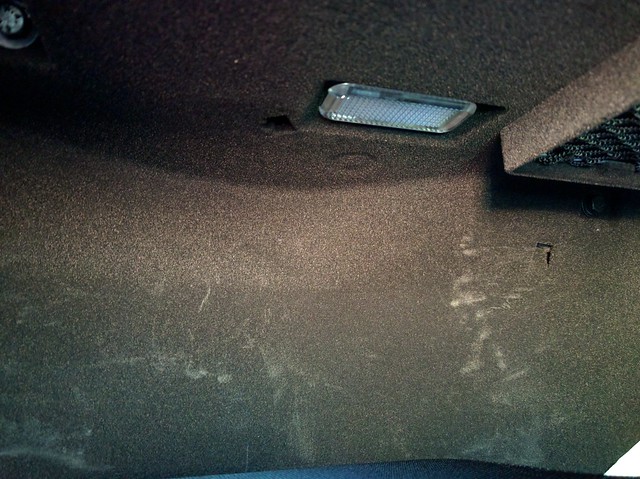
Next I moved onto the rear map lights. I used the pry tool to gently pop out the cover to the light assembly.


Trying to get these bulbs out was a little difficult and having a good set of tweezers would be helpful but not necessary. It just takes some extra effort to ďwiggle outĒ the bulbs.

When inserting the LEDs after removing the OEM bulbs just make sure not to push the new bulbs in all the way until youíve confirmed they are the correct polarity by testing them out with the on/off button. Then just pop the cover back on and youíre done.

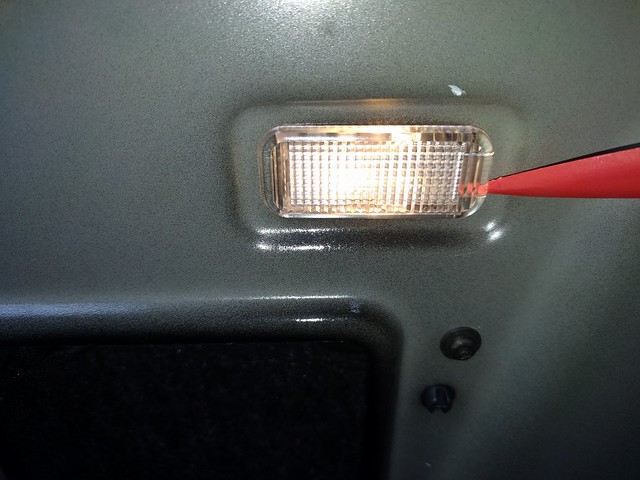
Next I moved on to the puddle lights.

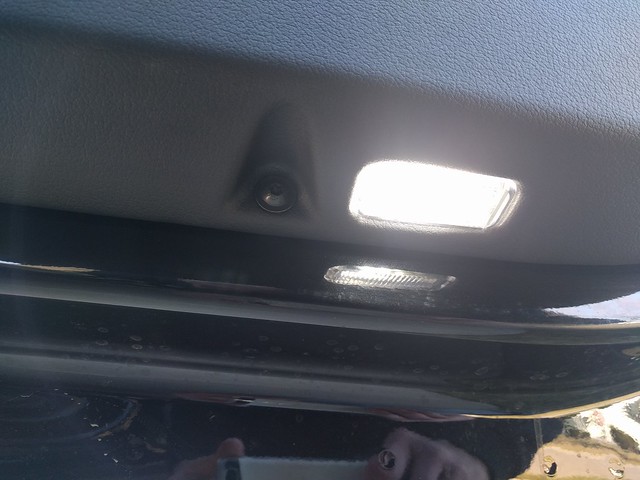
I started on the front driver side door. Again I took the pry tool and starting on the side facing the front of the car (if you look real close you can see a small notch where to pry, as is the same with all of the pry out assembly's) I gently pried out the assembly as seen below.

The black plastic back piece also needs be pried out gently to access the bulb.

I also used the pry tool on the backside of the OEM bulb to pop it out since it was too tight to get my fingers in.


 Reply With Quote
 )
)




 B8.5 Estoril Blue S4 | P+ | DSG | SD | ADS | B&O | CF | Nappa | Advance Key | CF Badges


Bookmarks