My drivers' side pinch bolt was frozen (The head was turning when I put a breaker to it, but the threaded end protruding the other side of the spindle wasn't...Fucking thing was seized in there hard) so I recently scheduled an appointment for the local Audi dealership to unseize it. I usually don't go to shops because of bad experiences and I was reminded again. I was under time restraints and didn't feel like doing the work this time. Spoke to the service manager and was told they had the special vag tool when I asked - first it was not, then it was a yes...they lie. Their twenty old techs with no talent couldn't get the bolt out. I was told by the service rep that it would be $950 to get the bolt out past the original attempt that had already cost $140 WTF???....and to add insult to injury that 950 was if everything went alright...meaning that I didn't have to get new control arms or any other part that might be damaged beyond the $950 "everything alright" job. I stopped him there and didn't need to hear more of his bullshitt. They basically repeated what I had told them and I payed them to do it. The head of the bolt turns but the opposite end doesn't....fucking tell me something I don't fucking know dipshitt. Not only does the Audi dealership make money off their exorbitant service and parts prices, but they also do off their technicians' ineptitude...majority of them I've seen are all skinny ass kids outta tech school.
I stated to the service manager rather than a question, would he pay $950 to drill out a pinch bolt and left $140 short. Fuck your car wash, gutless assholes.
Let's get to it. I read something like this on a Volkswagen forum and put my own spin on it. As always there's different ways to skin a cat, but pay attention to the key point and you should be good.
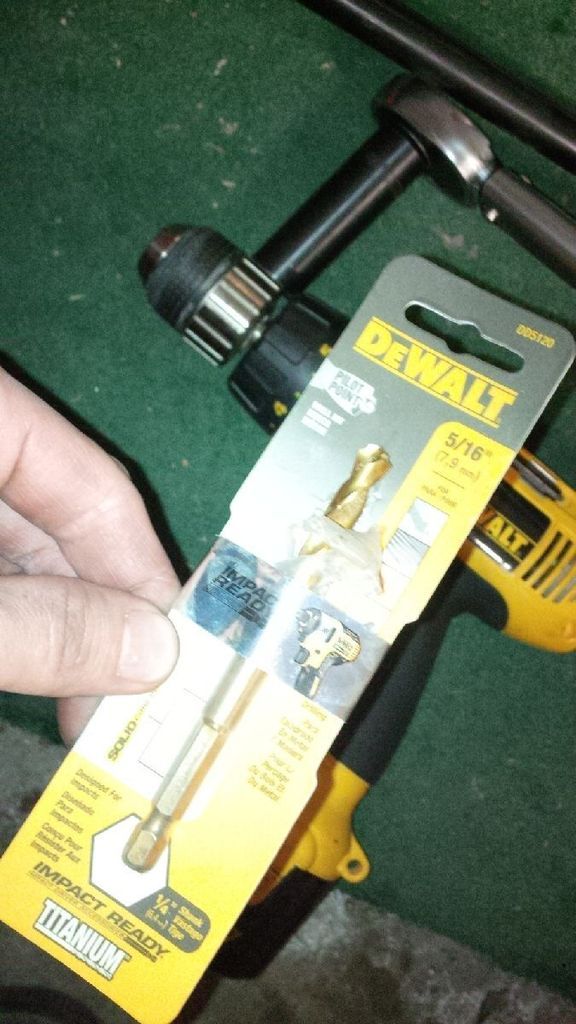
You're gonna to need a your basic wrenches, hack saw, hammer and some hardware from your local hardware store. Nothing out of the ordinary, no torch, impact hammer or wrench or anything like that. May help to have some PB blaster...to be honest I don't know if it helps as much as everyone swears. Not on this pinch bolt anyway. You MAY need a drill and a titanium drill bit 5/16", more on that. You will have to get another pinch bolt and nut from Audi. They are difficult to find, but you may get something similar. The pinch bolt and nut are galvanized steel and I couldn't find the 4.5" (I believe) pinch bolt from Lowe's. So it was an extra $9 I payed to the fuckn dealership. Albeit, they're a bit better quality.
You'll get the hint what to do just by looking at the pictures I provided. The hardest part is hacking the ends of the bolt(threaded side) as you pull it out so you can make room for the bolt to be removed for the next set of turns. Everything is self explanatory so it should make sense - its that easy.
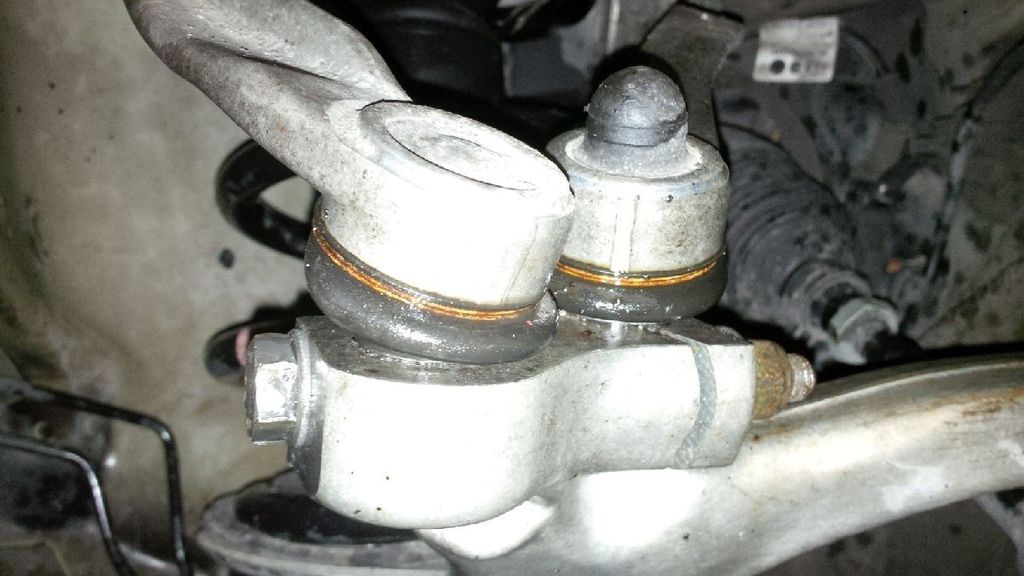
Go ahead and release your anger young jedi. Break the head off the pinch bolt. Most likely it will break at the same point as mine; the seizing happens between the control arms. At this point I am going to undo the nut and place a slightly larger nut with a larger inner diameter underneath. I forget which, but just make sure it's larger than 3/8". Then I re-threaded the original proper nut and started torquing - it should start to pull at this point. If it starts to strip then this is where you're going to have to attack a different strategy and start drilling - more difficult because you have to keep the bit straight without much of a visual and prevent from drilling into the spindle.
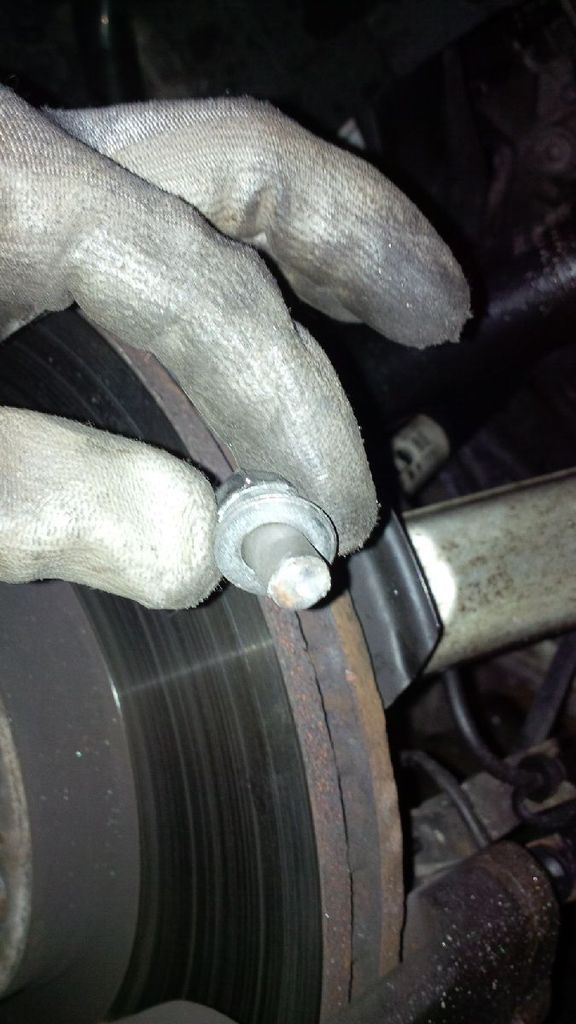
BE MINDFUL OF HOW MUCH YOU pull out each time. This is the IMPORTANT part of the process. Remember, you need to keep just enough room between the spindle and the bolt to allow for the nut to be un-threaded after each set of torquing. There will be a total of THREE times necessary to finish this process. The way the spindle is formed towards the tie-rod will limit the length you can pull out the bolt and remove nut each time. So don't fuck yourself over here were you can't remove the nut off the bolt end! You'll notice in the picture below that I've lightly hammered a few washers in the pinch gap for support. This is necessary to prevent the pinch from breaking. The picture also is a little out of sequence and shows the "spacer" nut that I am using and the end of the bolt has already been initially sawed off. Also, notice where the tech tried to hammer the spindle. Those weren't there before...professional work!

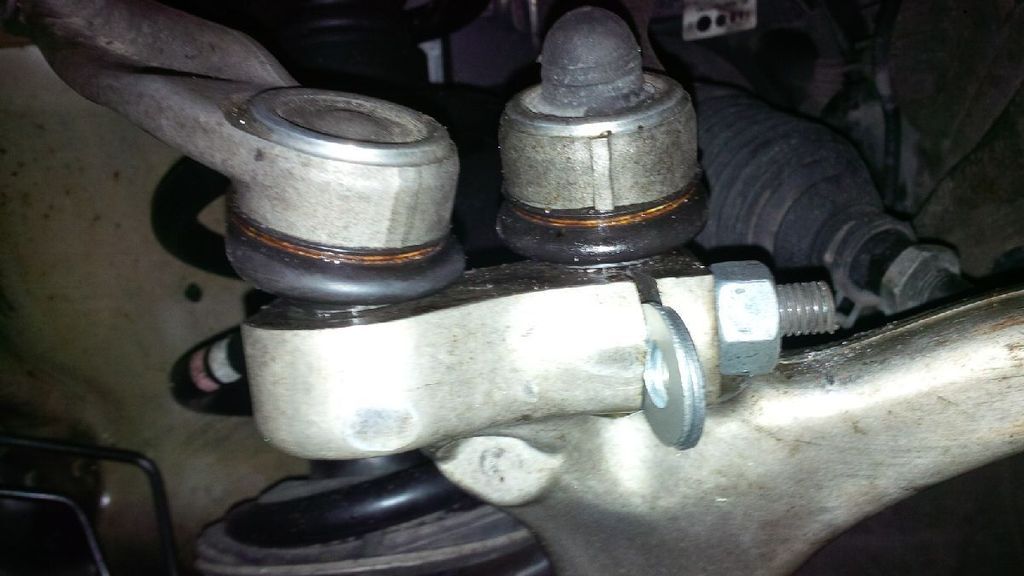
Here's a shot where I saw. You want a happy middle ground that will allow an adequate amount of thread for the torquing nut and room that'll allow you to remove the nut for the next saw down.
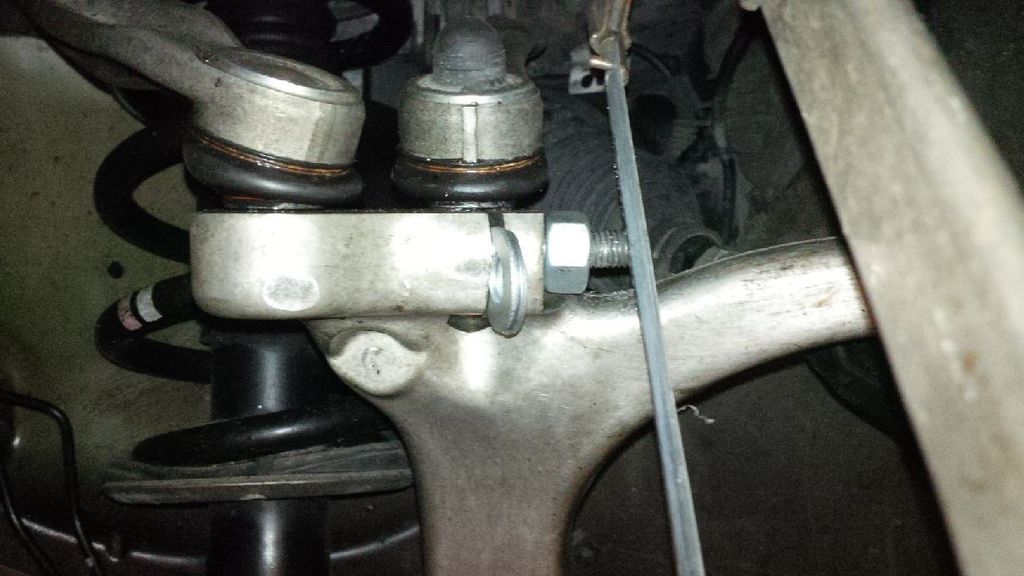
It will help to have measure your progress and if in fact that you are moving the bolt.
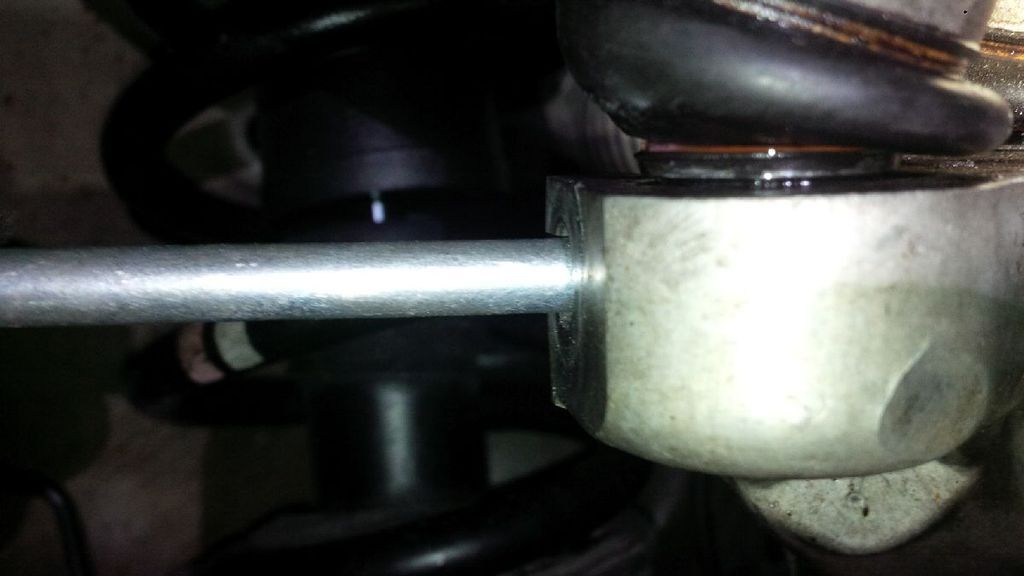
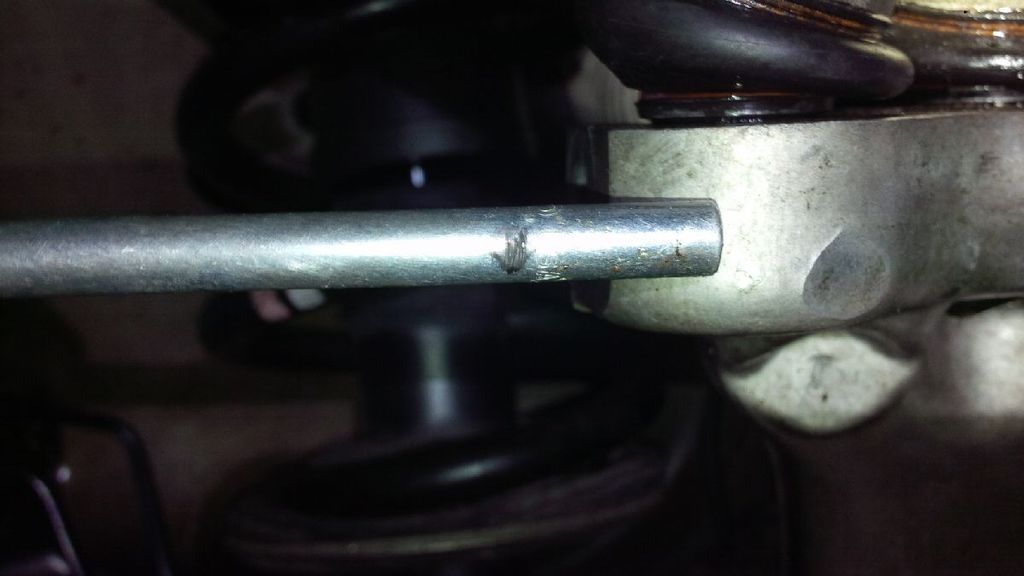
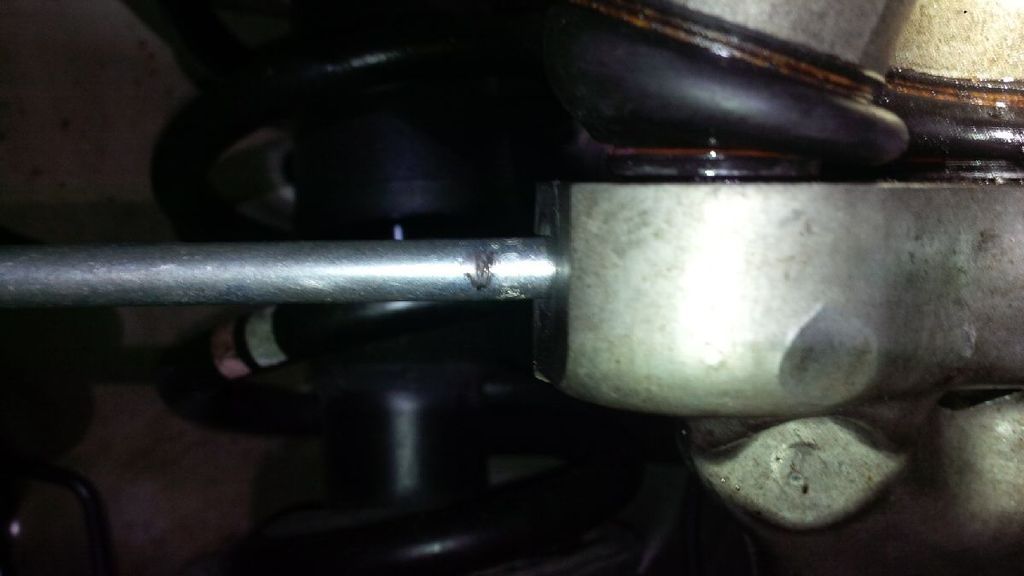
A point will come where the pinch bolt shaft that you are trying to remove will just start spinning along with your torquing and spacer nut. THIS IS A GOOD THING. At that point you will be able to tap the other end with another 3/8" bolt (or a punch or similar) and hammer out as far as possible. Don't worry there's more.
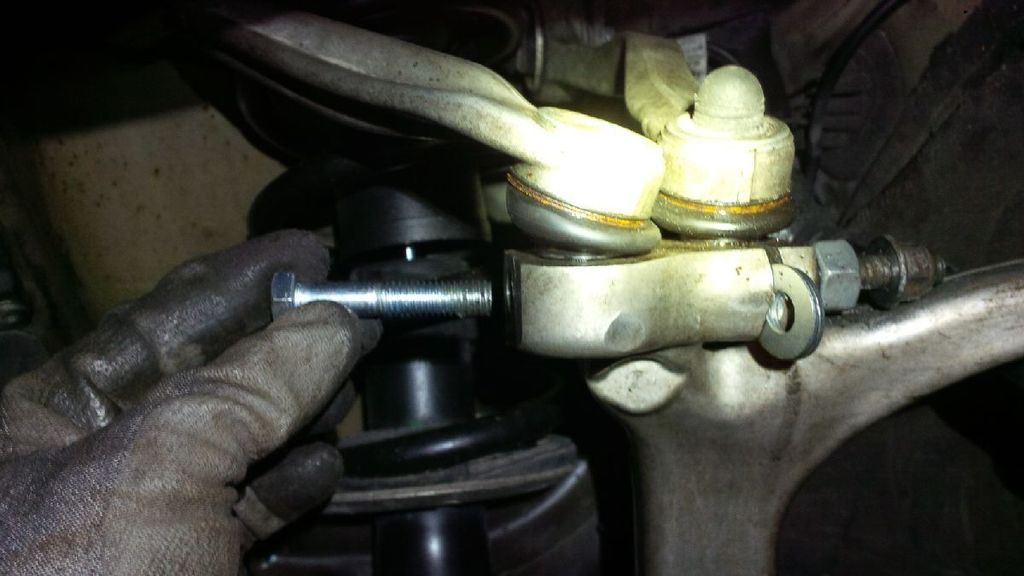
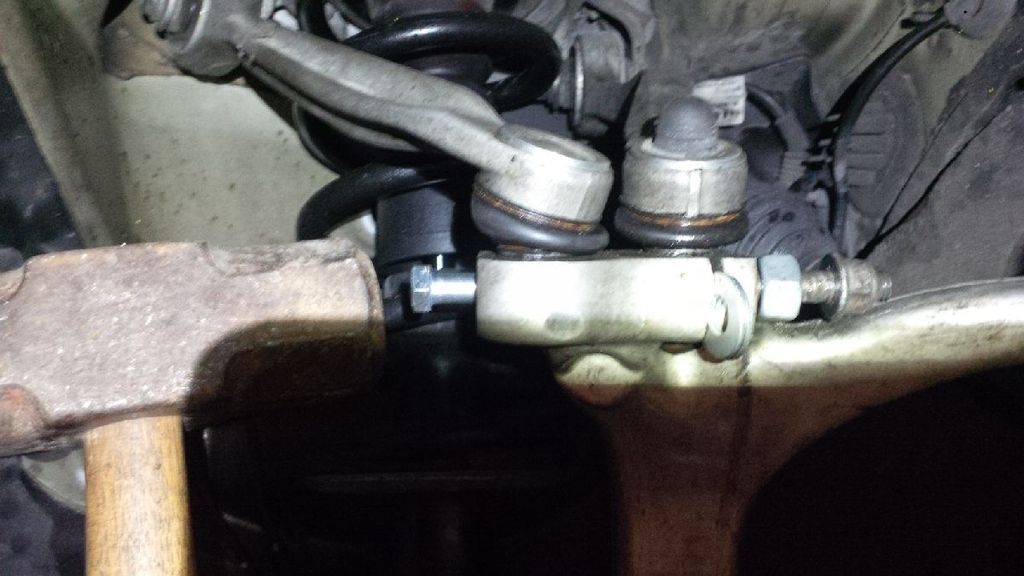
This is where you'll be making your third and final saw cut. You DON'T want to make it at the point where you'll be cutting into your spindle.
Not here, but....
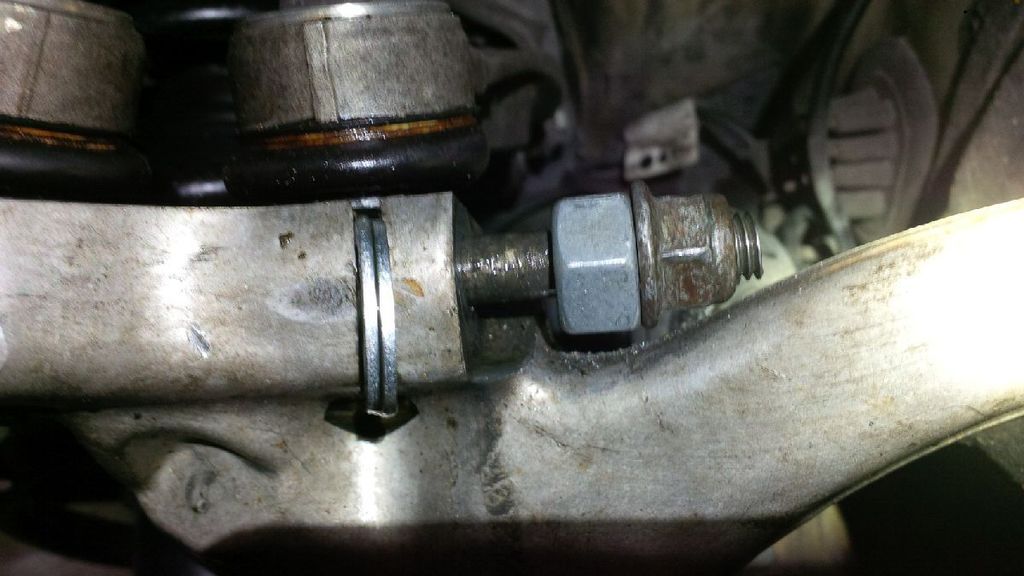
...here
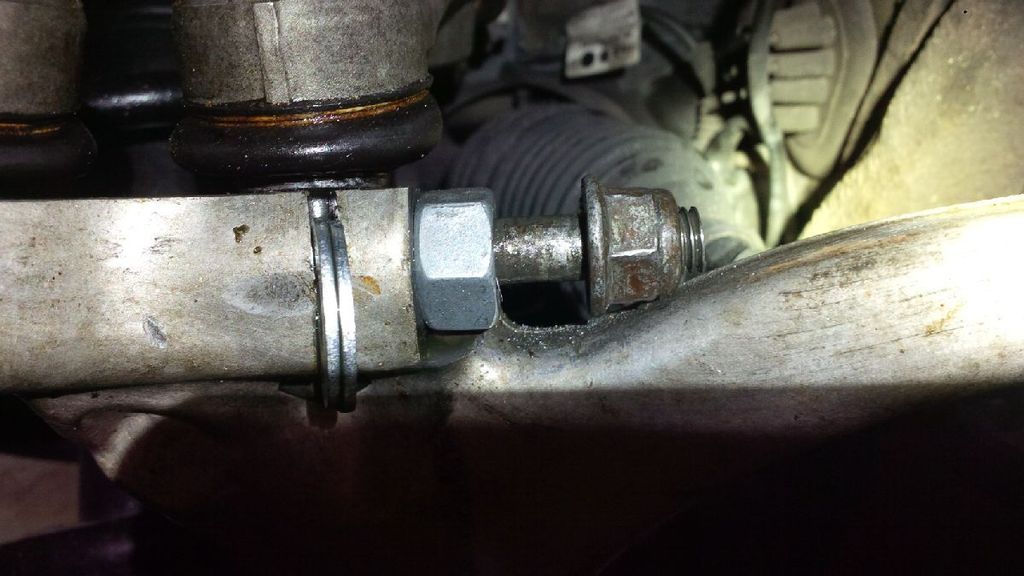
And you can be impatient and stop sawing three quarters of the way and just hammer the end off and pull with fingers


Here are the sections of the pinch bolt removed against a new one from Audi. It's a 3/8" galvanized steel and I believe it's 4.5", definitely not 5". Notice the size of the cuts on the threaded end and how many times.
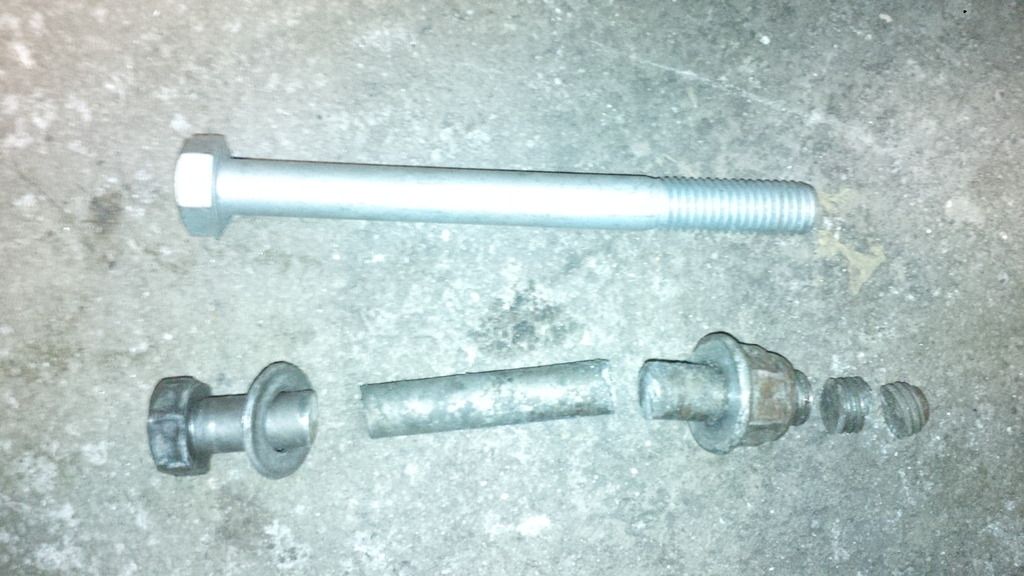
If all else fails you may need these. If you've followed the procedure above it should still be easier since partials of the bolt have been removed.
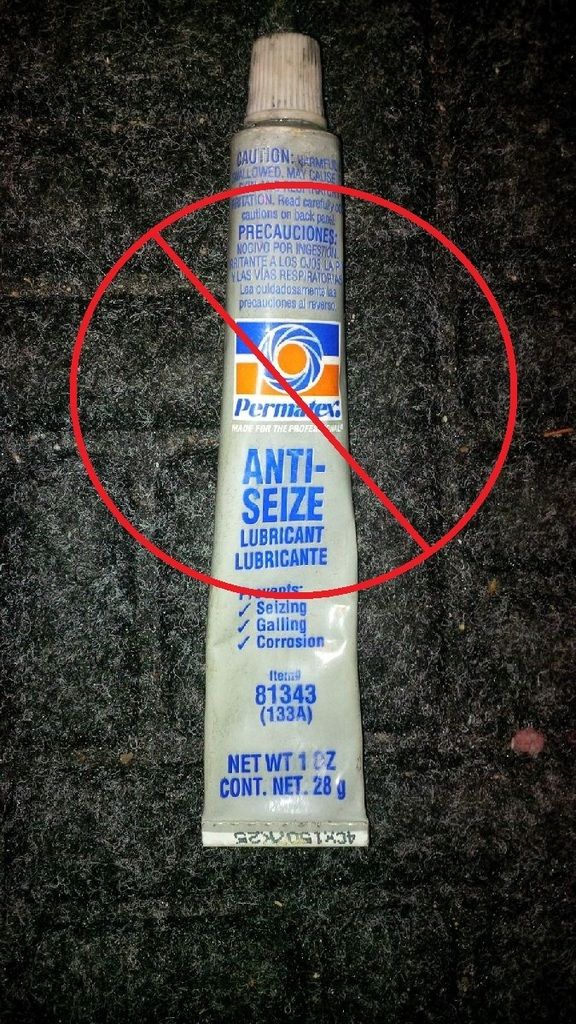
DO NOT USE ANTI-SEIZE! It was just last winter when the pinch bolt was removed without problem and I had thought that road salt and winter weather had every part in seizing this thing. Here's a revelation, I had used a good amount of anti-seize to prevent the very thing that I had unknowingly caused. There was no corrosion what-so-ever. The anti-seize over a year had become the equivalent of lock-tite in between the spindle and the pinch bolt surfaces! It was so solid that even a breaker bar and impact wrench couldn't get it to turn loose. It had lost all of it's aqueous or viscous properties and became a chalky lock-tite! This stuff has its evil side and I always had a feeling about this when my impact wrenches had to labor so hard to get bolts that I knew for sure I used anti-seize on. This isn't an exaggeration about the characteristics of the stuff; at the most it should be used VERY lightly on just the threads. Just a wipe of the stuff, not even a tiny dollop do I recommend on any thread or bolt. If you know you are going to revisit the bolt sometime in the future and feel like you need it, use it extremely lightly. Anti-seize was the cause of all this; it has no place on a pinch bolt except extremely lightly on the tip of the thread so the nut can run over it. You'd be better off using a weatherproof, high-temp grease on the shank of the pinch bolt. If you swear by anti-seize than more power to ya.
Hope this helps someone out there and good luck wrenching!

Edit
After reading my post again I realize that some pinch bolts may break free sooner. Some may ask why I didn't just cut the extracting thread as it pulled as opposed to removing the nut every time. The answer is that you don't want to risk running out of thread. The pinch bolts only threaded a little over a quarter of the way. Hope this makes sense!


 Reply With Quote


Bookmarks