Difficulty: 3/10
Time required: 1-2hrs
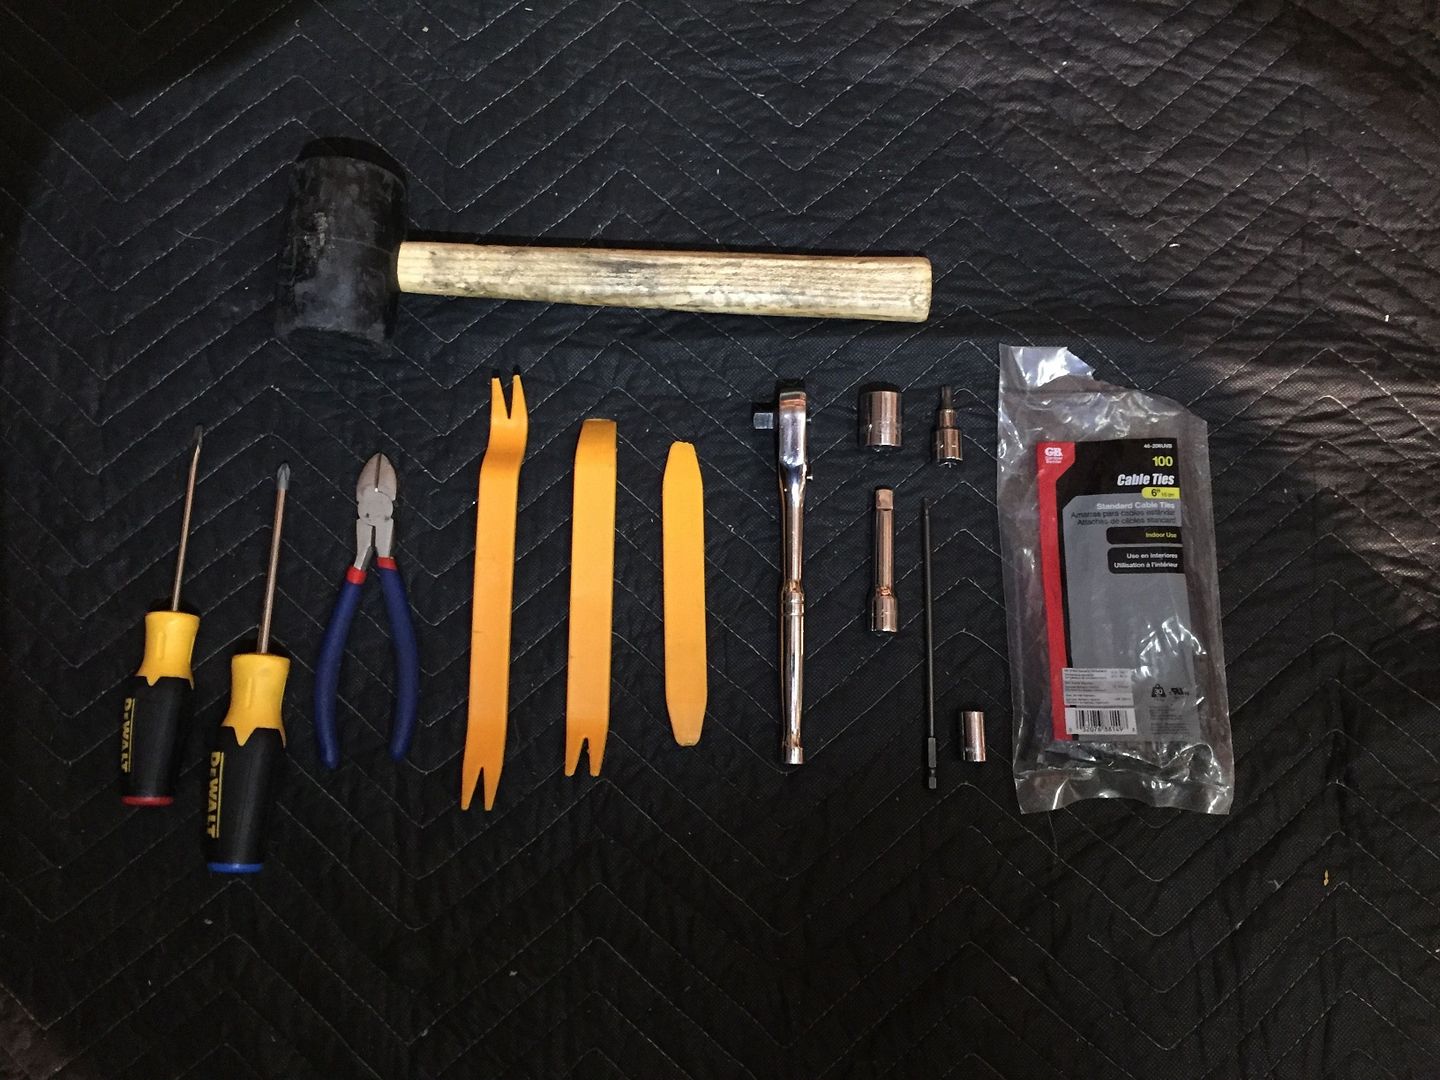
Tools needed:
Variation of Plastic pry tools (could probably do it with just a flat head screw driver but these are very helpful and wont scuff the plastic parts)
Flat head screw driver
Philips screw driver
Ratchet
Small extension
17mm socket
T-15 Torx bit
T-30 Torx bit
Wire Cutters or scissors
Rubber Mallet (not required but helpful)
Zip ties
Step 1: Remove your a4 seat from your car, follow this DIY if you need to.
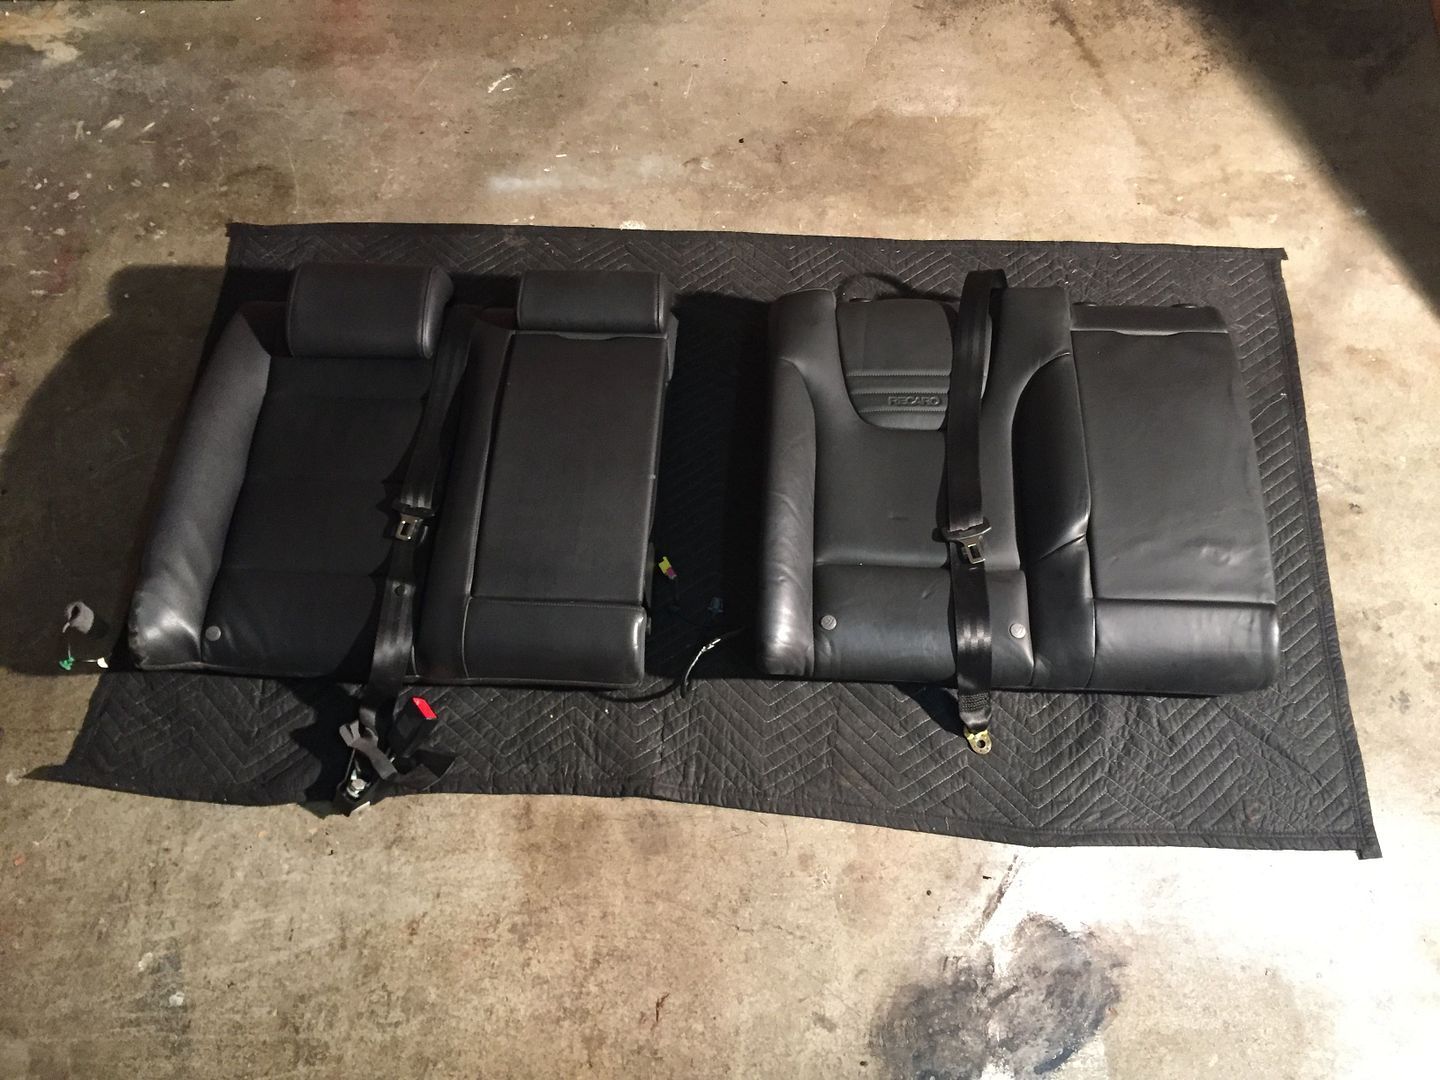
Step 2: I recommend starting with your A4 seat so that youíre familiar with the process before taking your nice recaro apart.
Remove the 3 plastic covers that hold the headrest in (indicated in red) along with the seat belt cover.
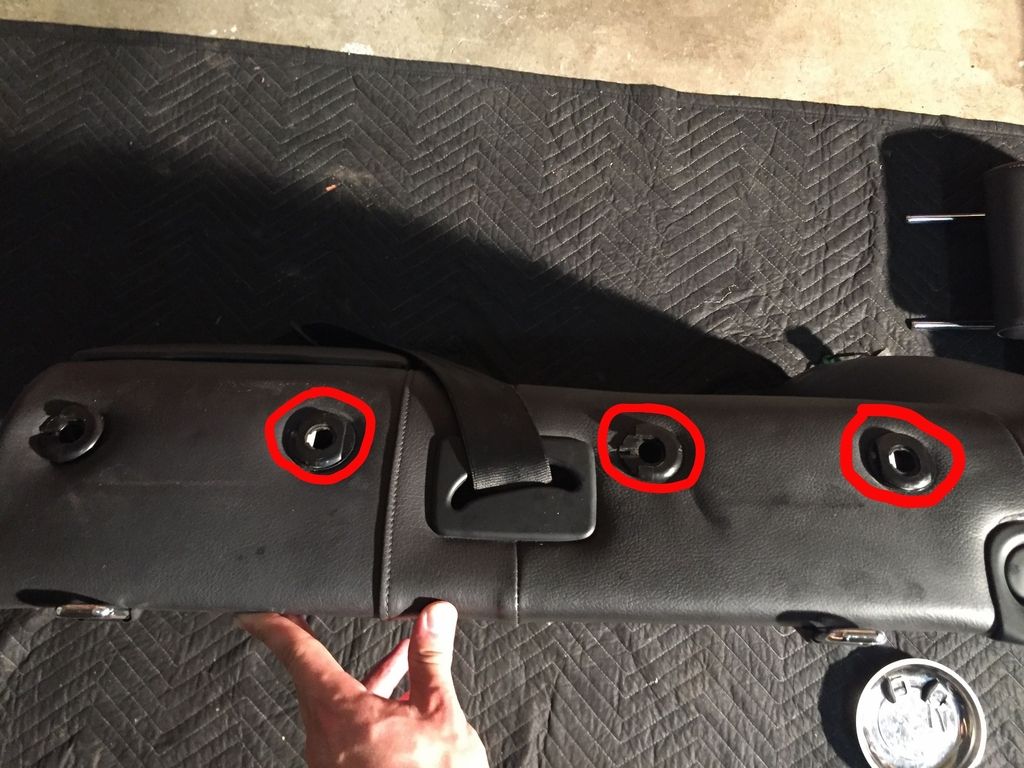
Use a plastic pry tool or screw driver and pry upward.
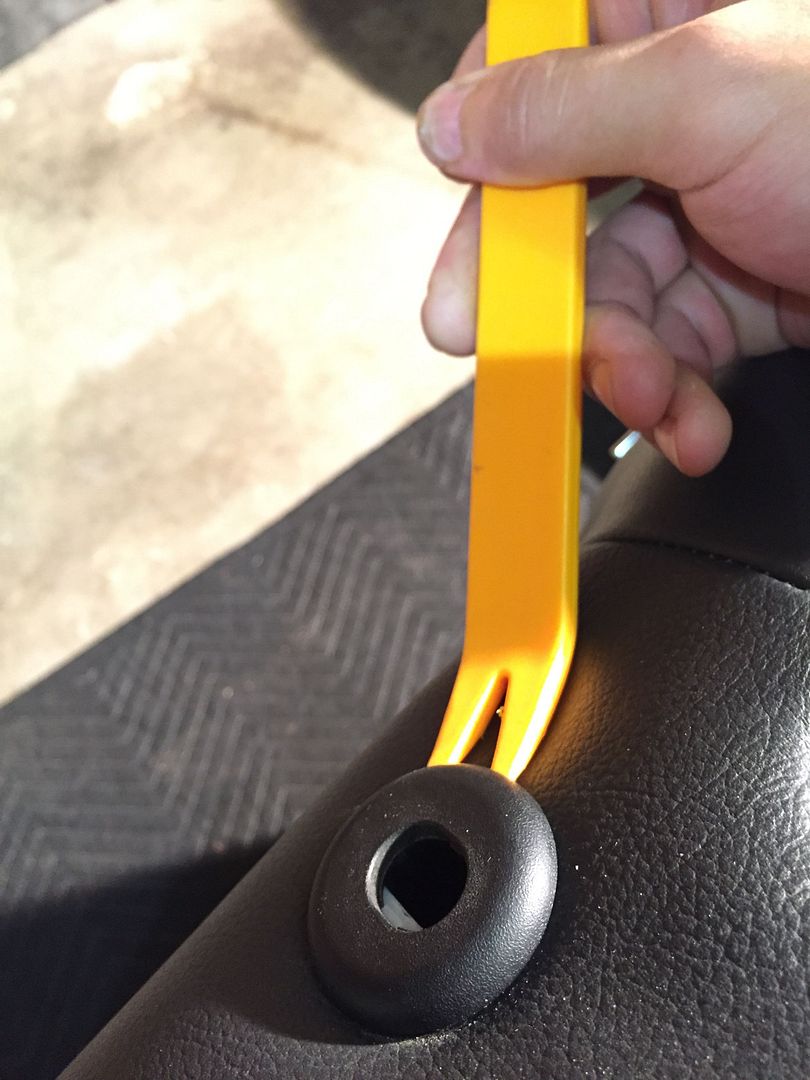
For the seat belt cover I found its easiest if you pull the front up with your fingers and sticking your pry tool inside to maneuver it underneath the clip. Be patient with this one, it can be really stubborn sometimes.
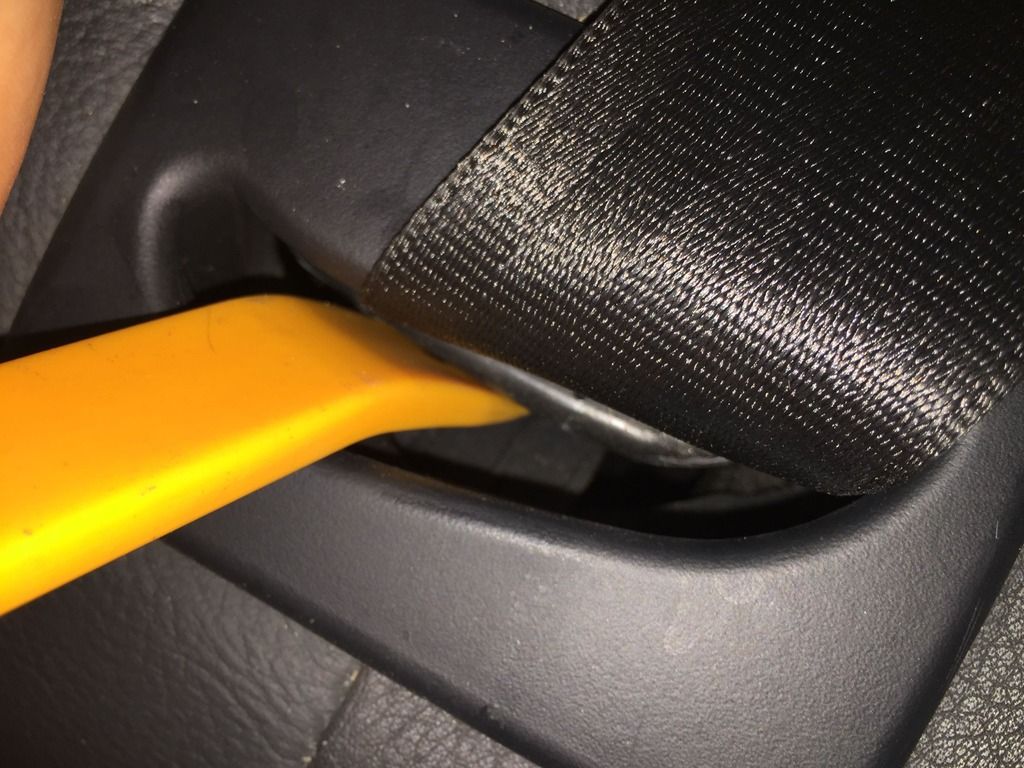
Once youíve got it out slide the seatbelt through and put it aside.
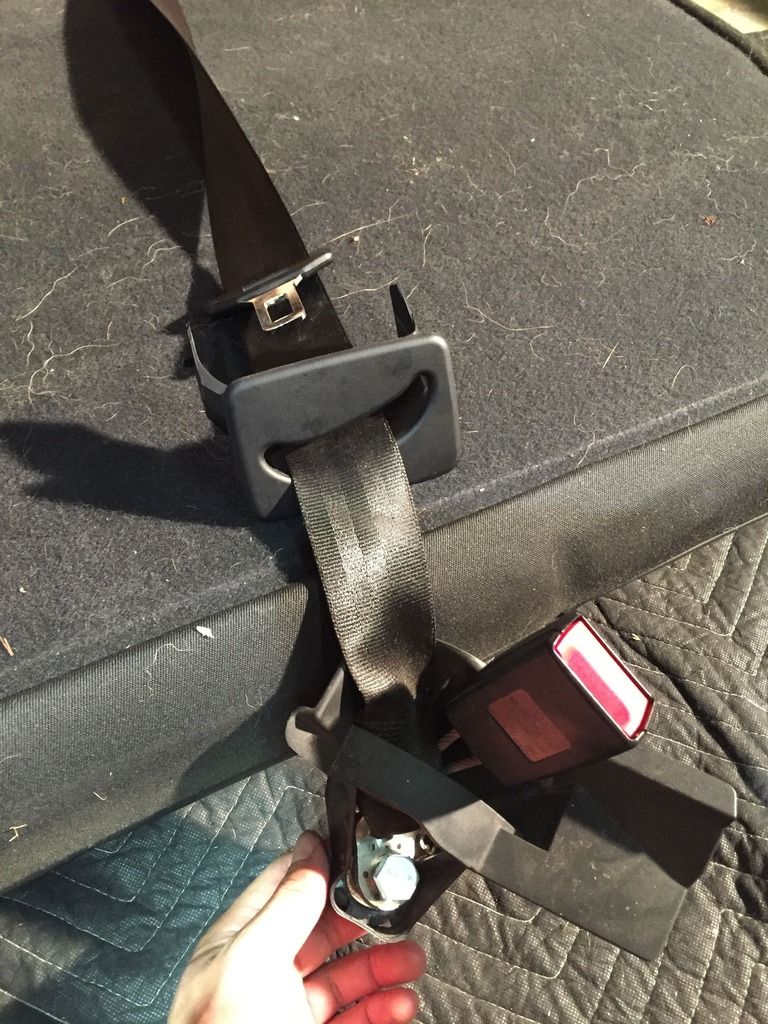
Step 3: Unscrew the 4 T-30 torx screws and remove the metal hooks (I believe this only applies to Avants not sedans)
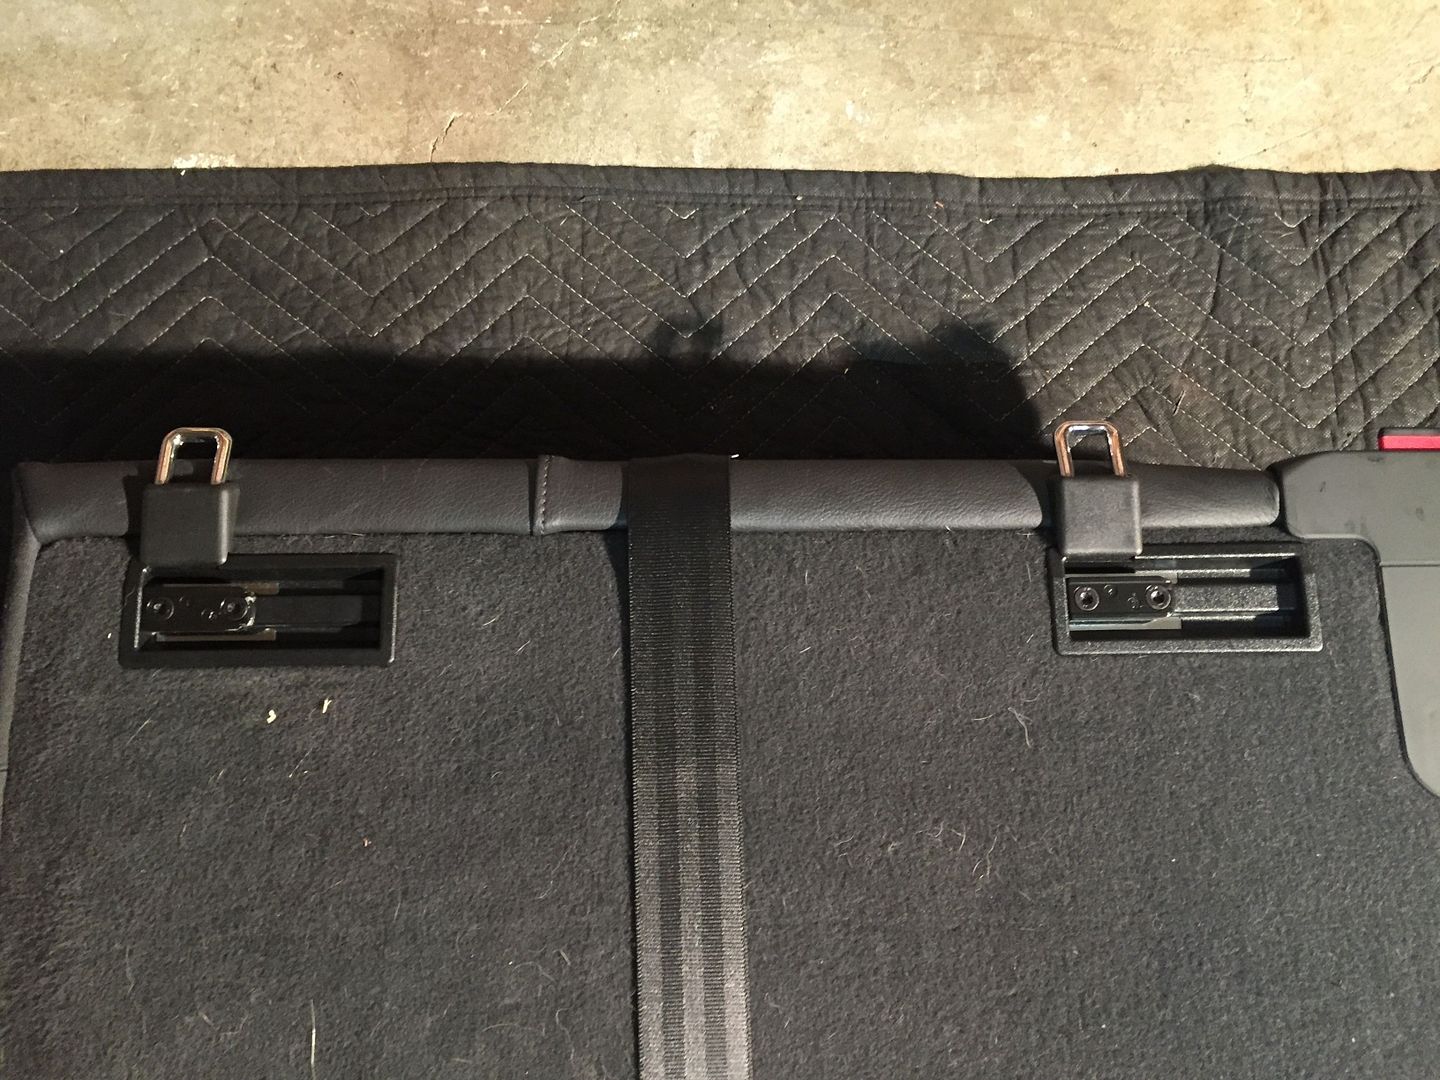
Step 4: Remove the release handle. Thereís a T-15 torx screw on the top and a Philips screw on the inside.
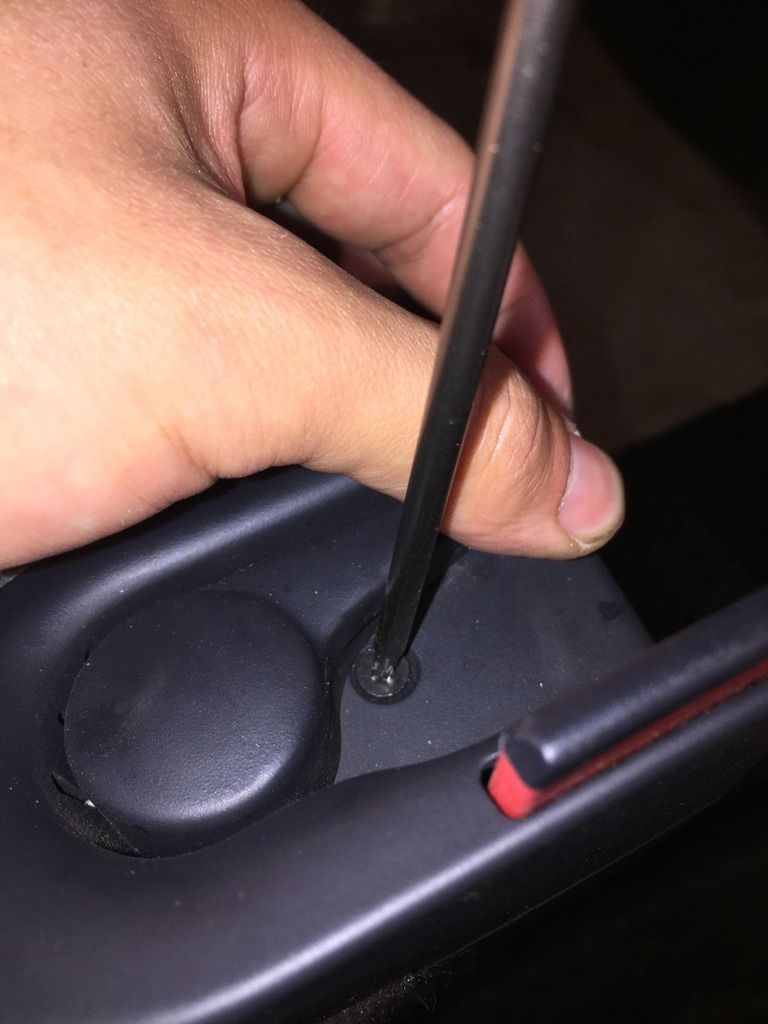
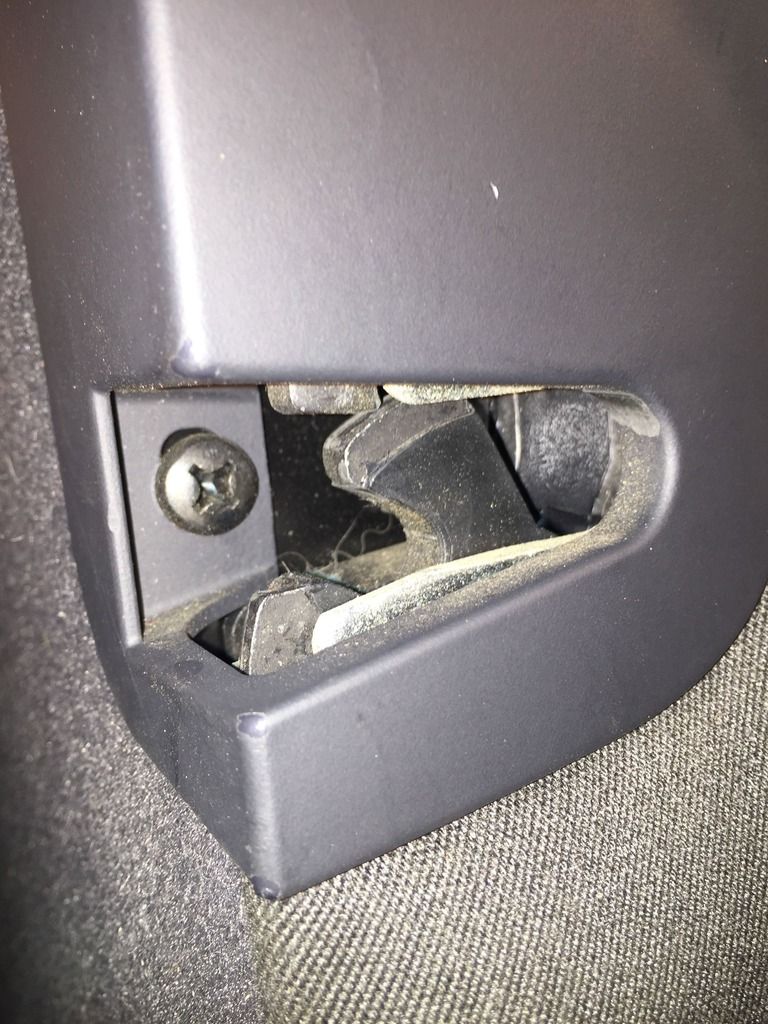
Once the 2 screws are removed lift up
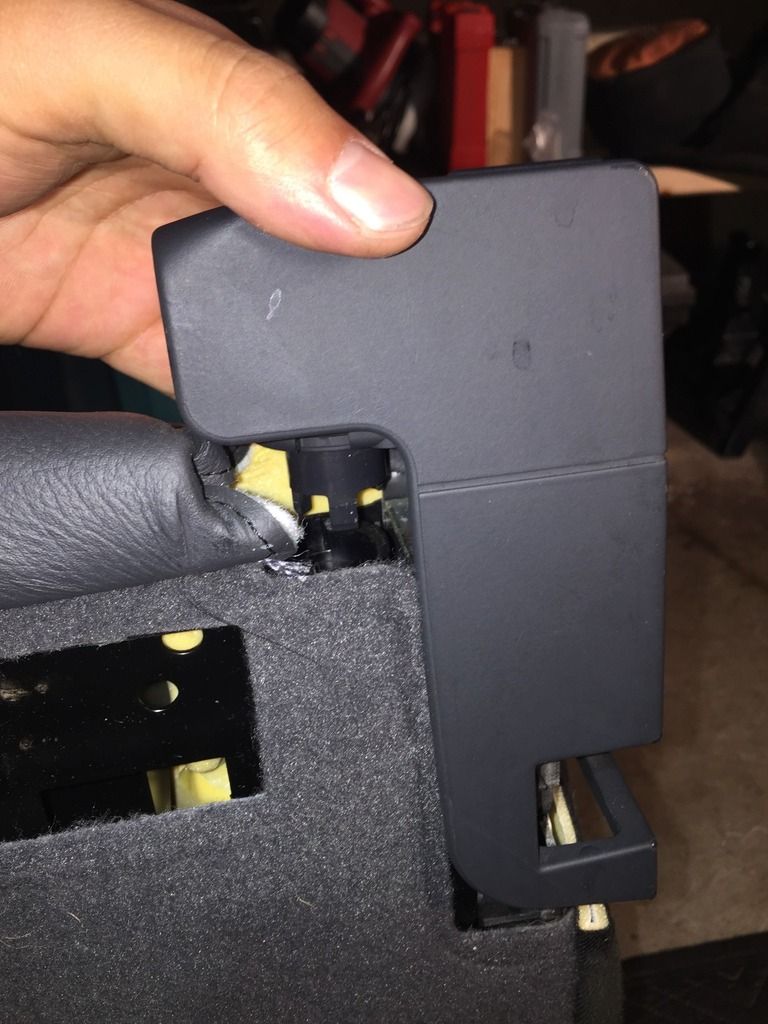
Step 5: We will know start removing the upholstery, this can be a bit scary but itís actually very durable so donít be shy with using a bit of muscle. Start off by pulling the two clips out from the release handle.
The top one is the hardest, but wedge your pry tool in there and use a screw driver to pull it out.
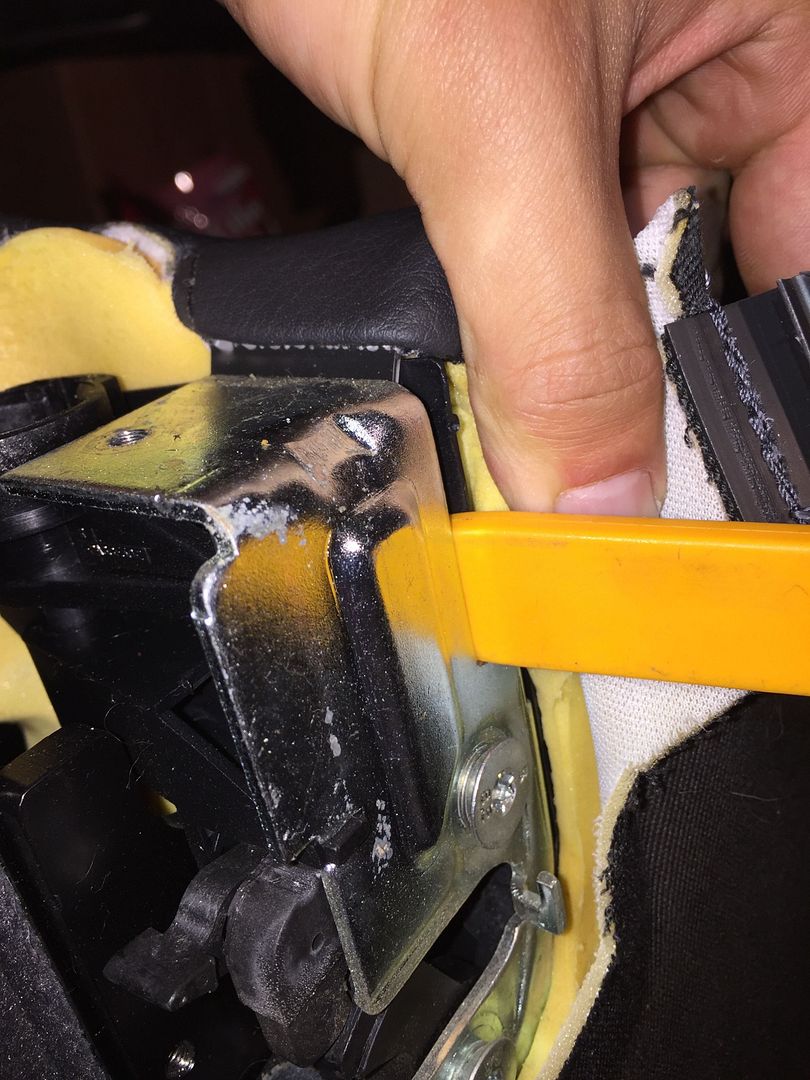
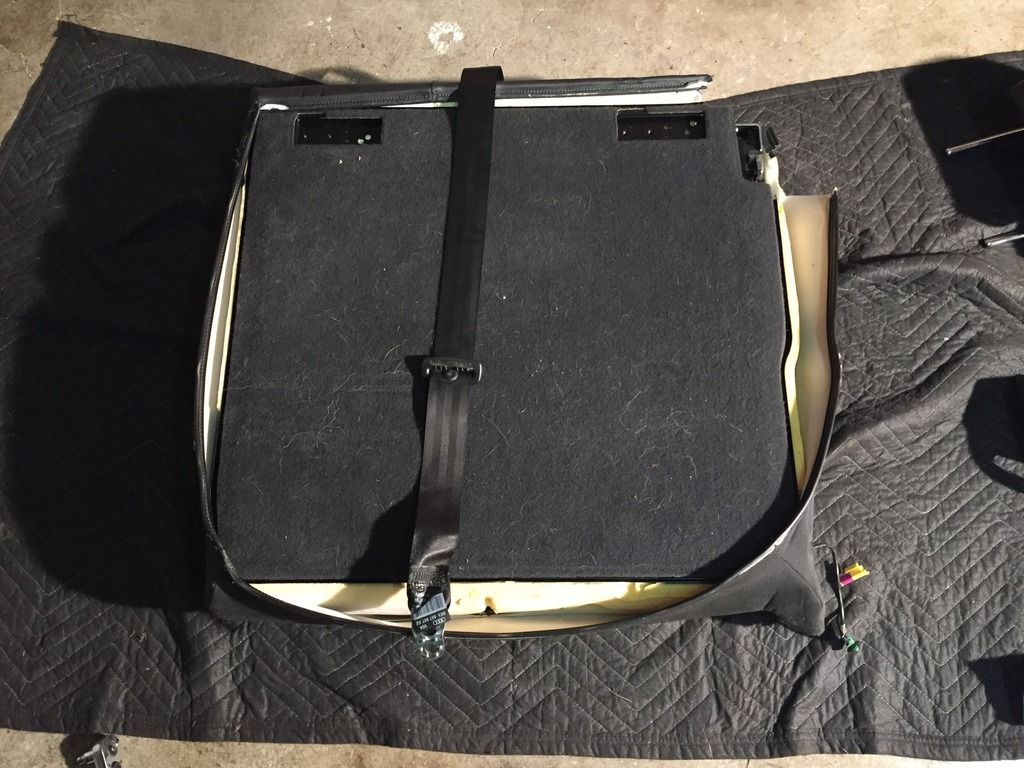
Step 6: Pry the plastic plug out from the seat, itís on the side where the plug for the tensioner comes out. After that pull the wire through as well.
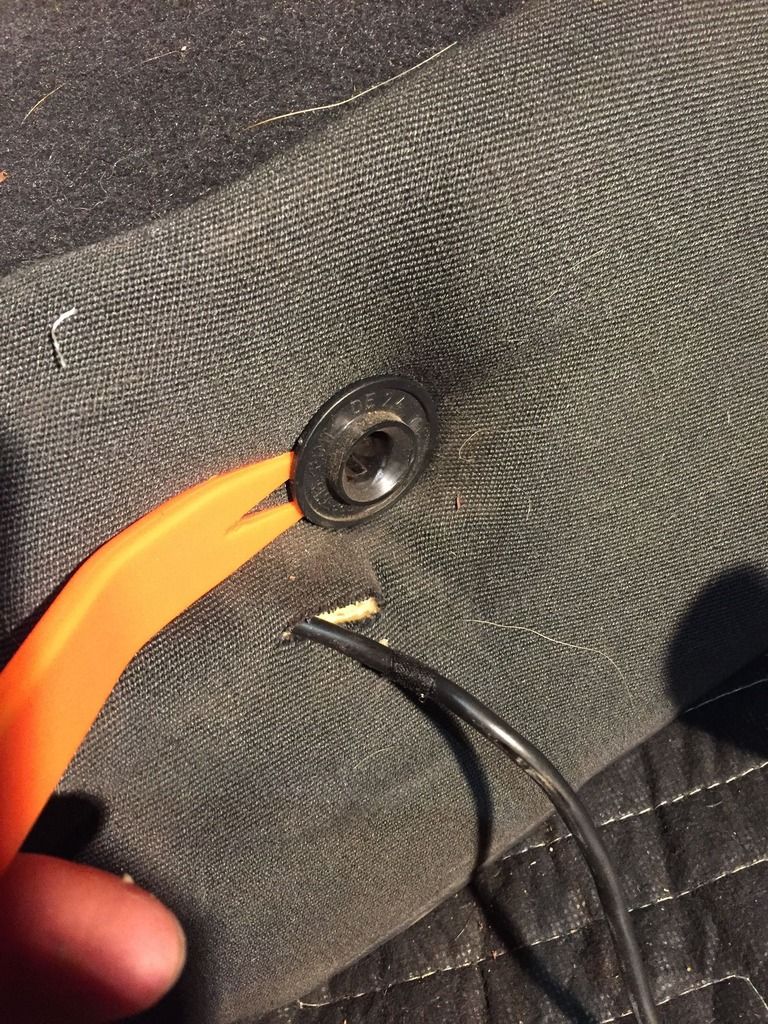
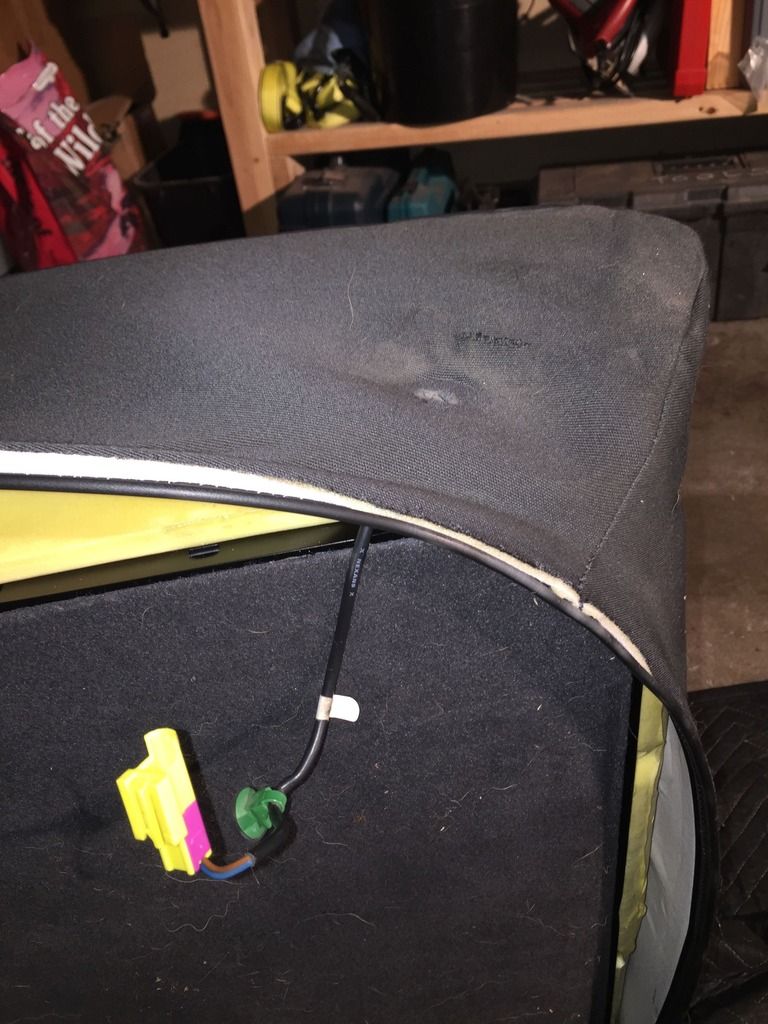
Step 7: Gently slide the leather over the headrest posts, you only have to do the 3, the ones we took the caps off of earlier. Then pull the foam over the headrest posts as well.
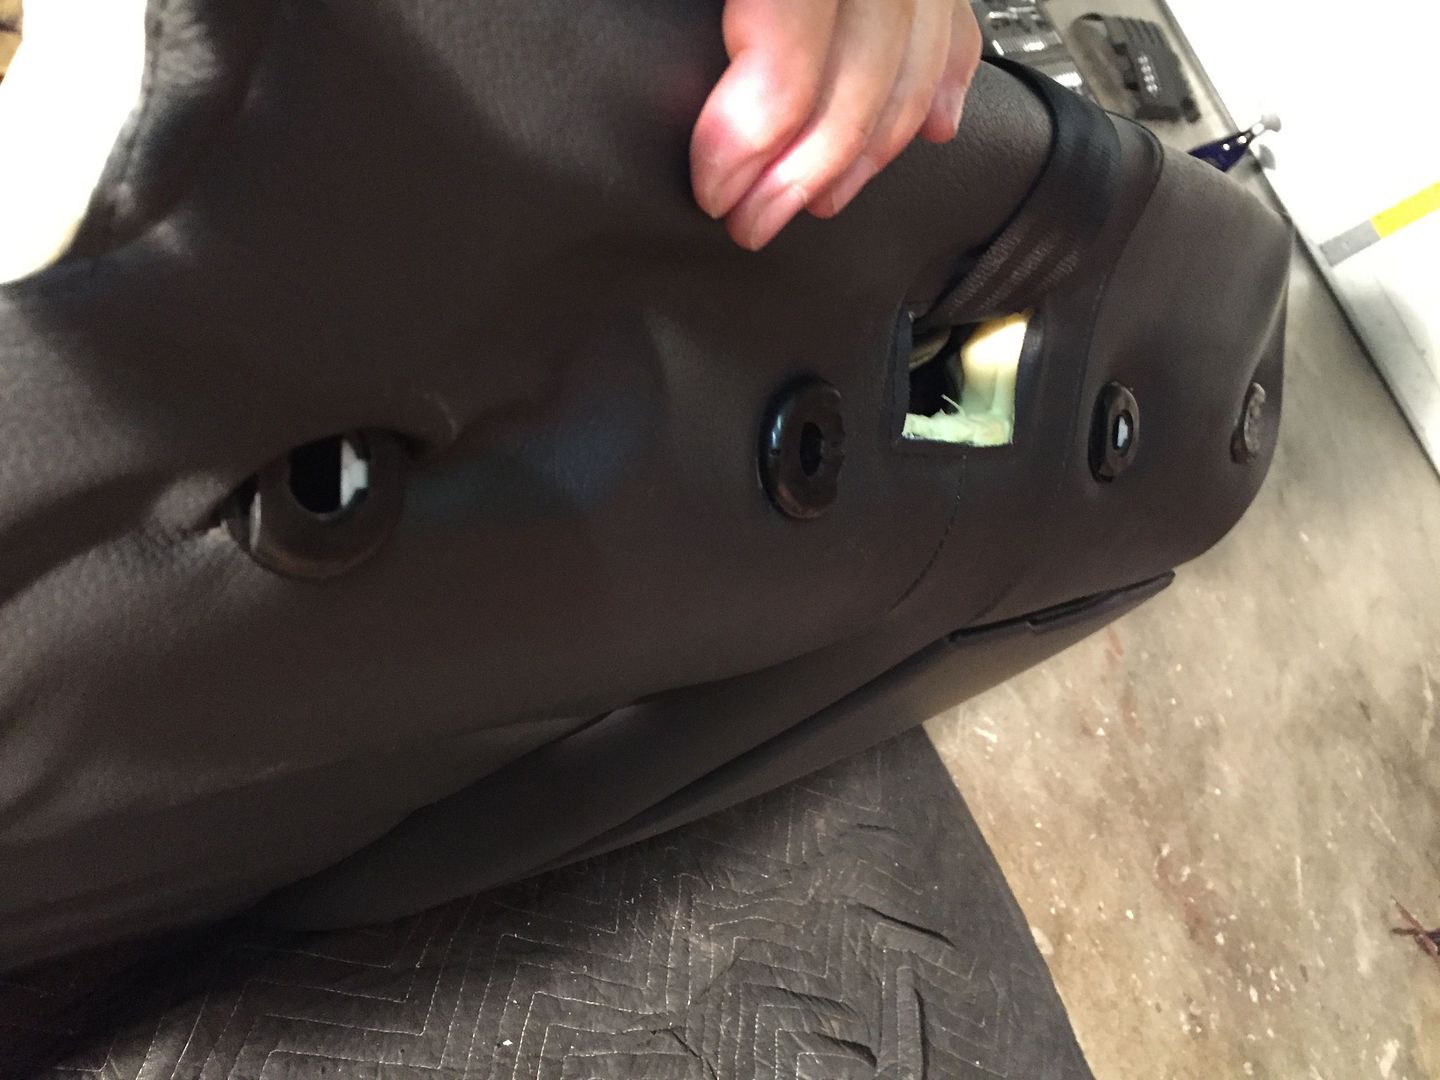
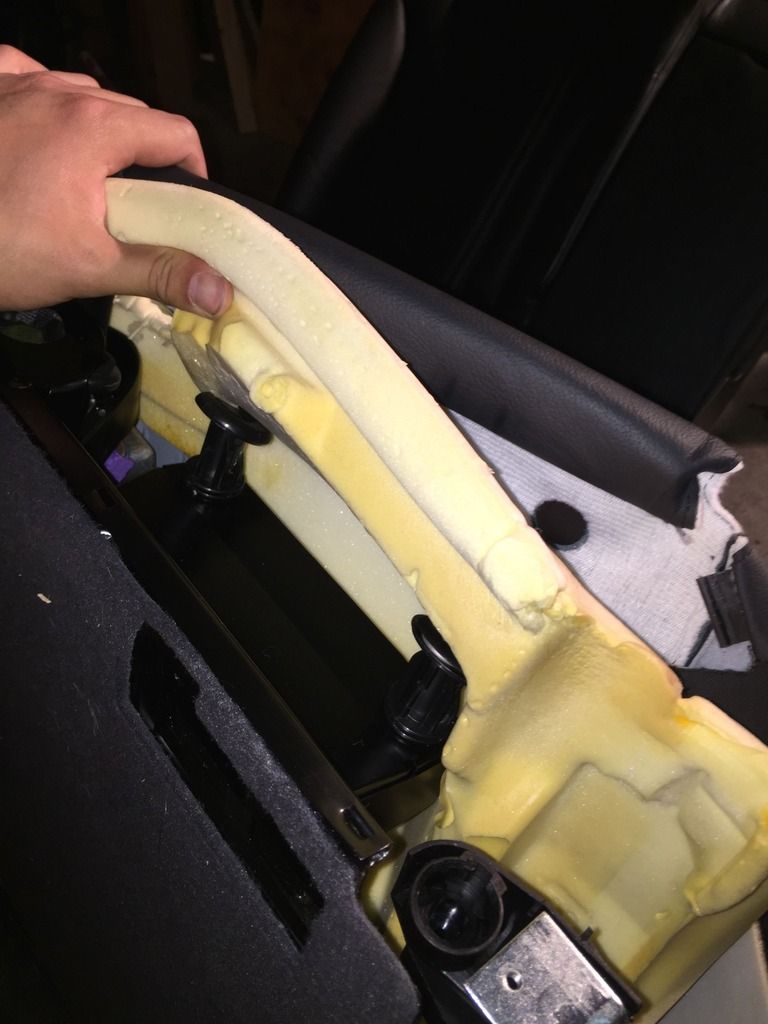
Step 8: We should now be able to fold half the seat over and expose our seat belt tensioner. Go ahead and cut the three zip ties before unbolting anything.
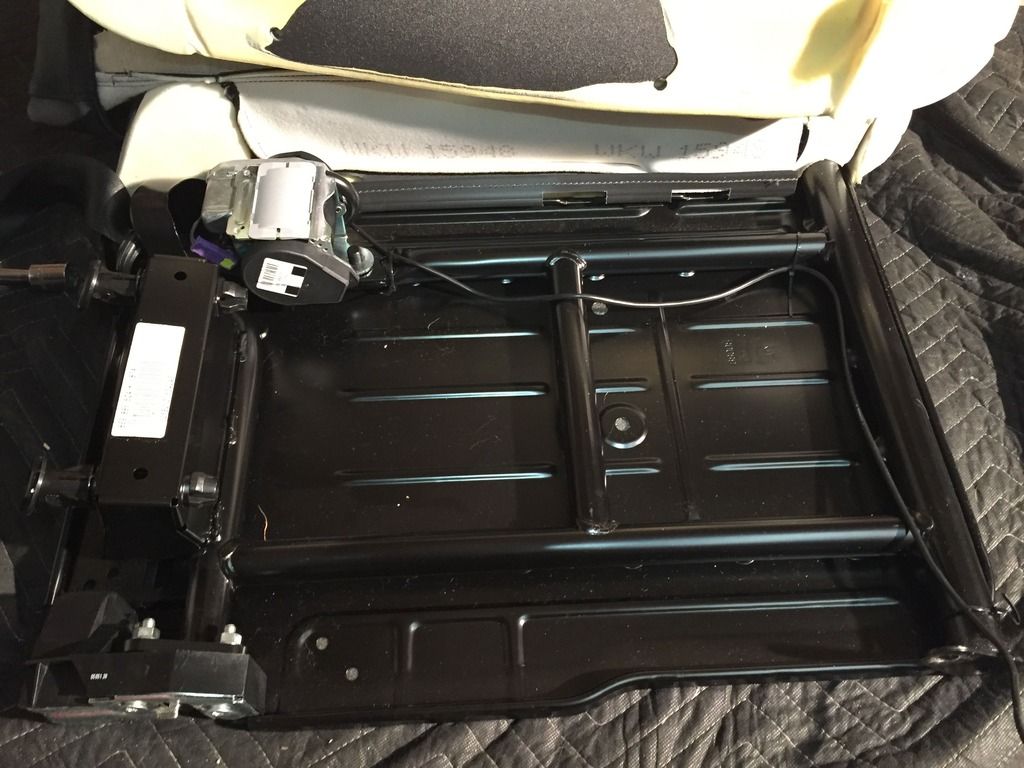
Step 10: Grab your ratchet and 17mm socket with the extension. Youíll see a nut on the bottom of the tensioner and a bolt on the top, remove the nut first. Once the nut is removed loosen the top bolt and when you can, use your fingers to loosen it the rest of the way without removing it fully. Pay attention, this part is important and can save you a lot of time and frustration. With one hand put pressure where the seat belt comes out from the tensioner, our goal is not to allow the seatbelt to wind itself up. Remove the top bolt fully and maneuver the seatbelt out from the bracket. Then tape the seatbelt in a way so that it cannot wind itself up.
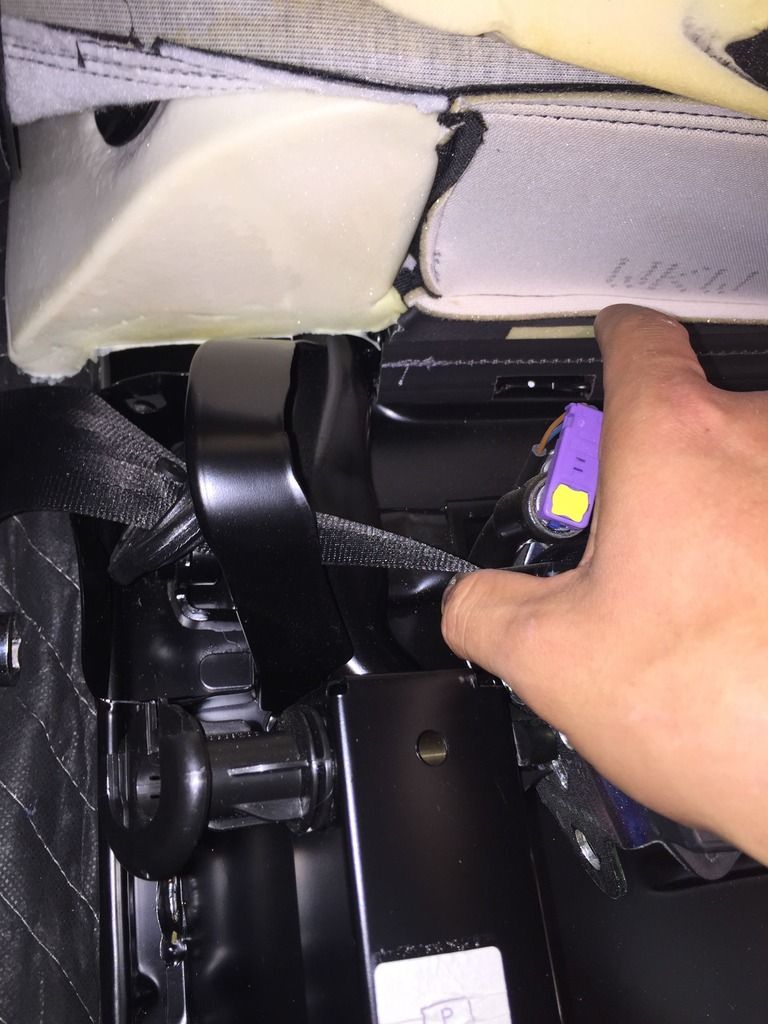
For whatever reason when the seatbelt winds itself all the way up it will lock in place and make it very difficult for you to pull out enough slack later to be able to install it into the new recaro bracket. If this happens donít freak out, just play with the seatbelt and try tugging at different angles until it feeds out enough slack.
At this point youíve got an idea how this process works and now just have to repeat the process on the recaro seat. Swap the tensioners, zip tie the cable in place and start putting everything back together.
A few pointers for the parts that are a little difficult to put back.
For the backing start with the corners and work your way around. Use your mallet or your palm to make sure everything clicks in place.
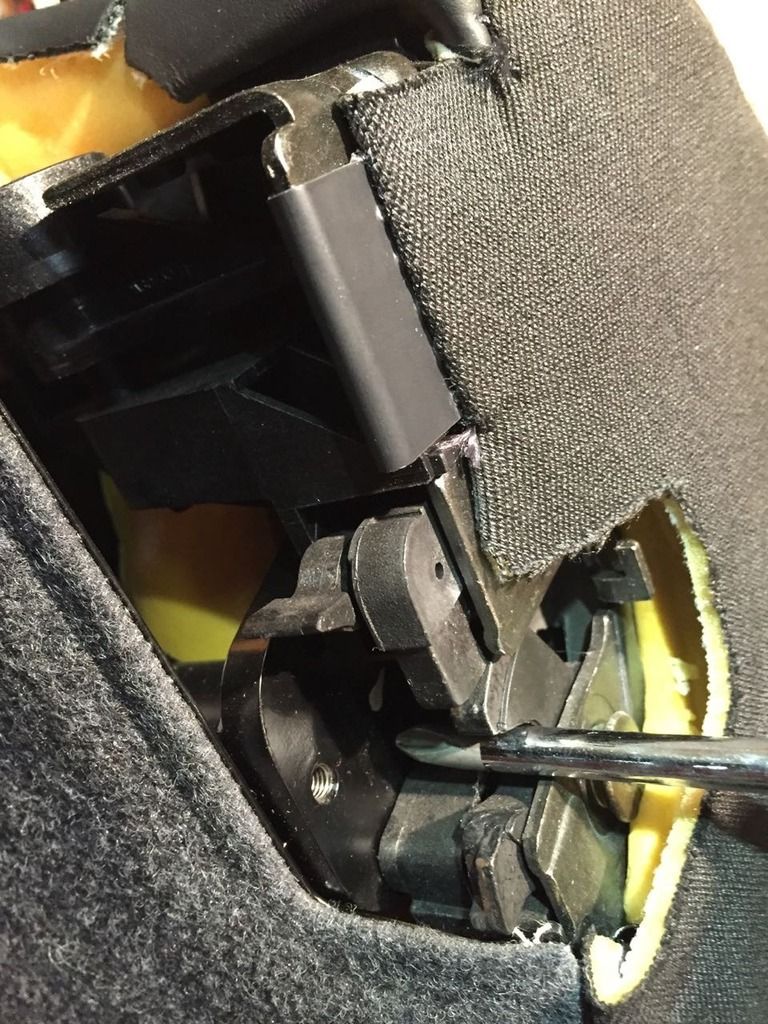
With the release handle I found that it helps if you use a screw driver to lock the mechanism. Once locked, drop the release handle down on top of it, it should click in place. Pull the handle to make sure it works and screw it back together.
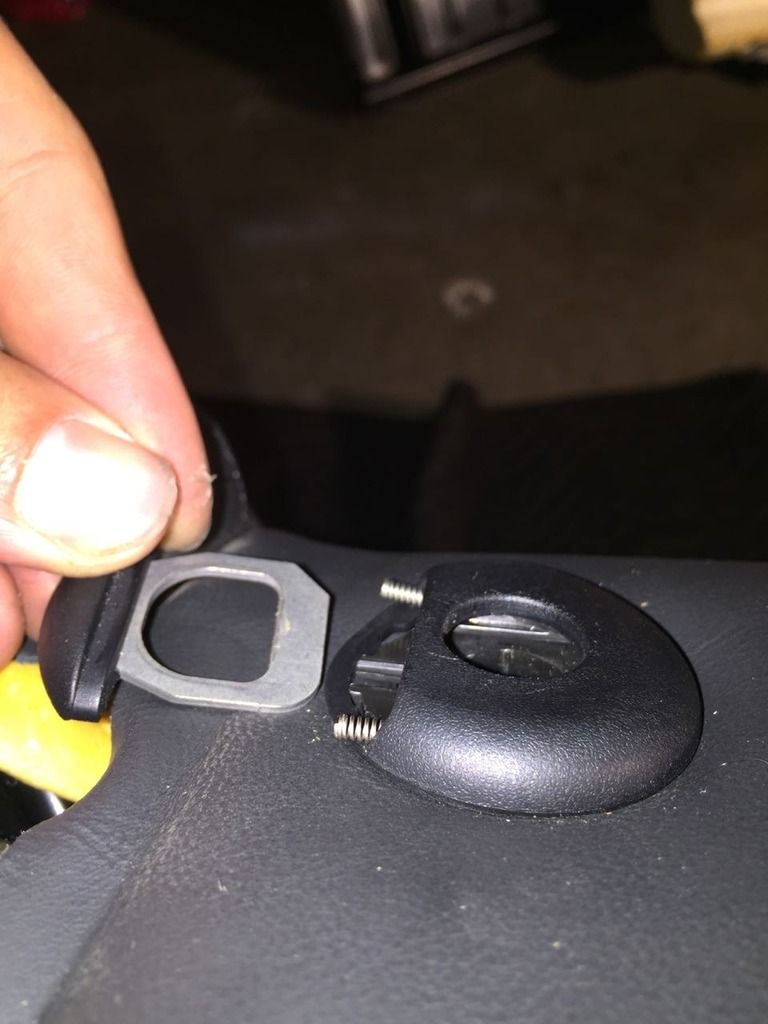
For the 2 headrest covers that have the locking mechanism on it, go ahead and put the cap and springs in place, then slide the metal lock in.
Now that you're done, go ahead and plug the recaro into your car, make sure that airbag light turns off and enjoy a beer


 Reply With Quote


Bookmarks