Originally Posted by
deAutoLED.com


thank you - cannot wait to see!
For a while now I’ve been frustrated with the lack of lumens associated with the interior of my car, specifically the trunk.
So after some research I decided I wanted something better than the Chinese kits off of eBay and started investigating other options. I finally decided to take the plunge and order the following kit from an AW sponsor:
Complete Interior LED Kit [Crisp White / Error Free] fits: Audi C6 A6 ? deAutoKey
The kit came in about 3 days after I placed my order and was very well packaged and furthermore, clearly labelled with the bulbs for each section.

I decided to try the
sun visors first, I used my own trim tools, which I had from a recent install of a RVC in my dad’s Q5. But another really handy tool was a small flat head screw driver.
The visor light popped out with ease and was VERY easy to simply swap the bulb in, the LED comes with a heat sink on one side and the SMDs on the other, so it’s common sense how it’ll fit in and as you can see by the pics…WHAT A DIFFERENCE!
Before


After

dent,
Feeling confident, with how easy this was the
glove box was next…and that came out just as easy as the previous lights.
Before

This light pops out from the right and just use your small screw driver to press down on the connector which releases the fixture from the cabling.

And after replacing the bulb…I can actually SEE everything in my glove box. Prior to that the light in there served little to no purpose, but what a difference the LED made.

I was on a roll now and up next
PUDDLE LIGHTS…those little lights that turn on when you open the doors of the car and illuminate the floor. They’ve been ok in the past, but I never thought much of them.
The front 2 doors went in the same way. Whereby you pry the fixture out and then release, using a small screw driver from the wiring and change the bulb with the fixture out.
Before


The difference in the bulbs

After


I couldn’t believe the difference the lights made…it was as if the clouds had parted and there was LIGHT. I could see everything on the floor!
BTW, I must add at the point that the quality of the products being offered was far better than what I’ve personally used in the past, when it comes to LED lights. They not only were built better, but also didn’t feel as flimsy as the usual items you see on eBay.
I decided to move onto the passenger puddle lights next, but as soon as I pryed the fixture out I noticed that the wiring behind the fixture was so short it prevented the fixture from being removed from the door panel. I realized this AFTER I forced one of the fixtures out and realized that I can’t get it back into the wiring So, I’m planning on removing the door panel in the next week and addressing it that way. If the Audi engineers had simply added another 2” of wire I would have been home-free, but alas it is what it is.
Up next, the
REAR DOME fixture.
It came out easy enough and requires you to disconnect the wiring and once it’s out it gets “interesting”.


You need to push the silver holders out, I used my trust small flat head screw driver, and when they pop-out the bulb being held in place will also be released.
You then insert the replacement LED and push the silver holder back in. Be SURE TO SEAT THE BULB CORRECTLY, since it need to wedged into the quasi-socket for it.

And here was the difference between the lights.
Before

After

Now I was set to try my hand at the
FRONT DOME LIGHTS and this was both the hardest, but once you knew what to do, could be done in seconds.
Removal was easy enough and there’s no need to disconnect the entire fixture and can be changed while it’s in the car.

I decided to change the small bulbs first, since the big ones were super easy, but the small ones were identical to the ones in the rear dome. Therefore the same process is required to remove these – by pushing up on the silver color bulb holder and pushing it out through the black backing.


Getting the bulb out was easy enough but getting the new LED was a PITA. It’s no fault of the bulb but it was just hard getting the little bulb into the fixture socket and the ‘trick’ that worked for me was once I had the bulb seated I kept pressure on it from the top and no matter did not release that pressure until was firmly moving forward in the guides for the silver colored bracket…once you are there…you are gold! Mind you the first one took my 20 mins, the second took me about 45 seconds ;)
FWIW, the larger bulbs are very easy to simply pop-out with your fingers and replace with the new LED ones. The LEDS have the same heat sinks on the back and fit perfectly!


After

The pictures don’t do this justice, but the difference is quite pronounced and you can see everything in the car. PLUS, the lights transition very elegantly from on to off vs. a harsh binary on / off. There’s a subtle fade in and out which looks just like OEM.
Well I finally made my way to one thing I’ve wanted to address from day 1. The
TRUNK light.
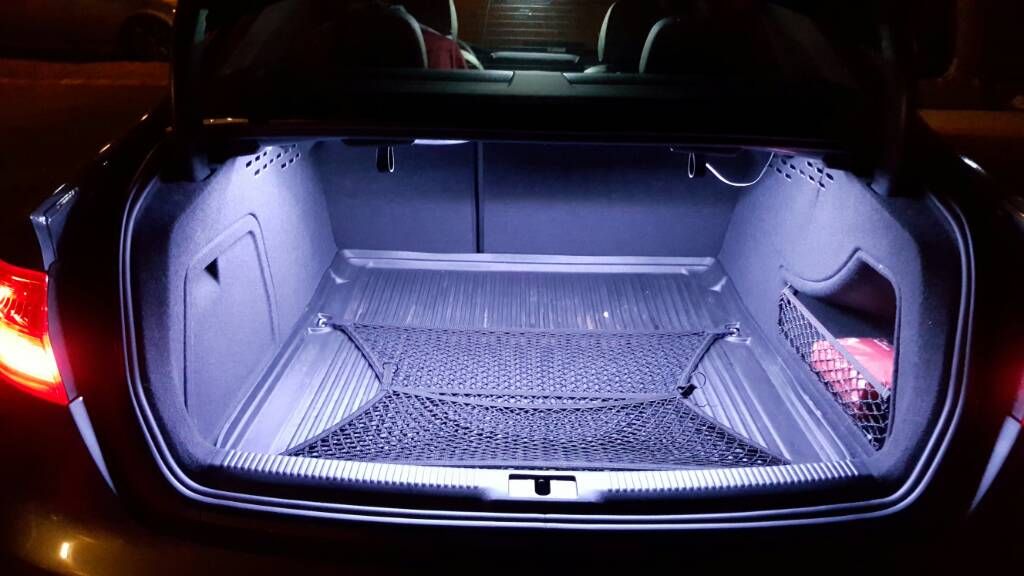
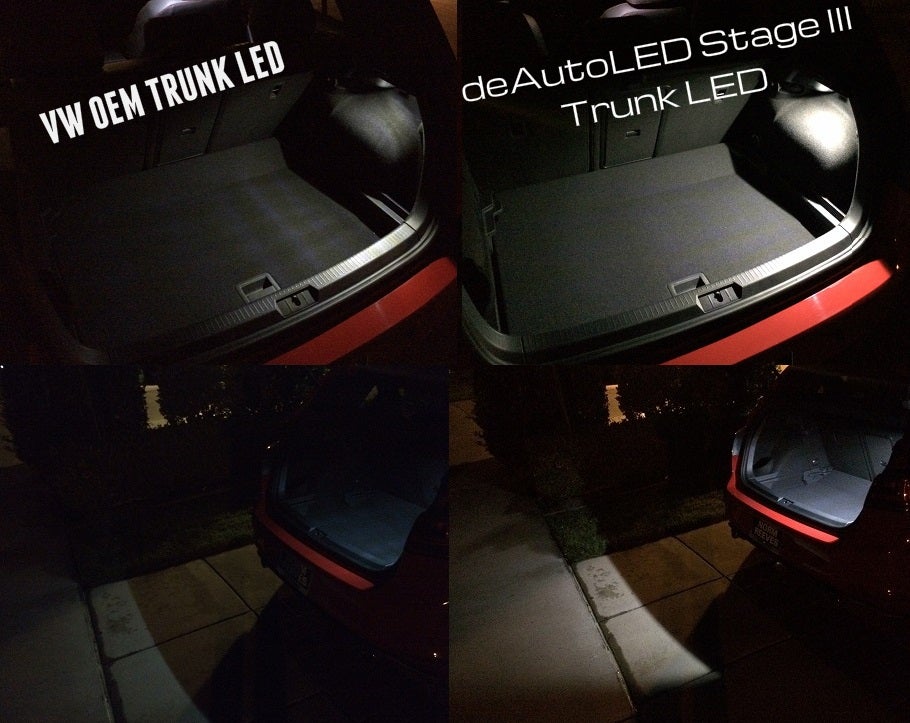
It’s the exact same way to remove as the puddle lights and they say a picture is worth a thousand words, so I’ll just let them do the talking.
The lights

Before

After

HUGE difference! The one drawback is that I now know how dirty my trunk is!
I’ll do the foot well light write-up later, but for now all I can say is 5 stars for this product.
These folks have put together a
great package and with the AW discount it’s a no brainer to get these if you want high-quality LEDs to light up the interior of your C6. Just thought I’d share my thoughts with you all.
Complete Interior LED Kit [Crisp White / Error Free] fits: Audi C6 A6 ? deAutoKey


 Reply With Quote
 thank you - cannot wait to see!


 dent,
dent,


Bookmarks