


 . I've used this method before for 1 or 2 tabs, but this time I had to fix basically all of them. This is a basic and quick write up on how I do it. I know that you can plastic weld them..but if you don't have a plastic welder or the skills this way works well too
 .
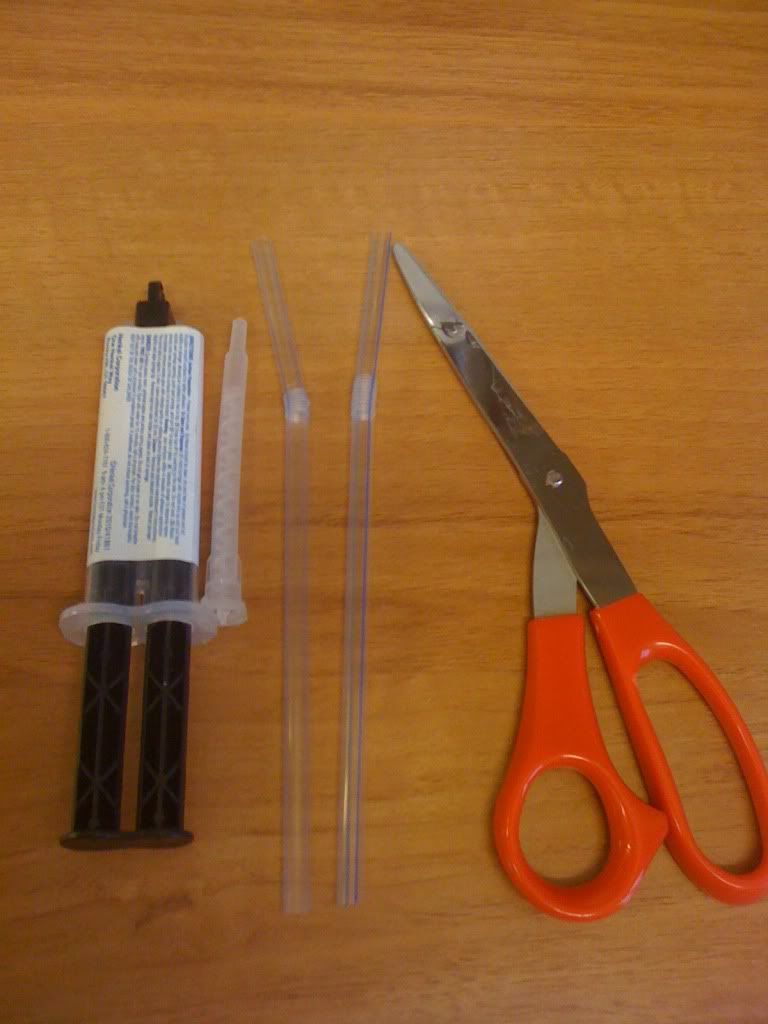
.You will need:
1.Scissors
2. Plastic drinkings straws (the skinny cheap ones from the grocery store)
3. 2 part epoxy (For plastics, the kind that has the injection mix works easiest and best for this. Like in the pic)
4. Rotary tool for trimming and shaping
[IMG]
 [/IMG]
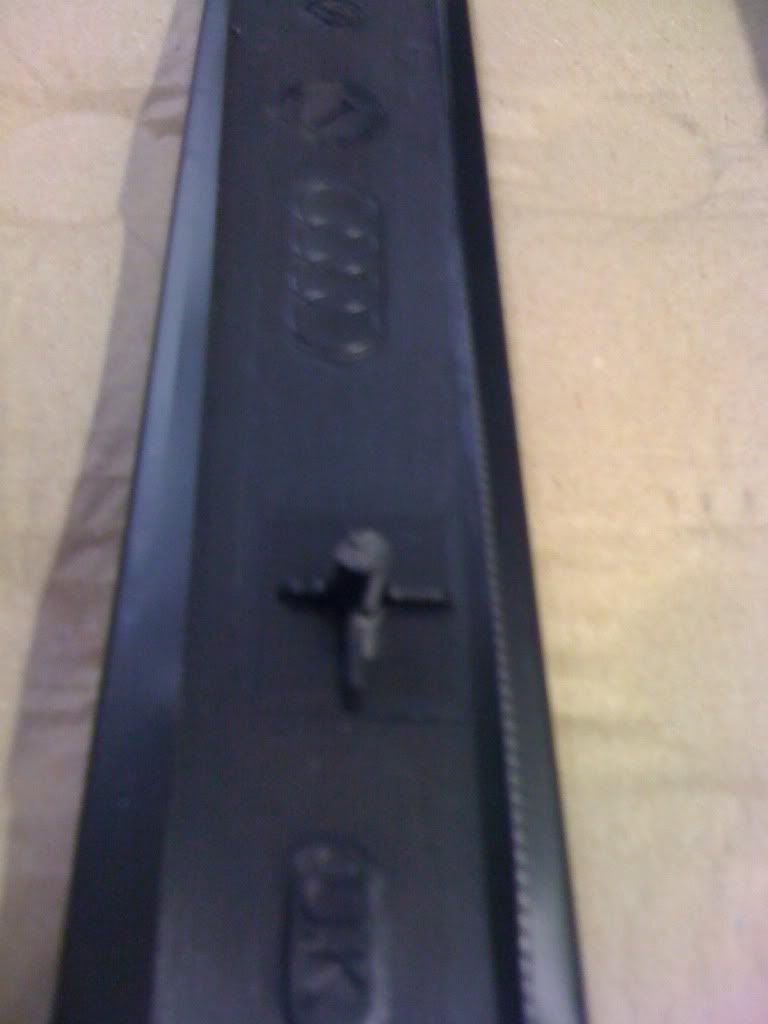
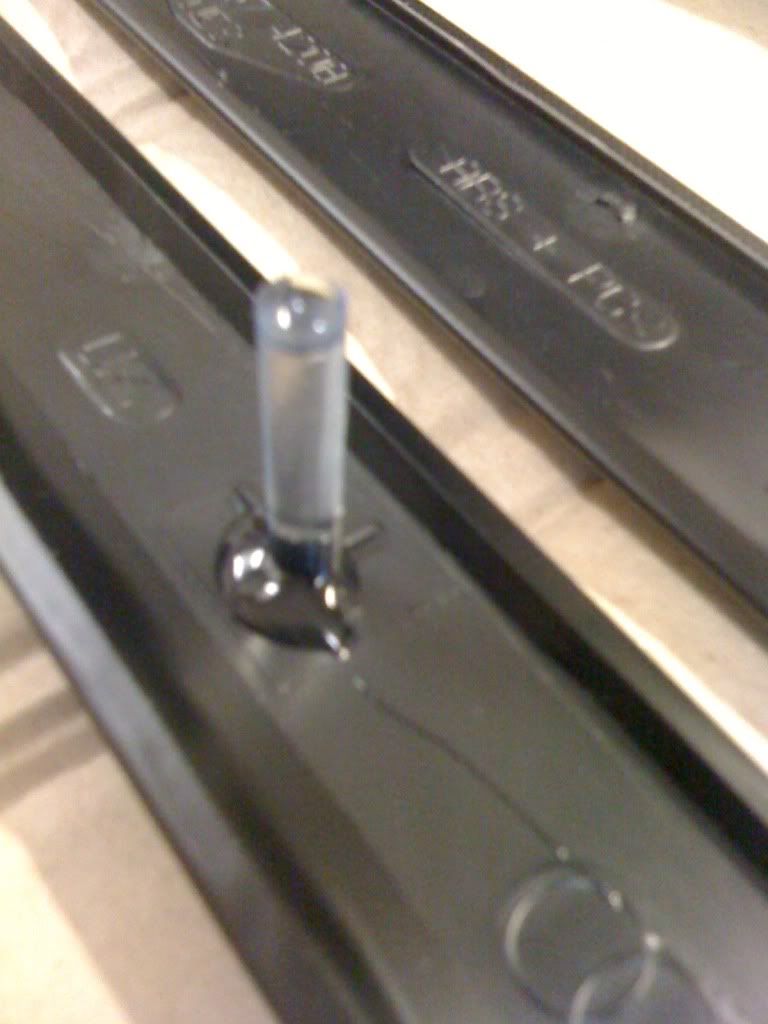
Here is a picture of one of the broken tabs (not sure if the US trim tabs look the same, I assume that they do):
[IMG]
 [/IMG]
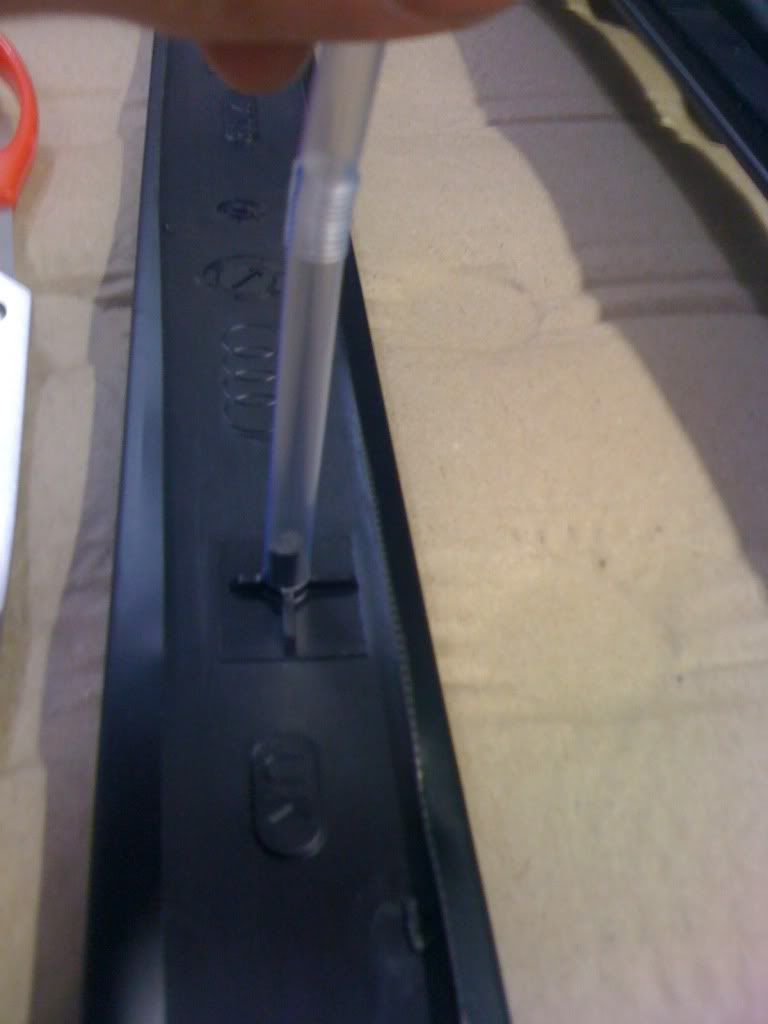
Next put the straw over what is left of the broken tab like this:
[IMG]
 [/IMG]
Next you will have to cut the straw to about the length of what the tab used to be, I just made a close guess.
[IMG]
 [/IMG]
Next you see the plastic straw cut and placed over what is left of the broken tab:
[IMG]
 [/IMG]
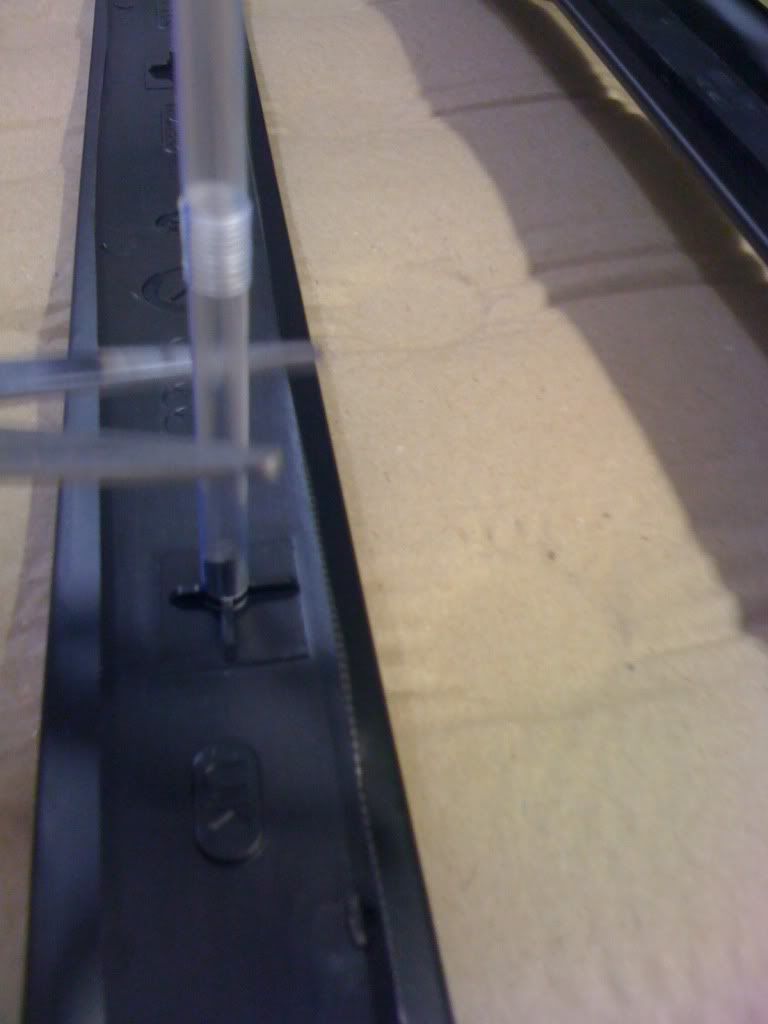
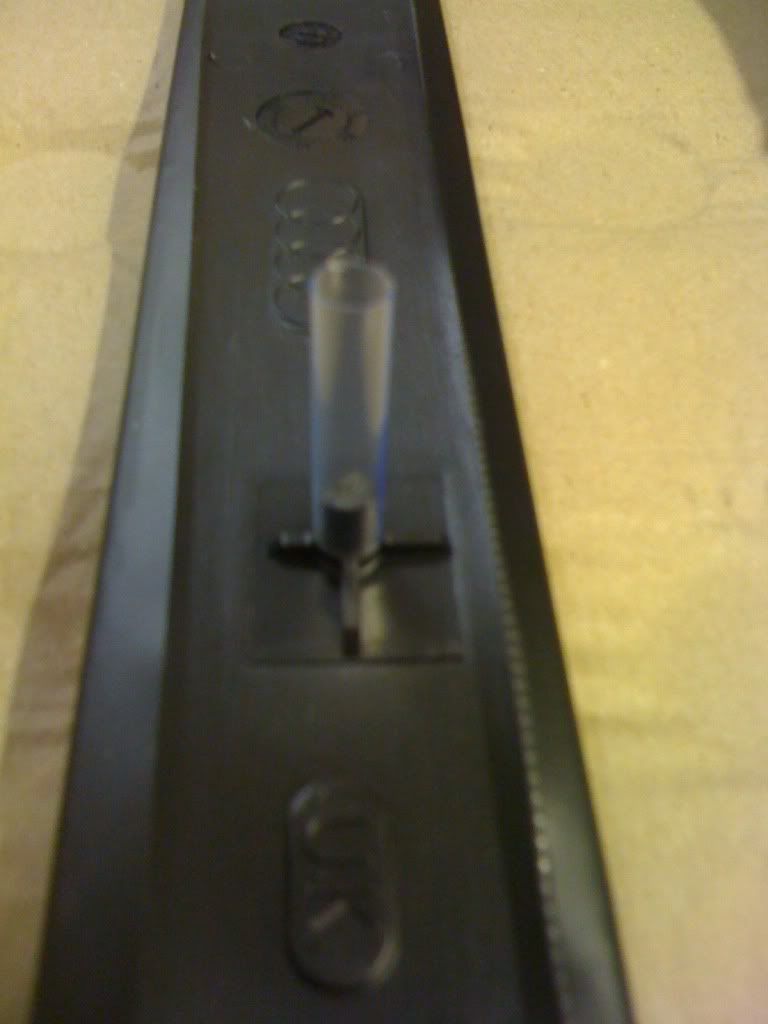
You will then need to fill the straw with the epoxy. This is why the type with the mixer extension works best. It makes it much easier to fill the straw:
[IMG]
 [/IMG]
You have to let the epoxy harden. Overnight is best to be safe. After it has hardened you can then use your rotary tool to trim and shape the new tab. When you are done it's as good as new. Note to use the skinny cheap-o straws, I tried some from a fast food restaurant and they were just too big in diameter...they worked, but had to spend a lot of time trimming and sanding them down
 . Make sure to let the epoxy fully harden before you try to shape them. I have many ideas and tricks, but just never have the time to post a DIY. This is my first one and maybe next time I need to make a repair in a way that is not common knowledge or commonly discussed, I will have the time to post another one
  . Cheers.

 Reply With Quote


Bookmarks