


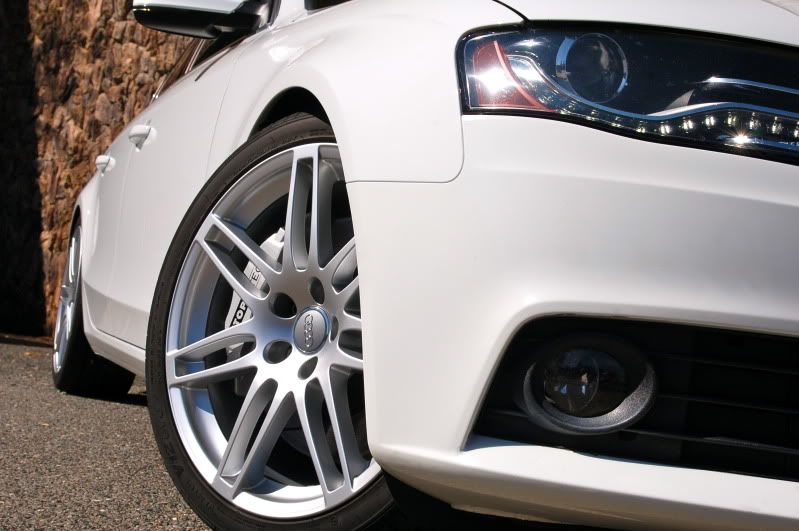
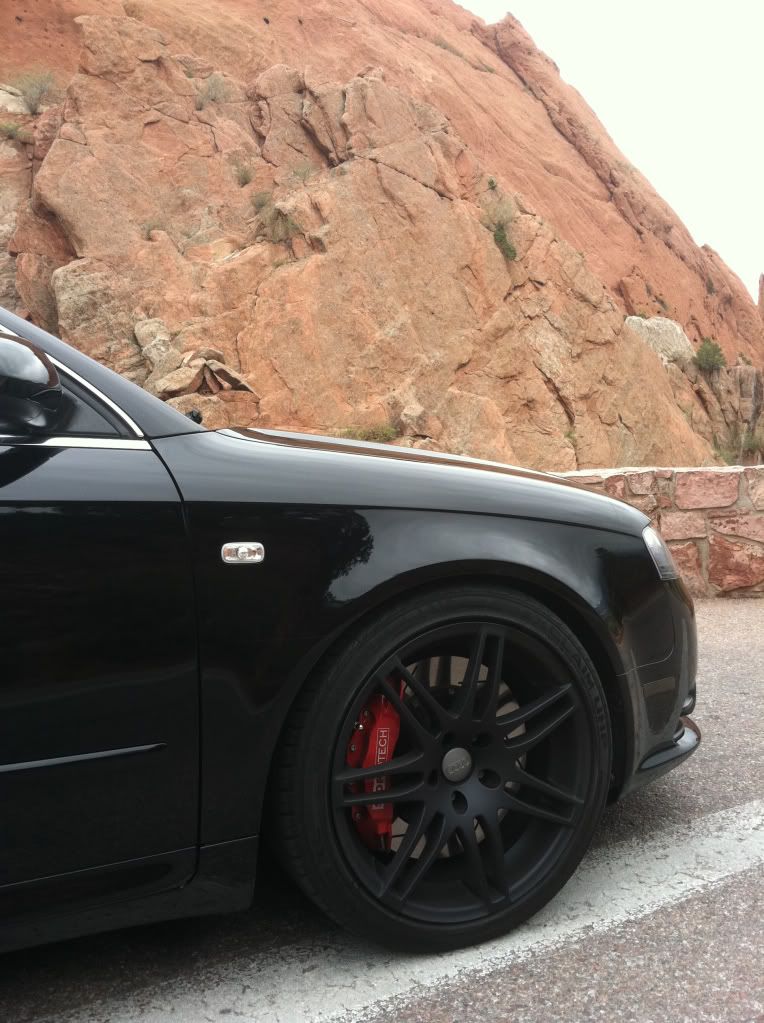
After installation. I went with silver to give it a clean and subtle look.

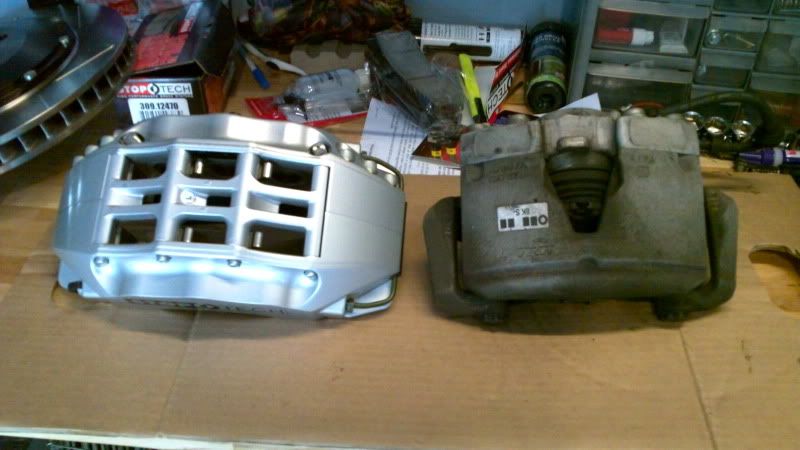
Huge difference in the size of the rotors and the calipers. Bigger = better in this case.
Hopefully this DIY helps. The instructions that StopTech provides in the box are very easy to follow and include all the tools you'll need as well as the torque specs.. I'll assume if your tackling this project yourself, you have some kind of decent mechanical background. If you don't, have a tech install this. Your life depends on your brakes functioning properly so now isn't the time to learn how to turn a wrench! That being said, the only special tools you might need besides your basic metric/standard sockets and wrenches is a 30-torx, torque wrench, brake cleaner, rubber mallet, and allen wrenches
First, when you remove everything from the package, make sure you clean the rotor with soap and water, then finish it off with some brake cleaner. Once thats done your ready to get your car off the ground and onto some jack stands. Remove the front wheels and keep the rubber stoppers in the kit handy. Remove the brake line and immediately plug it off with the rubber stopper to prevent a huge mess. Keep all the washers in a safe place as you'll be reusing them.
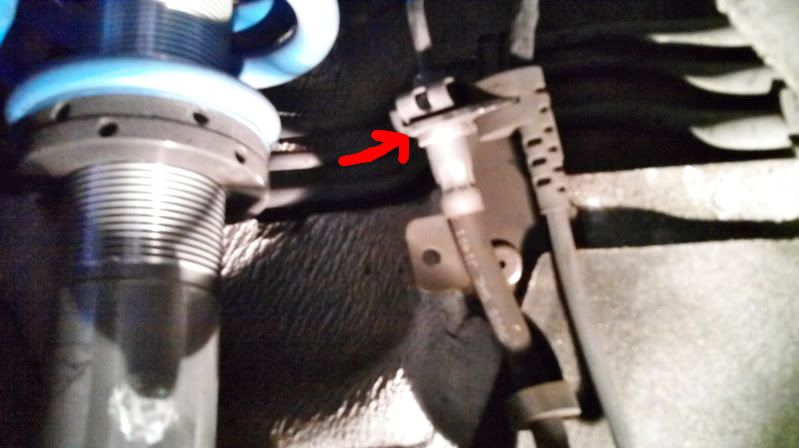
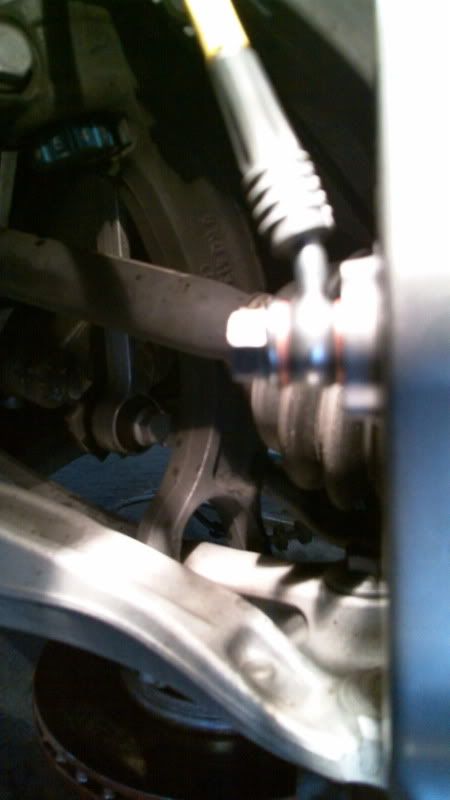
11mm and 14mm wrenches needed here. Make sure you have the rubber stops handy.
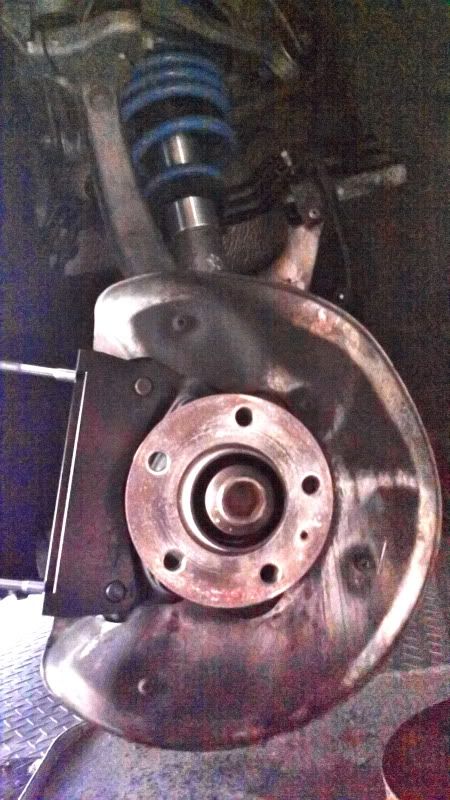
Once your line is removed, your ready to start removing the caliper. On the drivers side, you'll have to disconnect the pad sensor. The caliper is held on by two 20mm bolts and they're torqued on tightly so it's going to take some effort to remove them. Make sure you keep the bolts in a safe spot because you'll need them to install the caliper bracket in the kit. With the caliper removed, you'll need the 30-torx to remove the rotor. After the torx bolt was removed, my rotors didn't come off without a fight and required some firms taps from a rubber mallet to remove them. Make sure you keep the torx bolt as you'll be reusing that also.

View from behind the caliper. The 20mm bolts are torqued on to 140lbs so they require some effort to remove.
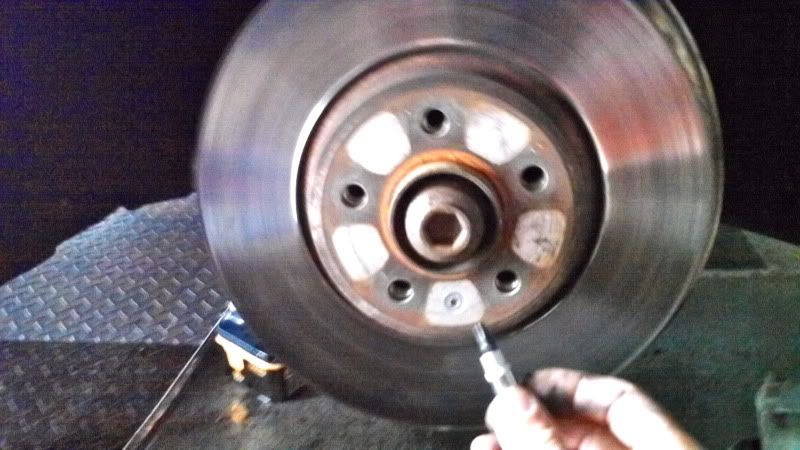
30-torx needed to remove the rotor.
With everything removed, you'll need to install the bracket from your kit where the stock calipers went reusing the 20mm caliper bolts. Make sure you torque those to 140lbs per factory specs. Once the calipers brackets are installed, your able to install the new rotors. Again, make sure you've washed then with soap and water, followed by brake cleaner. The rotors are shipped with a small film of grease coated on them to prevent them from rusting, so don't forget to wash them.
Caliper bracket torqued to 140lbs.
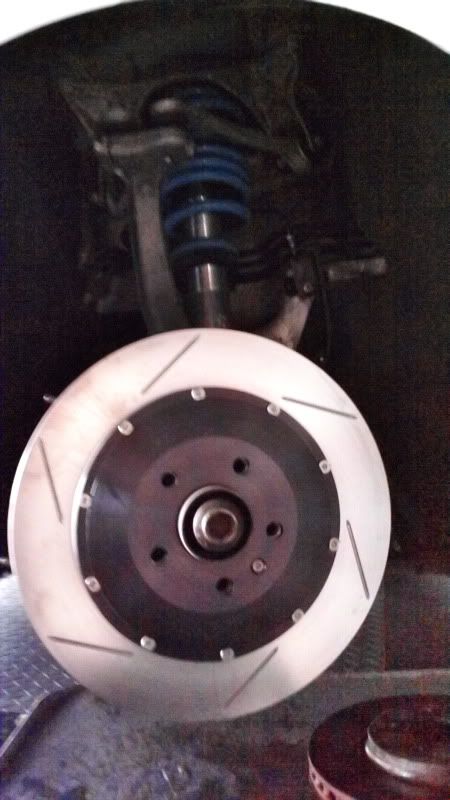
New rotor installed. Follow the directions to make sure that the correct rotor goes to right and left sides, this does matter!
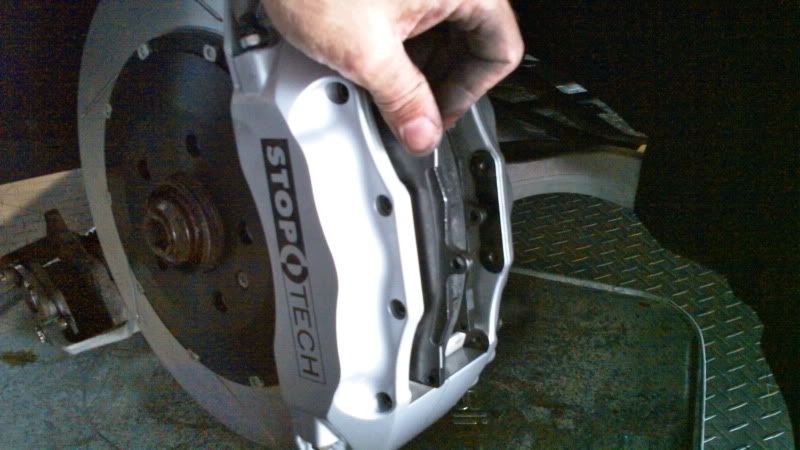
With the rotor installed, your ready to start on the new caliper. You'll need to remove the bridge section from the center of the caliper before installing. Make sure you don't lose the bolts or washers (not that I did and had to search around the garage forever trying to find a washer...
") ). With the caliper in place, you'll need to torque the bolts down to 42lbs.
). With the caliper in place, you'll need to torque the bolts down to 42lbs. 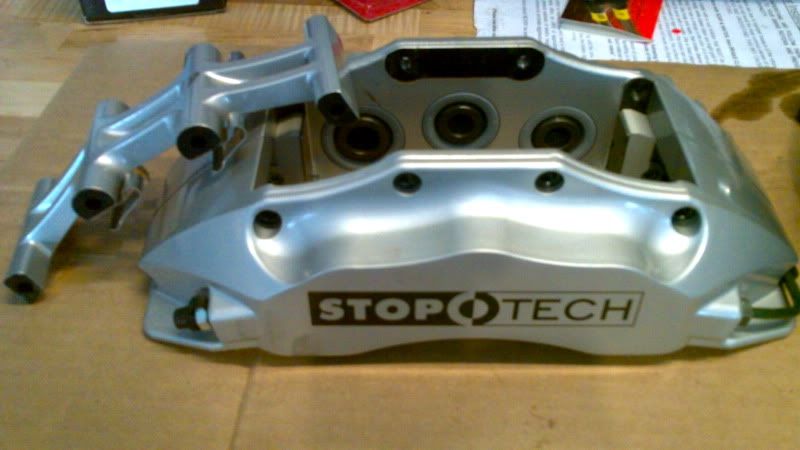
5mm hex allen bolts removed from the bridge of the calipers. You'll be installing the pads through this area later.
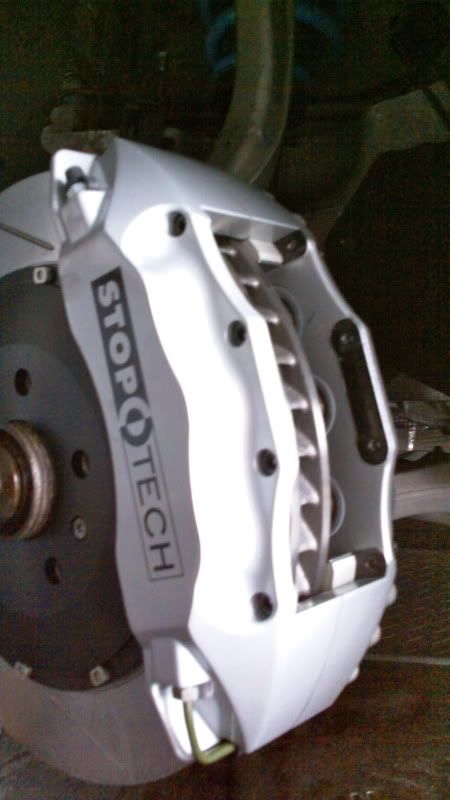
Caliper mounted up and bolted on.
Once thats done, you'll need to install the new SS line included in the kit. The kit comes with copper washers and banjo bolts. Remove the rubber stopper from the back of the caliper. Make sure you have a copper washer on each side of the new brake line before securing the banjo bolt to the caliper. I should also point out that you want the new SS line positioned in line with the angle of the caliper. Make sure you hold onto it firmly when tightening the banjo bolt so the new SS line doesn't move out of place. The kit also comes with washers that go over the other end of the new SS lines. Place the washer over the other end and install them to brake line attached to the chassis. For the brake sensor, remove the pad from the drivers side caliper and cut the wire around 1.5" from the sensor. Splice the two ends together and secure the exposed wire with heat-shrink wrap or electrical tape. Your now able to slide in the new pads and bolt the bridge back onto the caliper.
I apologize for the bad lighting, but this is how the new Stainless Steel line should look secured to the caliper.
Slide the new pads in and then secure the caliper back to the bridge.
With everything installed, you'll be able to bleed your system. The new calipers have bleeders on each side, and the bleeding order StopTech recommends is right outer bleeder, right inner bleeder, left outer bleeder, left inner bleeder. I was careless and bled my entire system dry unfortunately so I had to bleed my master cylinder and every caliper
 . Make sure you don't do that! I used Motul RPF600, but any DOT3 or DOT4 fluid will work. With everything installed, it's time to bed your pads. StopTech recommends hard braking from 60 - 5 mph, accelerating back up to 60 ASAP and repeating this process 10-12 times.
 Hopefully this helps any would be installers.
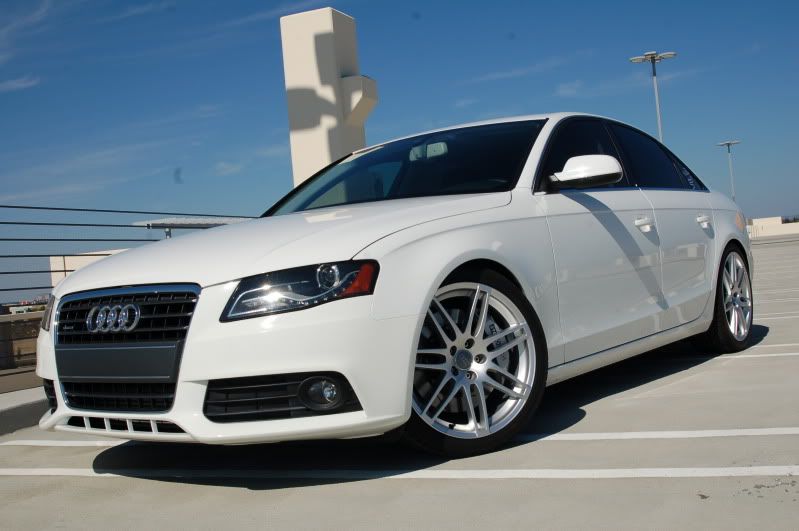
The kit actually comes with solid instructions. I've had these on my car for a week now and the increased stopping power is impressive! The pedal feels close to the stock brakes, if just a tad bit firmer. I've installed other BBK's on previous project cars and had them practically put you through the windshield with the slightest touch of the pedal. I have no issues at all like that. With the ST-60 kit, the brakes come on smoothly and predictably without any diving or jerking. If you need to stop in a hurry, these brakes will certainly get the job done! I'd be interested in doing a 100mph-0 test just to see how they do, but the difference over the stock braking system is substantial. My previous car was a C63 AMG with a large 14.3" rotor and 6 piston setup and my ST-60's performance is on par if not better than that. After bedding the brakes, I haven't noticed any squealing but I suspect I'll get some eventually as it's common in most BBK systems, only time will tell. I have a track day set up for the 15th so I'll be able to give a better review once I get some track time on them.
Once again, thanks to ModBargains for hooking me up with a great product!

 Reply With Quote
 Great writeup! Car's looking very nice. I like the removable bridge feature of those StopTech calipers. Convenient.

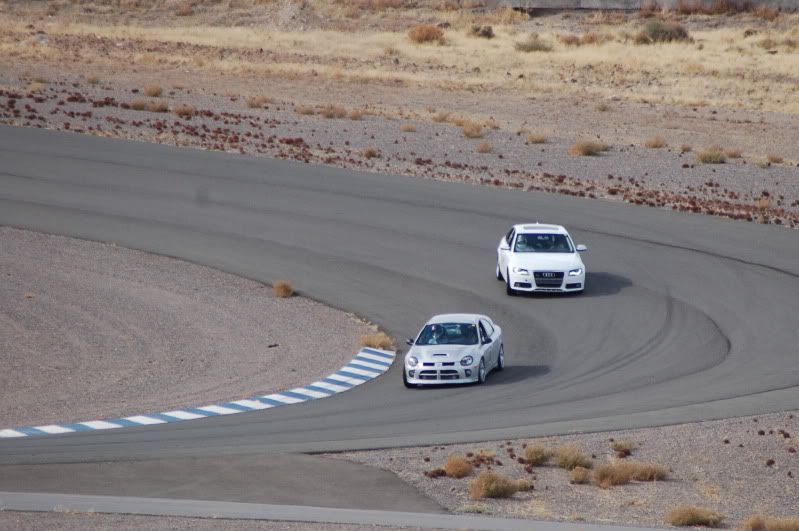
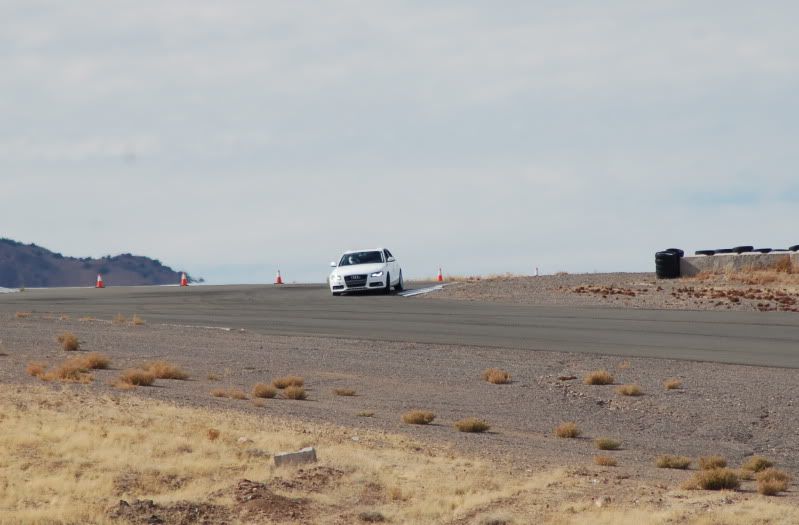
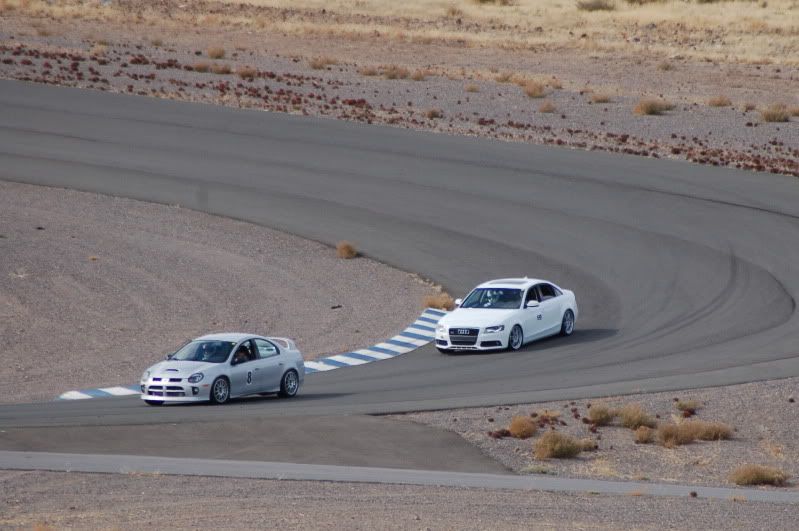


 . It probably looked like I was swatting at bees in the car trying to keep my steering wheel under control lol. I'm sure mmaroney has was way better track pictures than I do.
 - pic-less
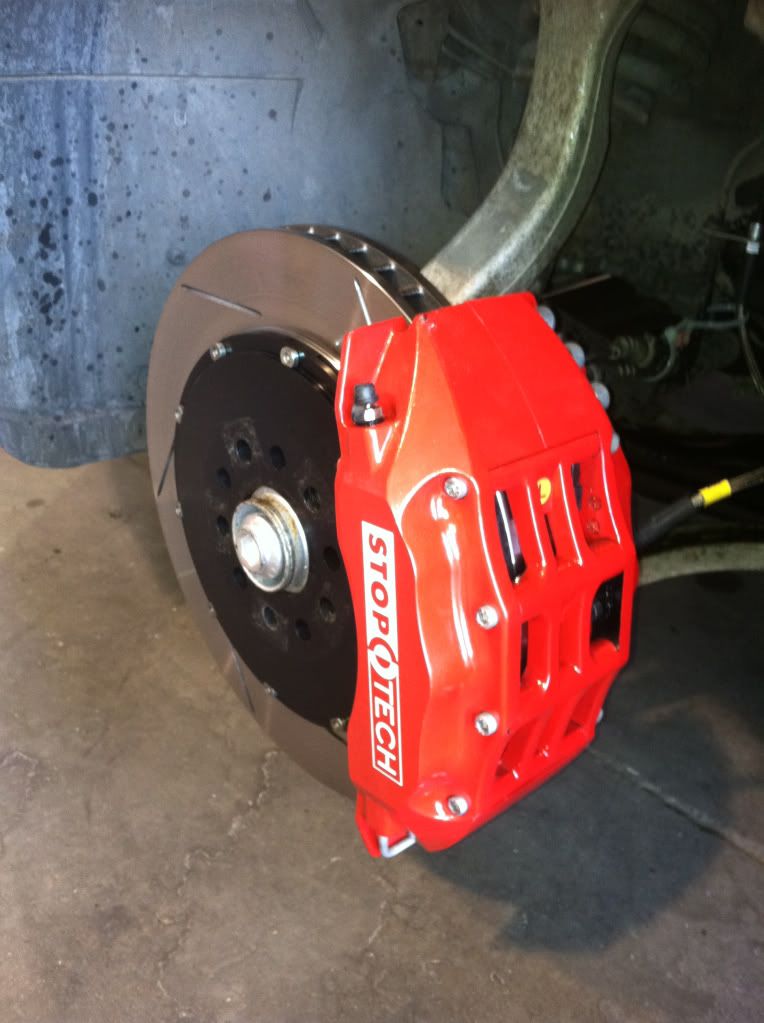


Bookmarks