


With all the issues with the different rear plate LED (burning, throwing codes, etc) I decided to come up with something Custom. Spent few hours on the project but between the available room, heat dispersion, available aftermarket LED, I gave up.
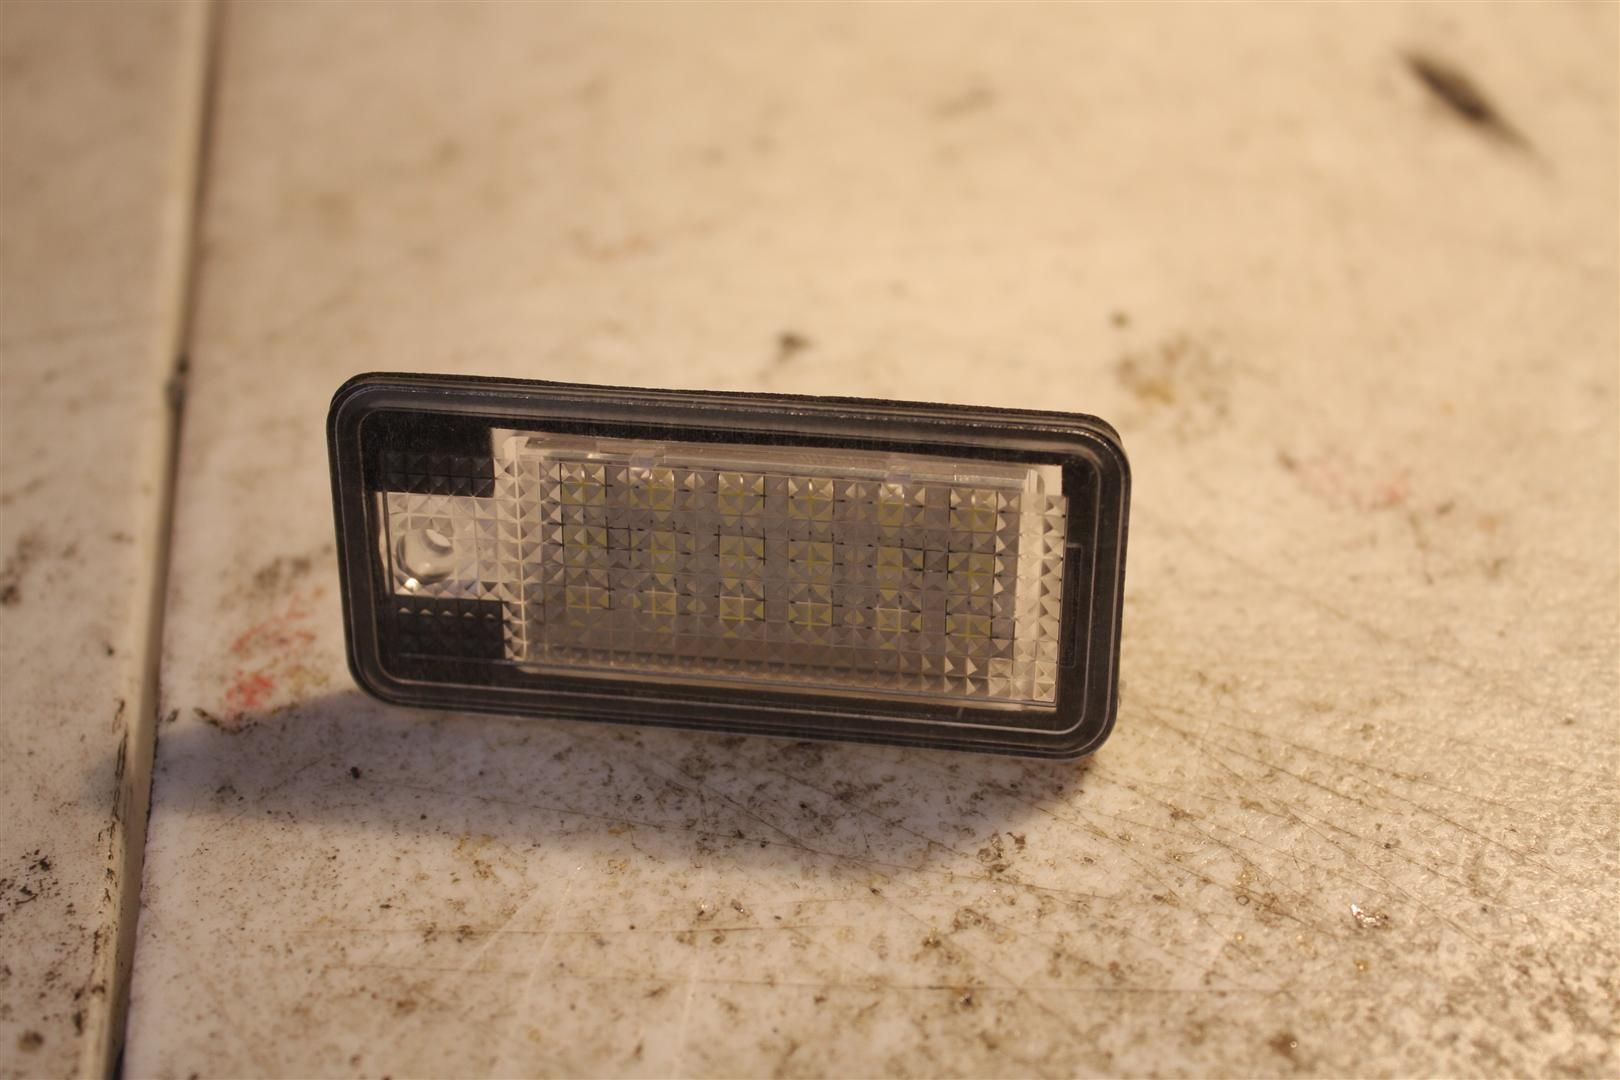
Browse the web to check what was available and came across these, advertising that they will not trigger any fault code, even with color display. Great, since I have a color display! They finally arrived today (they were back ordered).
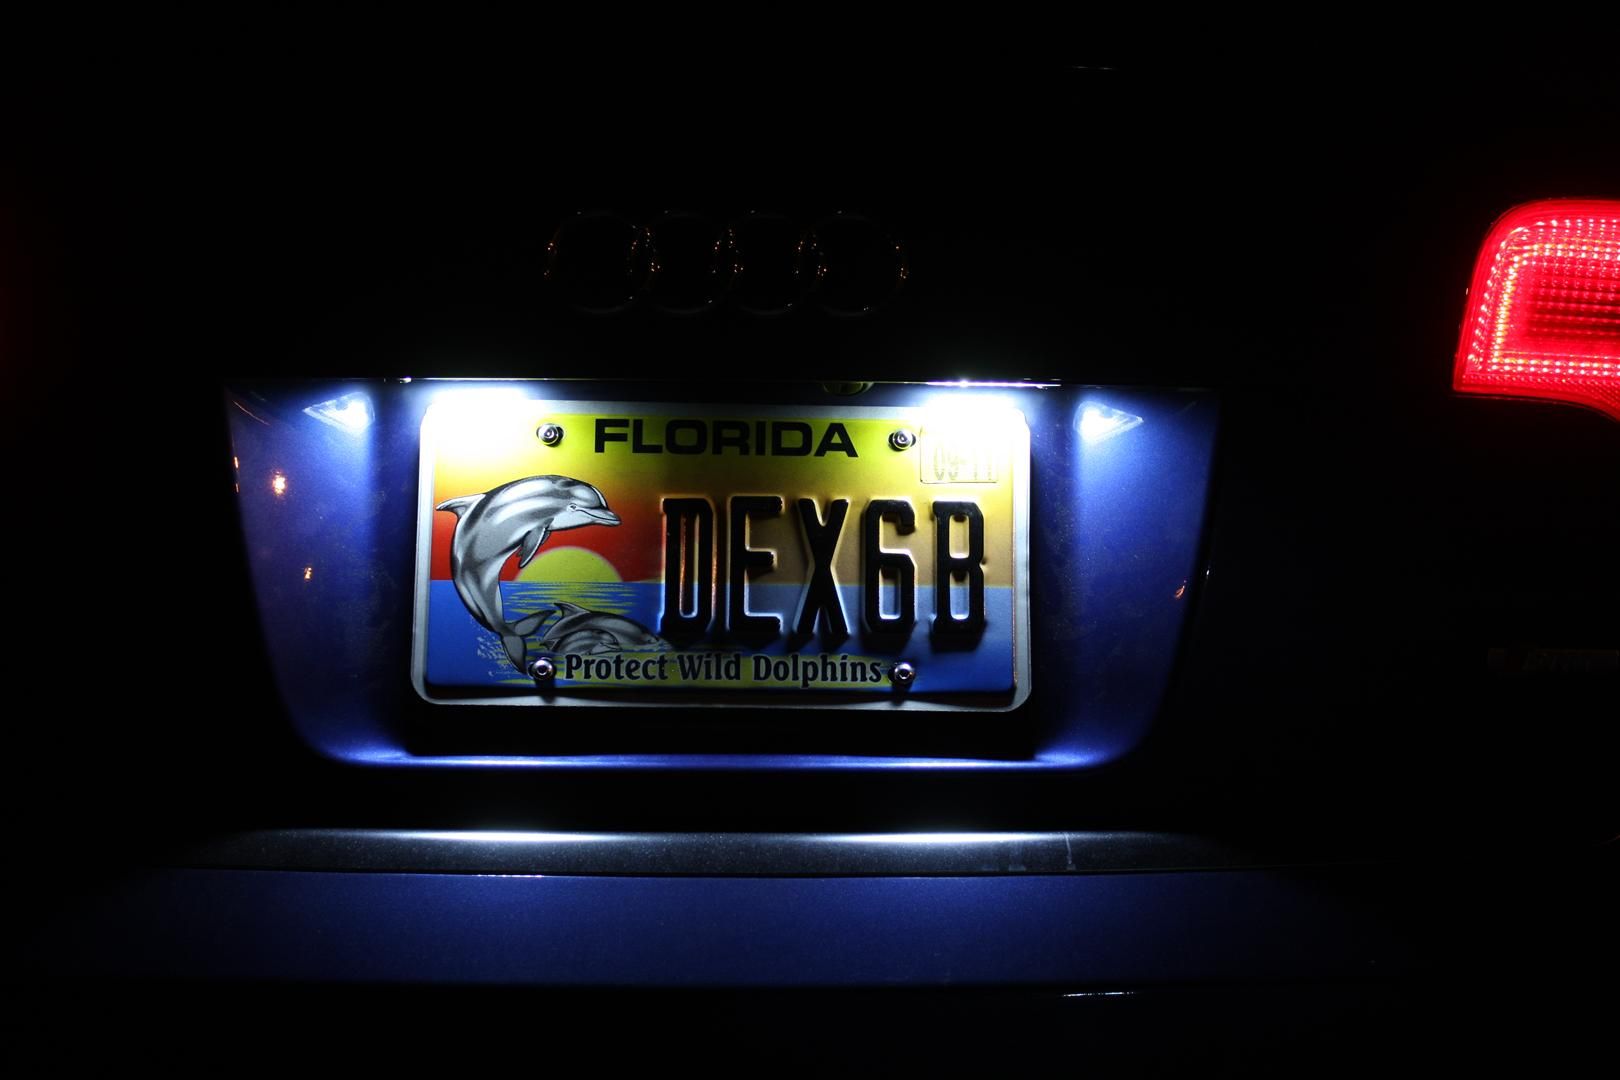
Nice and bright!
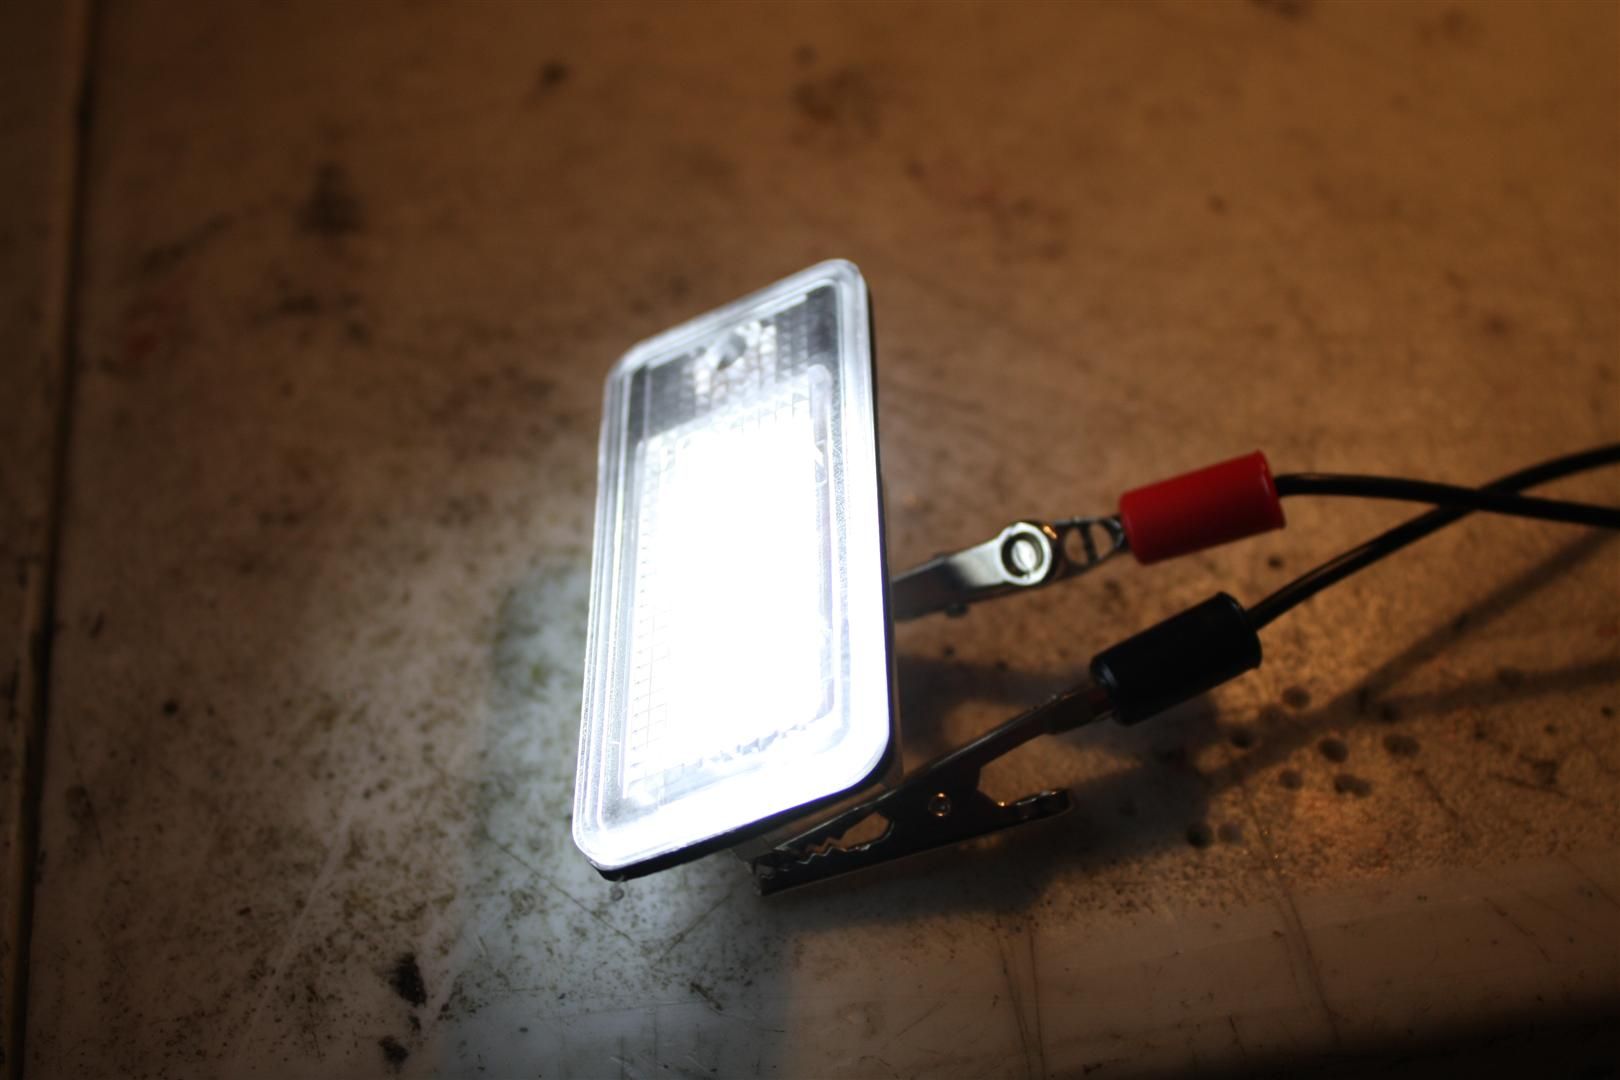
Pulled the old ones, installed the LEDs, start the car and guess what, of course, Warning bulb!!! No panic, pulled them off, bring the OEM one as well, and did some testing.
At 13 volts, the OEM bulb draws 0.37 amps.
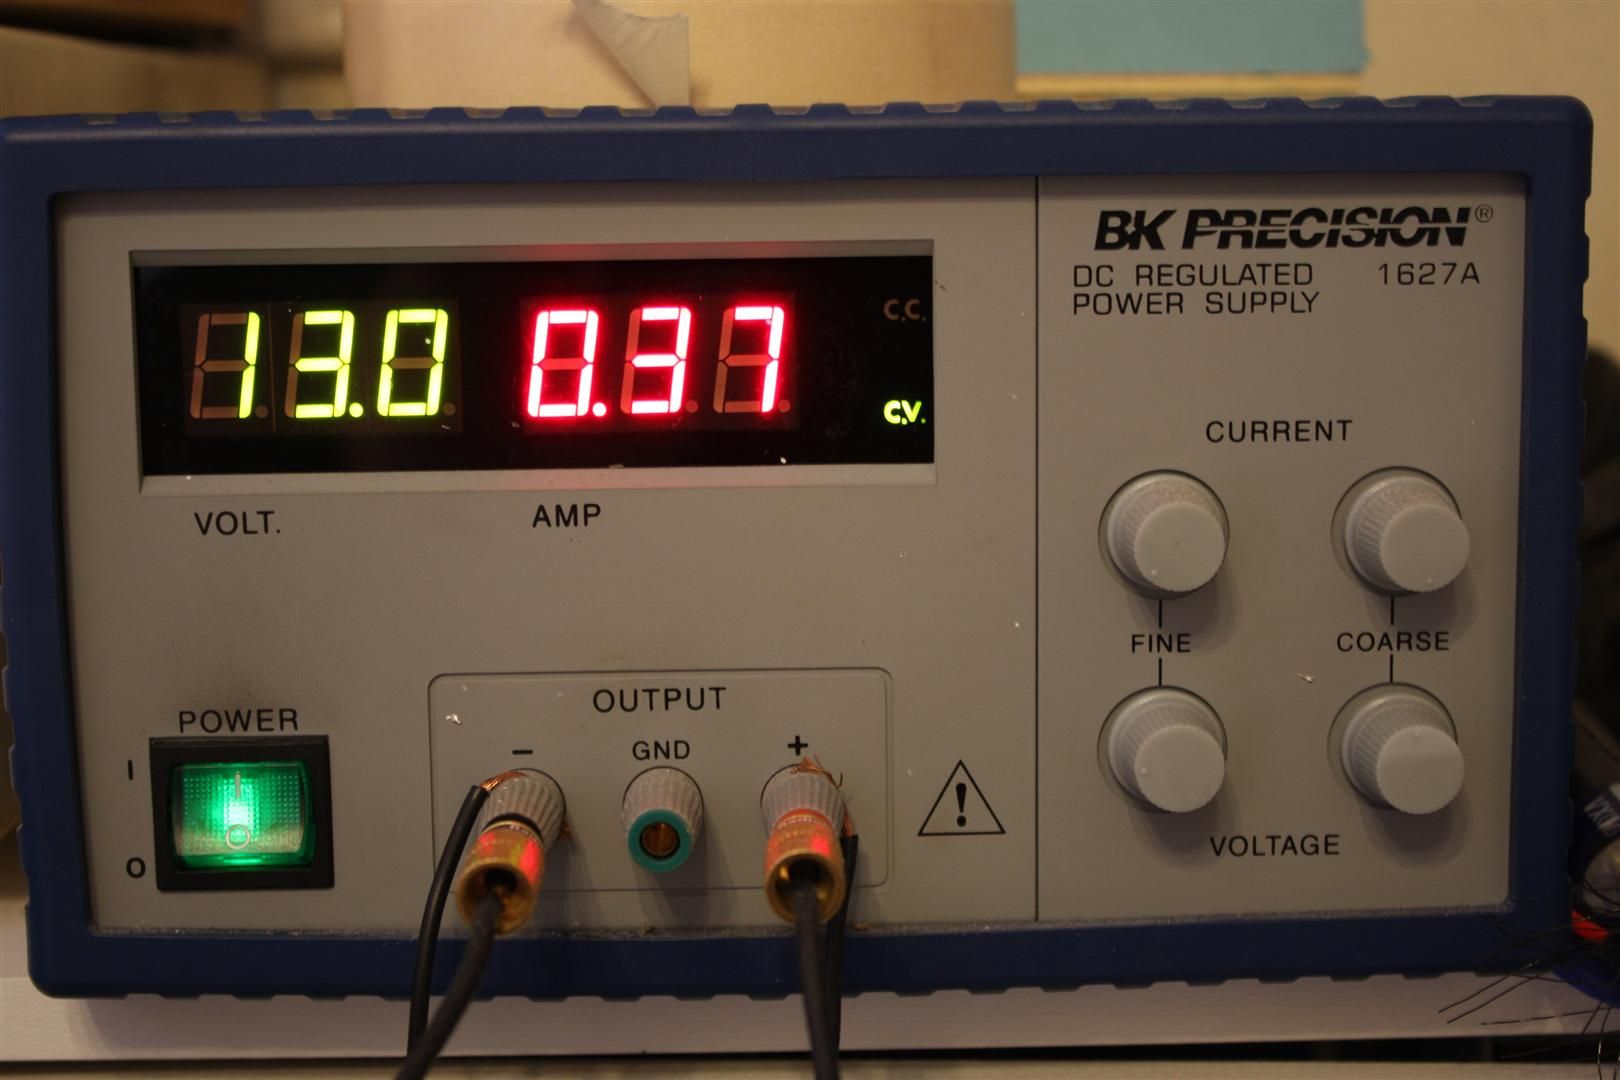
Same test performed with the LED and the draw is 0.21 amps. With such difference, there is no way that the ECU will not throw a code. Played a bit with my box of resistors and with a wirewound 50 Ohms 25 Watts, I was able to get the same value than the OEM. With this wattage, they get barely warm. Wirewound resistors are great but they are big so in order to do an acceptable work, parts have to be removed and here is the DIY.
DIY
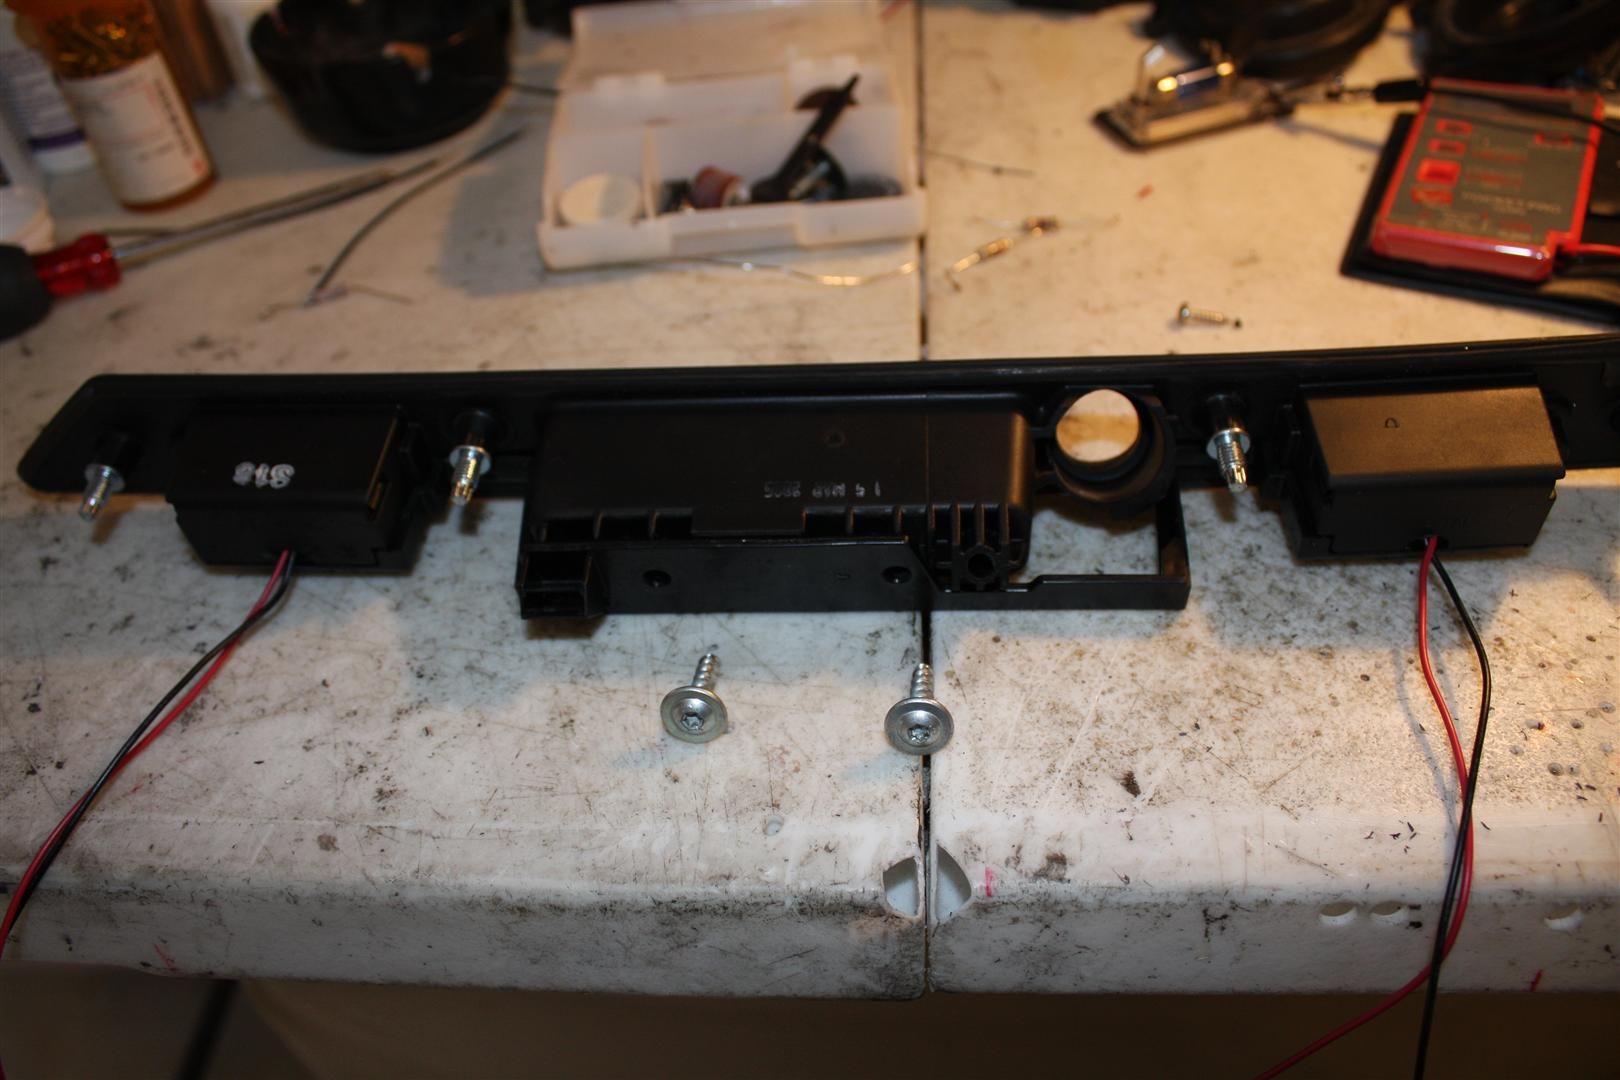
Open the trunk; remove the fluorescent cover of the handle
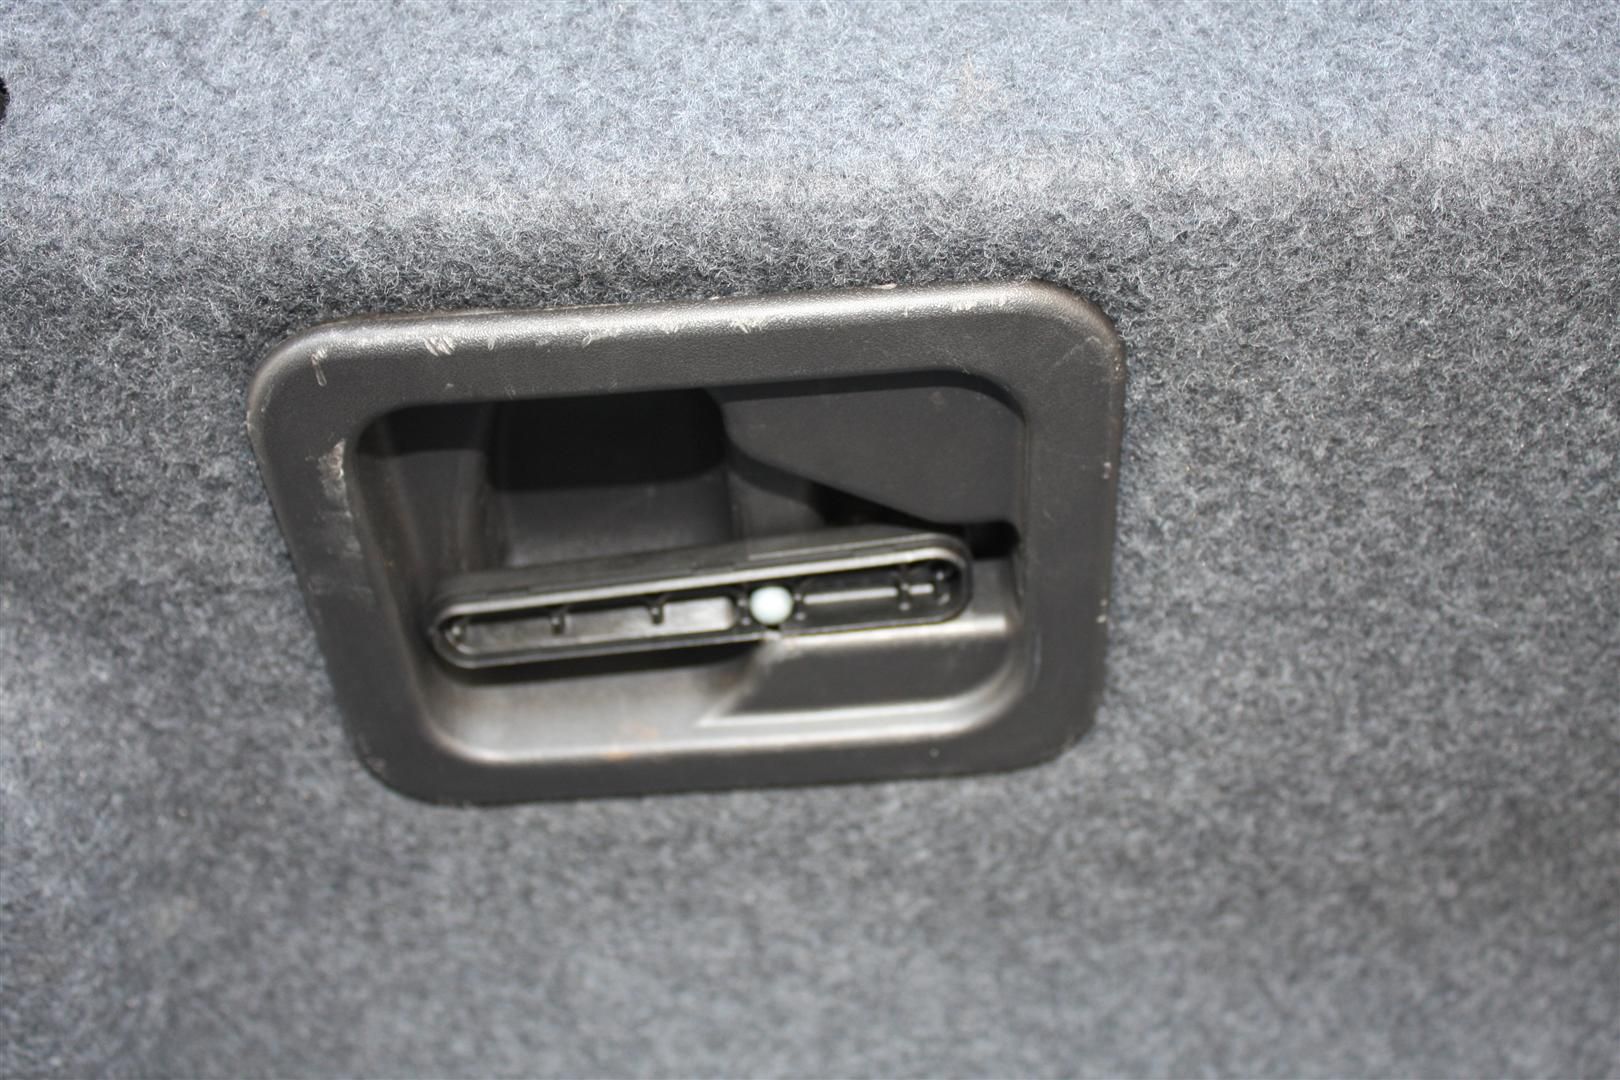
Pull off the swivel the handle, and remove the 2 screws holding the upholstery panel. Pull off the handle housing
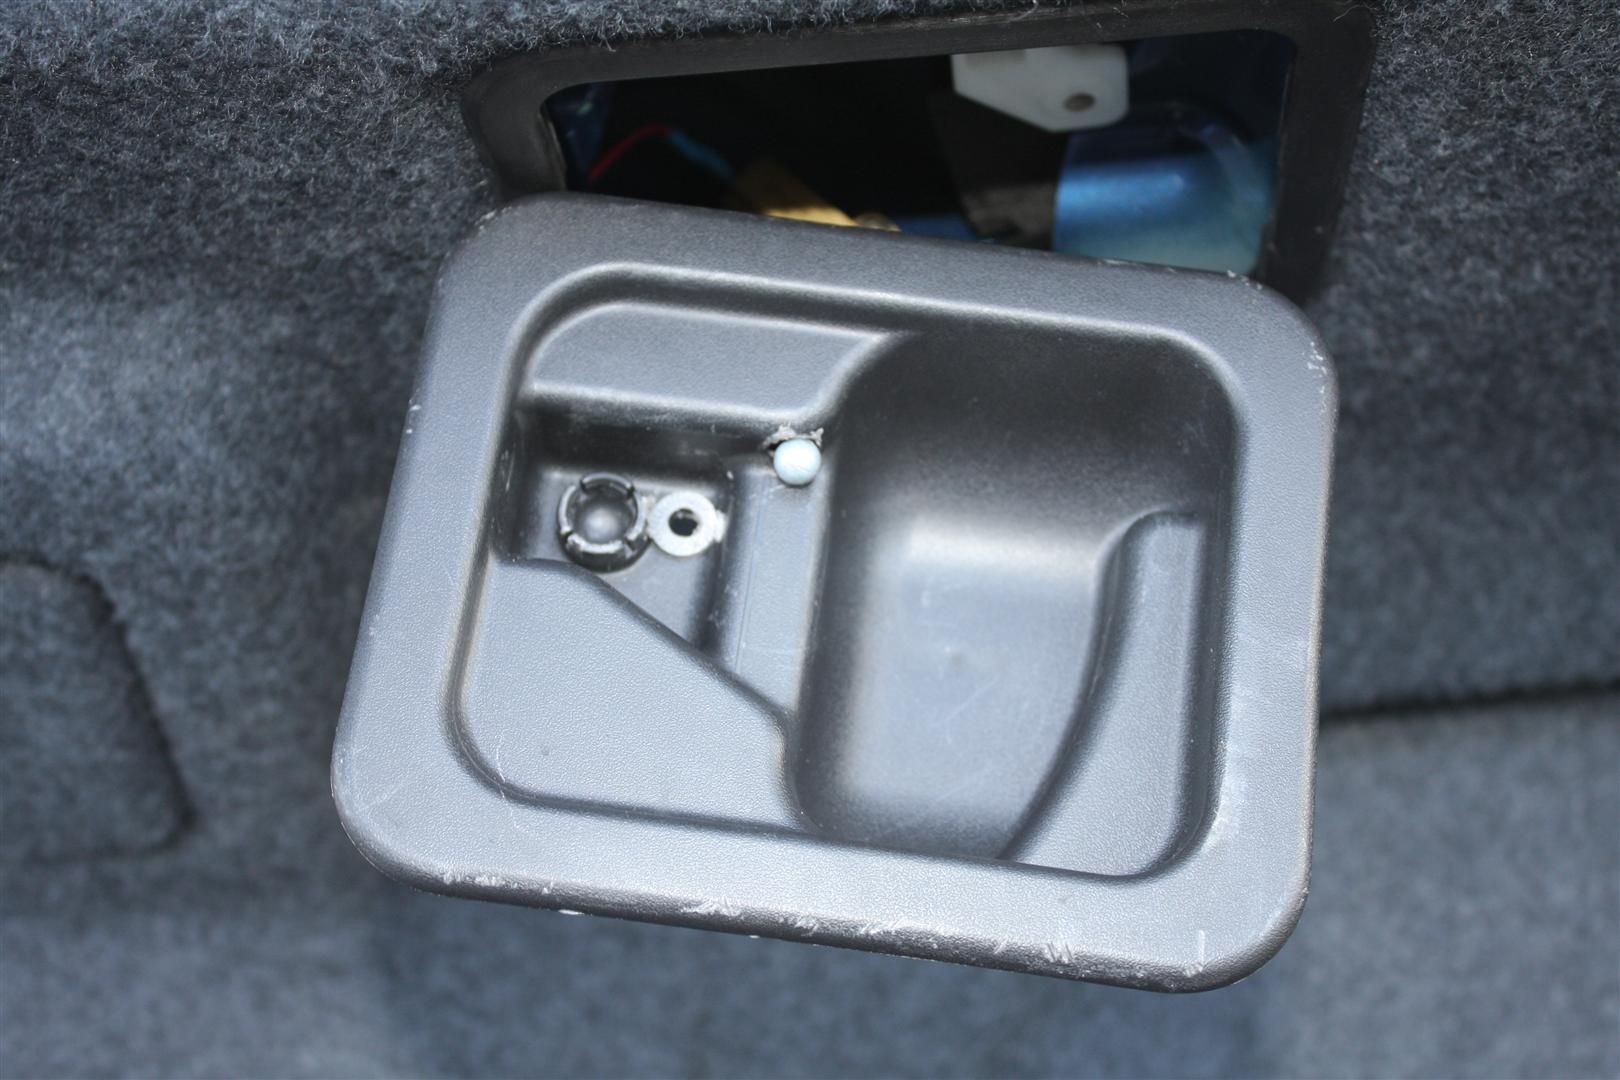
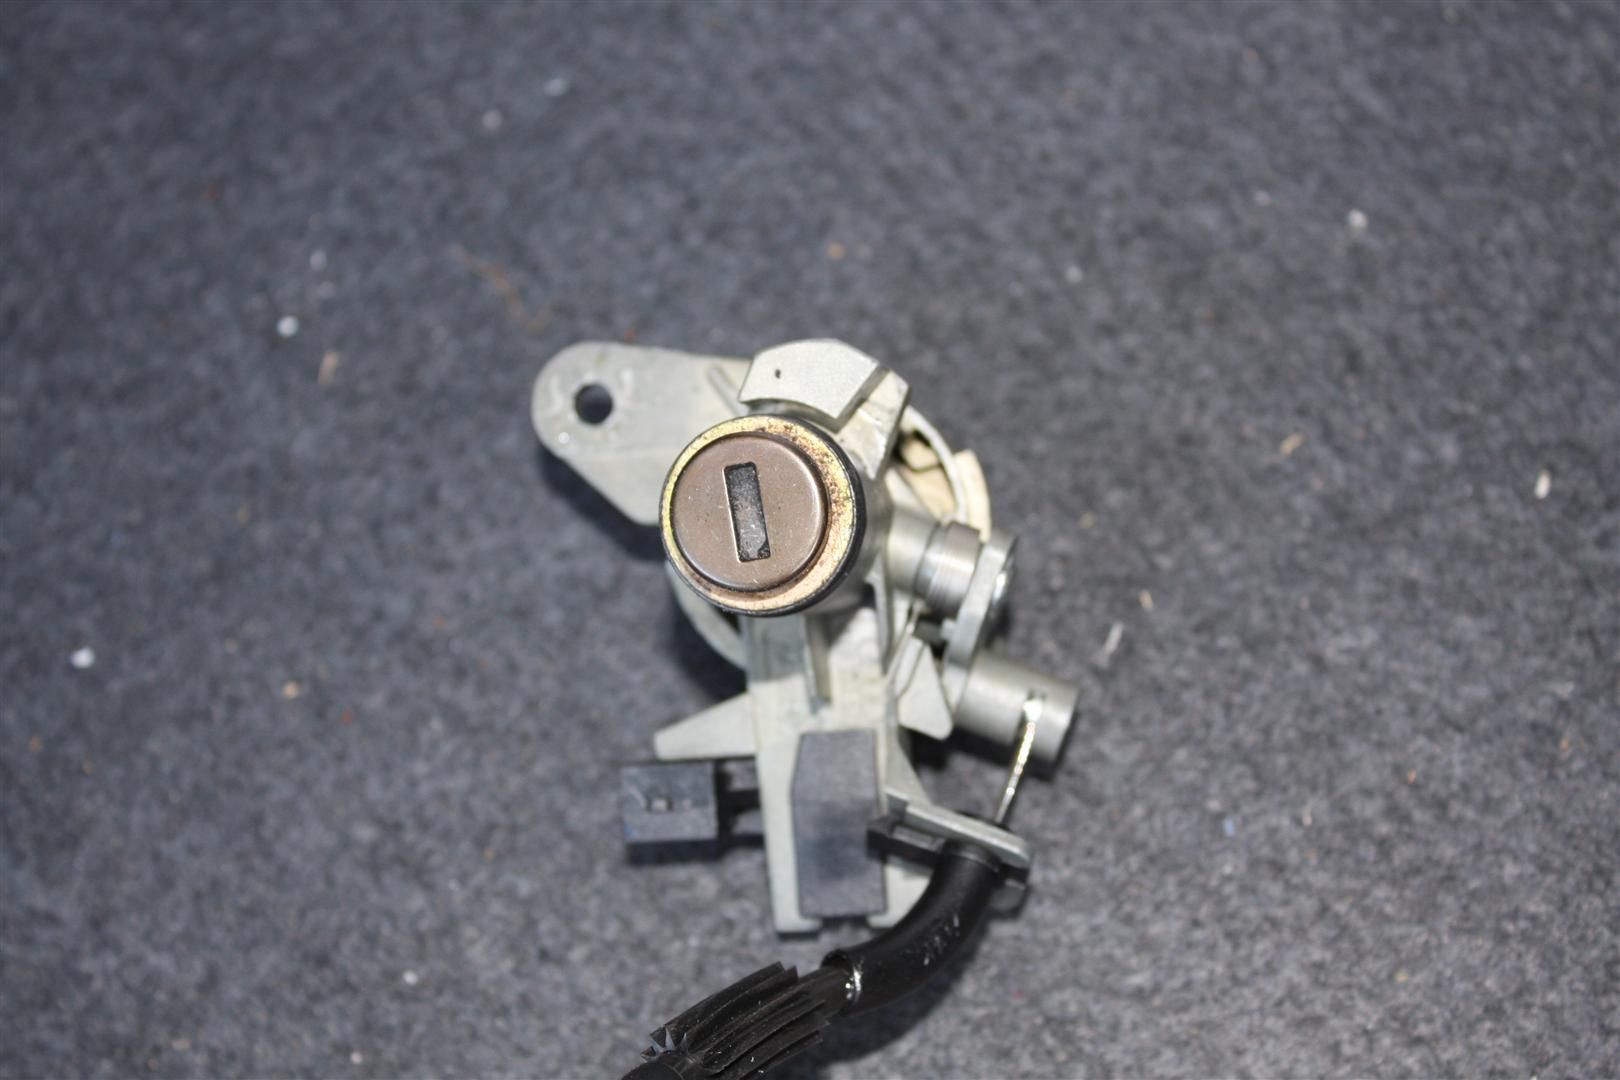
Disconnect the key barrel cable
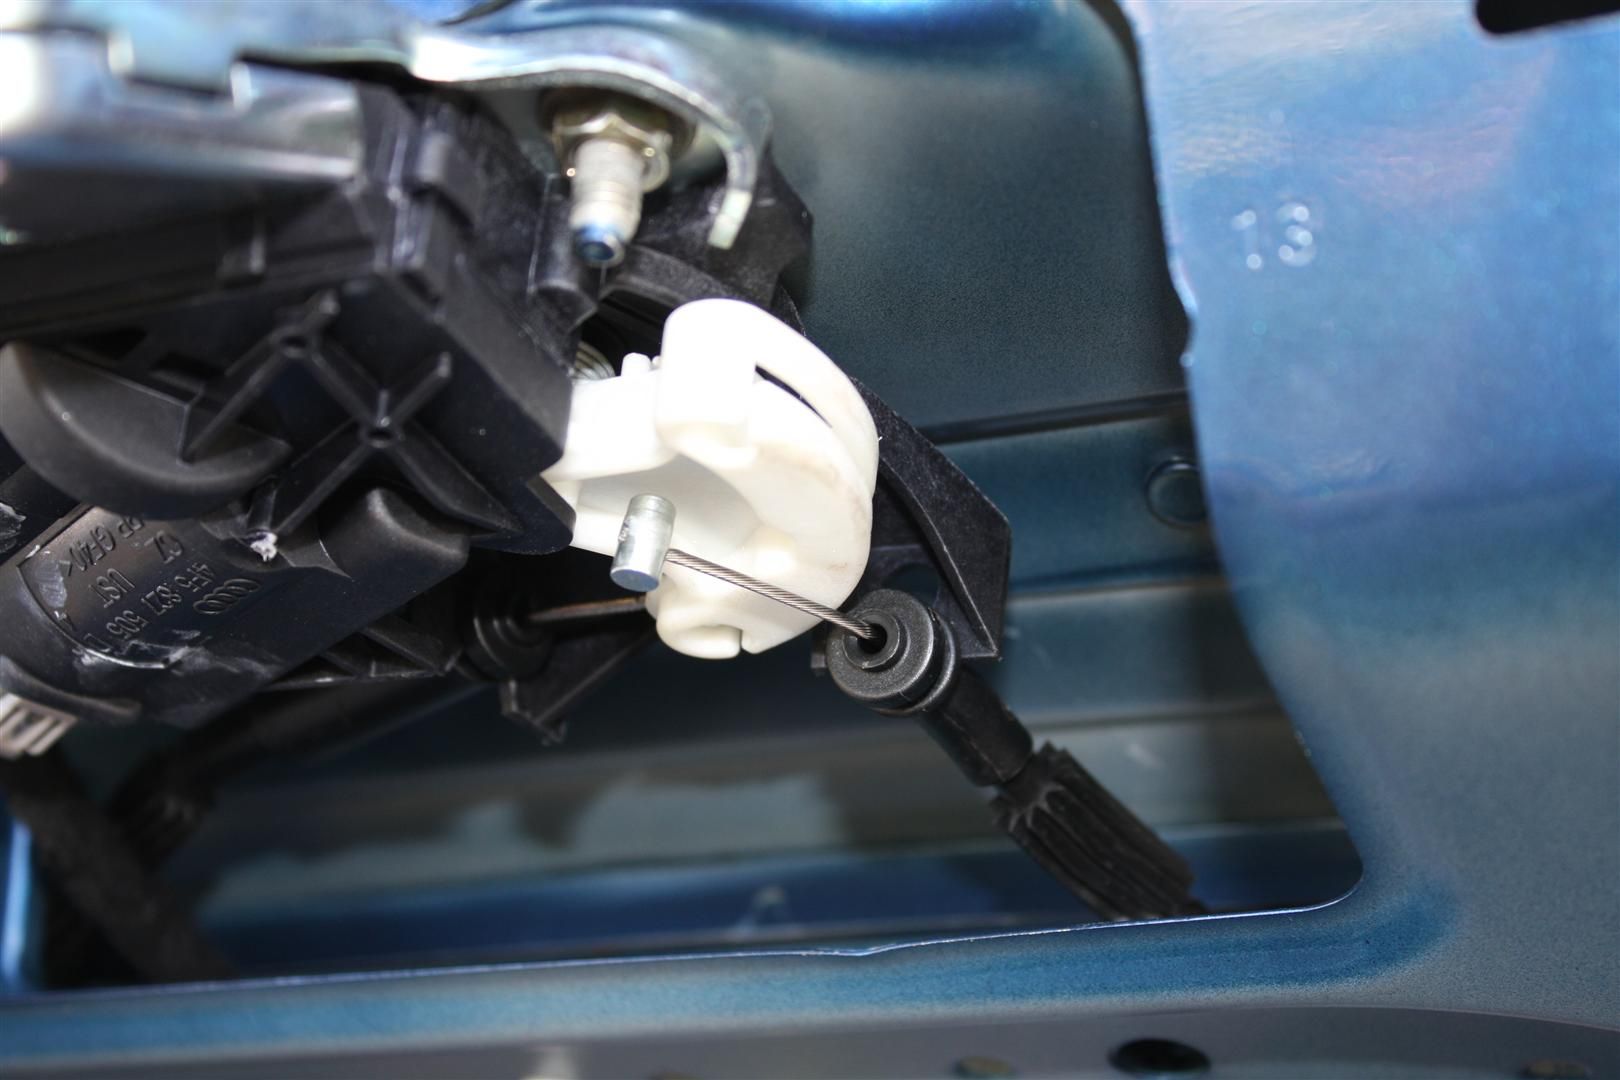
Remove the bold (red arrow) with a 10mm wrench
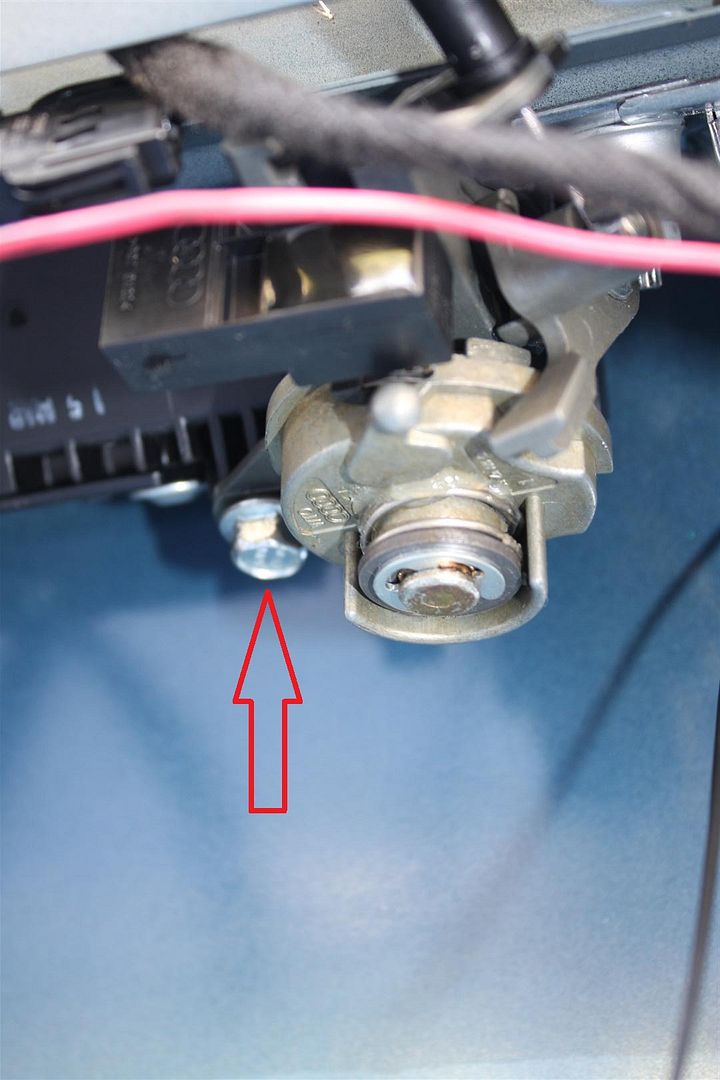
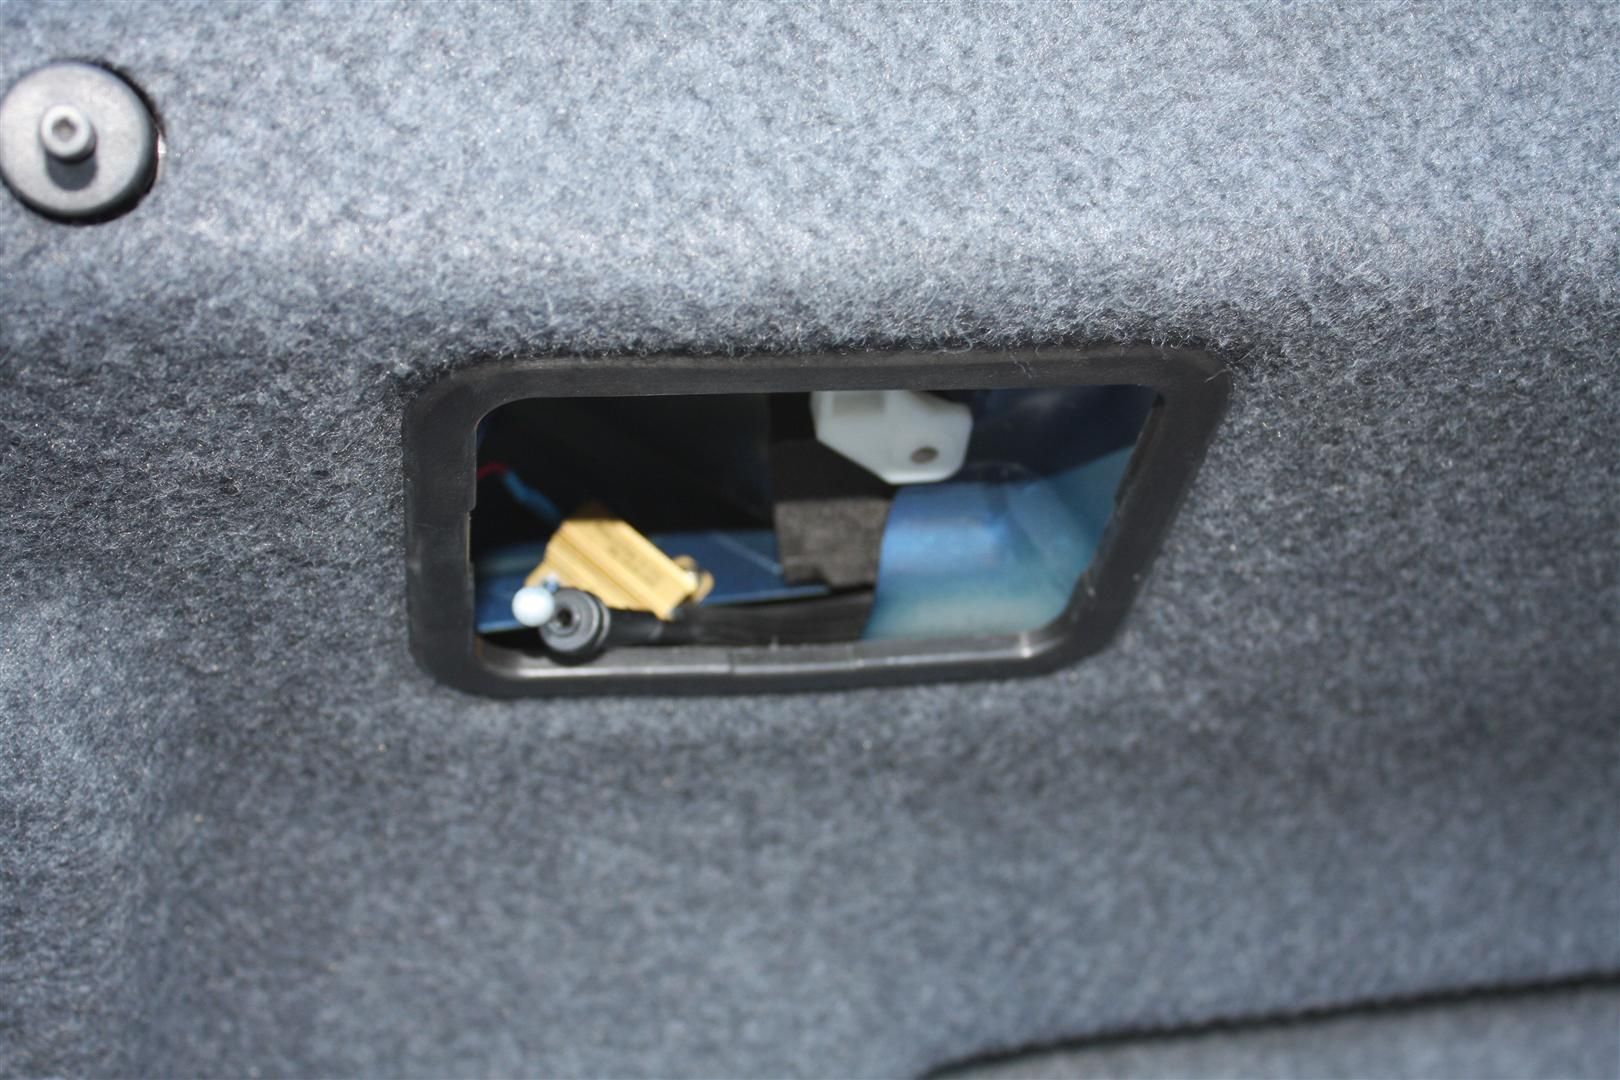
Looking at the trunk from the rear, you need to turn the barrel assembly a quarter turn counter clockwise and then slide it off
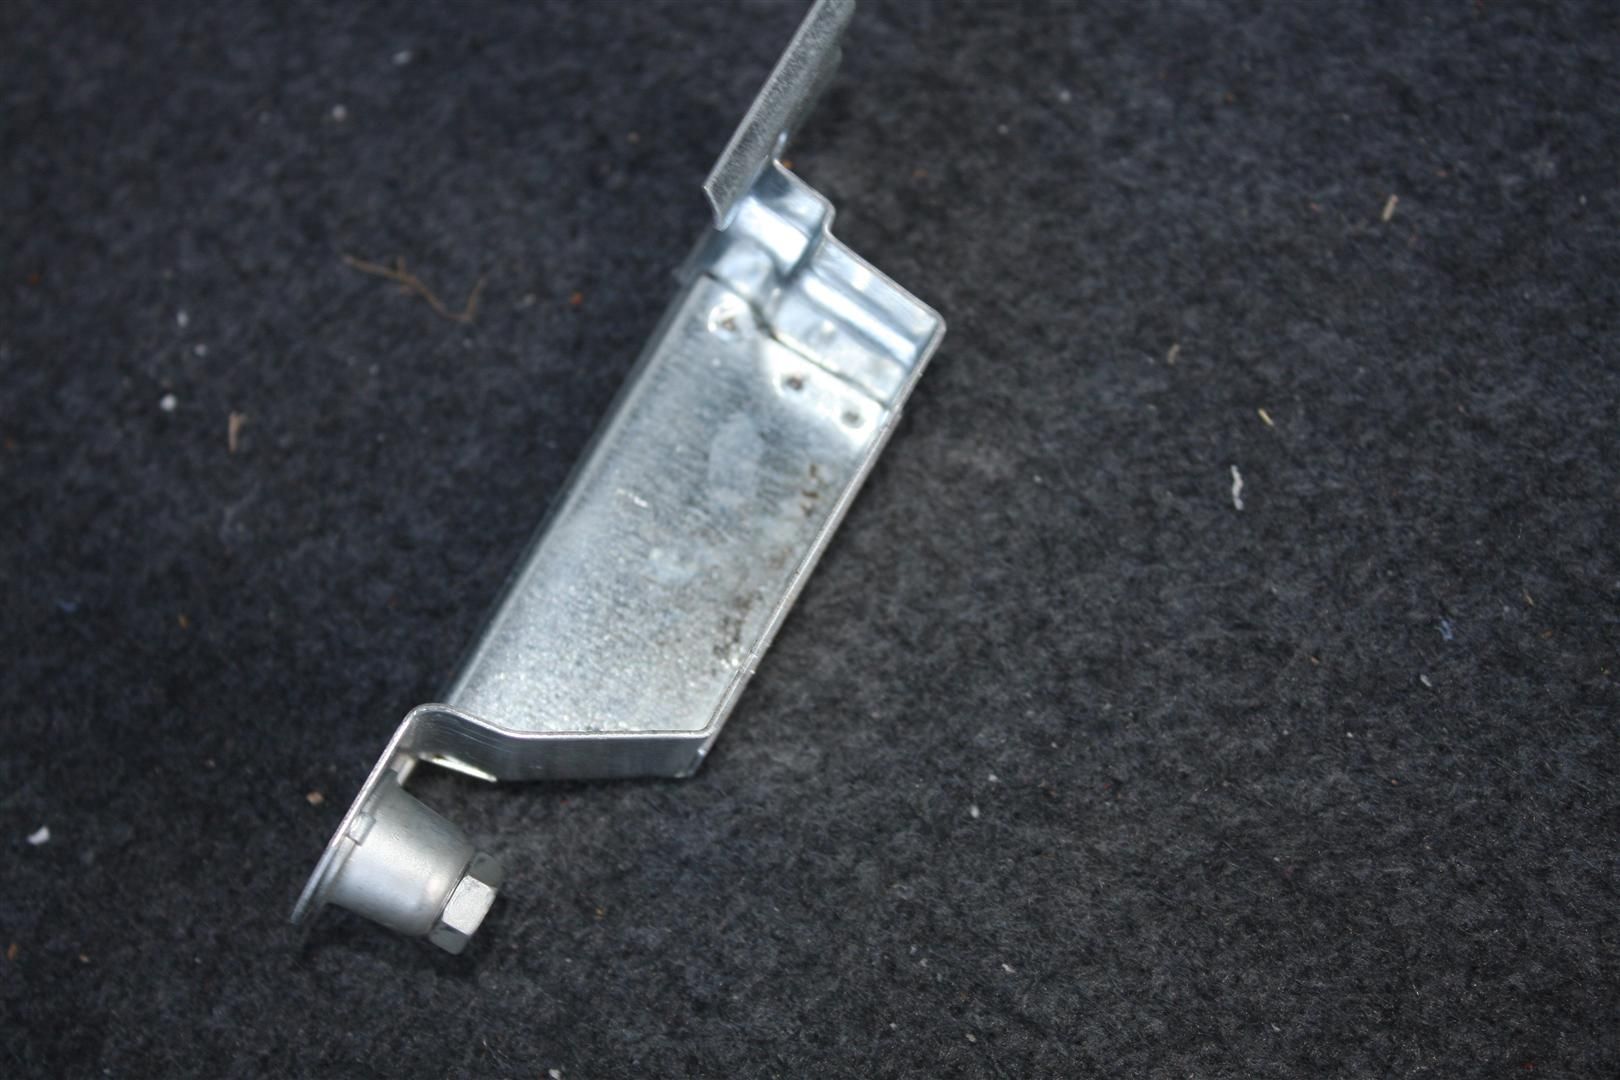
Then, with the 10mm wrench, remove the two heat shields
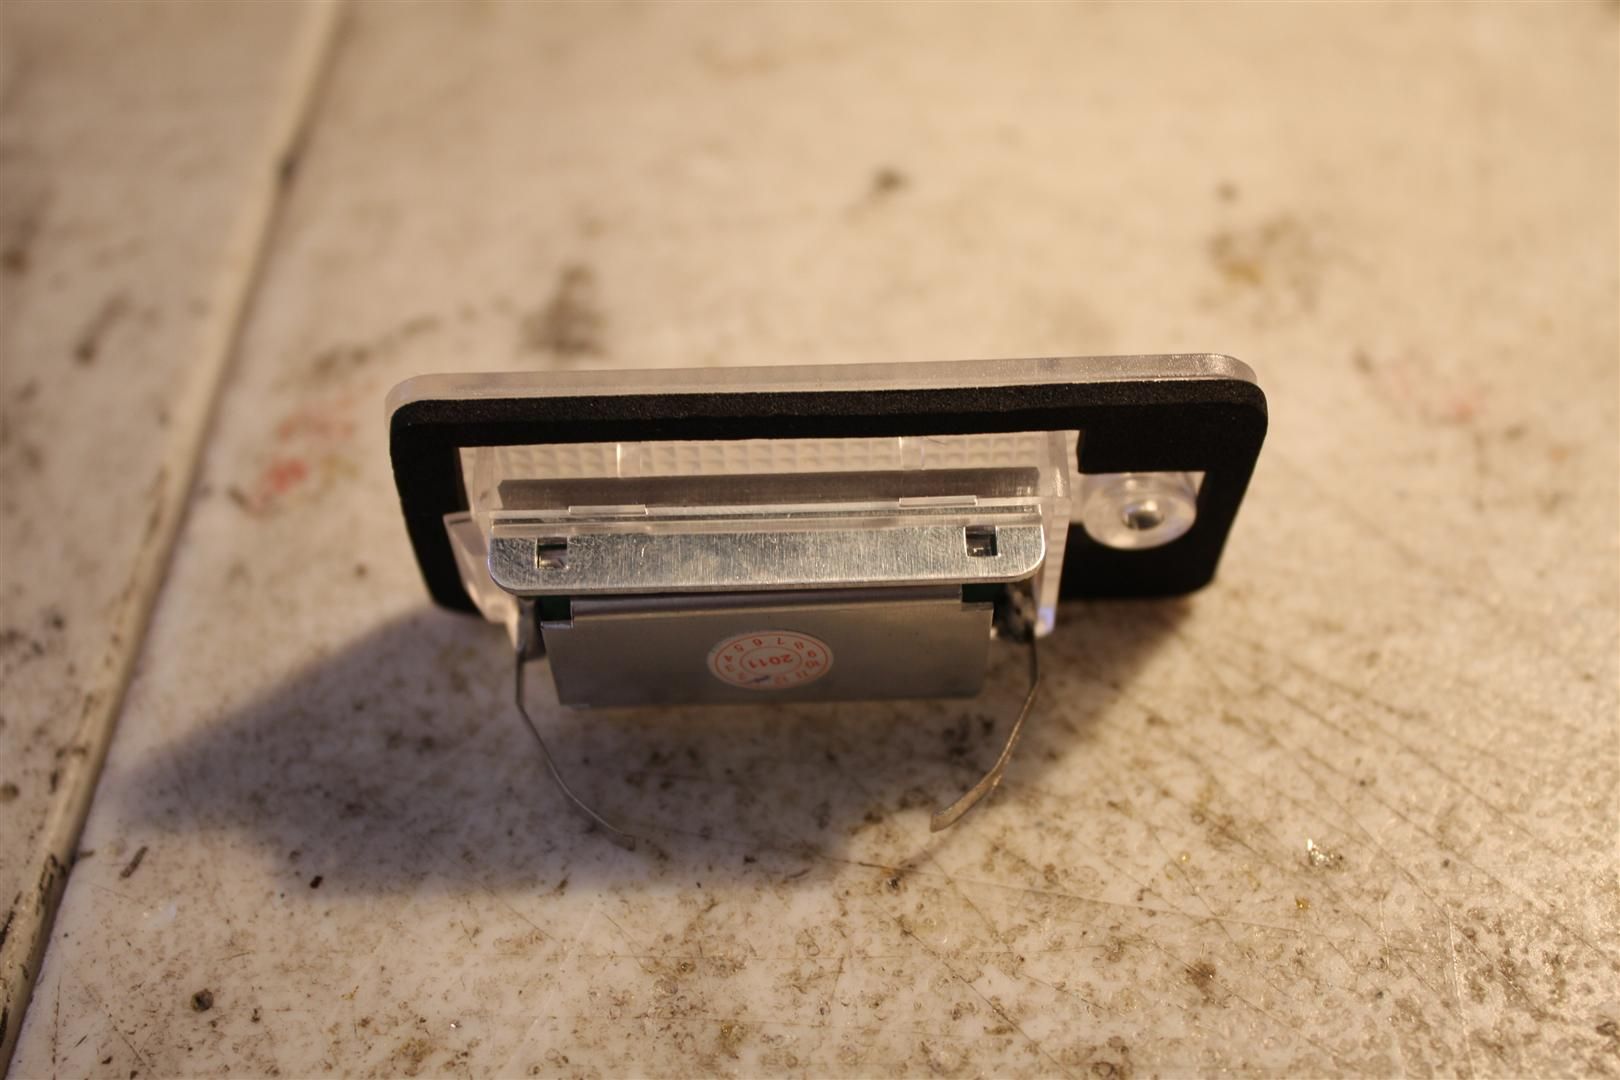
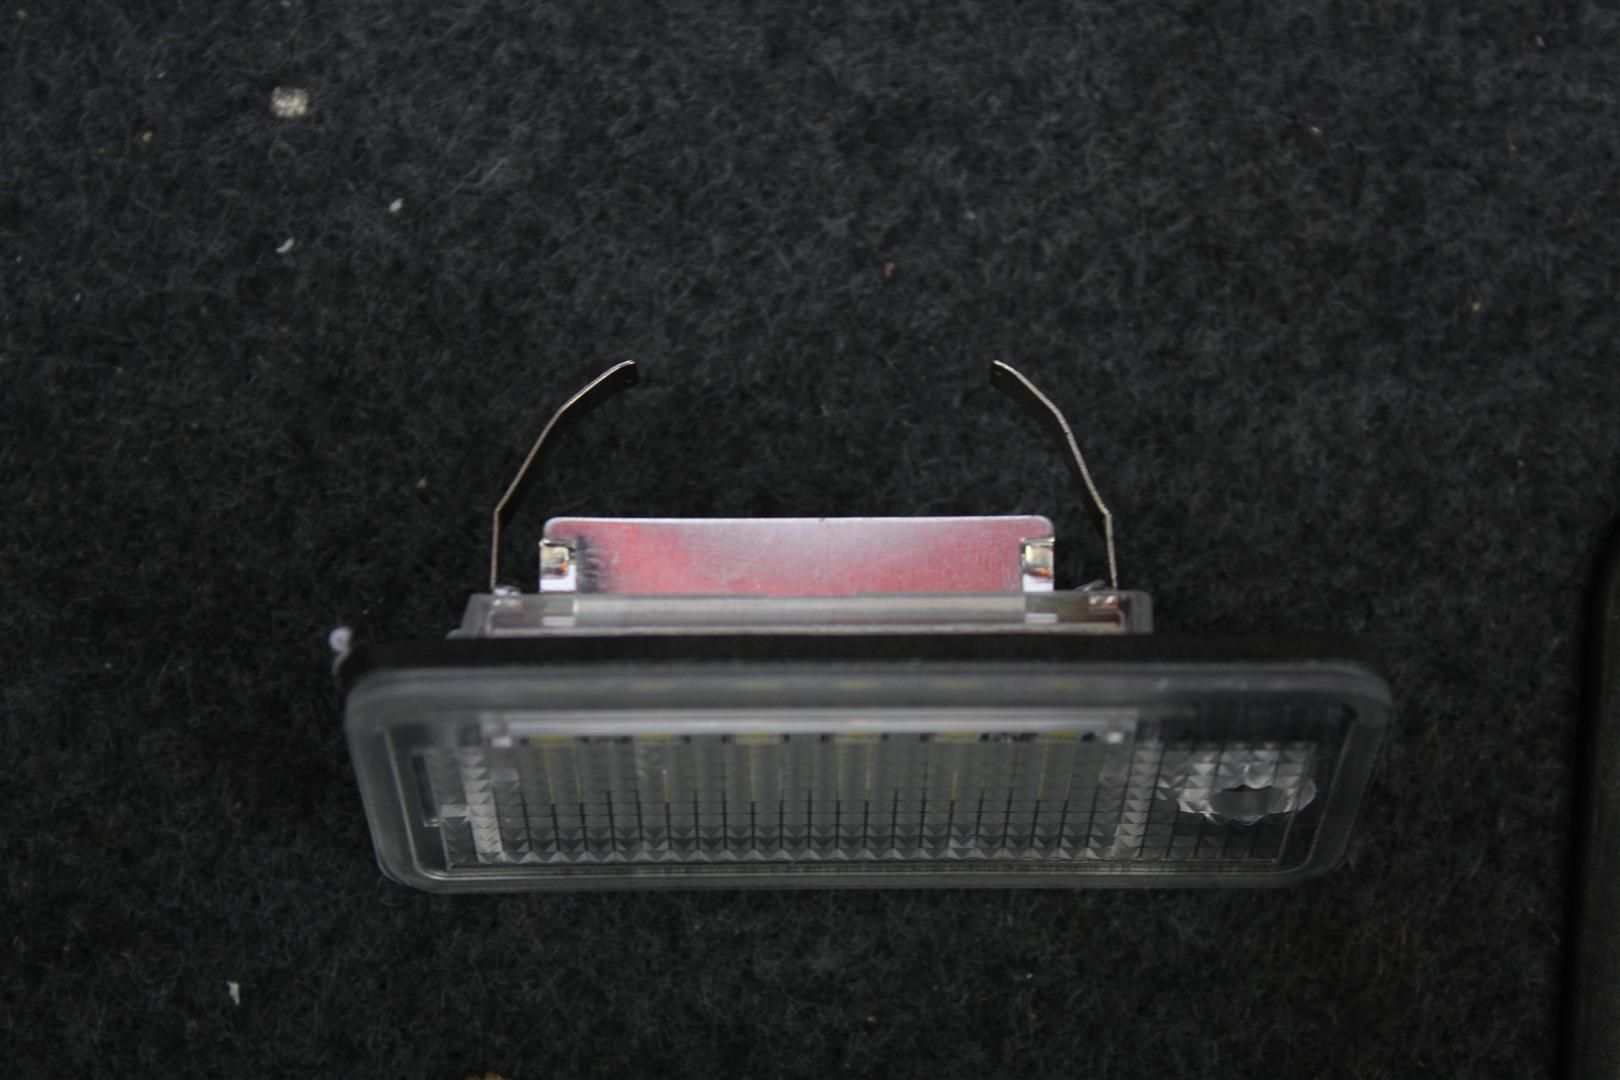
Slide out the light assembly. Remove the 2 screws in the middle and gently separate the two parts. I was really surprised by this: with OEM bulbs, check out how the plastic is melted and cracked
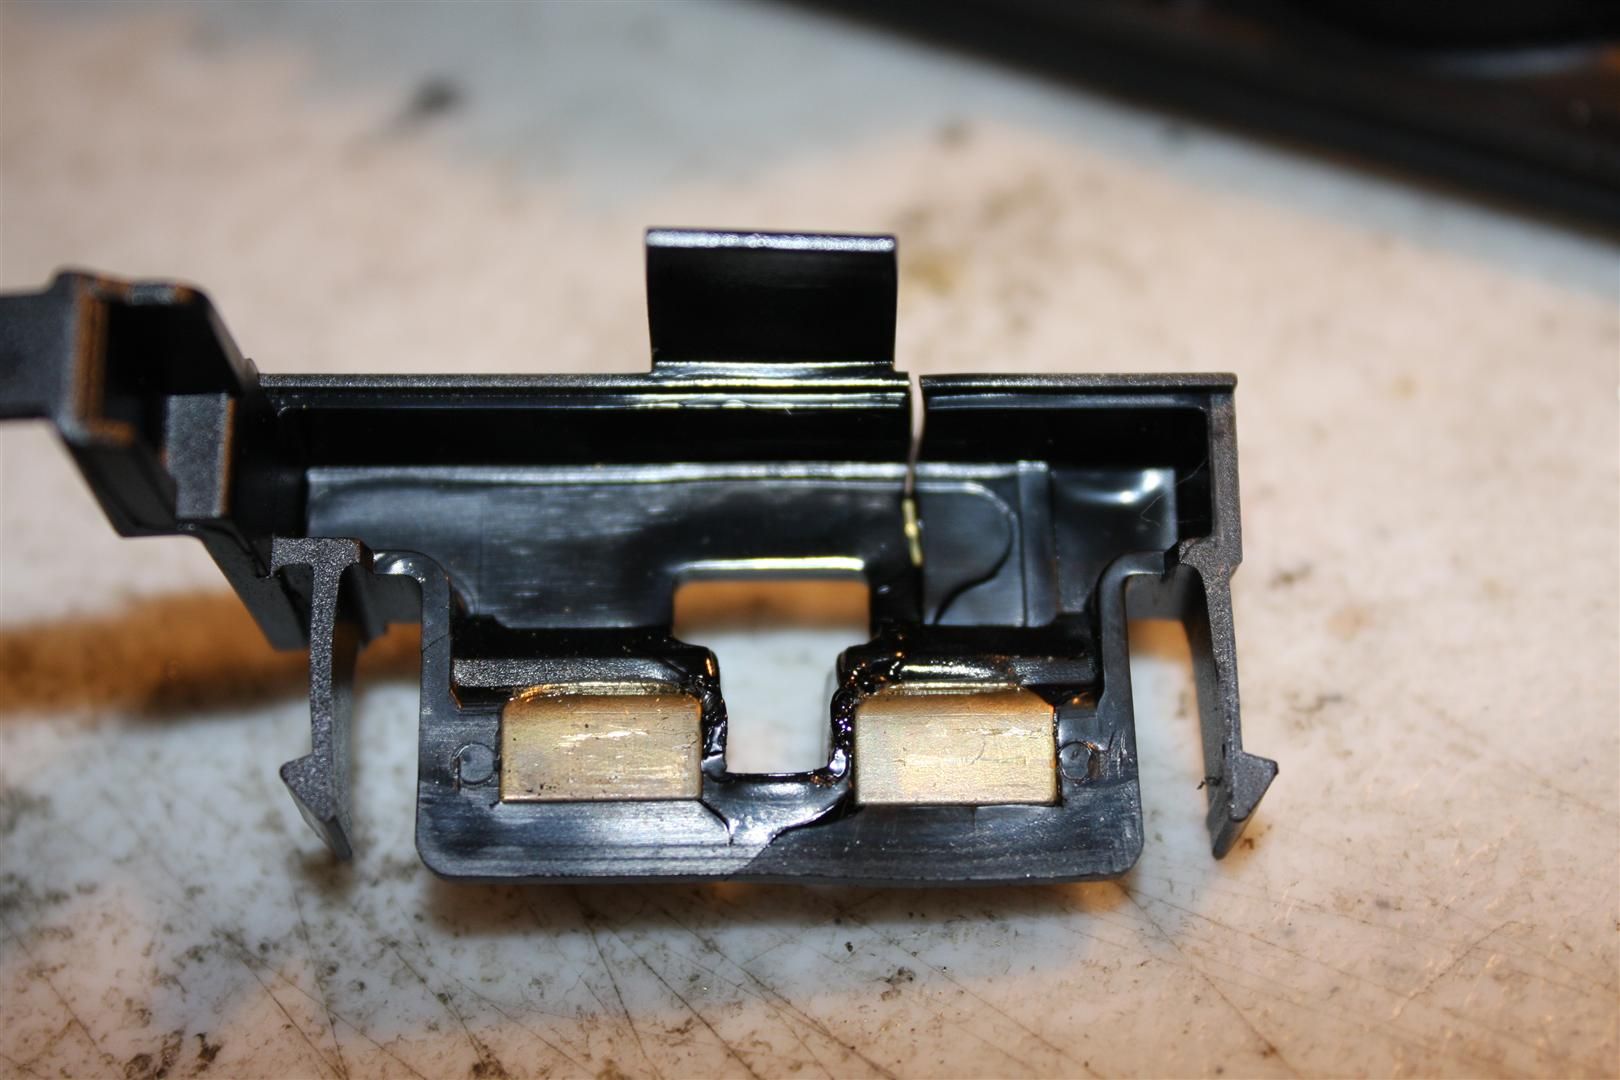
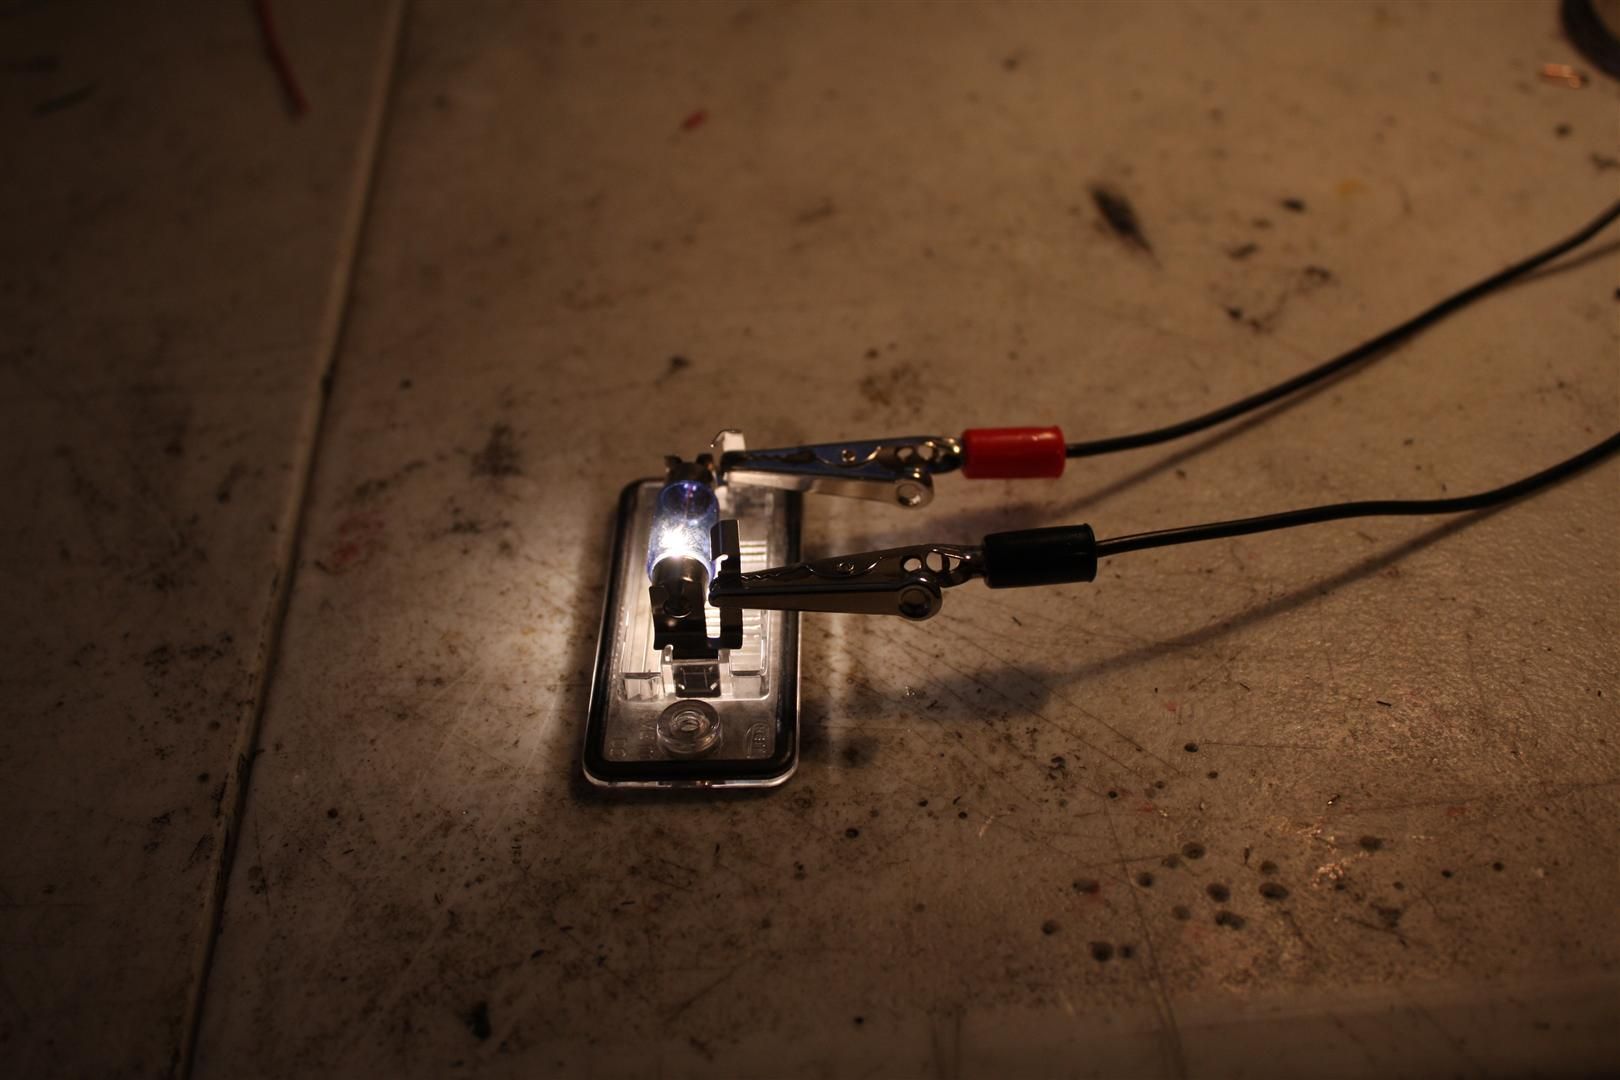
Equip your resistor and solder the wires to the contacts
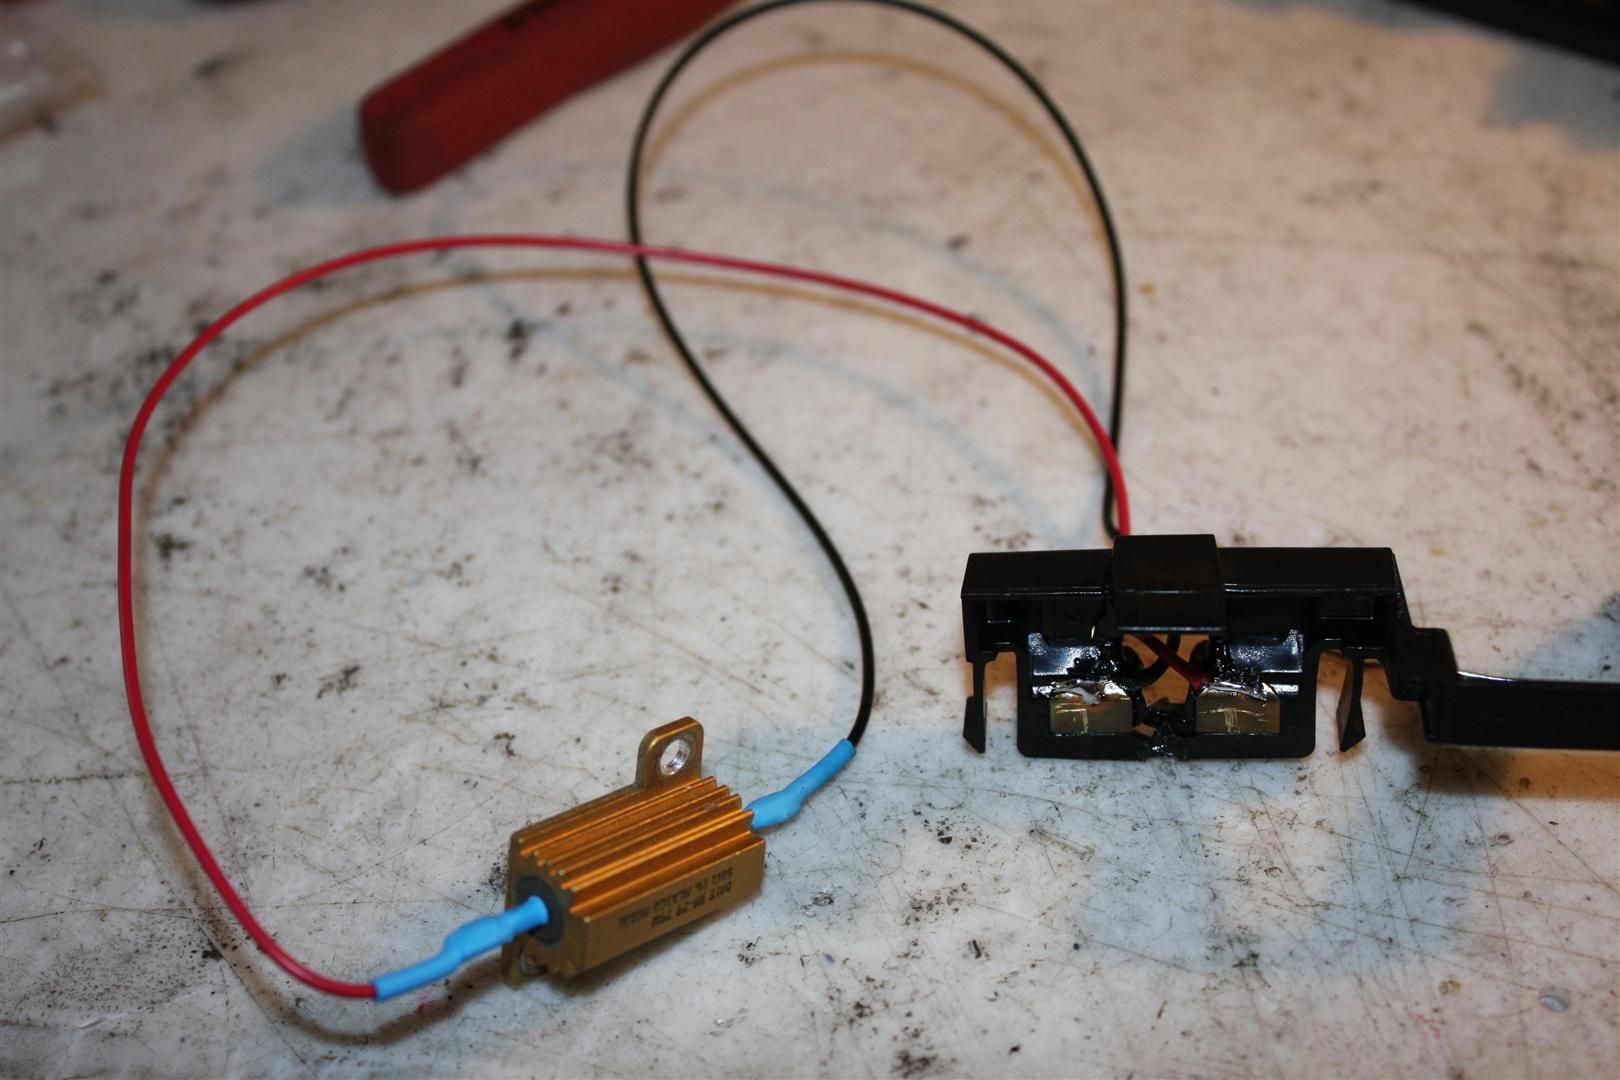
Close up

Clip both parts together and you should end up with something like this
Secure both resistors inside the trunk; there is plenty of room for that
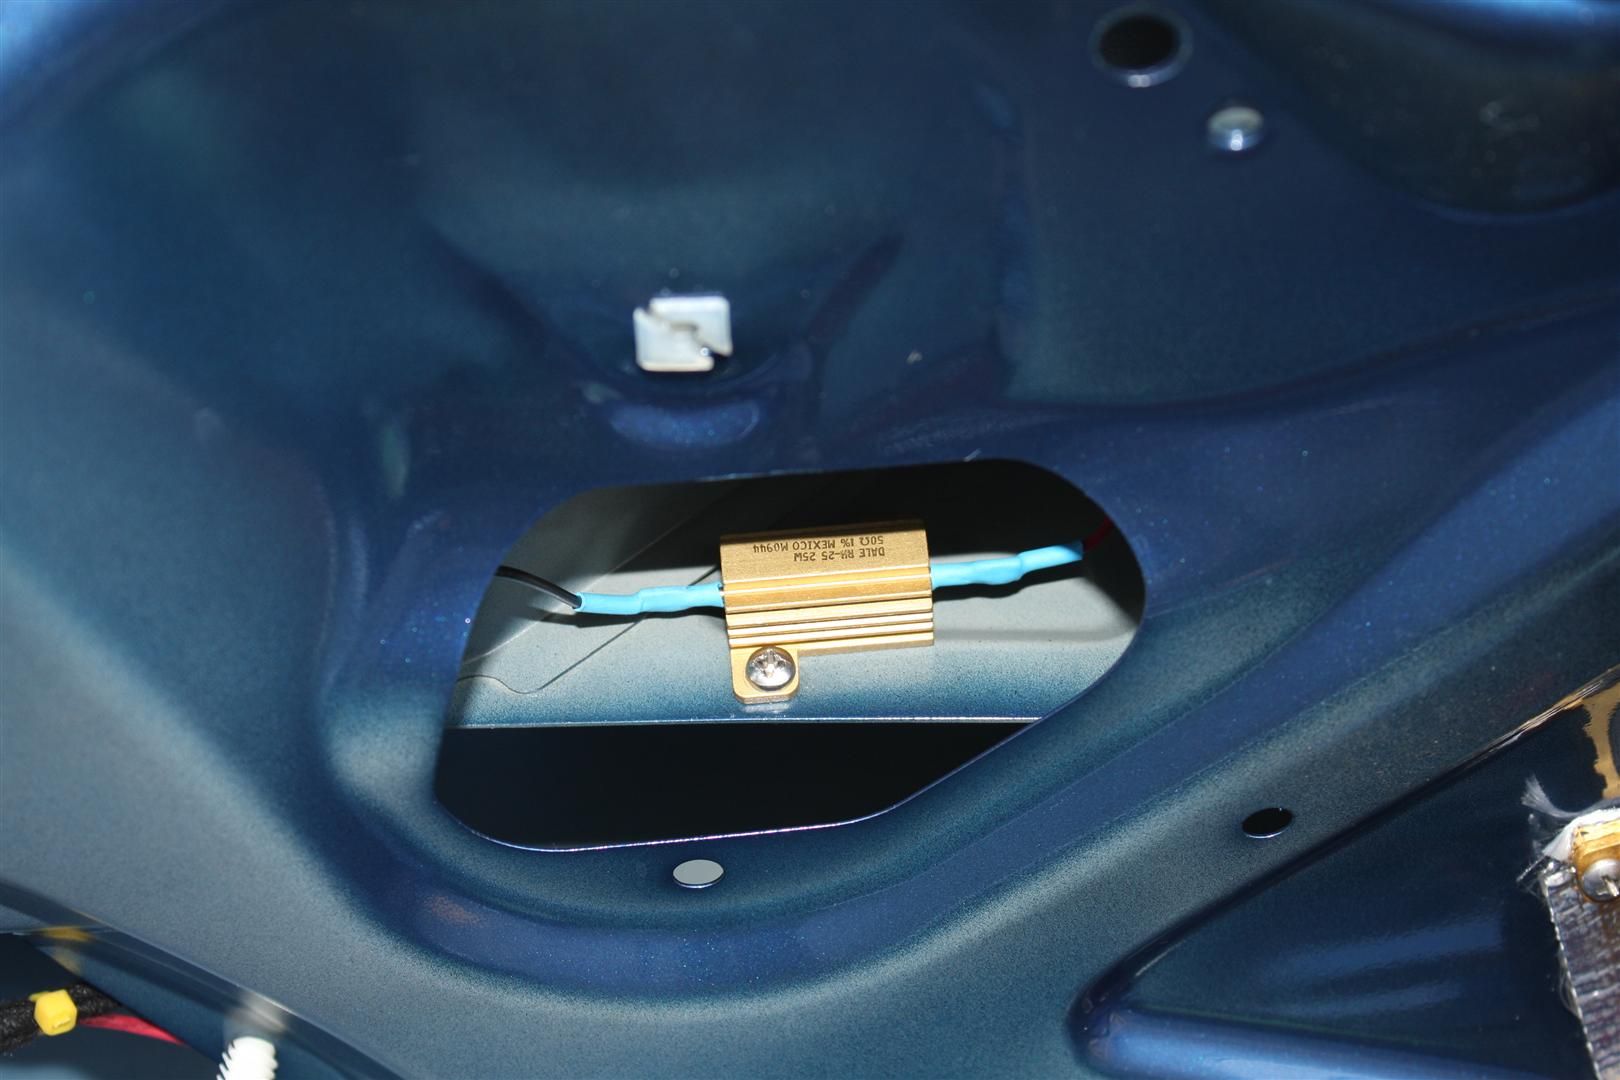
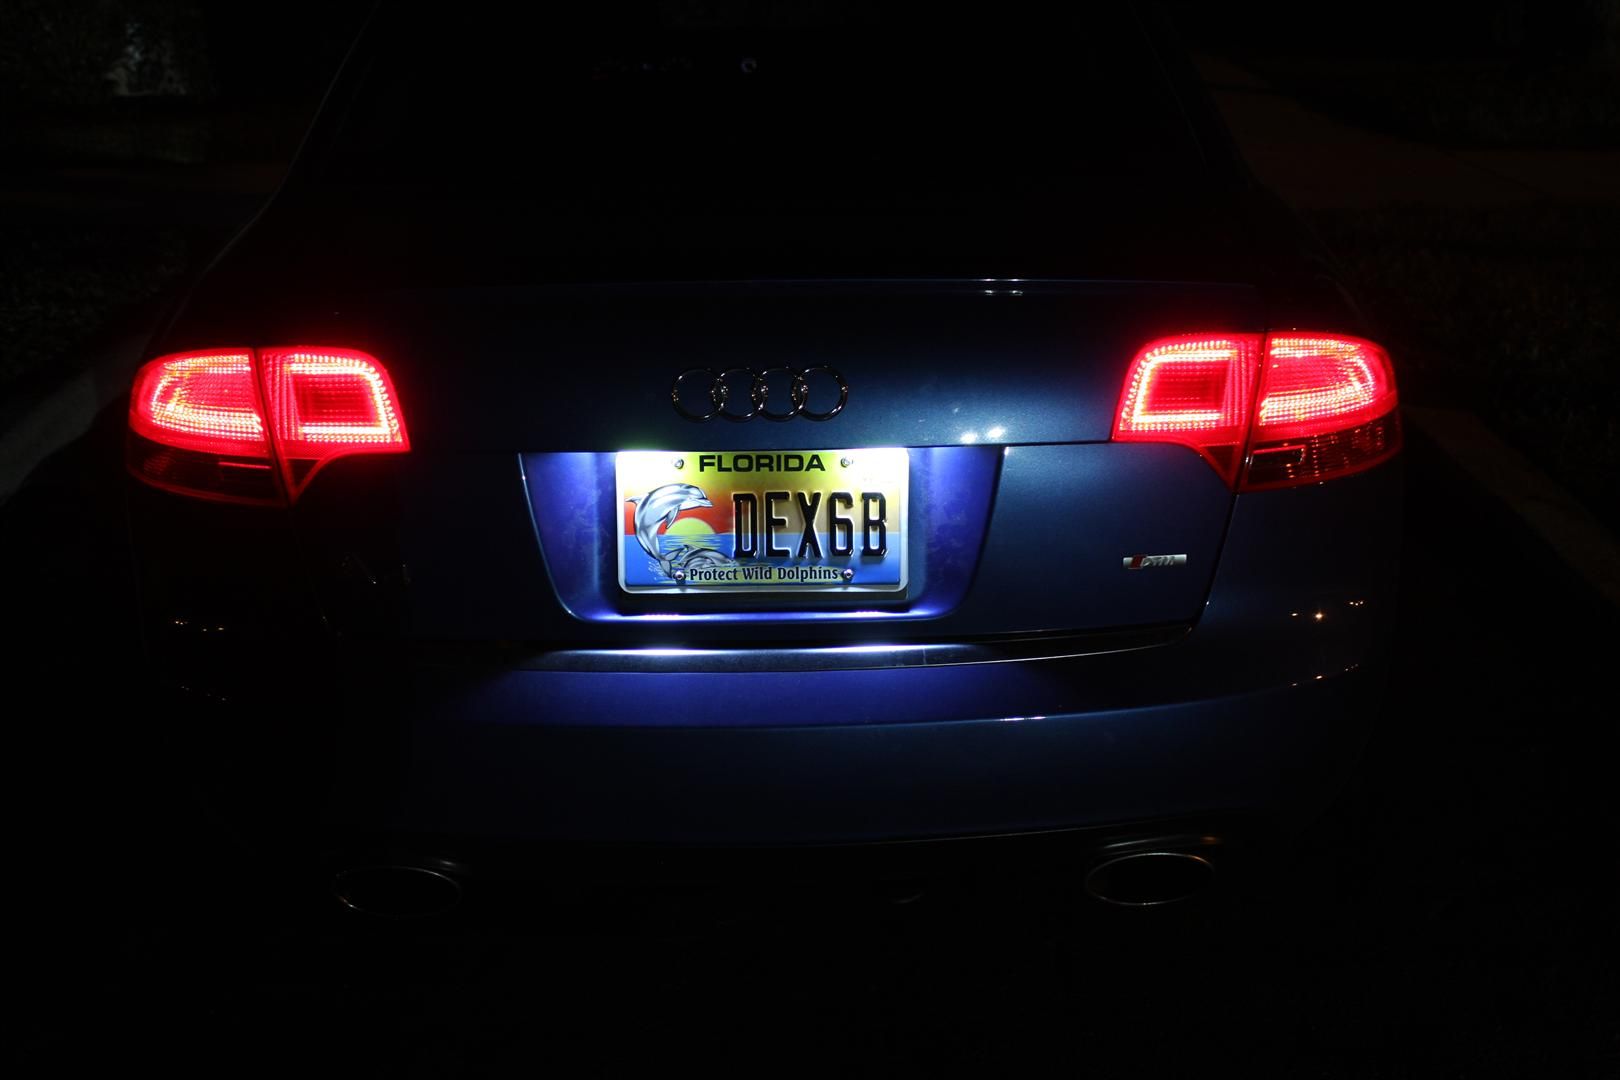
Reinstall in reverse order and guess what, no code
I little tip: When you are ready to install the LED in place, turn the City Lights ON first. Then, bent upward the tabs of the light assembly and slide the light in position. Make sure they are lit before you install the PITA screw.
Contacts bent upwards
And yes, they are bright!
Let me know if any question
Phil

 Reply With Quote


Bookmarks