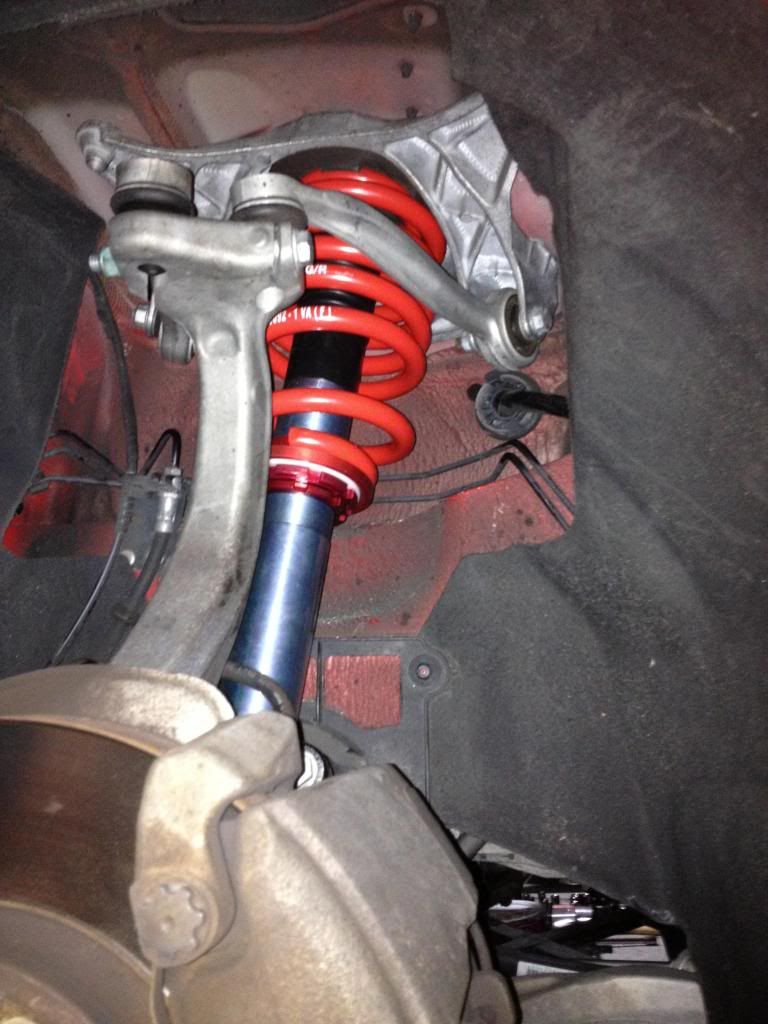
So I havent been able to finish the suspension. The front is all mocked up but I just need to tighten up the bolts and set the initial spring height. THen I need to do the entire rear suspension. I will be working on that tonight.
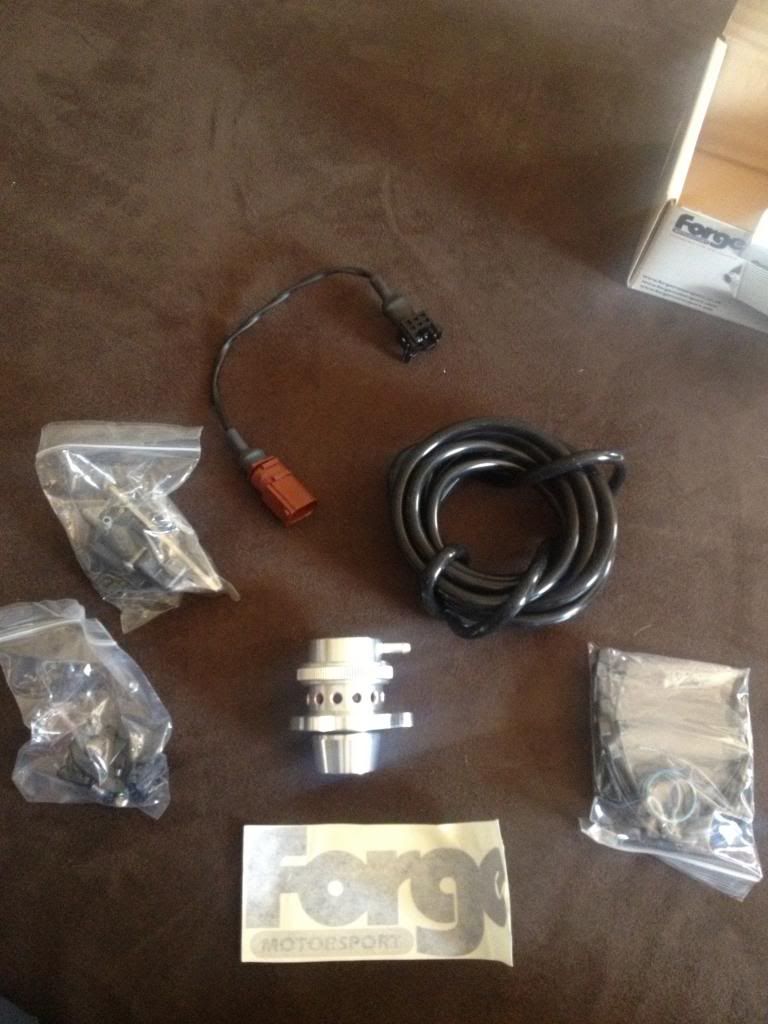
What I was able to do (this morning after the lady left) was install the goody she brought me from Orlando...The Forge FMFSITAT DV upgrade. I also documented the install briefly to help anyone who may purchase this and wish to install it and want a little better directions than the factory write up from Forge (no offense guys).
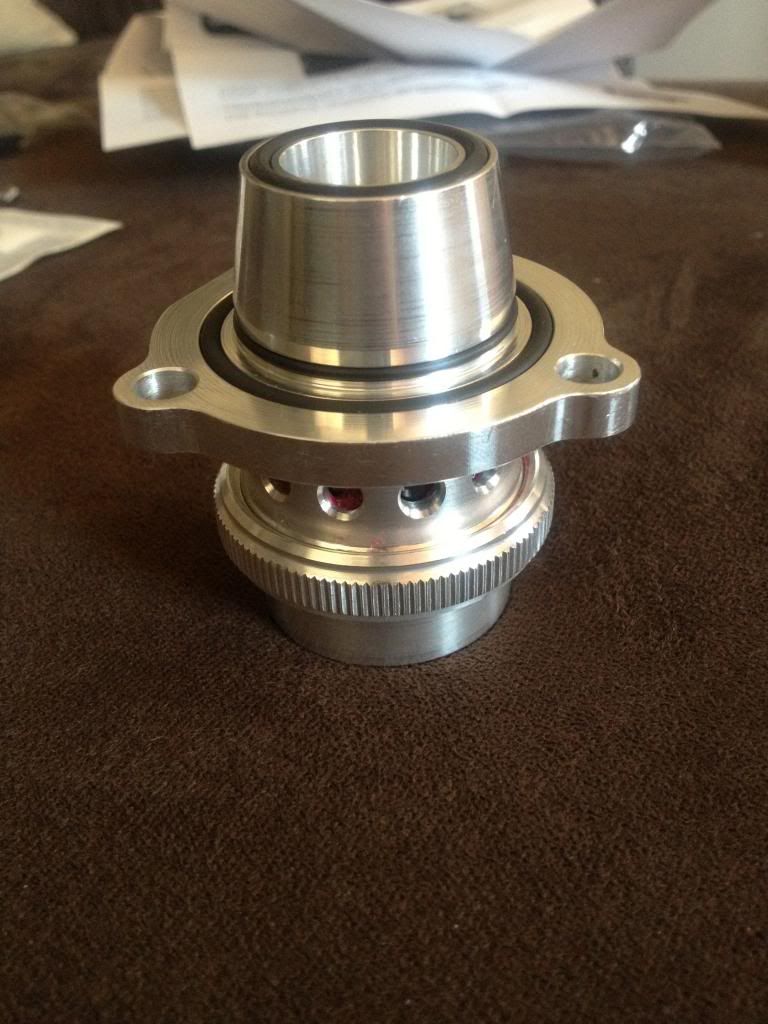
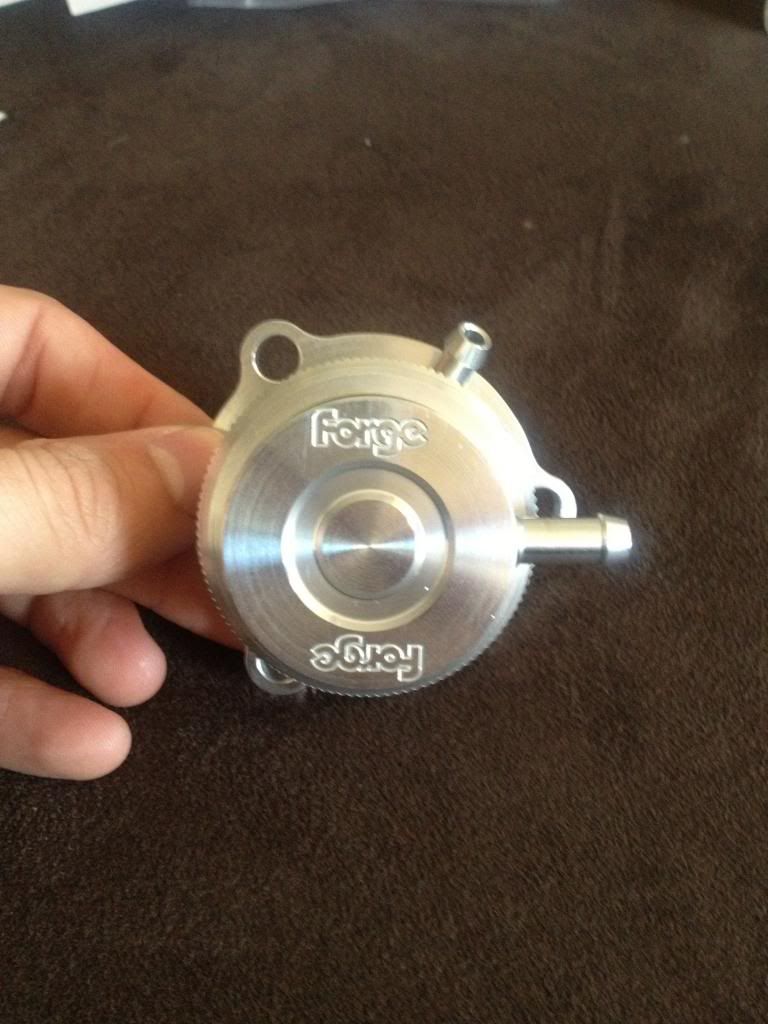
The forge DV replacement
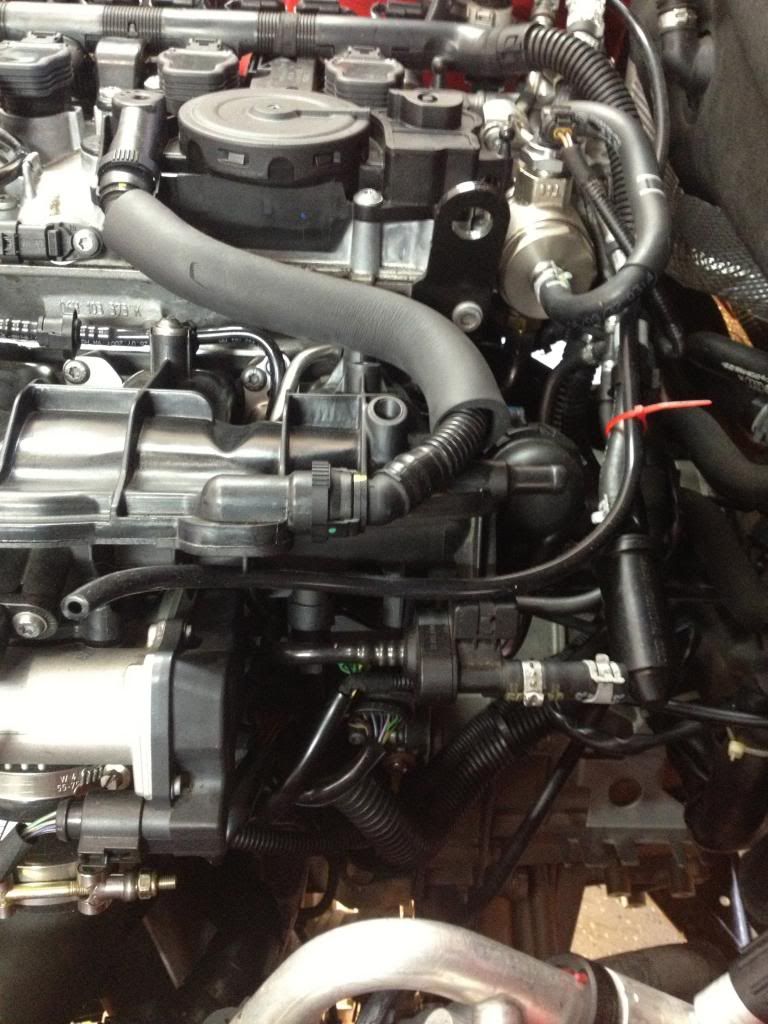
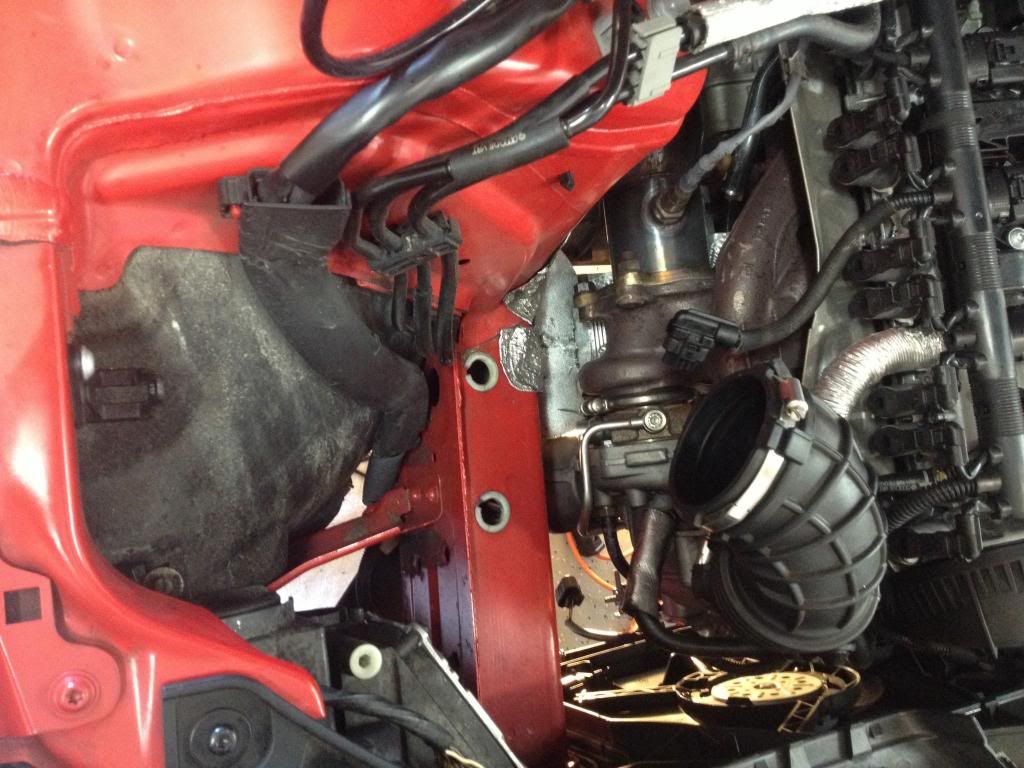
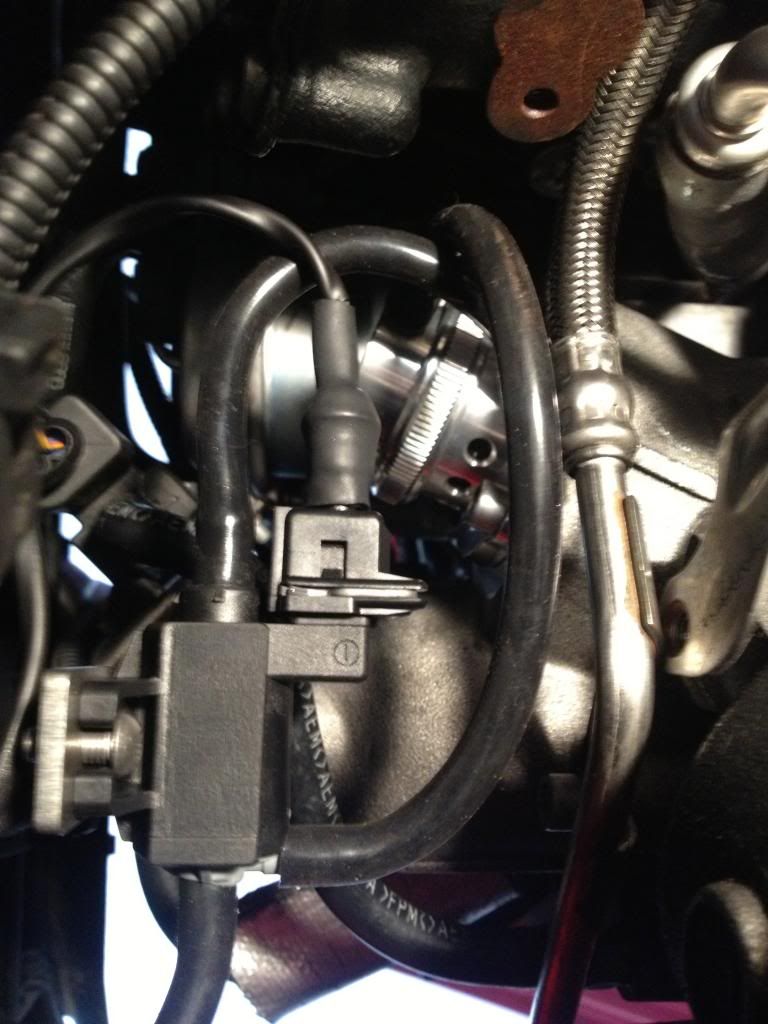
I had seen in quite a few threads of people asking where the factory DV is, so I took these pictures:
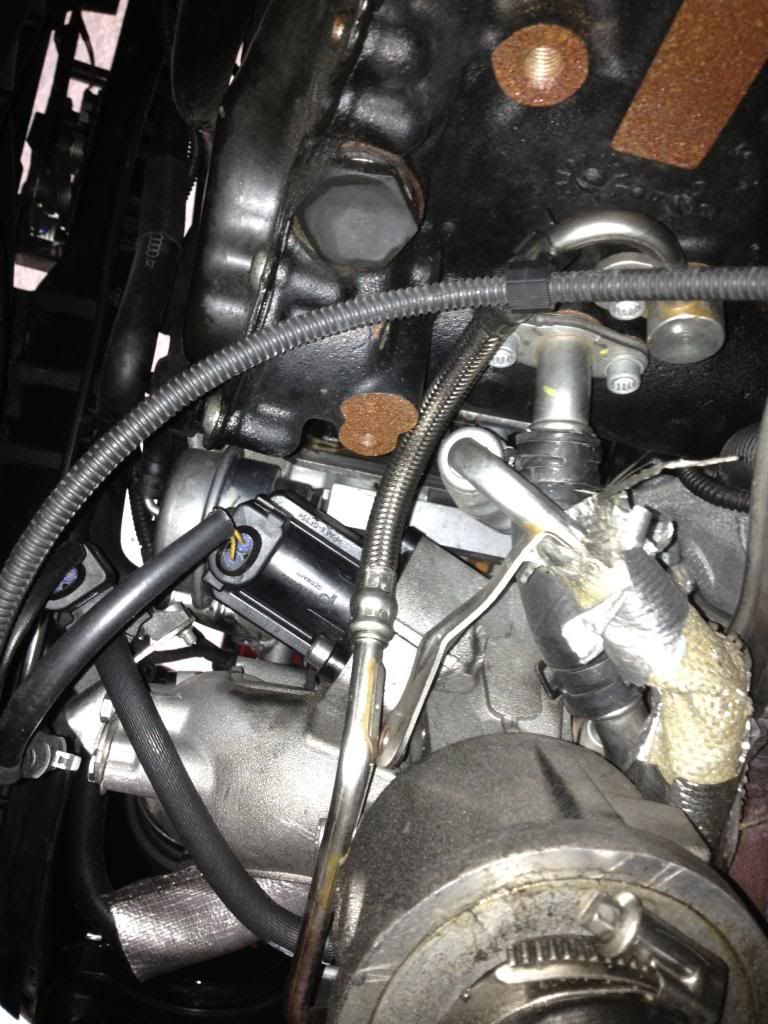
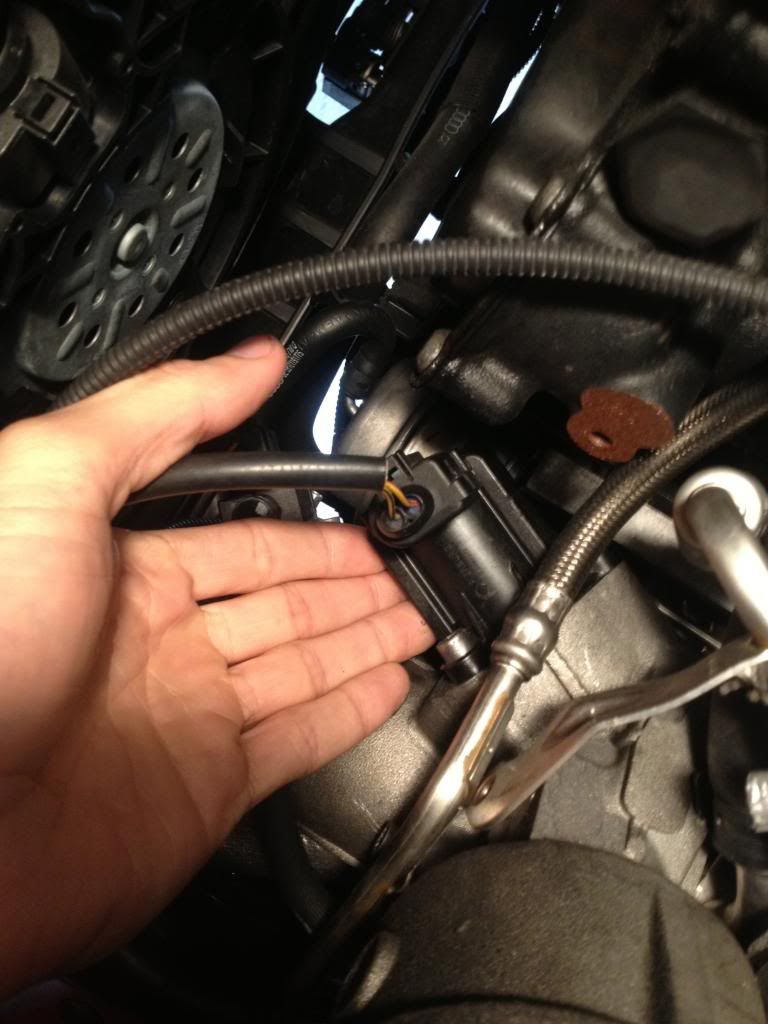
So to start the install, jack the vehicle up and set on jackstands or use ramps (mine was jacked up from the suspension install). Remove the splashguard protecting the bottom of the engine bay. Throw on some safety glasses and using the 2 pictures above, locate the factory DV which is on the bottom side of the turbo (passenger side of vehicle) right next to the intercooler pipe.
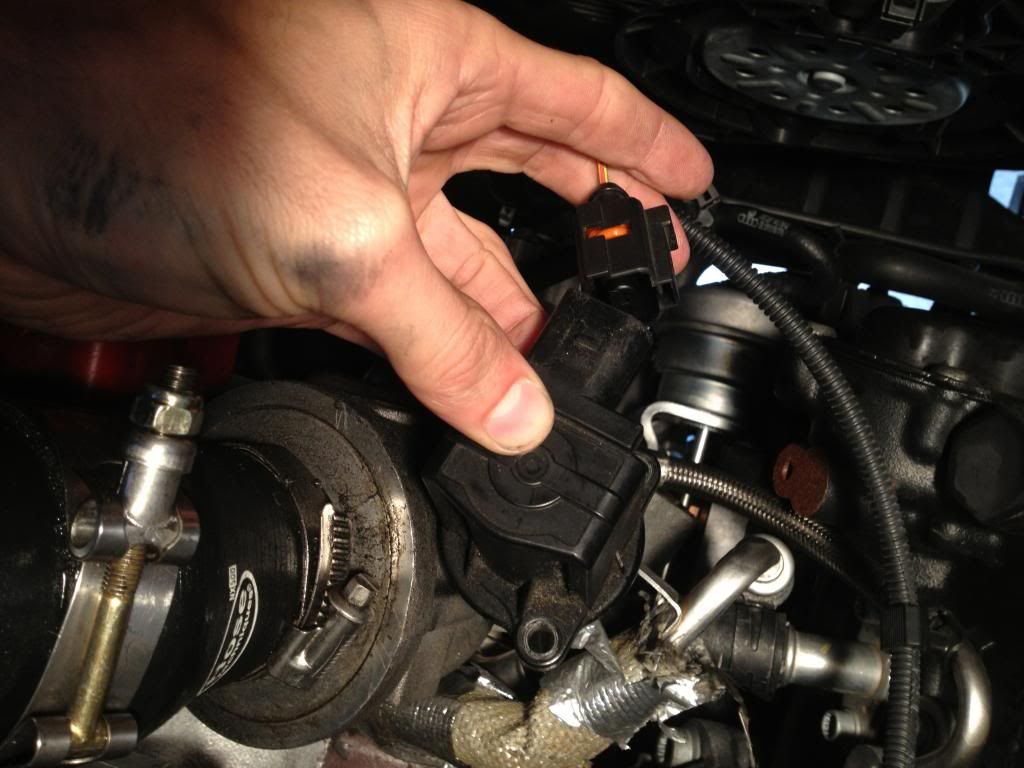
My wiring harness was being a bitch, so I removed the 3, 5mm cap screws securing the DV to the turbo. The internals of the DV fell out after I removed the last screw (hence why I said to wear safety glasses).
With the DV free, remove the factory wiring harness and store the factory DV in the Forge box for future use/sale. Grab a clean rag and wipe down the DV mating surface on the turbo. Get any dirt and grime off that surface so your new DV seats flush and free of debris.

Grab the new DV and loosen the top of it slightly. This will allow you to clock the top boost tap to orient it after installing on the turbo. Loosely install the 3 cap screws on the new DV.
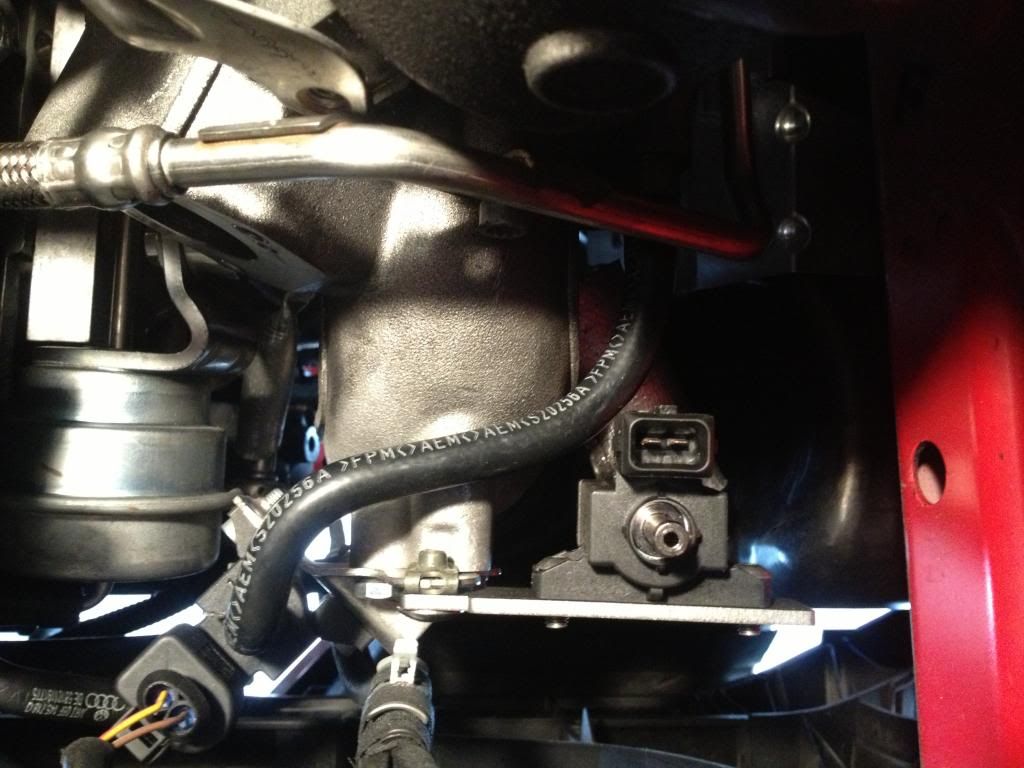
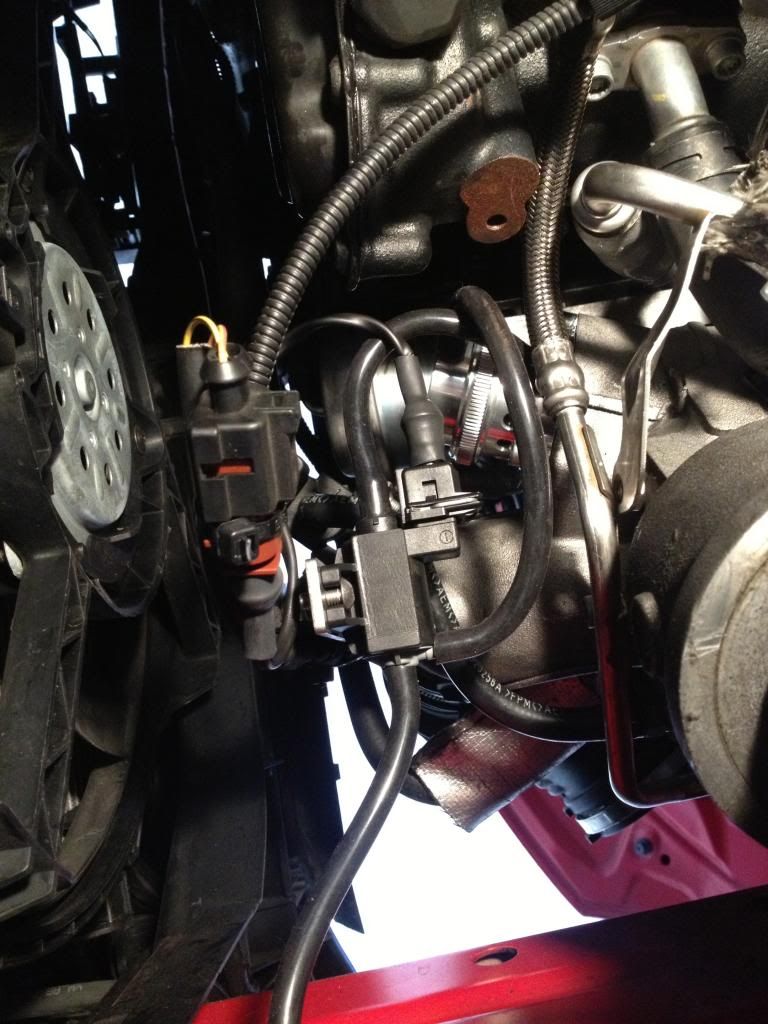
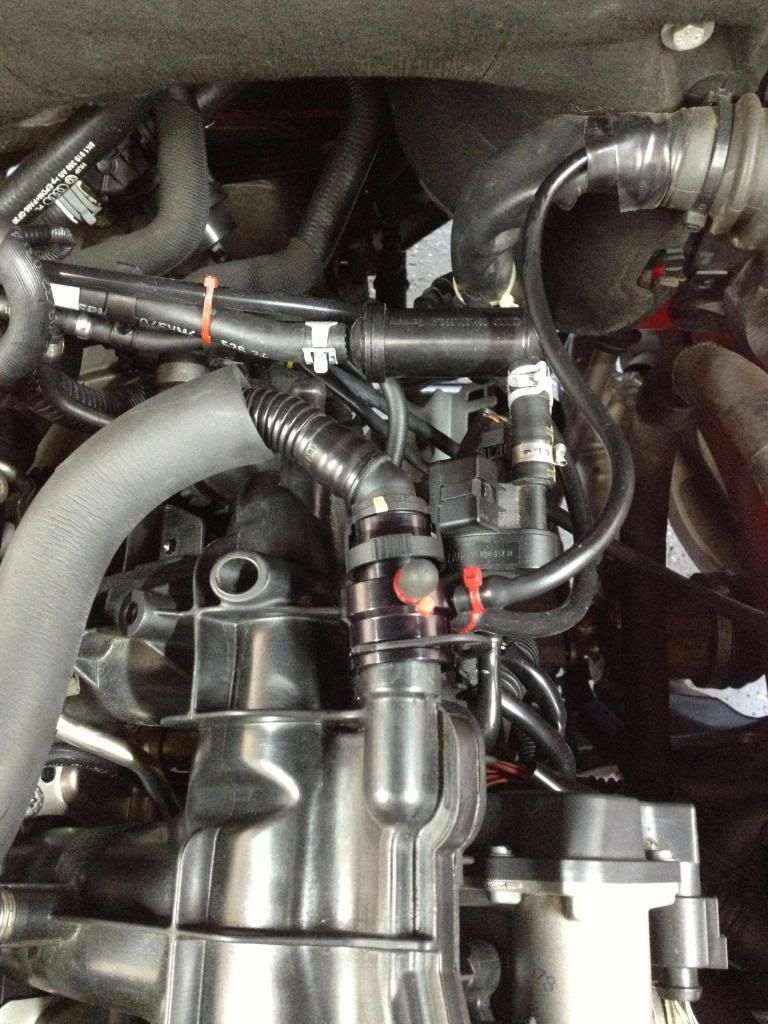
Locate a spot to install the DV solenoid. I really disliked the location the instructions choose, which was to install it on the DV under the bottom cap screw. Even though no one will see it, it looks ugly and shady. So, I chose to install it on a hole underneath the boost solenoid. This hole is a factory wire loom clip hole that secures the wiring harness for the DV, Boost Solenoid and sensor on the bottom of the oil pan. I installed a nut plate and 5mm allen screw and clocked it to the 6 o'clock position. Make sure that before you tighten this down, you double check the 2 hex screws securing the Forge Solenoid to the supplied bracket.
In the picture below, I clocked the bracket and solenoid to the 3 o'clock position so you can see the exact location of the hole and how everything looks so far.
Now before I started cutting the rubber hose that came with the DV, I wanted to run the hose from the Intake Manifold to see how much excess I had. I started at the IM and gave myself about a 6" excess on the end so I had plenty of room when installing the boost tap later. I LOOSELY zip tied the hose to the hose below.
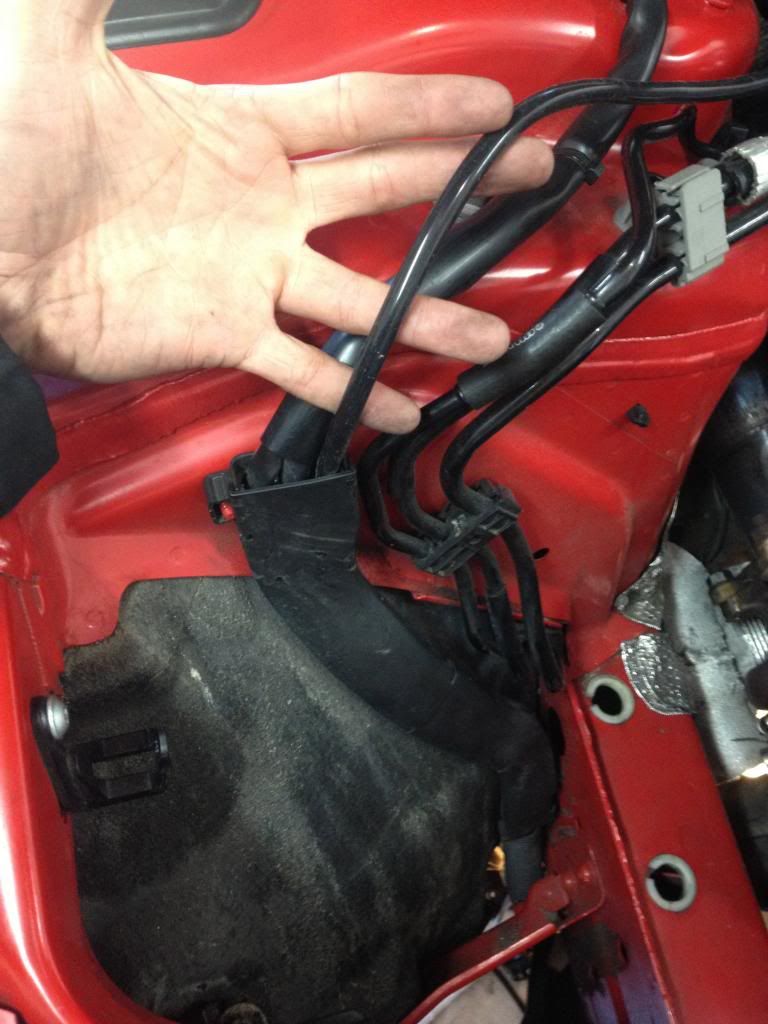
I then ran it behind the HPFP to the fuel lines on the passenger side firewall, pictured below.
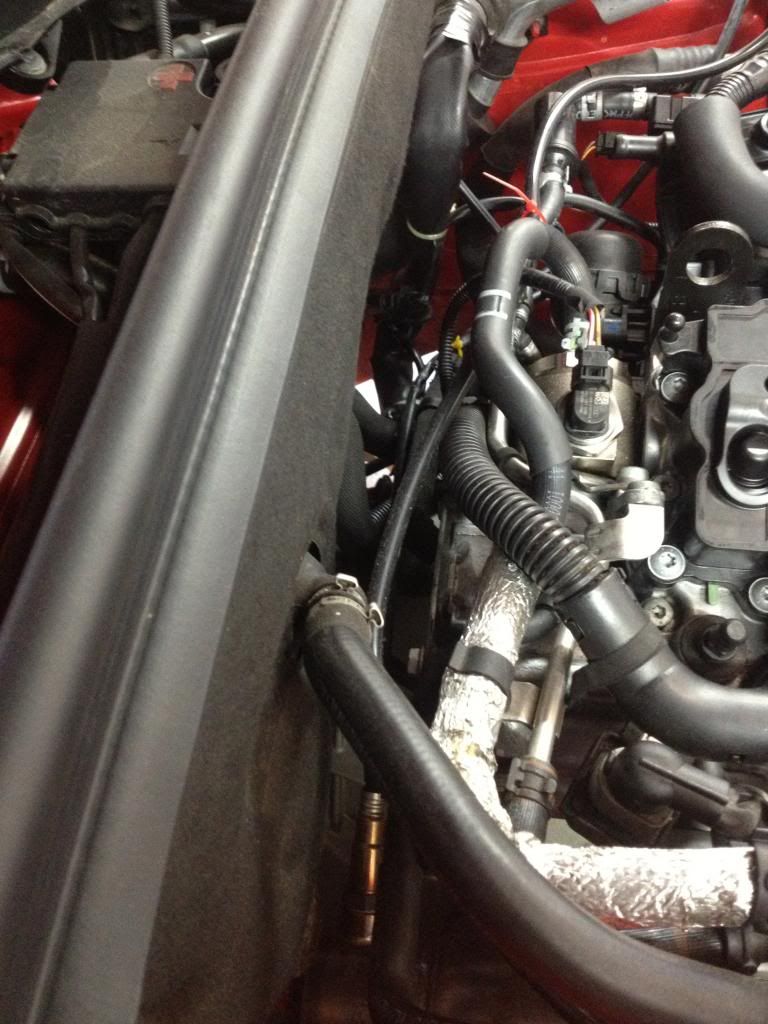
I then zip tied the line to the fuel lines.
At this point, because I am super anal, I removed my air box and located the factory cable guide attached to the passenger wheel well.

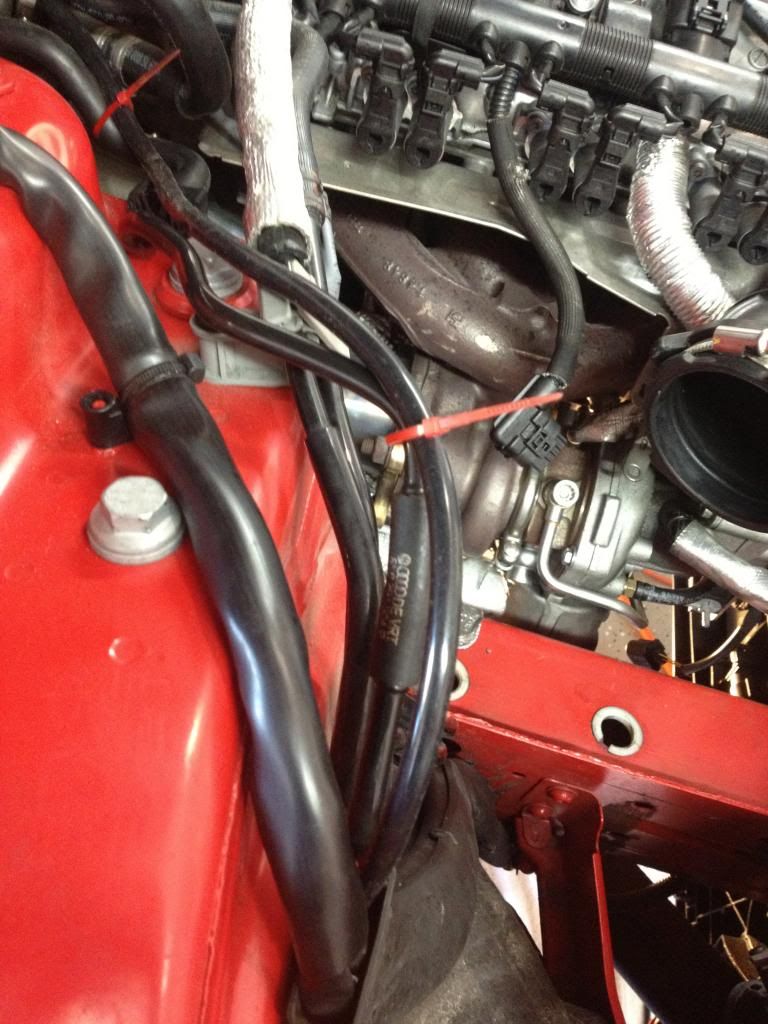
I popped open the cable guide with a flat head screwdriver and placed the hose inside the guide.
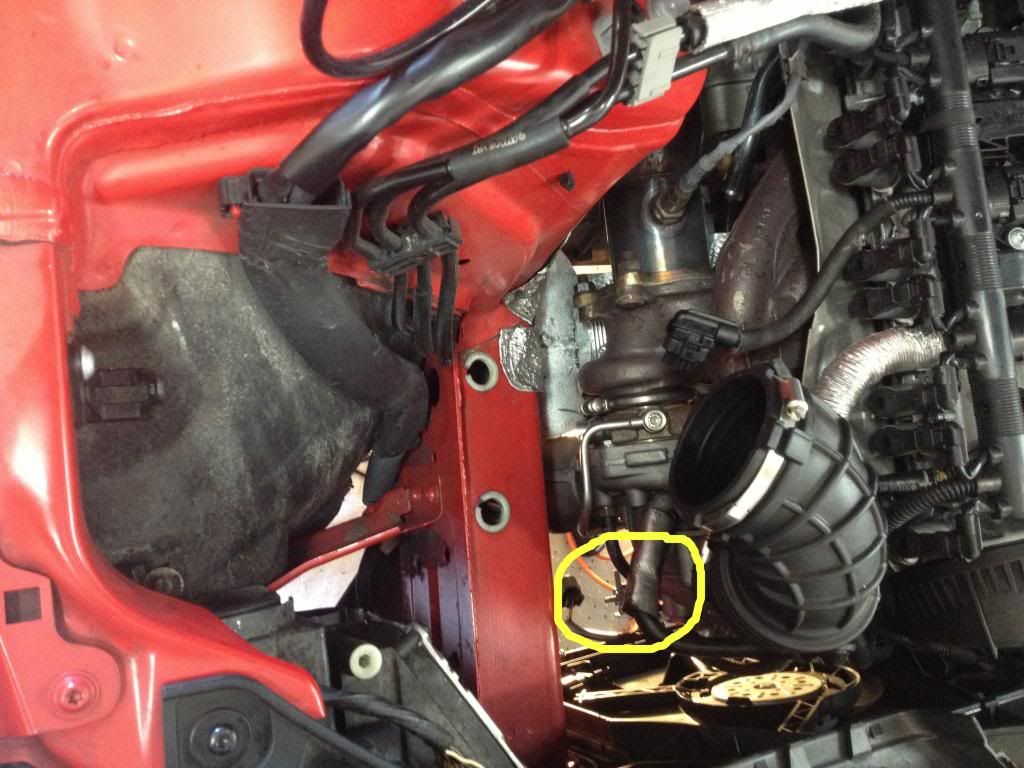
The bottom of this guide comes out PERFECTLY to the boost tap that is oriented towards the passenger side wheel well (if you installed it in the location that I did). You can see the tap that this hose plugs into, which is circled in yellow below.
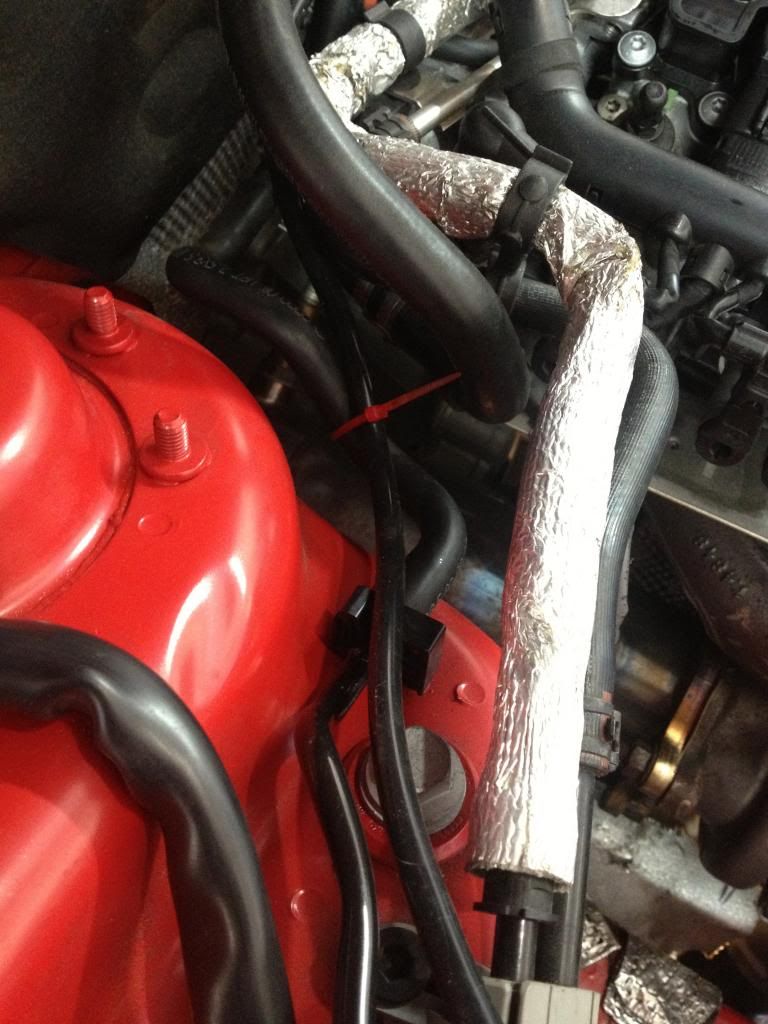
I routed the hose along the radiator fan wiring harness, which is secured to the frame. I attached the hose loosely with 2 zip ties.

With the solenoid clocked to the 6 o'clock position,, the boost tap will be pointing directly towards the hose you just routed. Measure the hose and give an extra inch. Cut the hose and install on the tap.
With the excess hose, attach one end to the DV and measure the distance to the solenoid, cut and repeat for the 3rd boost tap. There is plenty of line so make sure you don't cut the measurement short. With the hoses installed, install the wiring harness into the factory harness and Forge solenoid. Zip tie the excess wiring to the solenoid bracket and cut off the tails.
With all lines installed, grab your 5mm hex wrench and tighten the DV down. Reach up in there and tighten down the DV cap. Tighten the fastener securing the Forge solenoid bracket to the turbo (if you choose this mounting location). Ensure the two hex screws securing the Forge solenoid to the Forge bracket are tight. Double check everything and make sure all your screws and wiring harnesses are secure.
For a little added security, I installed some small zip ties on each hose boost tap, securing the hoses in place.
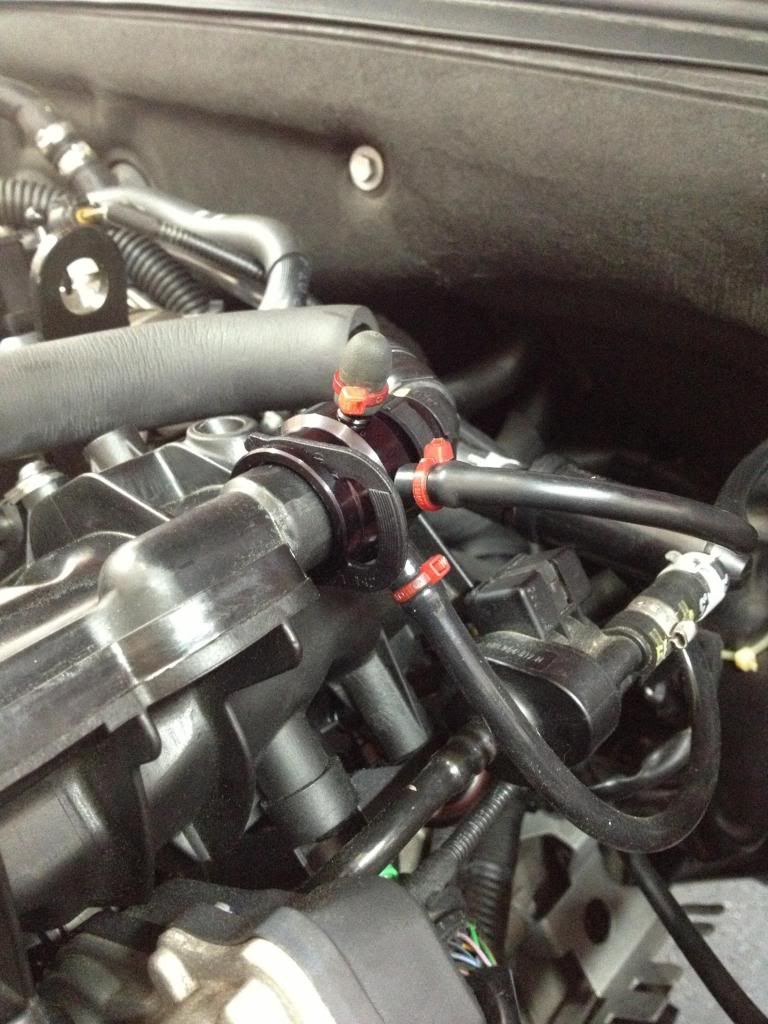
For the manifold tap, I prepped it prior to installing it on the IM. I installed all 3 boost tap barbs (with loc-tite) on the tap. One is for the Forge Solenoid, the second is for my AWE Boost Gauge (or whatever boost gauge you plan on using, if any) and the third I covered and zip tied shut for future use. If you don't have a boost gauge and wish to install all 3 barbs, make sure you cap and zip tie the barb off.
Head back up to the IM and pop off the PCV hose from both ends. Instructions say one end, but I found it easier when re-installing. Slide the manifold tap on the IM and secure with the C-clip. Attached the PCV hose back on the tap and plug the other end into the fine oil separator on the head (other end). The reason why I did this, is when I left it attached to the oil separator and tried attaching it to the tap, it was flexing the hose badly and squishing the o-ring. When I removed the hose altogether and plugged it into the IM then back to the head, it went on very easy. After that, attach the rubber hose coming from the Forge Solenoid to the largest diameter barb on the manifold tap. If you have a boost gauge, Forge recommends installing it to the smallest diameter barb. Secure all hoses to the barbs with zip ties.
Reinstall your splash guard, down-jack your vehicle and pat yourself on the back!


 Reply With Quote


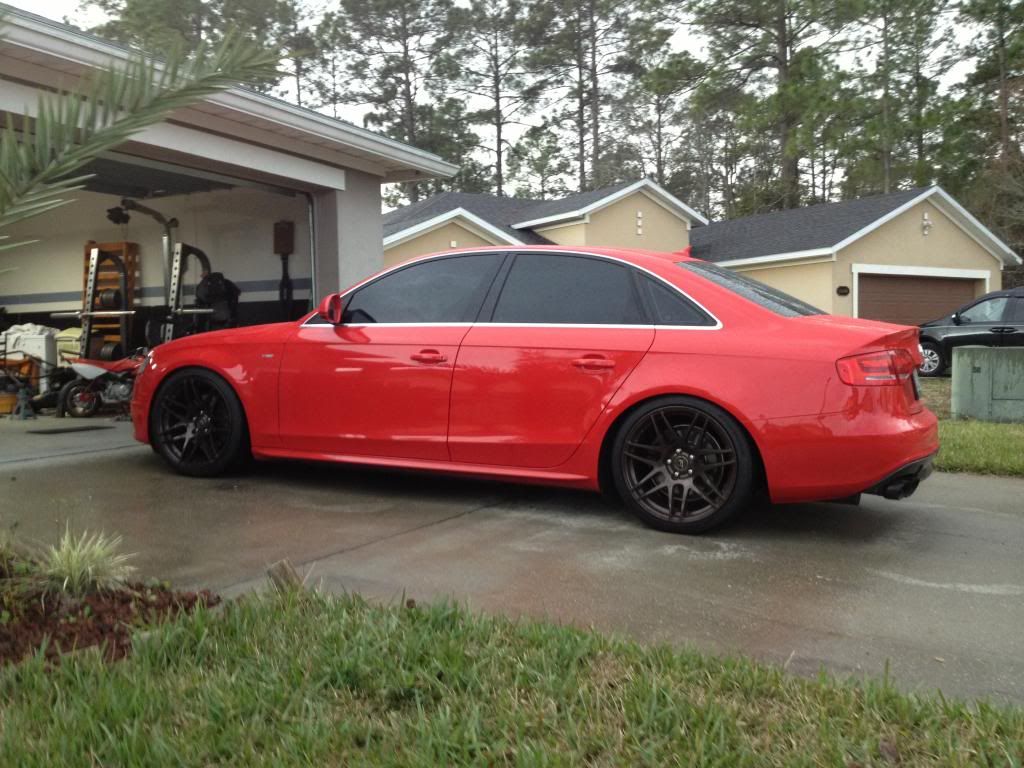
 Considered matte/satin black window trim?


Bookmarks