INSTALLATION STEPS
1. Removing (1) nut from both driver and passenger side rear exhaust hangers. Remove (3) screws holding bottom of
rear fascia. Remove (4) bolts holding crossmember and remove cross member. Remove (2) bolts from front exhaust
hanger. Remove (2) nuts from other front exhaust hanger. Wrap wire around the exhaust to allow the exhaust to hang
low without damage. Retain all hardware to reinstallation.
2. Raise hitch into position. Using a center punch, punch through the center hole of the hitch and into the heat shield.
3. Lower hitch and cut out the area of the heat shield covering the access hole. See heat shield trim detail.
4. Fishwire 1/2-13 X 1 1/2" carriage bolt and SP6 spacer through the access hole and out the forward most hole in
frame, both sides. (SEE FISHWIRE TECHNIQUES)
5. Reverse fishwire 1/2-13 X 1 1/2" carriage bolt and SP6 spacer through the access hole, both sides.
(SEE REVERSE FISHWIRE TECHNIQUES)
6. Open rear hatch and remove middle lid covering the spare tire.
7. Remove the rear most tie down latches from both side rails.
8. Remove the side rails.
9. Remove the forward most bumper bracket fastener and return to owner.
10. Replace bumper bracket fastener with M10-1.5 X 110 hex bolt and 7/16" flat washer, both sides.
11. Torque M10-1.5 X 110 hex bolts to 35 ft-lbs.
12. Reinstall all trunk components and close hatch.
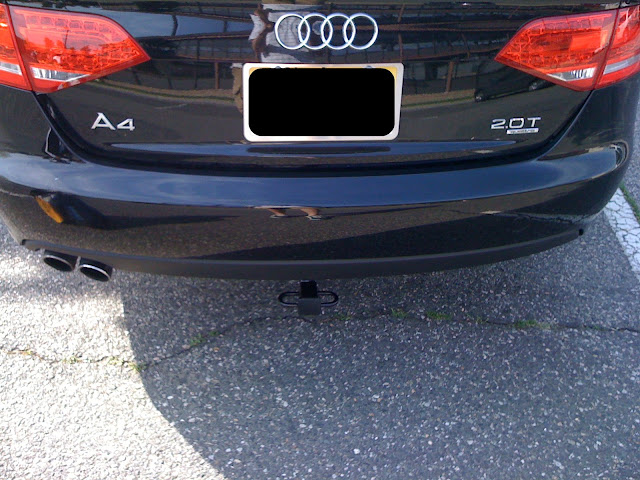
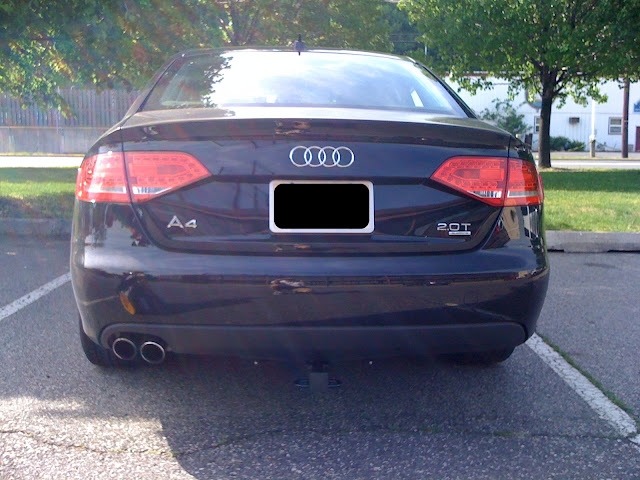
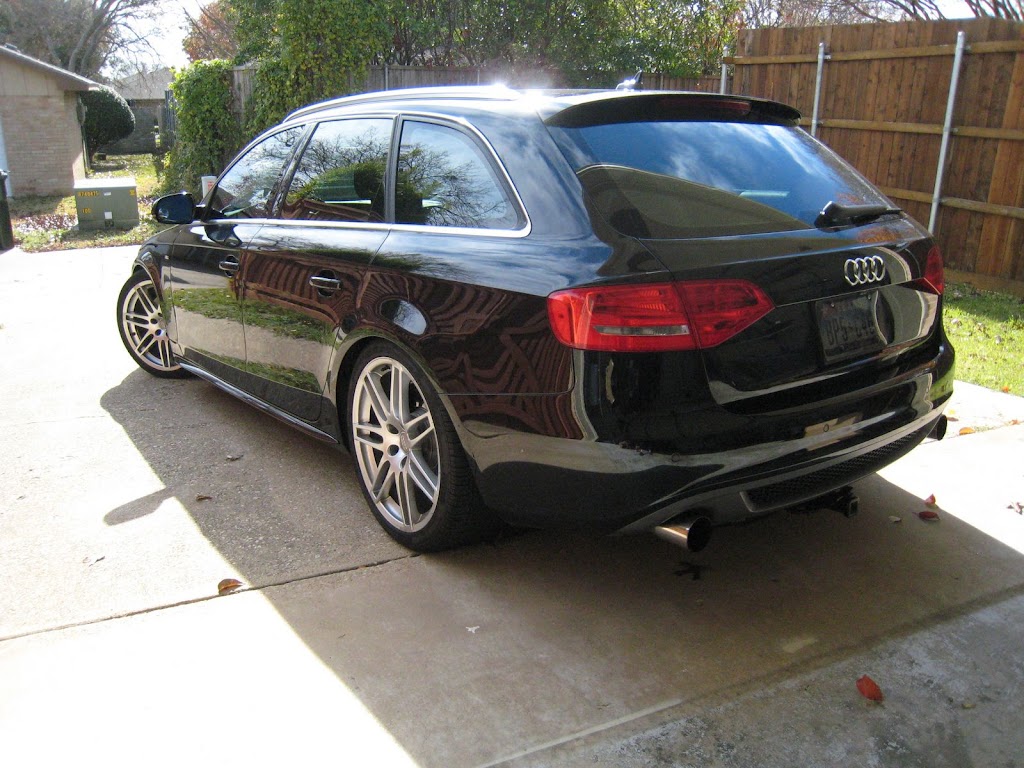
13. Raise hitch into position, as shown.
14. Secure the (4) forward most bolts with 1/2" flange nuts.
15. Secure the rear most bolts with 7/16" conical toothed washer and M10 hex nut.
16. Torque all M10 hardware to 35 ft-lbs. Torque all 1/2" hardware to 75 ft-lbs.
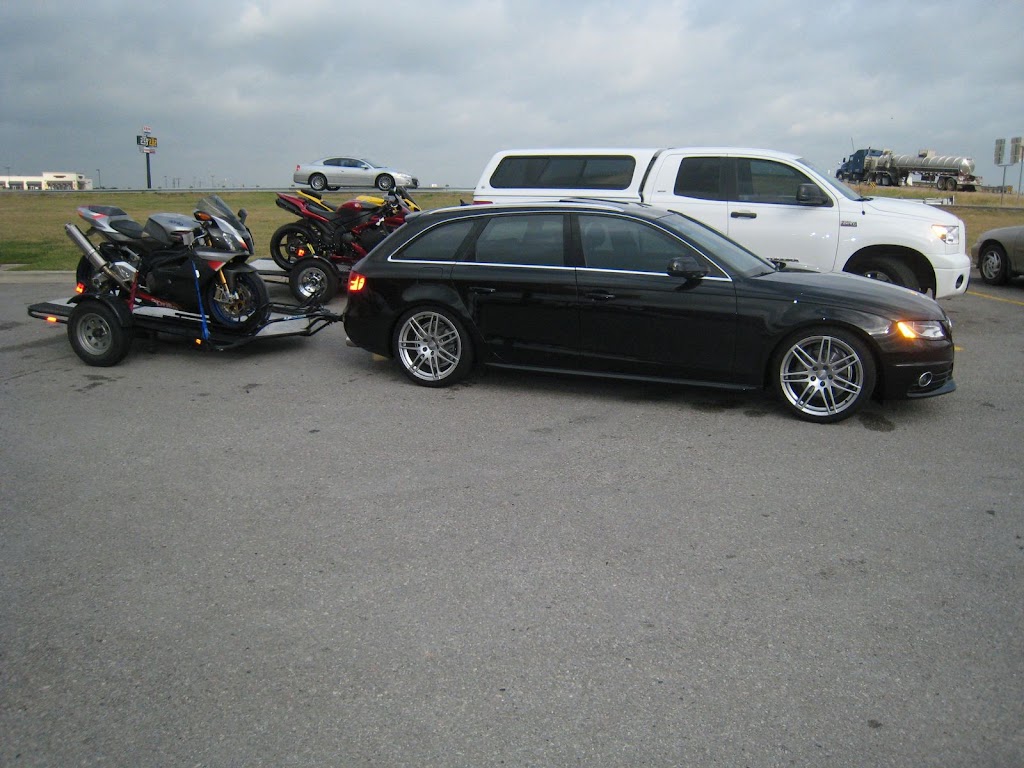
17. Reinstall exhaust.


 Reply With Quote


Bookmarks