


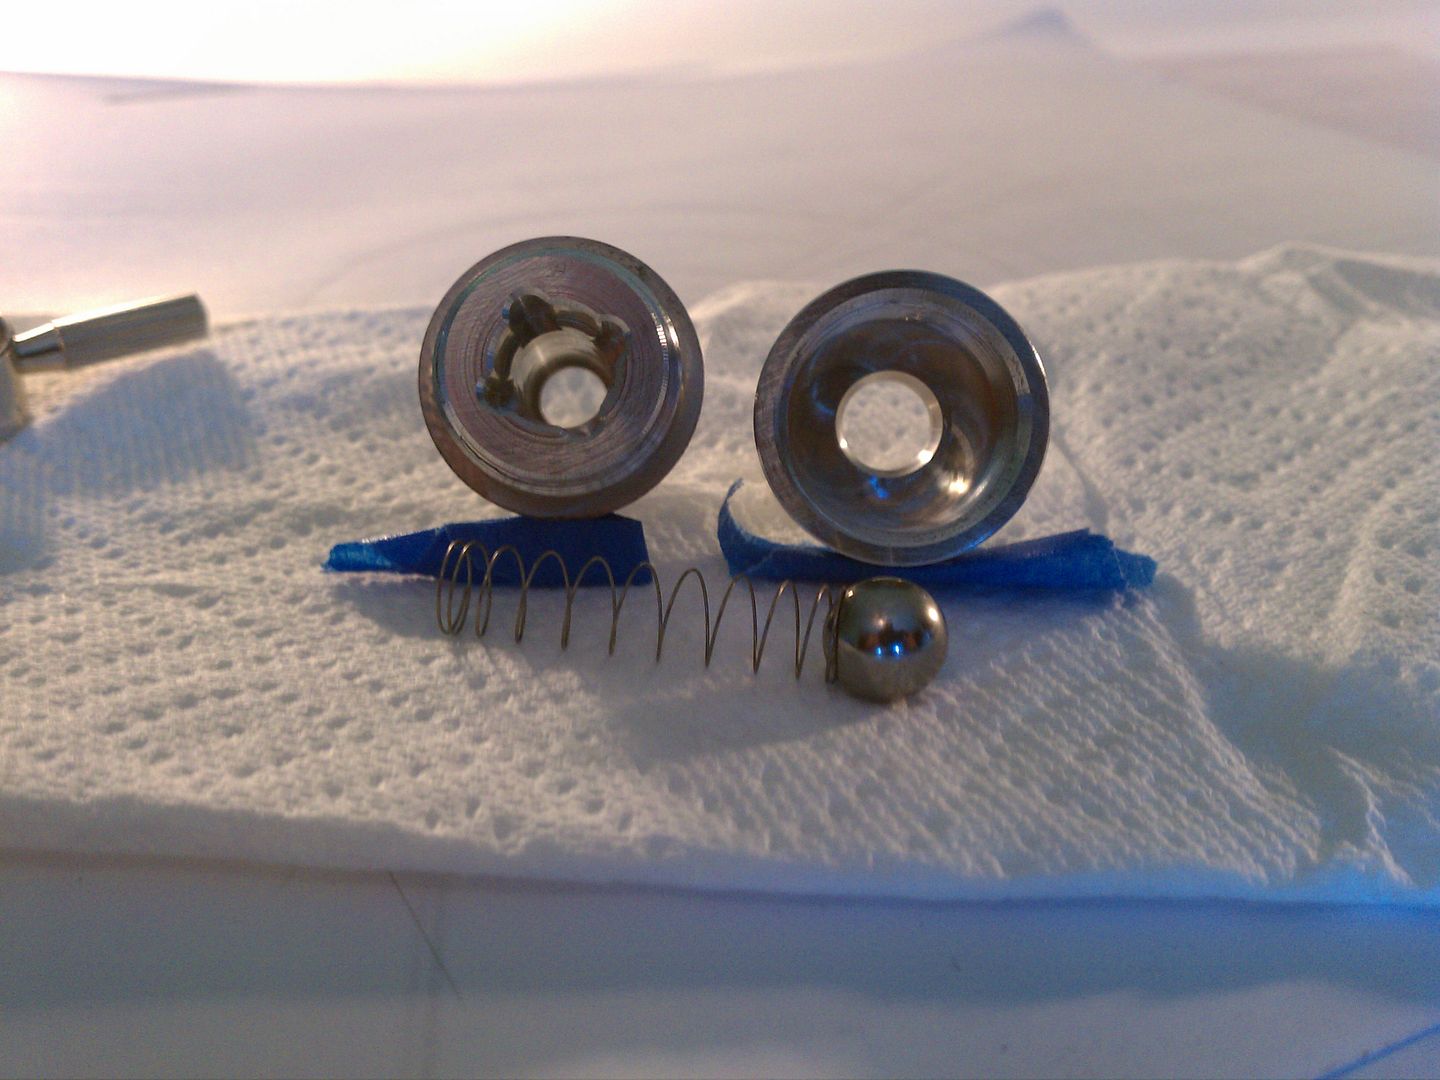
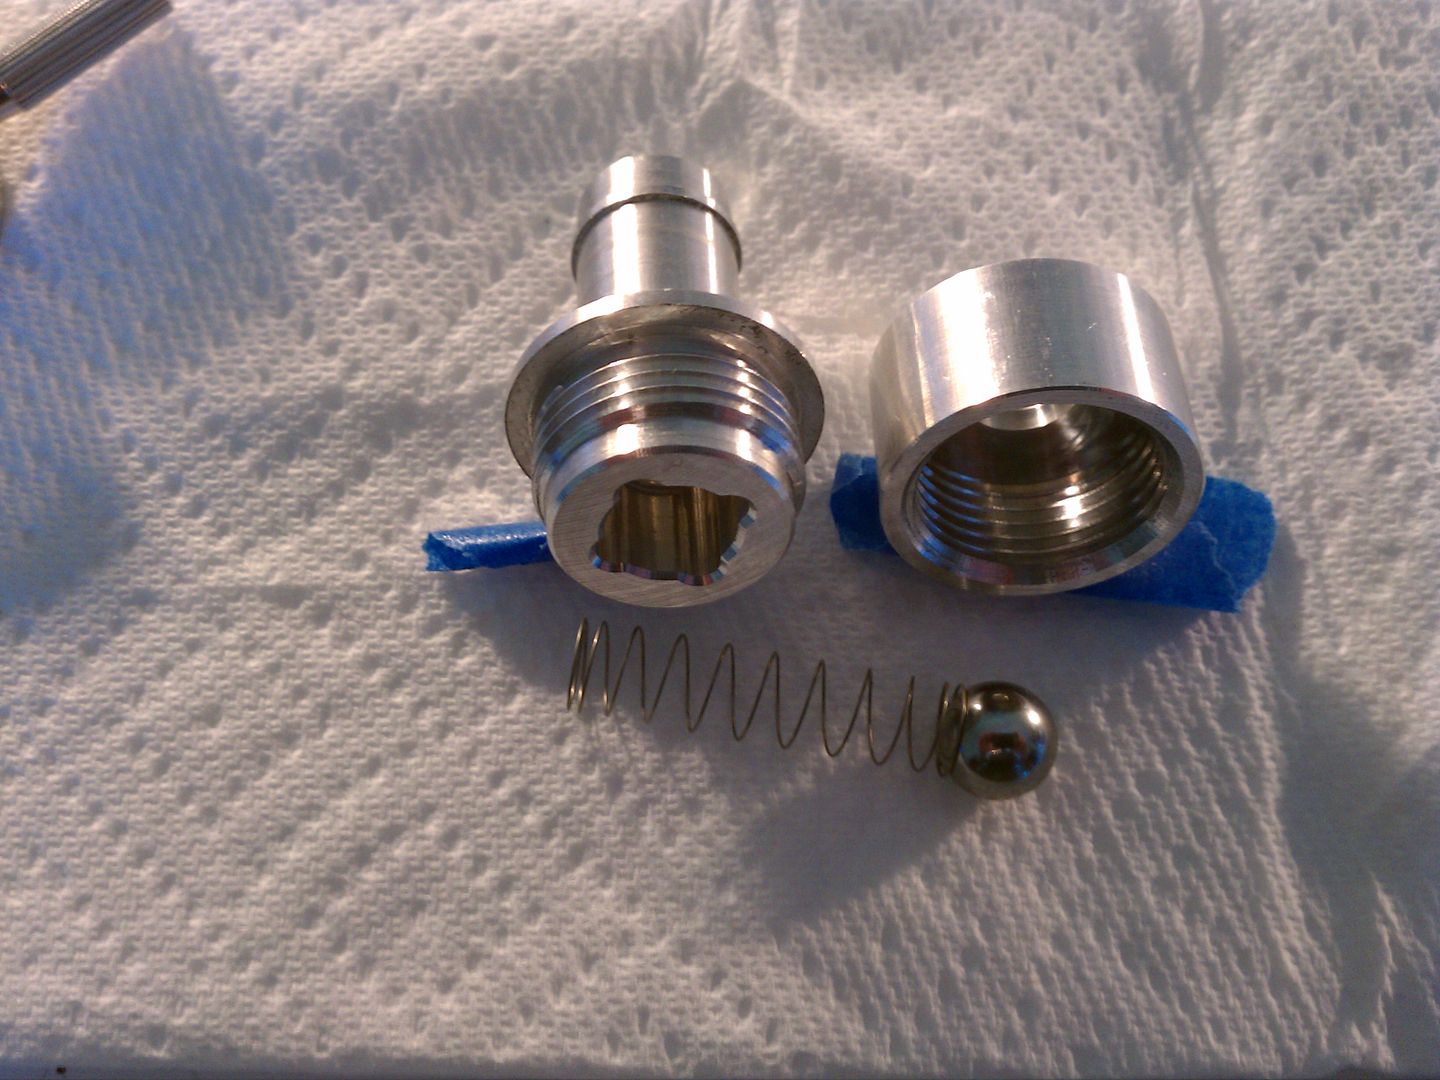
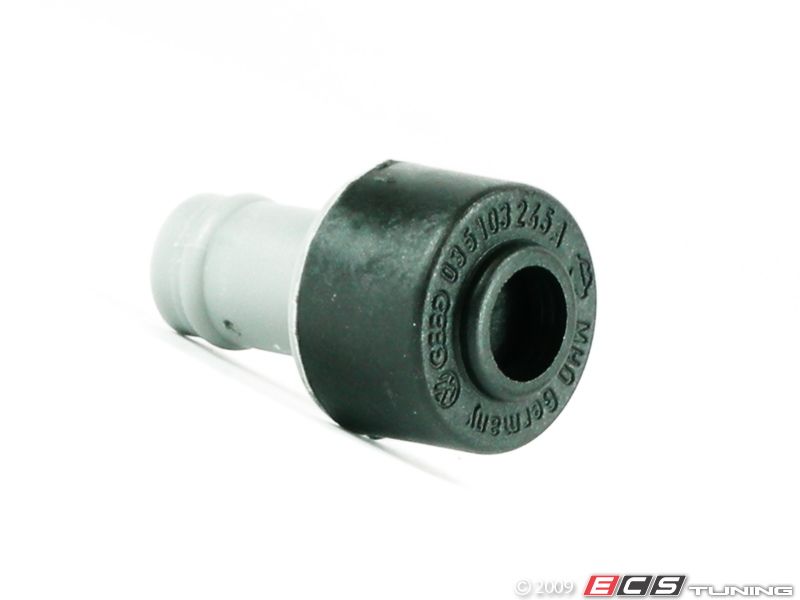
I tried posting this in the stupid questions thread, I'm not sure if its in here but -
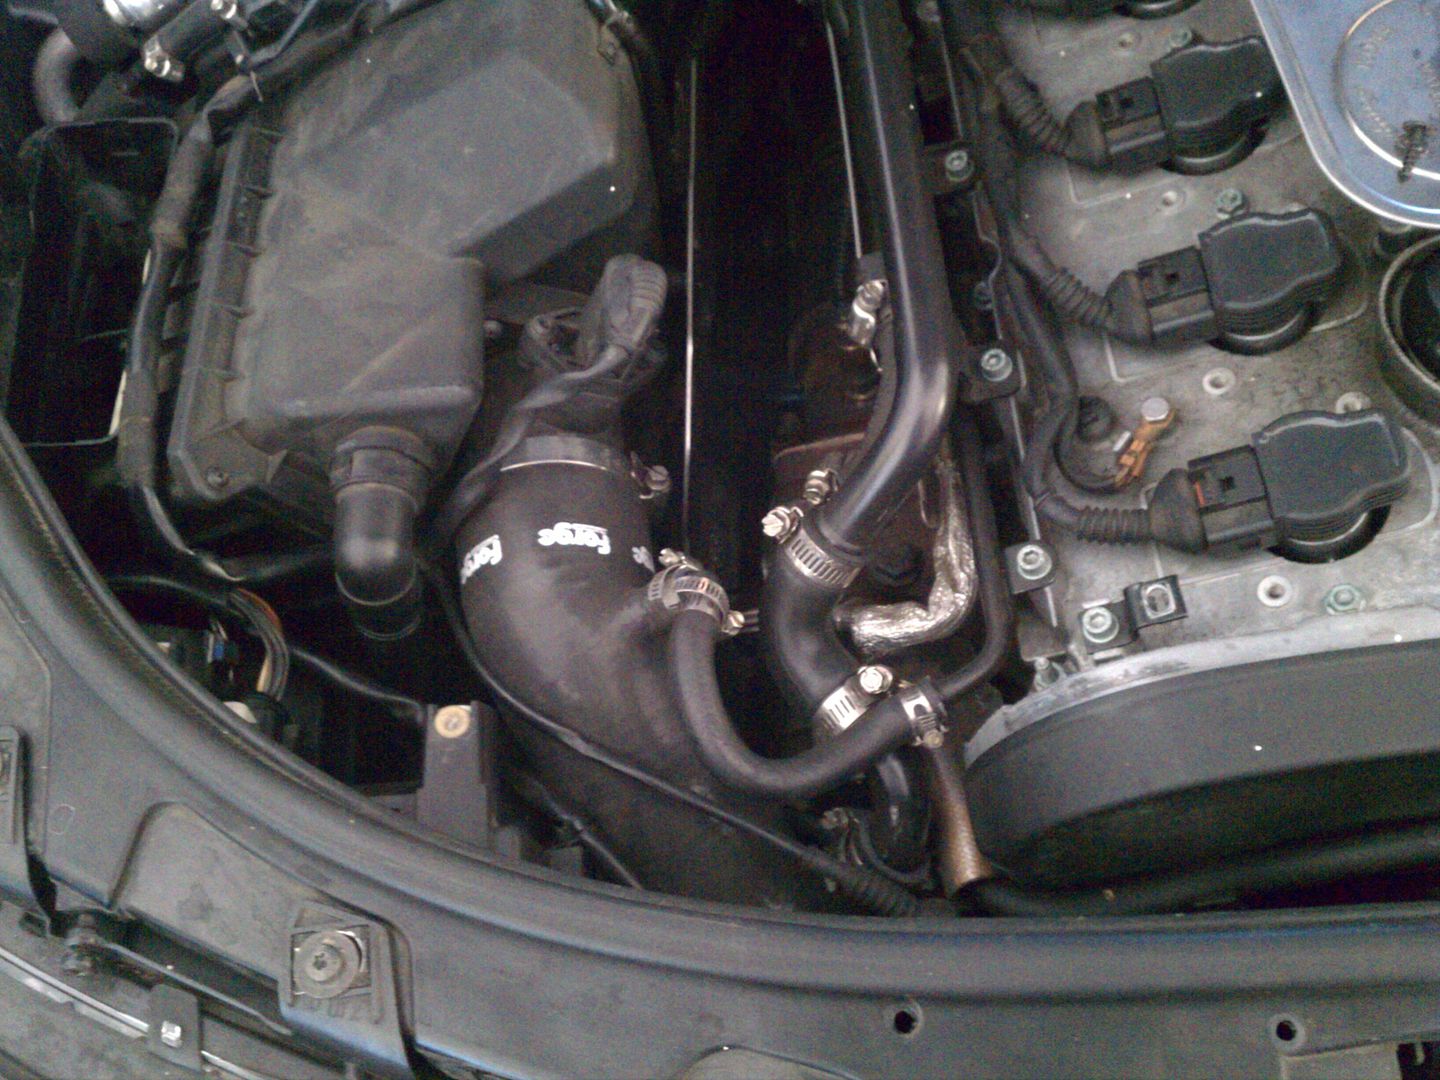
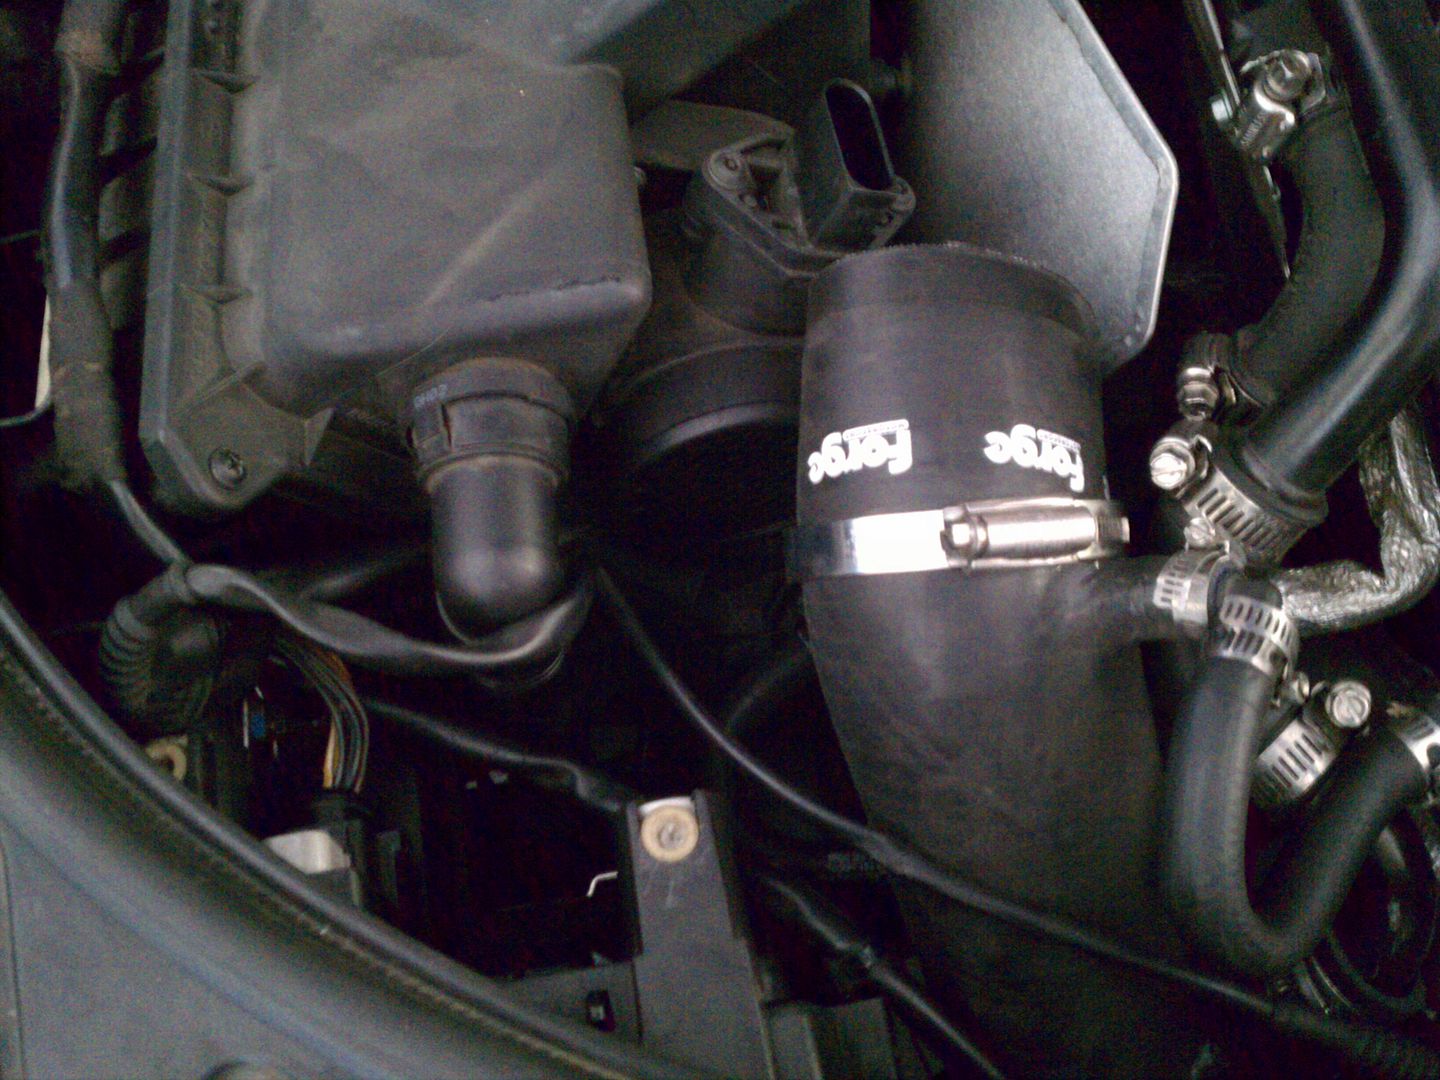
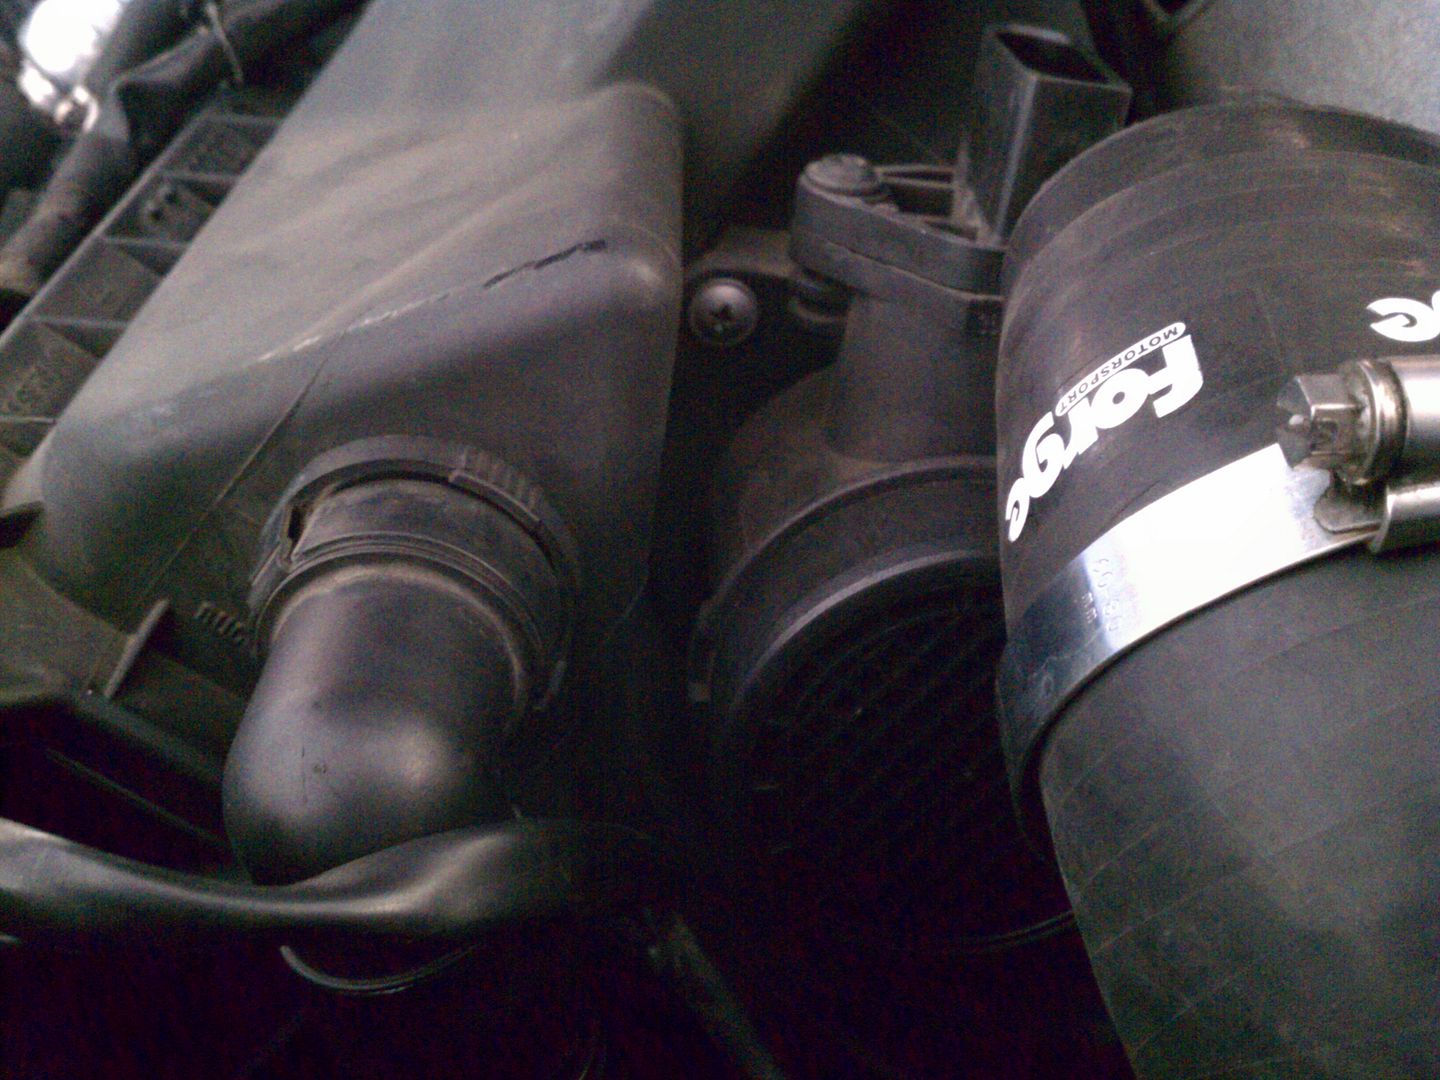
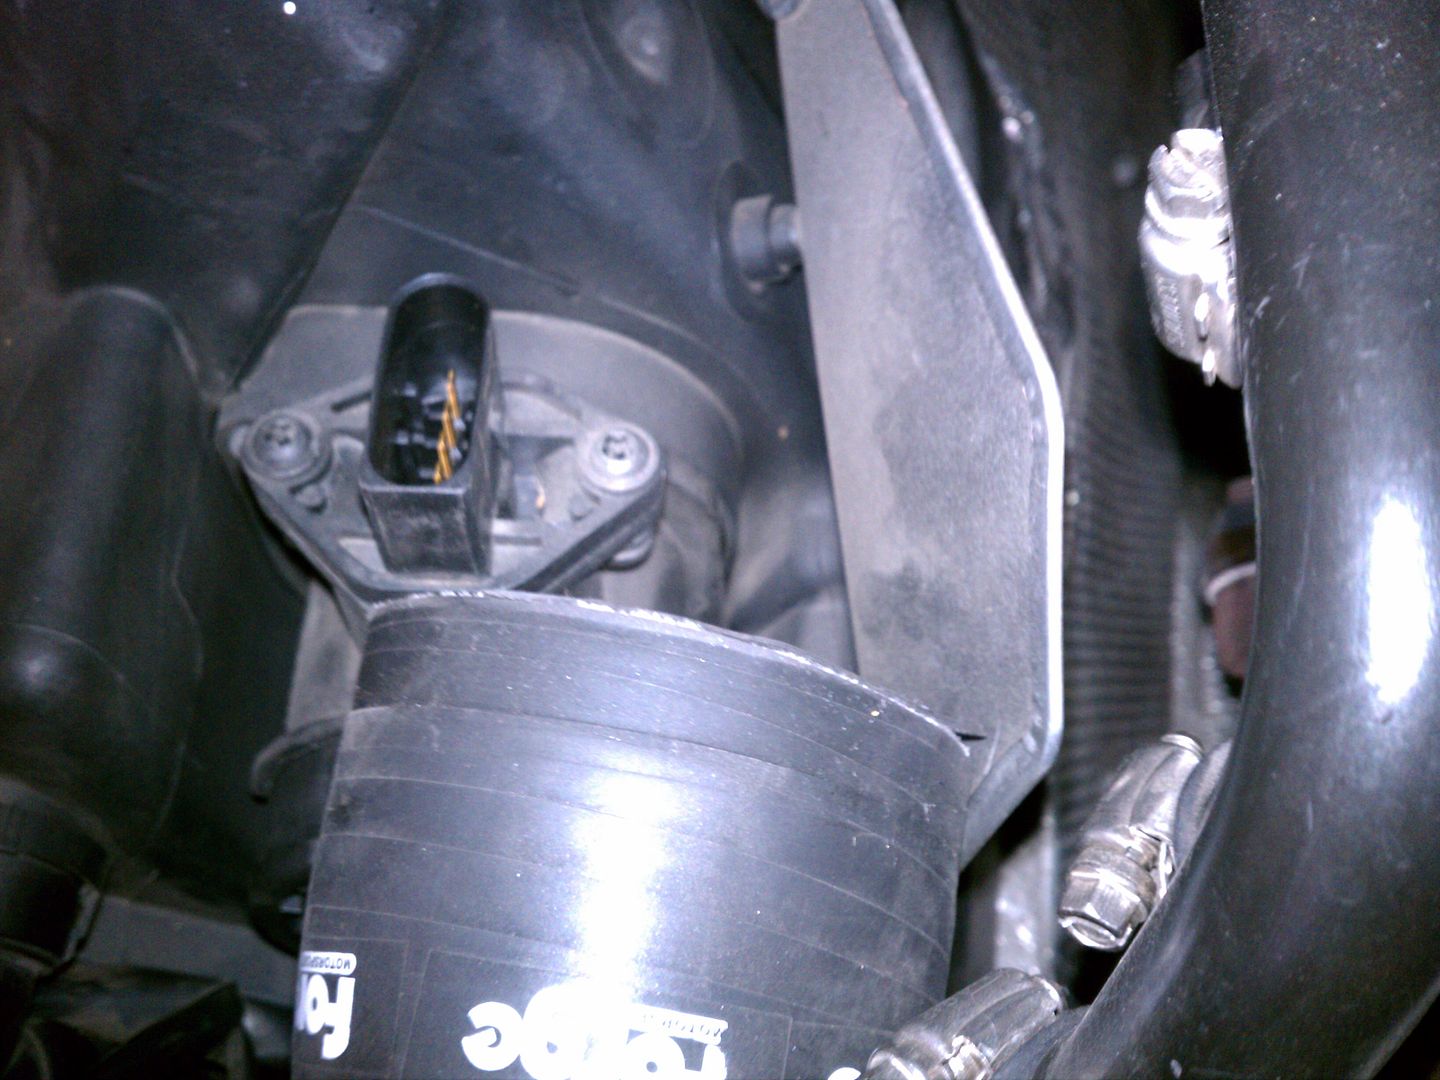
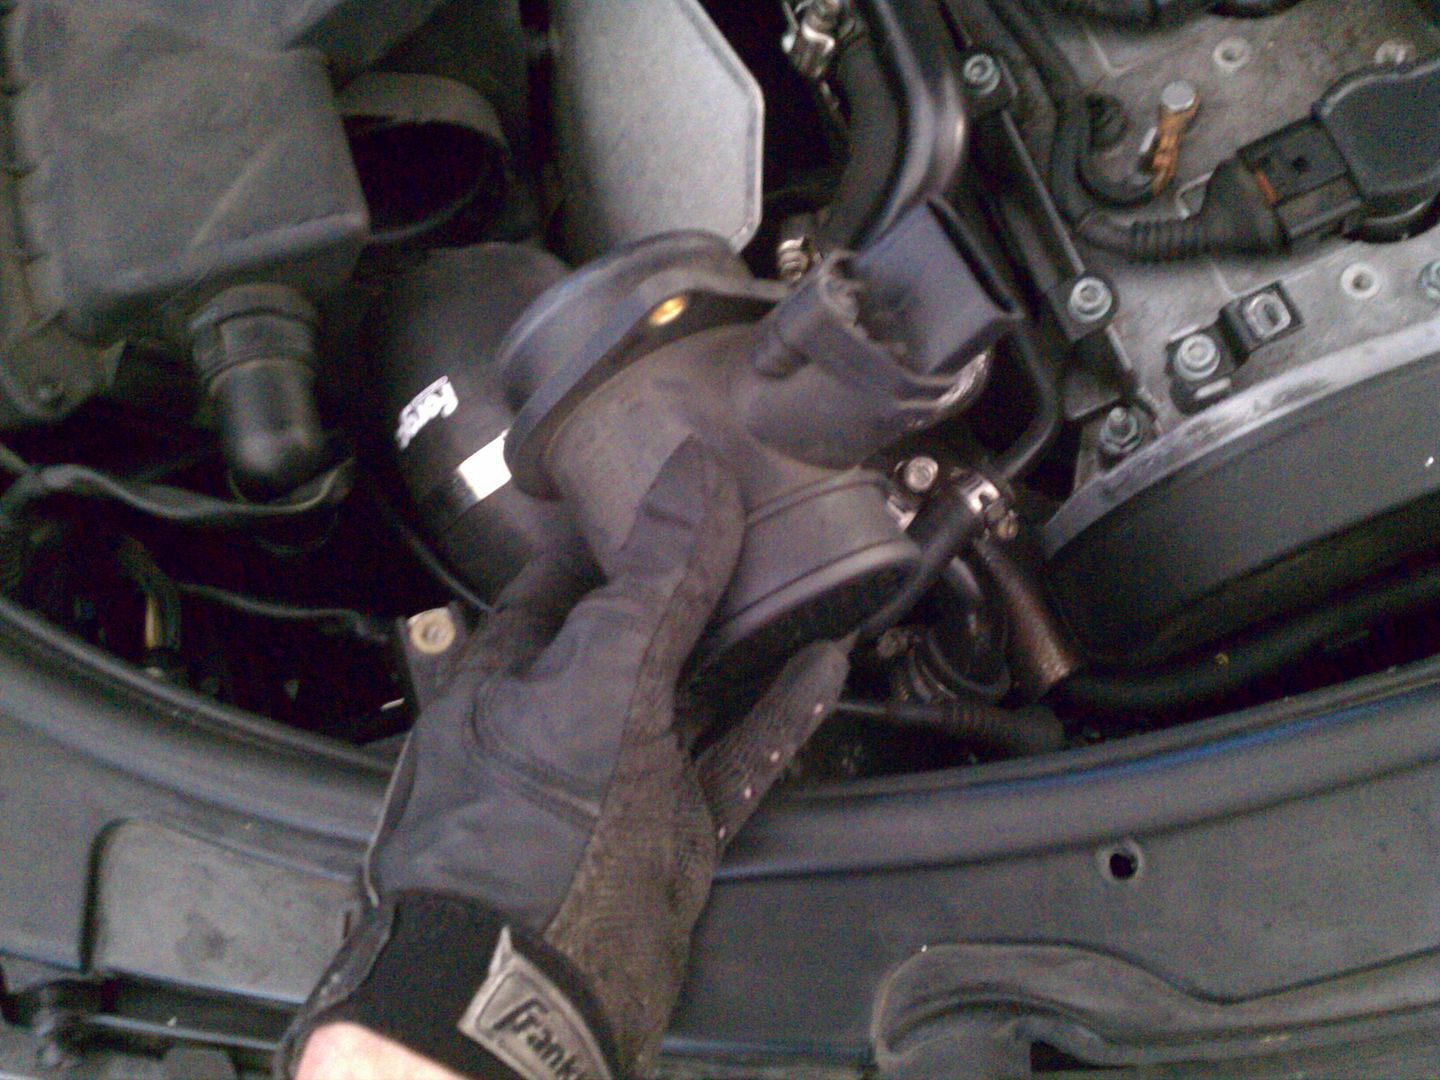
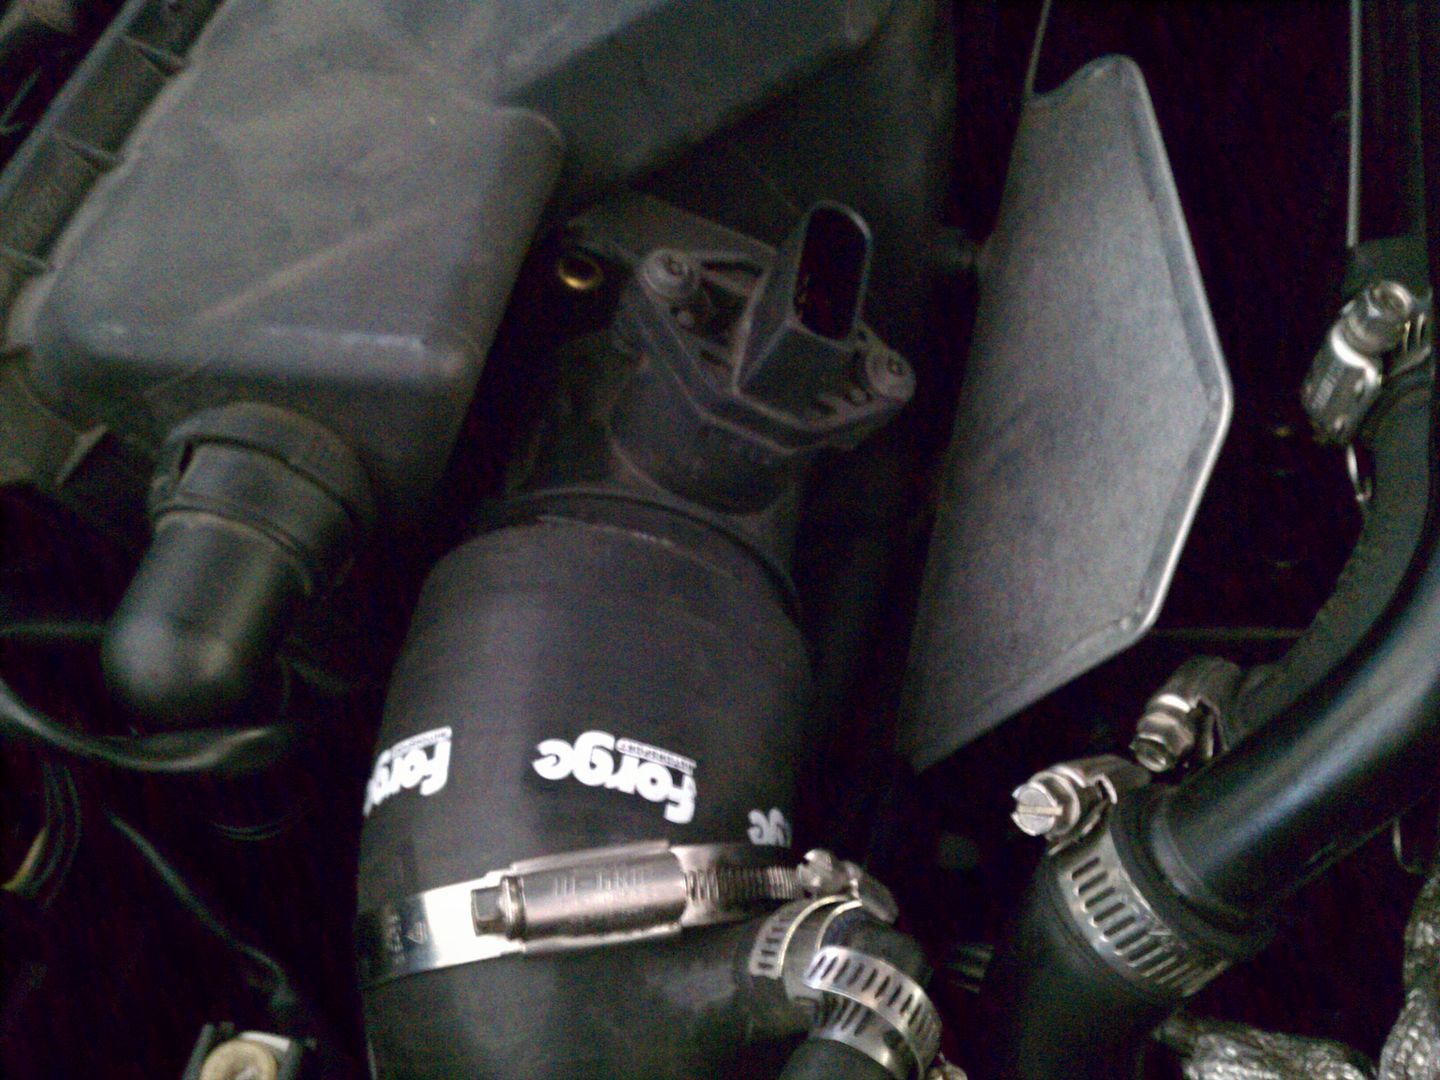
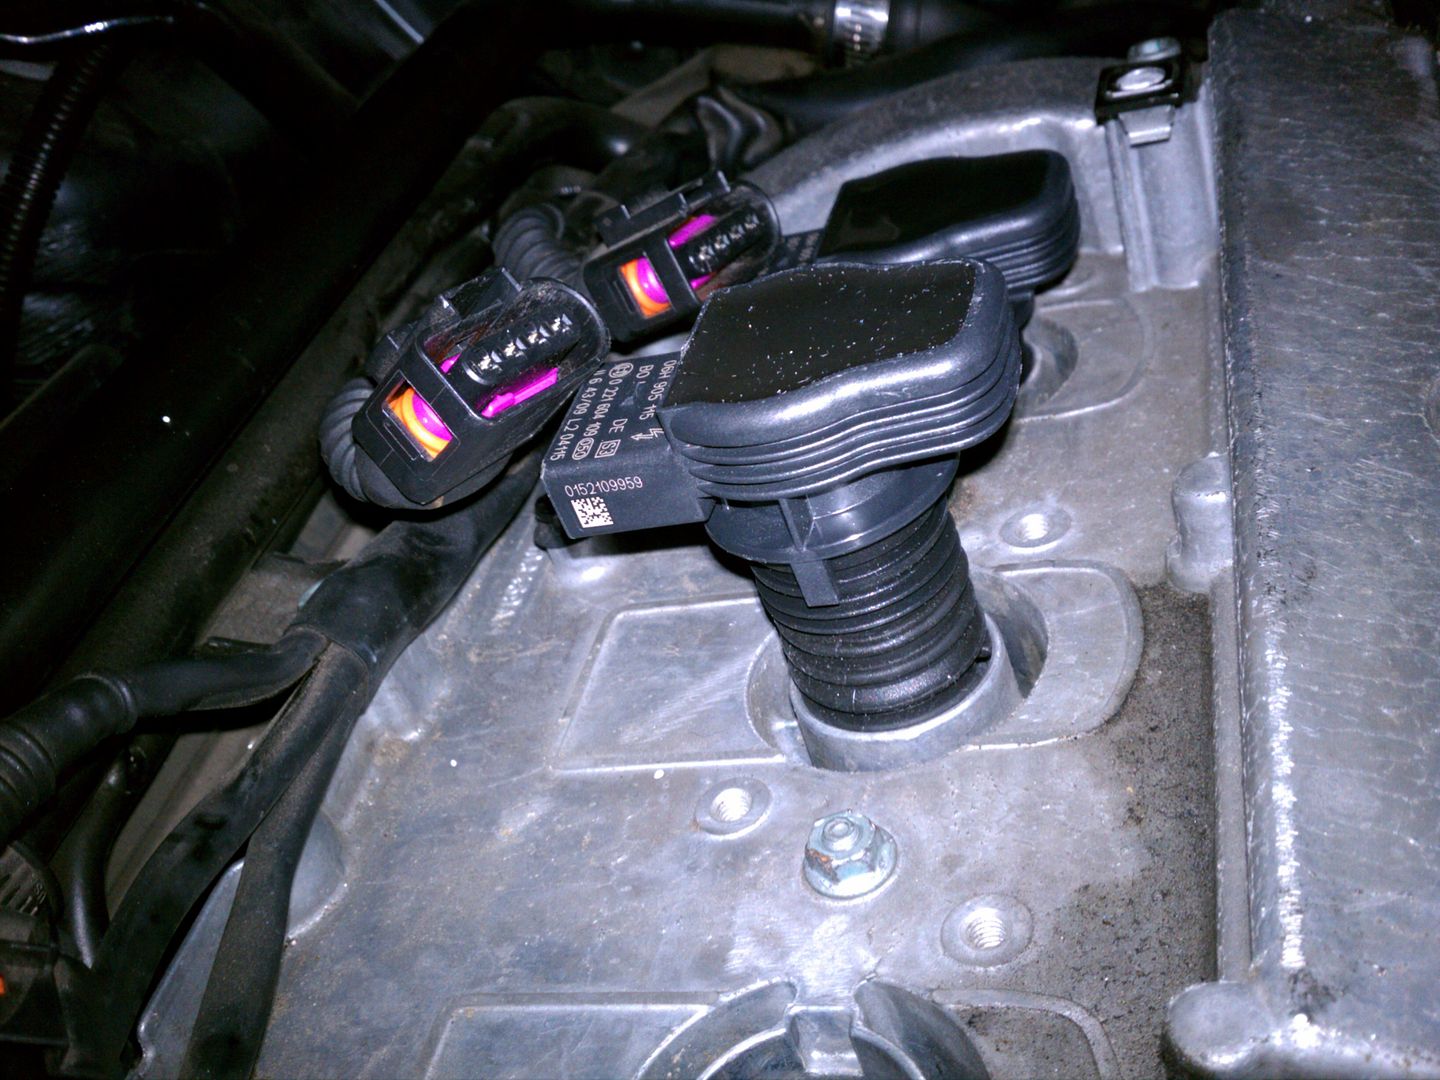
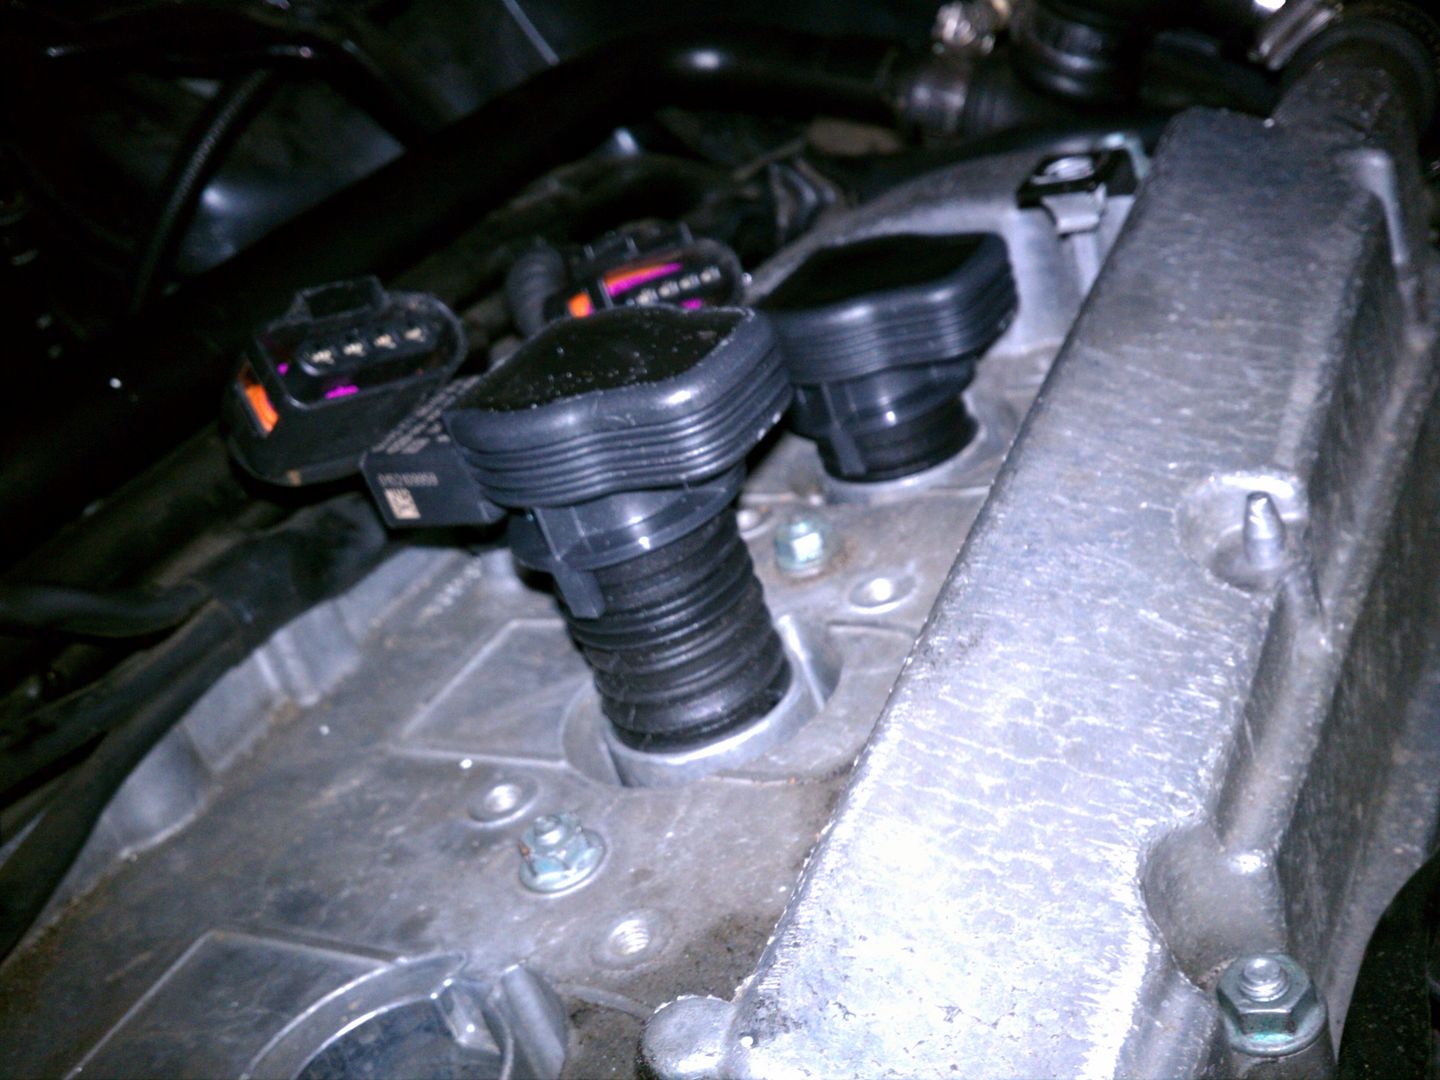
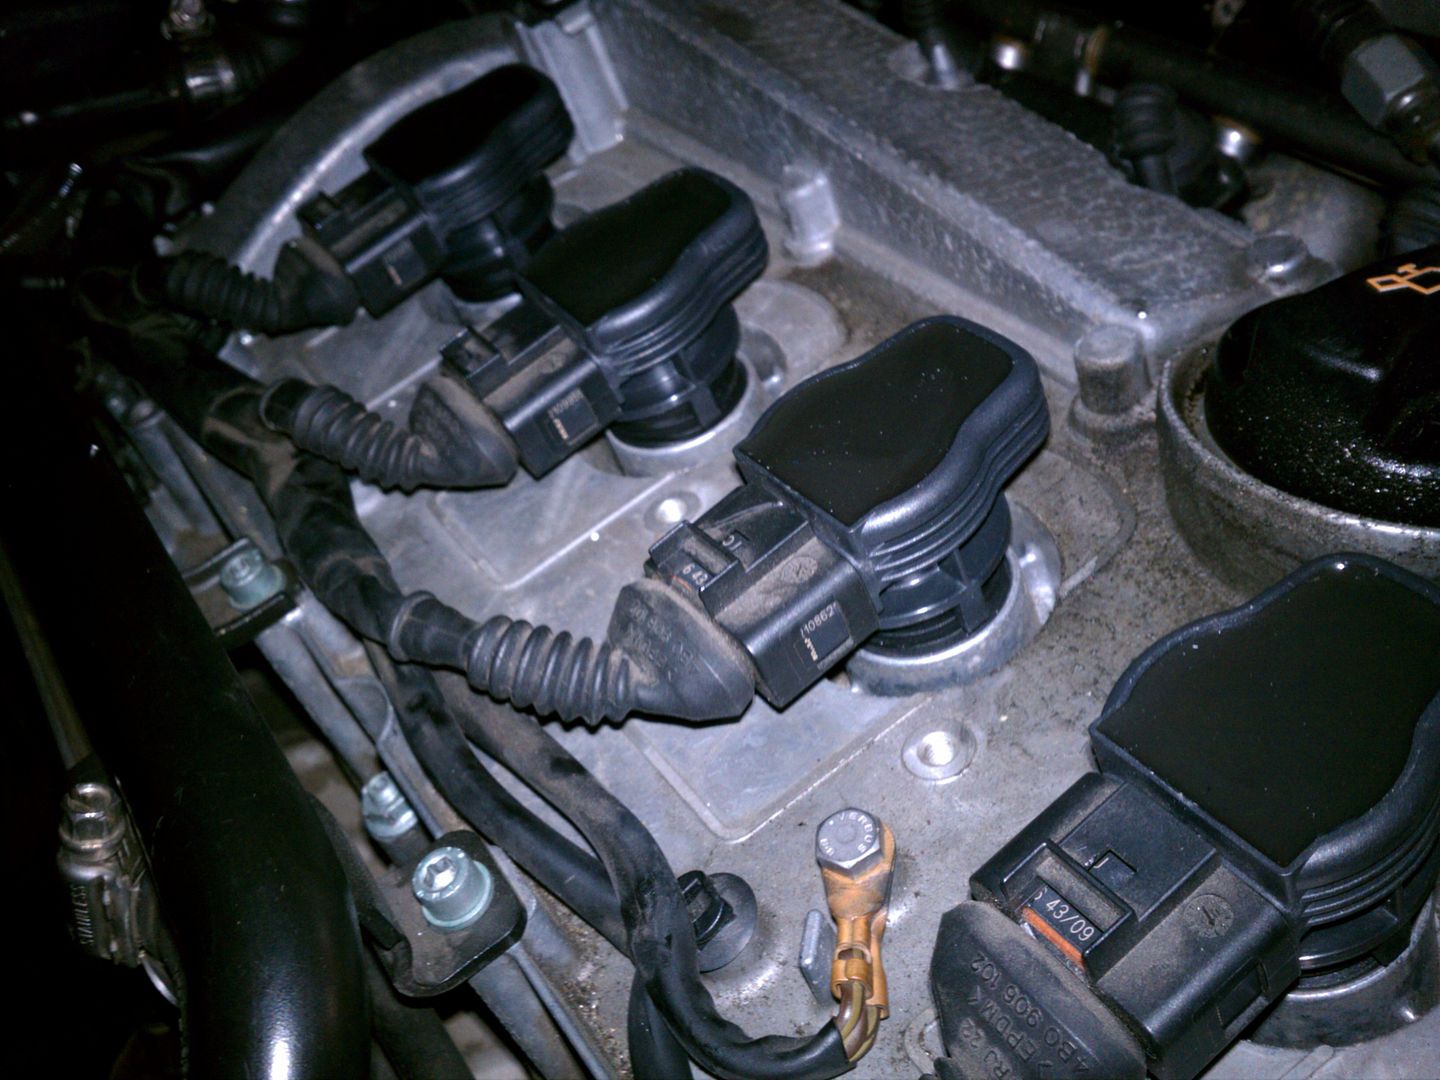
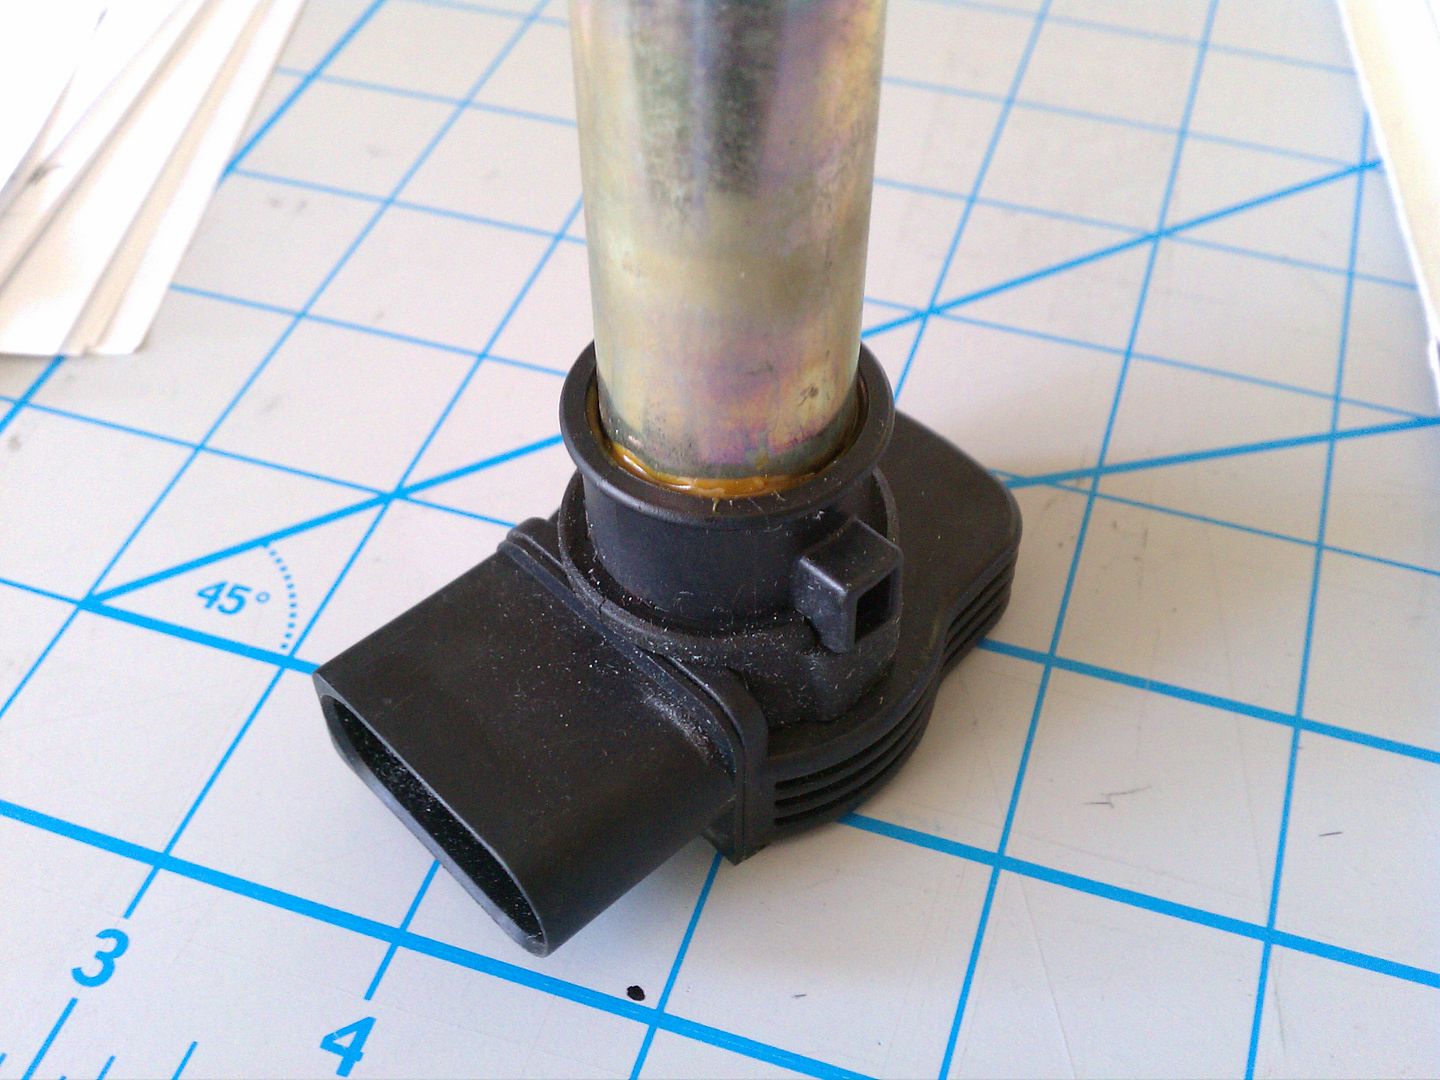
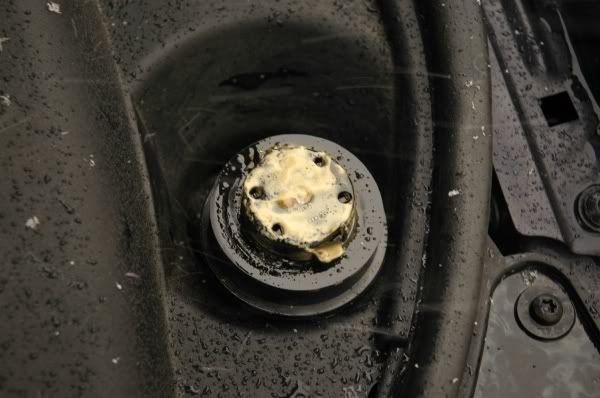
what's the ID of the DV hose. I cant seem to find any anywhere locally and would like to order online...


Instagram:iamshayan

2012 TT-RS | Sepang/Ebony
2014 Allroad | Glacier/Ebony (sold and bought back)
Sold: 2007 RS4 | Sprint/Ebony
RIP 2002 A4 2.0TQM Denim/Ebony, 243k
FWD->AWD, Bische-tuned GT2871R
Current
2018 A4 Q 2.0T
2002 TT Q 1.8T
Former
2002 A4 Q 3.0
2003 A4 Q 1.8T
2012 A4 Q 2.0T
2014 A4 Q 2.0T


B6 2.7t BEL tuned by Bische
B7 2.0t
'03 A4 5-MT Motoza tuned Frankenturbo F21L With full supporting mods. Sold (and missed dearly).
'13 A5 6-MT Needs more Fun Stuff: Neuspeed PM / 3.0 TDI Intercooler / H&R OE Sport Springs / Bilstein B8 Shocks / TyrolSport Brake Stiffeners / ECS Short Shifter / S5 Side Skirts / RS Grille
 And of course it goes w/out saying... x2. Something is wrong here Adam.
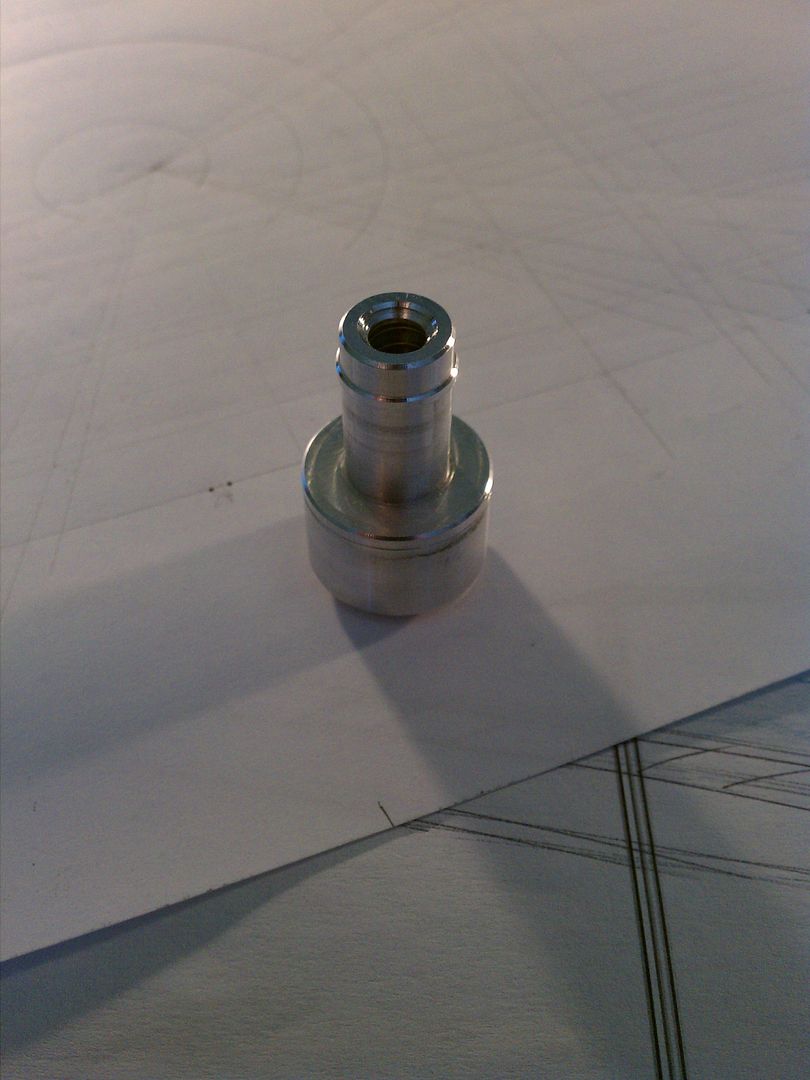
Last edited by a4darkness; 04-22-2012 at 05:32 PM. Reason: formatting
'03 A4 5-MT Motoza tuned Frankenturbo F21L With full supporting mods. Sold (and missed dearly).
'13 A5 6-MT Needs more Fun Stuff: Neuspeed PM / 3.0 TDI Intercooler / H&R OE Sport Springs / Bilstein B8 Shocks / TyrolSport Brake Stiffeners / ECS Short Shifter / S5 Side Skirts / RS Grille
B6 2.7t BEL tuned by Bische
B7 2.0t
B6 2.7t BEL tuned by Bische
B7 2.0t
""GHETTO MODIFIERS"" member #1
The Princess: SOLD.. i love you, please forgive me
"I agree with Waldo 100%" -1997GTX
..psst if you have a 2003+ 225 TT, email me..wally.iverson(at)gmail.com
2010 VW GTI
Previous cars:
2003 A4 1.8T APR Stage 1+
 .. Good work.
2010 VW GTI
Previous cars:
2003 A4 1.8T APR Stage 1+
Current
2018 A4 Q 2.0T
2002 TT Q 1.8T
Former
2002 A4 Q 3.0
2003 A4 Q 1.8T
2012 A4 Q 2.0T
2014 A4 Q 2.0T


Last edited by a4darkness; 06-22-2012 at 02:40 AM.
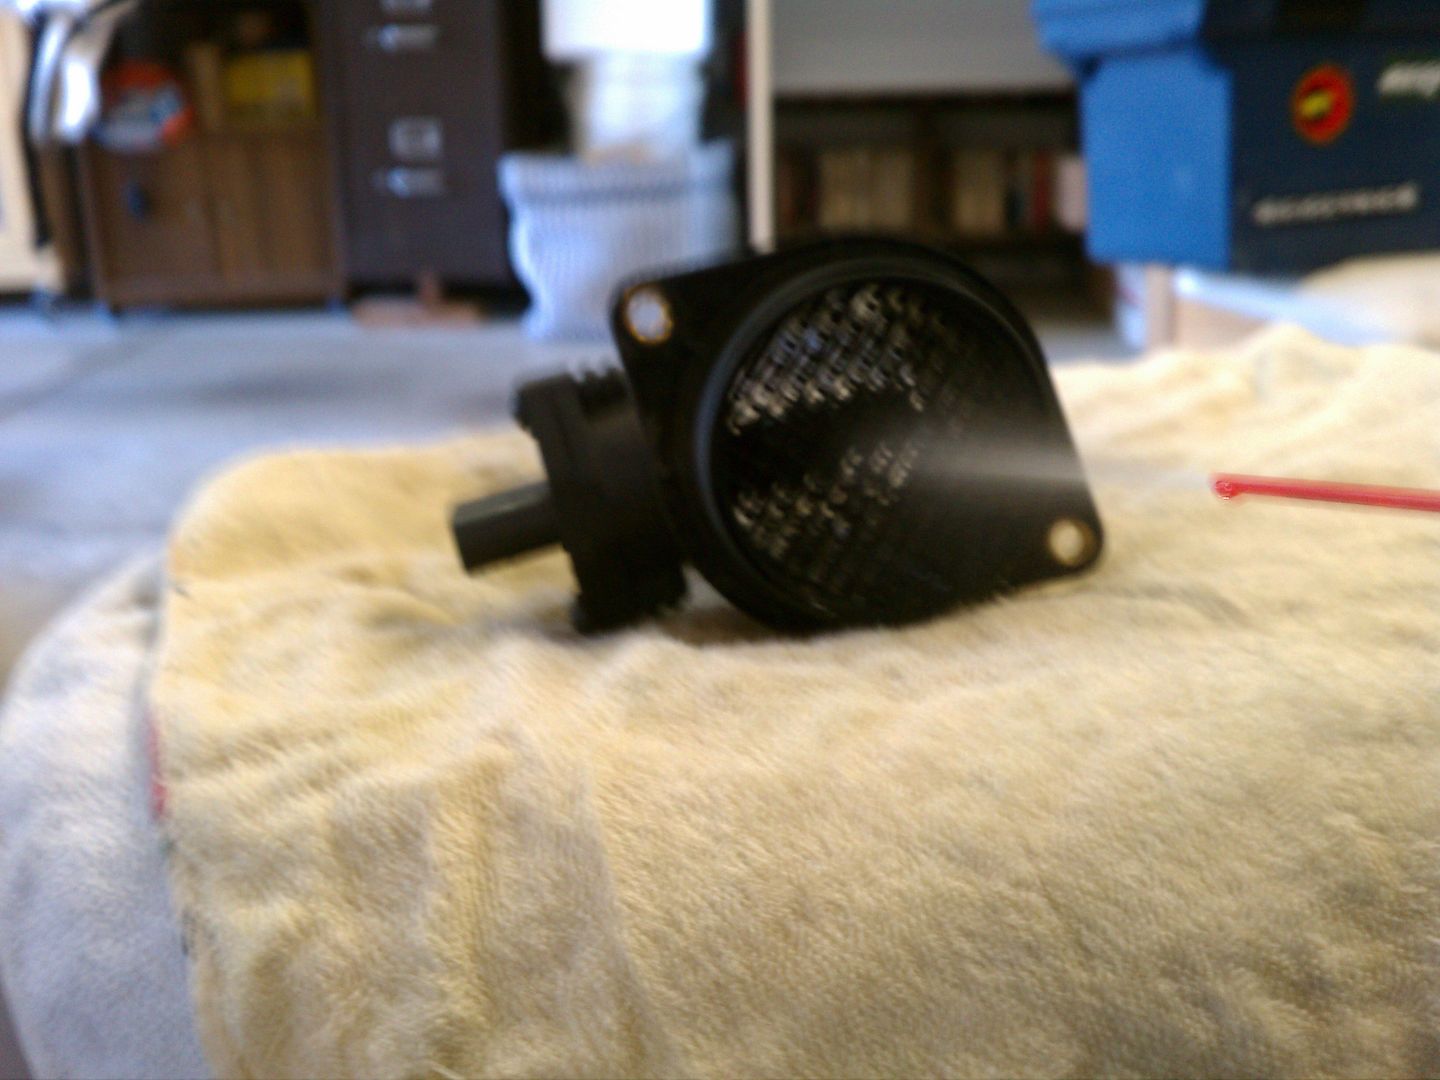
I don't mean to step on your toes at all here buddy, but I thought some more info on how a MAF actually works could be good info for people to have. Basically the element that is screwed into the "tube" that is the MAF housing is a heater grid of sorts. The computer tries to keep said element at the same temperature all the time, this is achieved by sending higher voltage to the "heater grid". As air flow increases over the element or "heater grid" (increasing RPM) the ECU sends more voltage to the element. Based on how much the ECU has to adjust voltage to the element to keep the element the same temperature, it is able to know how much air (where the g/s reading comes from) is going past the element.
Last edited by boostedAvant; 06-22-2012 at 01:50 AM.
") Best ever... yeah, while you were at the hard rock pool... Thomas and I got to see a different flavor of Vegas. lol
Best ever... yeah, while you were at the hard rock pool... Thomas and I got to see a different flavor of Vegas. lol
-Tyler-
Built 06A/IE Cams/IE 2.0 stroker/GT3076/6MTQDan Shank Super Tuned
It was a fun run, but the time has gone.
-Tyler-
Built 06A/IE Cams/IE 2.0 stroker/GT3076/6MTQDan Shank Super Tuned
It was a fun run, but the time has gone.
-Tyler-
Built 06A/IE Cams/IE 2.0 stroker/GT3076/6MTQDan Shank Super Tuned
It was a fun run, but the time has gone.
Last edited by a4darkness; 01-05-2016 at 12:45 PM.
|
© 2001-2025 Audizine, Audizine.com, and Driverzines.com
Audizine is an independently owned and operated automotive enthusiast community and news website. Audi and the Audi logo(s) are copyright/trademark Audi AG. Audizine is not endorsed by or affiliated with Audi AG. |

 |

 Reply With Quote


Bookmarks