


A while back I picked up a set of OEM B7 RS4 Jack Pads from Greg @ DTH and finally got a chance to install them today (before the blizzard hit this afternoon; gotta love Colorado weather
") )
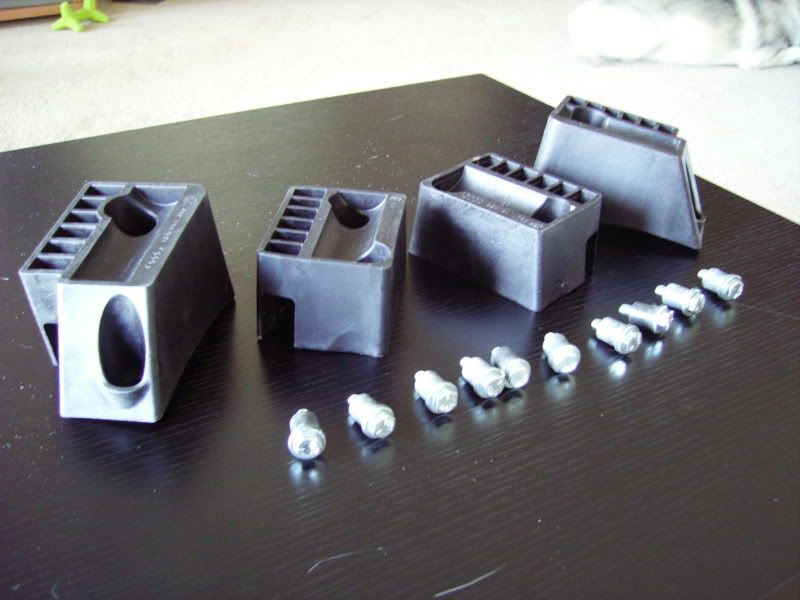
)The B7 RS4 has 6mm studs welded to the body that hold these on, the B6/B7 A4/S4 do not have these studs. Greg recommended the use of well nuts to attach the pads to the body, and to maintain the size (6mm) of the factory hardware. Luckily, I have the most kick ass hardware store ever about 10 minutes away (McGuckin Hardware in Boulder, CO) and for around $13 got (10) 1/4-20 well nuts, (10) 1/4-20 x ~1.5" bolts, and (10) 1/4" washers. You only need 8 of each, but it was cheaper for me to buy 10 of everything, and it's good to have spares. 1/4-20 is the standard equivalent to M6.
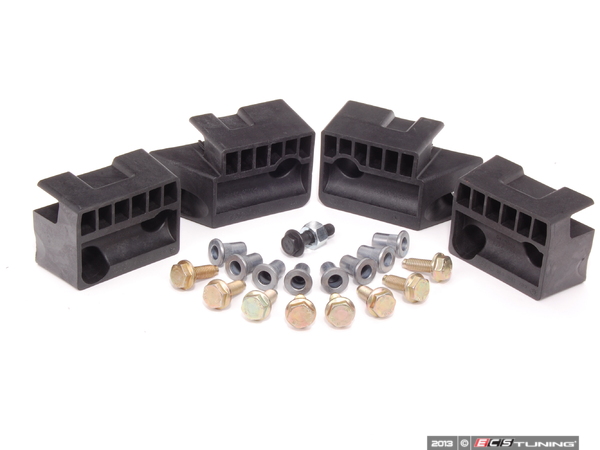
The parts:
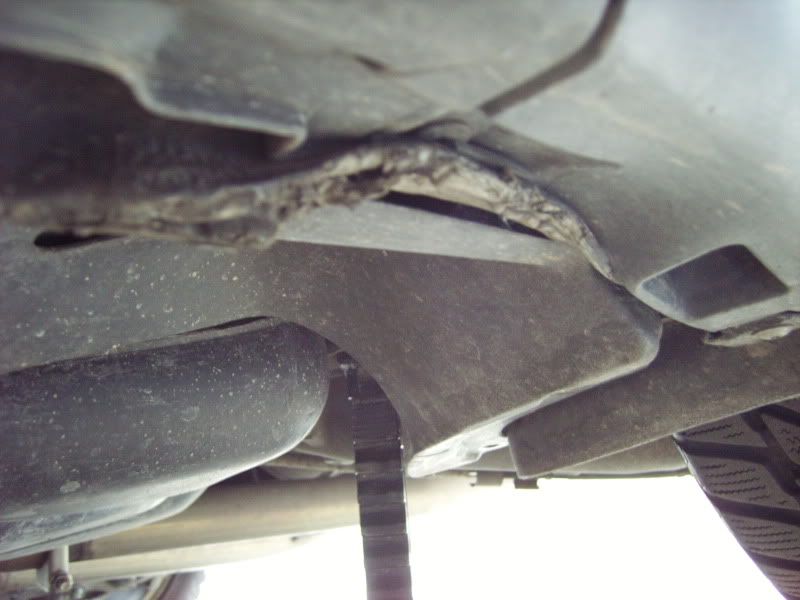
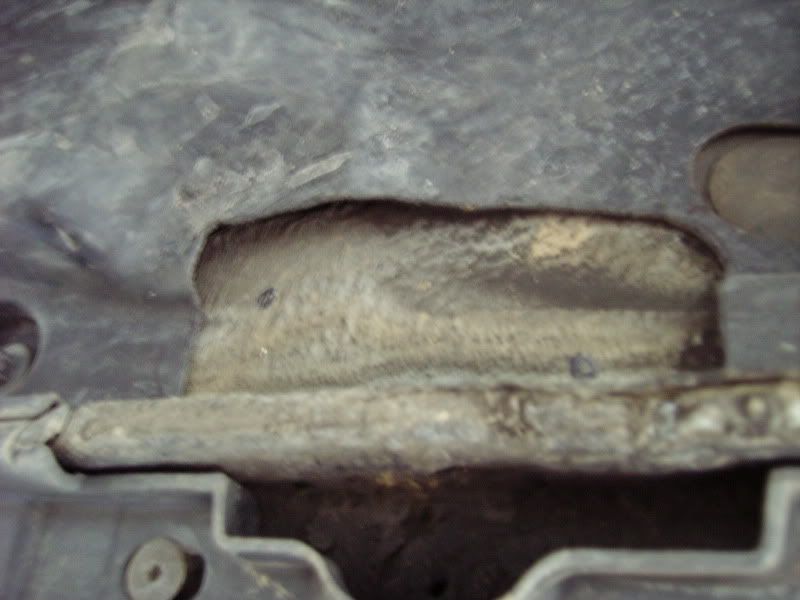
The point of these pads is to avoid damage like this:
And they provide a solid platform for a floor jack [duh]
The fronts are very easy to install. Raise the car up and place it on jack stands; do not put the jack stands under the pinch rails. You are going to have to raise the car high enough to get a drill + bit under the car. Once the car is safely raised, test fit one of the front pads (both front pads are identical, the rears are mirror images and are obvious how they fit).

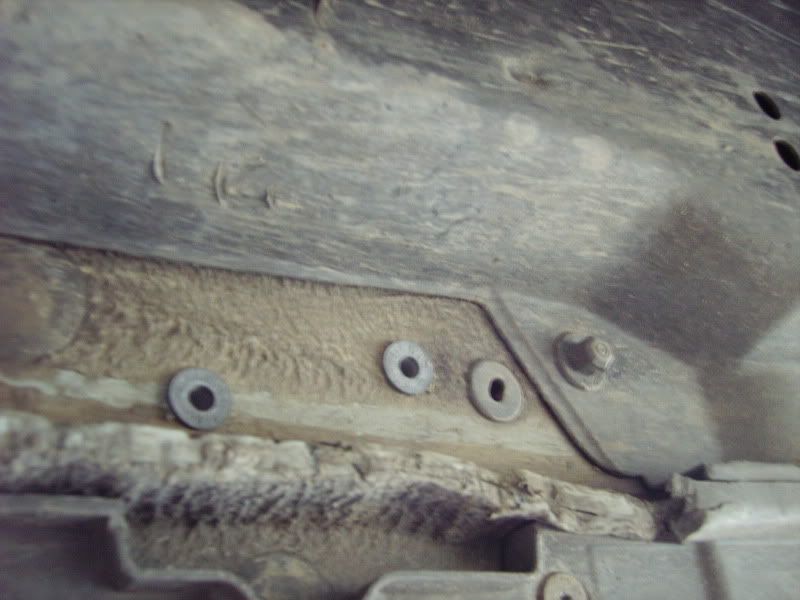
Once the pad is located properly, use a sharpie to mark the locations of the holes:
Then drill out the holes in increments. The well nuts I used require a 1/2" hole:
Then insert the well nuts:
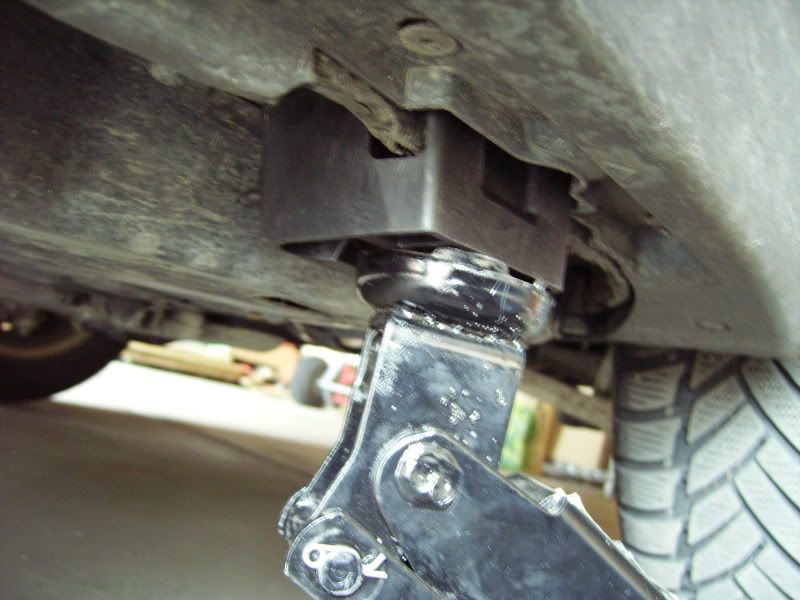
Then screw in the bolts to their approximate torque spec (determined by the well nuts). If you over-tighten them, they will pull through.
**TIP** before tightening the bolts, use the jack to firmly push the jack pad into the floor of the car. You don't need to lift the car off the jack stand, but a much better connection is made when bolts are tightened with the pads weight-loaded.
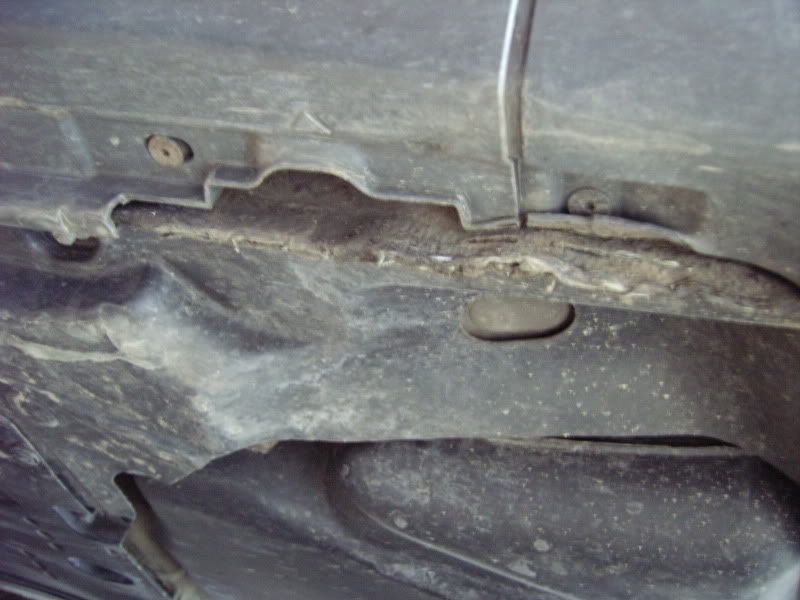
First one done:
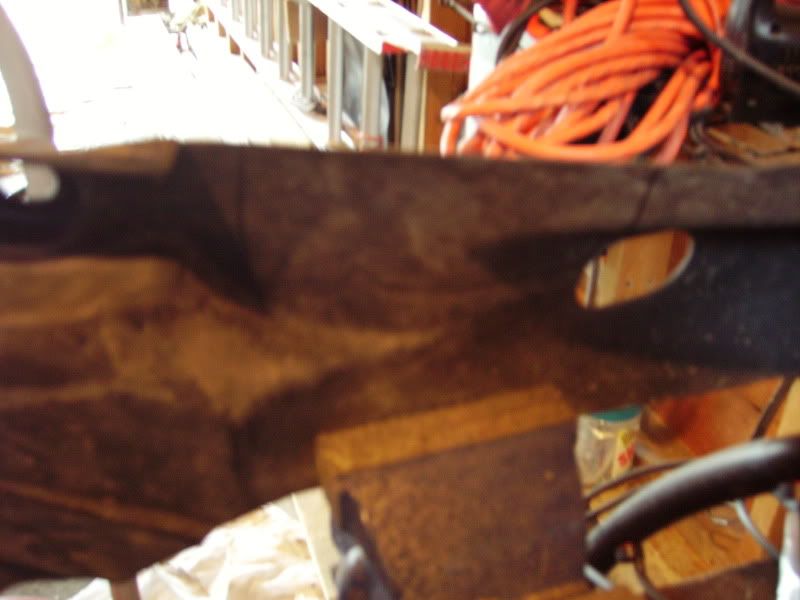
The rears are a little more involved. The plastic under tray needs to be trimmed so that the pad makes a good, solid connection with the floor.
After lining up the pad, trace the outline of the pad:
Then remove the rear under tray (see fuel filter DIY if you need help removing this panel).
Place it [gently] in a vice:
Cut (I used a coping saw):

After cutting:

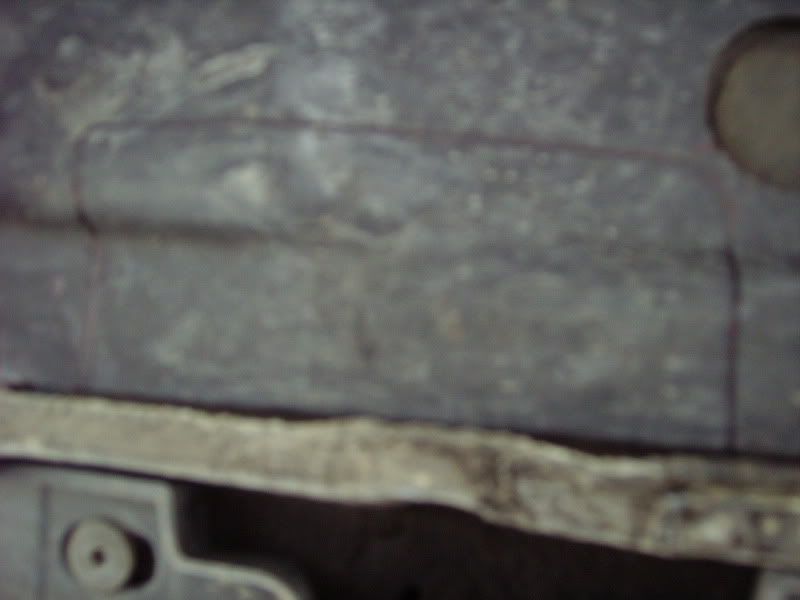
Reinstall under tray panel and mark the holes. You can see the difference in shape between the floor and plastic under tray:
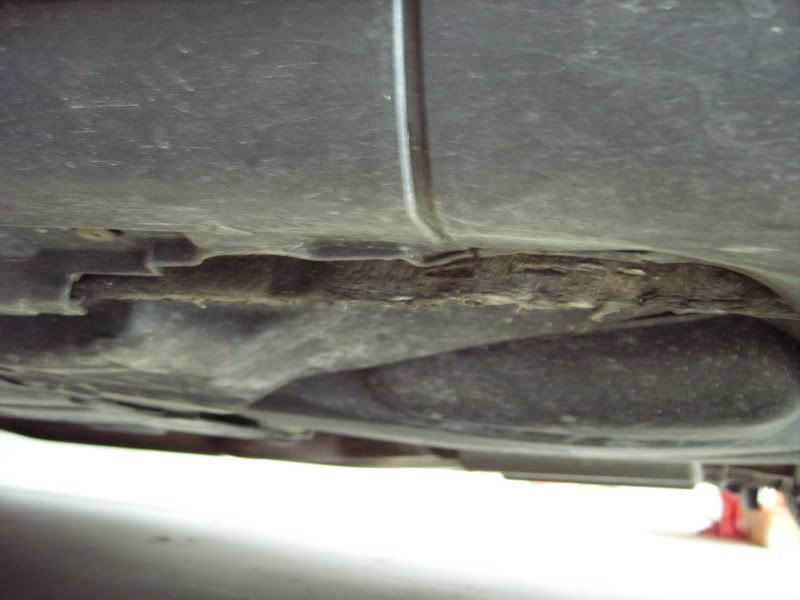
Drill, and install just like the front.
My driver's rear pinch rail was already smashed, which caused the pad not to fit, and would prevent the removal of the sideskirt:
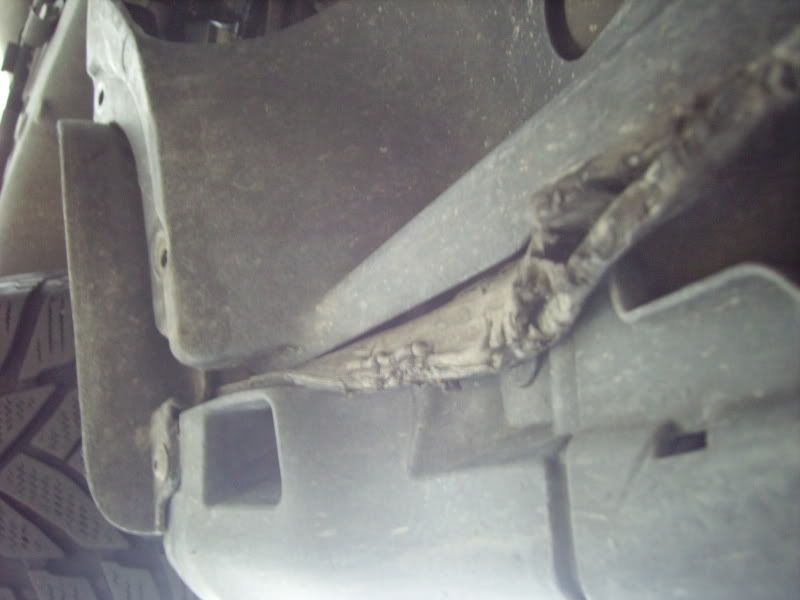
After a minute or two with a pair of channel lock pliers, it was fixed and ready for the rest of the install. If you live in a rust prone area you might consider repairing the undercoating. I don't have to deal with rust issues so I didn't bother.
And a picture of my puppy wondering what I'm doing with the camera, for good measure.
*I'm not responsible if you manage to screw up your person or property while following this DIY*


 Reply With Quote
 Best place ever (I went to school @ CU).


Bookmarks