the plan: polish EVERYTHING metal and wrap EVERYTHING plastic in CF and hide all wires under custom CF panels.
ive been laying CF by hand and polishing parts for a little while now. i though id share some of the stuff with you guys, as its all B5 parts i do...
this is the motor setup:
GT28RS eliminator
3" inlet/3"maf
AEB head
Unitronic 440cc file
Delphi 4400cc injectors
034 High Flow Exhaust Mani
3"test pipe to 2 1/2" catback
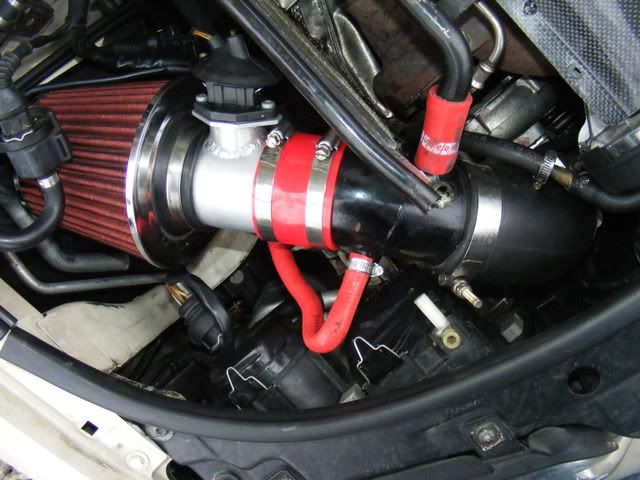
NEW MOTOR SETUP:
Kinetic T3/T4 50 trim (.63 4-bolt discharge with V-Band adapter) Now a Garrett...because the Kinetic DIED IN A MONTH!!!
Tial 38mm WG
ATP clone T3 side mount log manifold
ATP BT DownPipe V-Band
Greddy FMIC/custom piping
Oil lines pieced together from ATP (man i hate giving them money)
Custom inlet pipe
Unitronic 440cc file
Delphi 440cc injectors
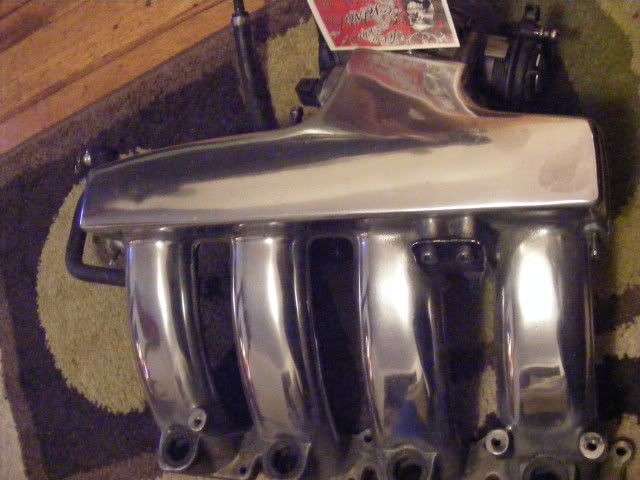
this is the intake mani i finished last month that i will be using on this:
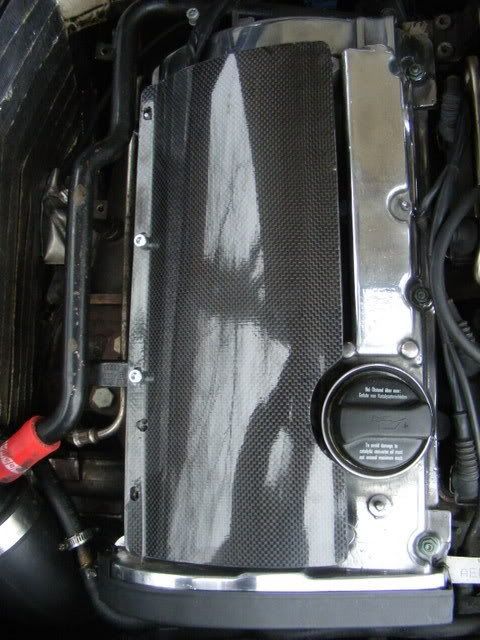
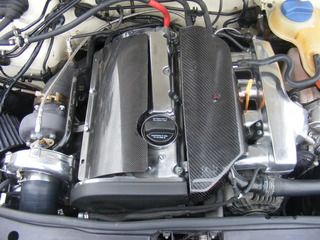
here is a close up of the polished valve cover with an 034 coil cover i laid carbon over (i didnt know they just sold them with CF at the time i made this):
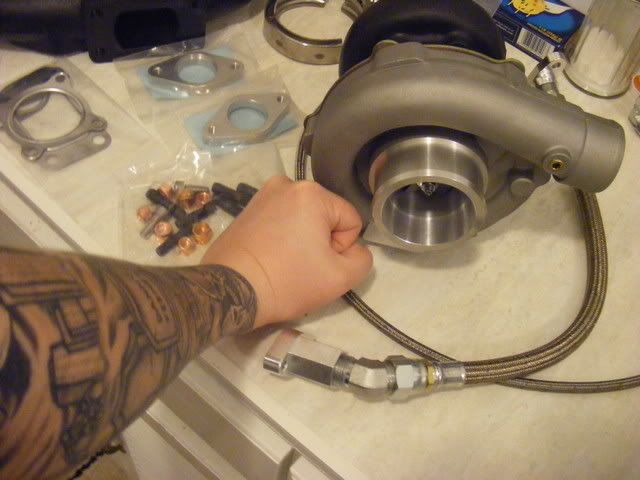
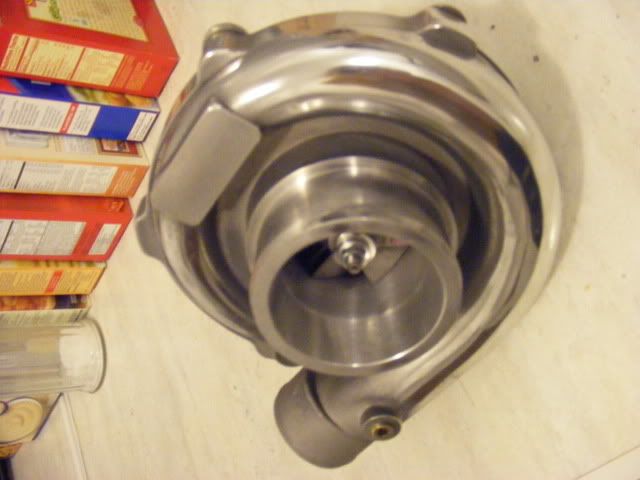
i just finished polishing this T3/T4 50 trim (its replacing my GT28RS Eliminator):
before:
after:
some carbon fiber and polished parts installed:
some pics of other stuff on the car i made (and am in the process of making):
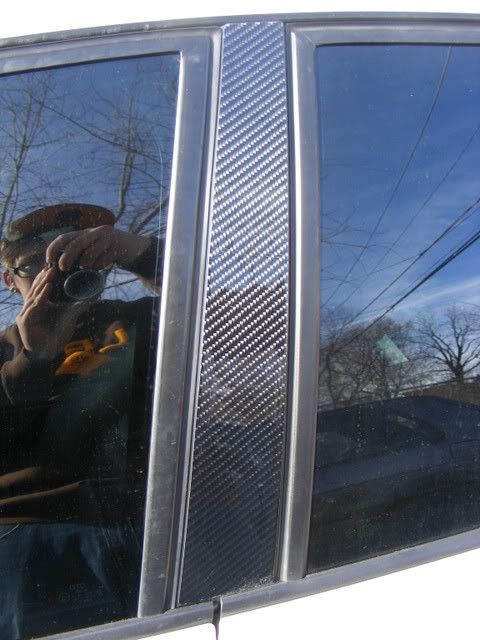
CF B-pillars:
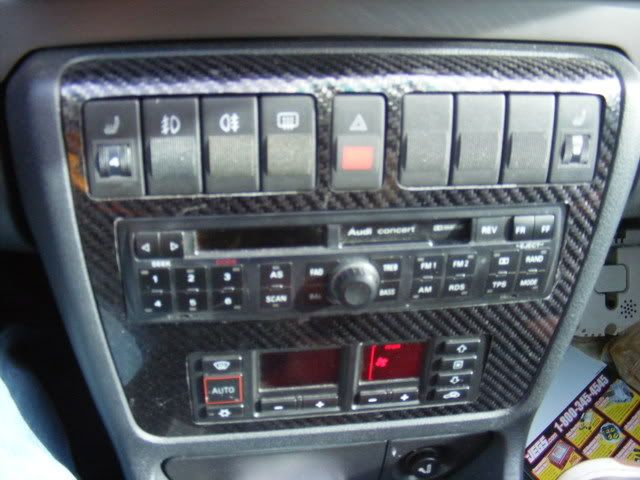
Radio Surround:
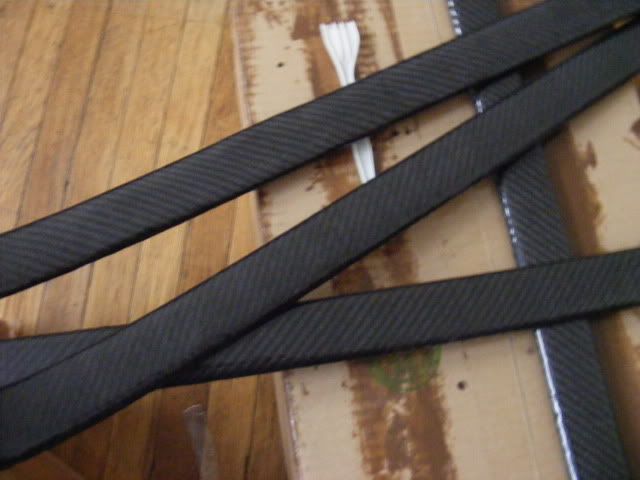
Im working on this set of door trim right now (it hasnt been sanded yet):
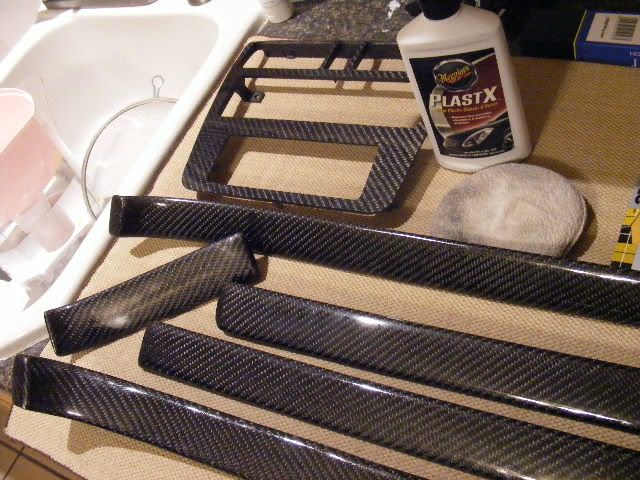
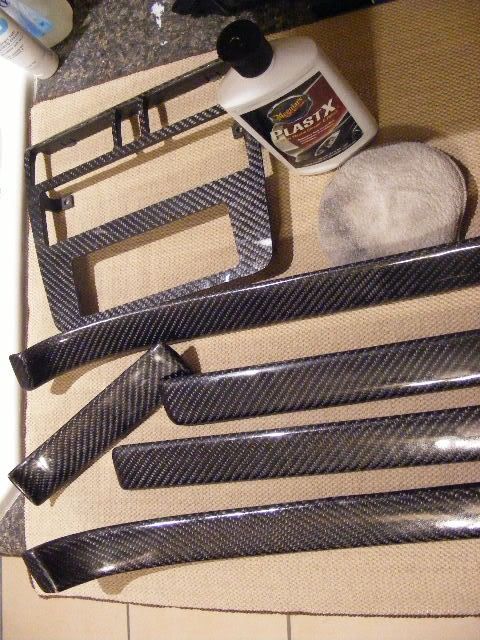
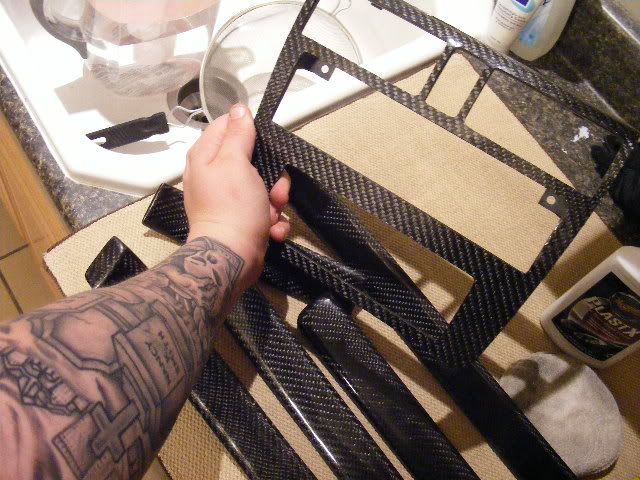
FINISHED THE TRIM:


WRITE UP FOR HAND LAYING CF:
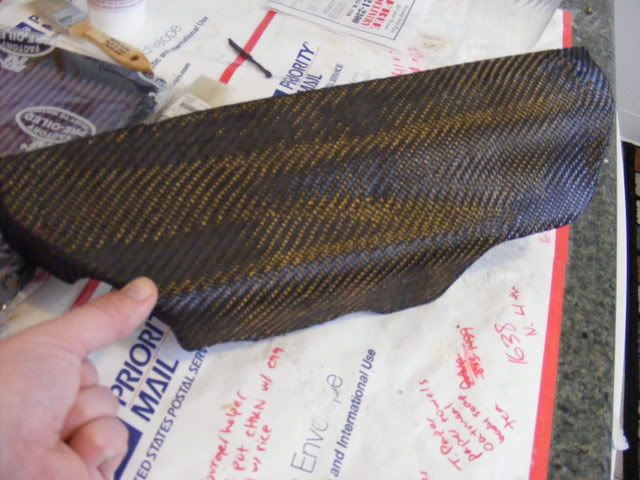
here is an engine cover i cut to seperate just the part that covers the fuel rail/injectors/coolant pipe.....i polished a valve cover and am using a carbon fiber coil pack cover...so this piece will match the CF coil cover (and Carbonio intake)... here is the process of how i made this part:
first i wrapped the part in CF cloth (2x2 twill weave):
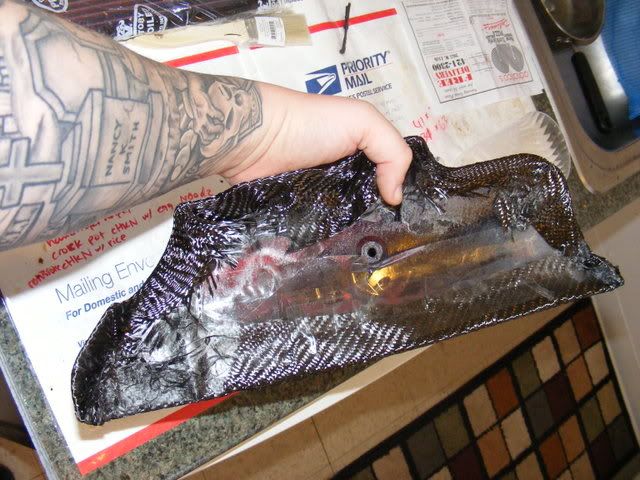
the back (not so pretty):
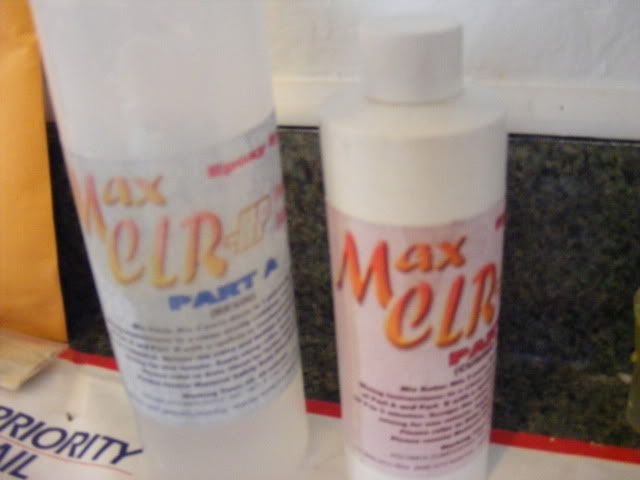
this is the resin:
just mix it 2:1
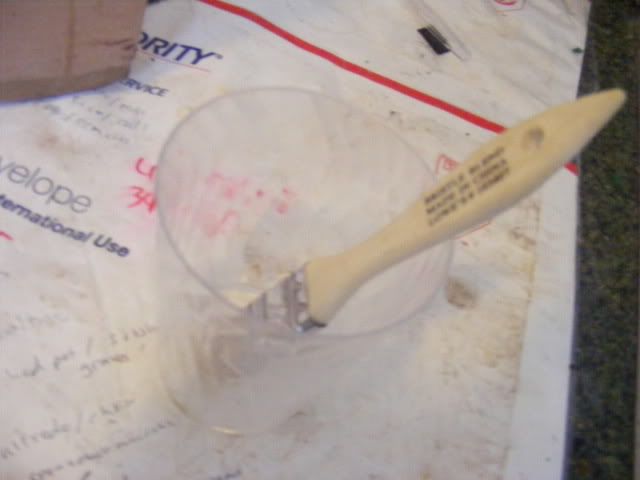
then apply with a paint brush (making sure to go over it with the brush ALOT to get all the little bubbles out (this pic is before i spread it around):
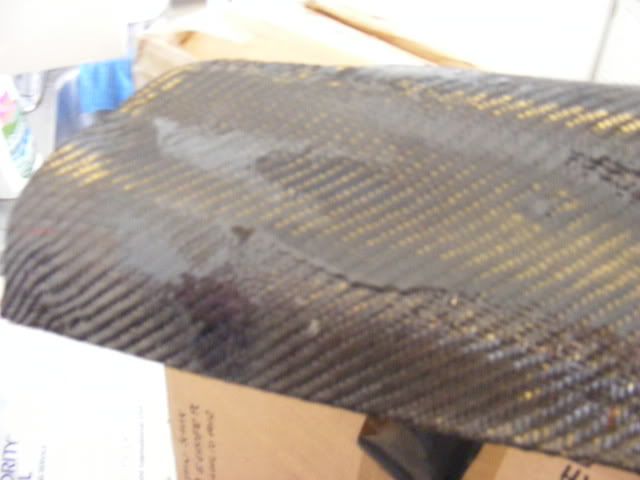
this is after the first coat dried...looks like shit, huh?:
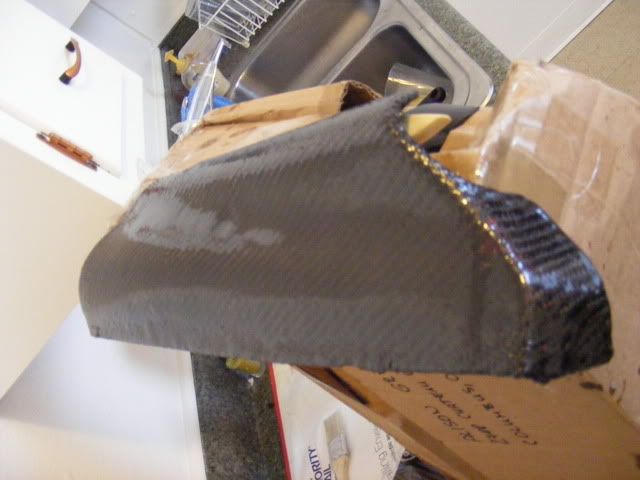
after the second coat:
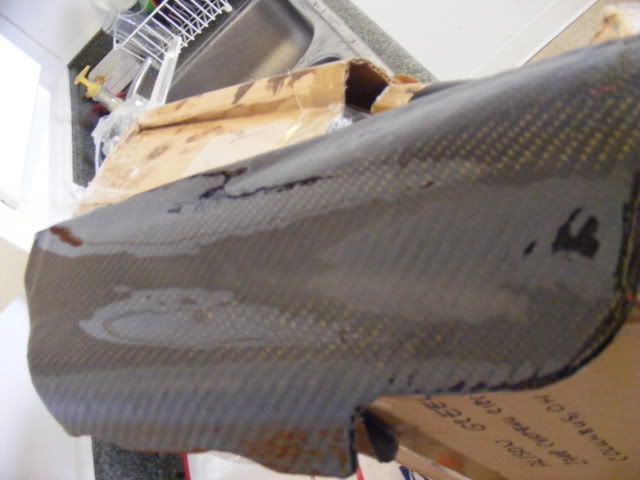
and after the third coat:
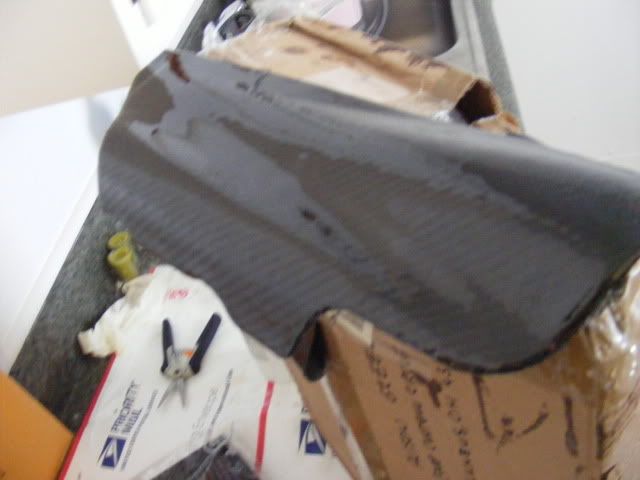
also after the third coat:
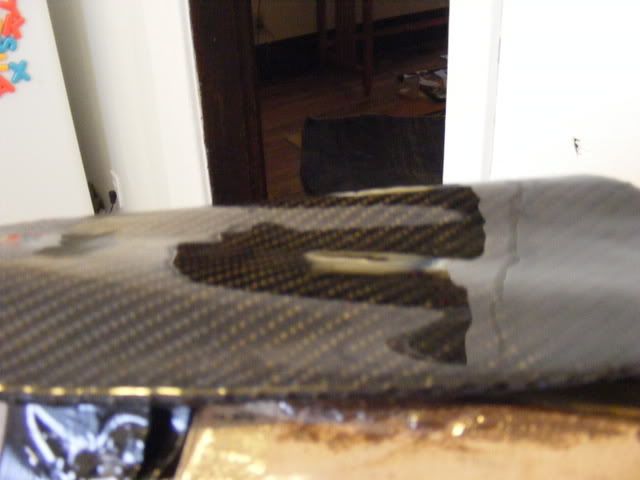
then i do the unthinkable!!!! i scratch the hell out of it with 220 grit sand paper:
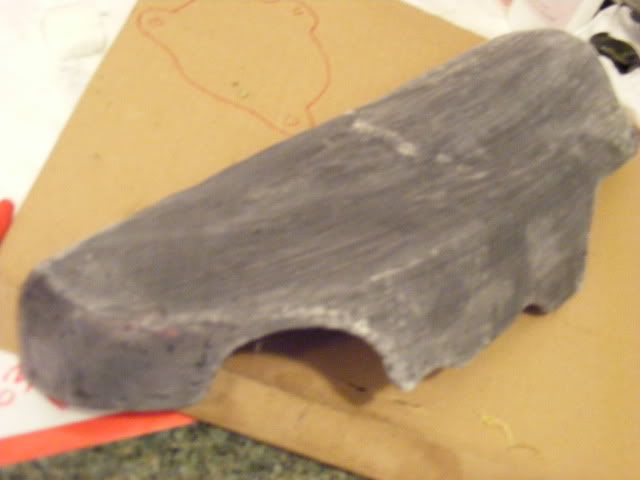
this is necessary because when laying resin by hand (as opposed to using vacuum bagging techniques) the resin dries kind of bumpy
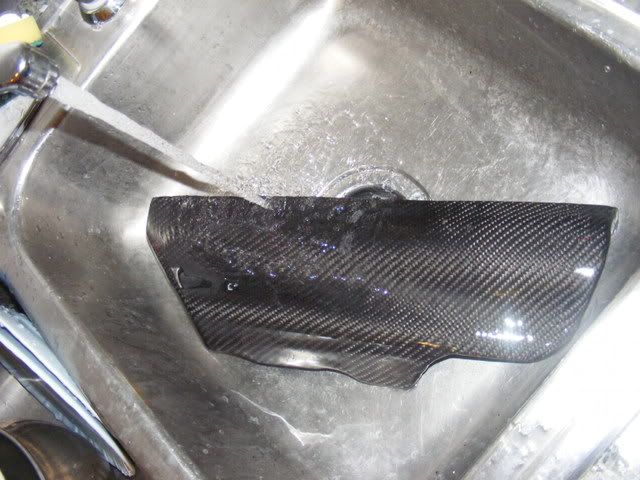
i start with 220 to REALLY get it as flat as possible, then rinse it off (looks nice, huh?:
i then go on to use 320 grit, then 400, then 800, then 1000, then 1500, then, 2000, and lastly 2500!!!:
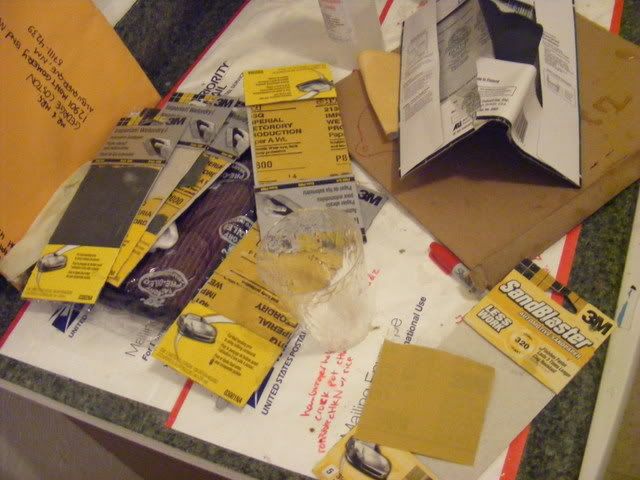
however, only the 220 (to start with) then 600 or 800, then the 1000 are necessary ( i just went crazy because i just so happen to have EVERY grit you can think of..and the more you move up to just the next grit, the smoother it will be...but it isnt necessary)
this is after i did all the sanding and rinsed it off:
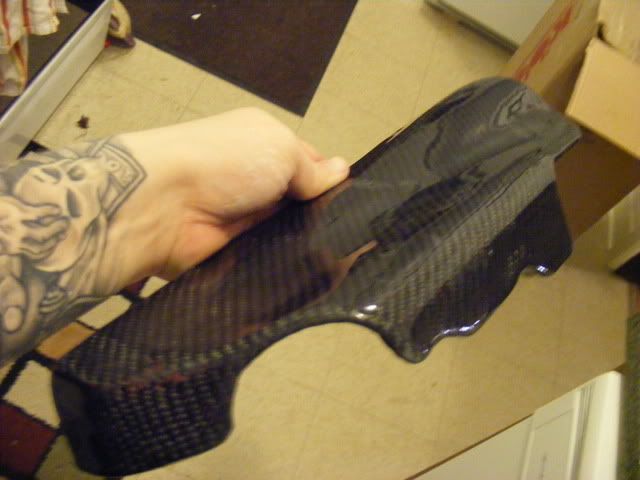
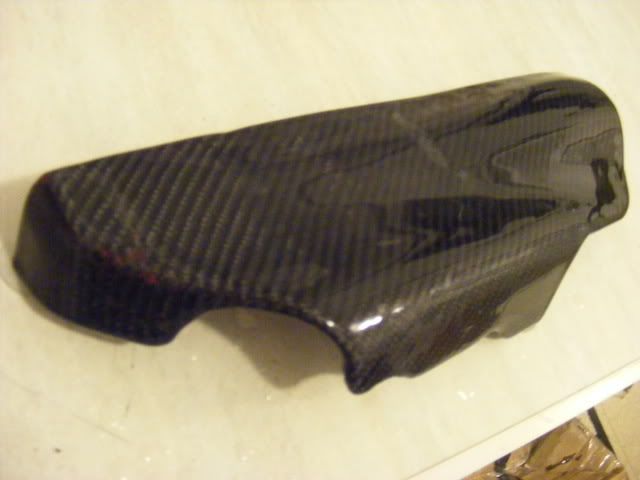
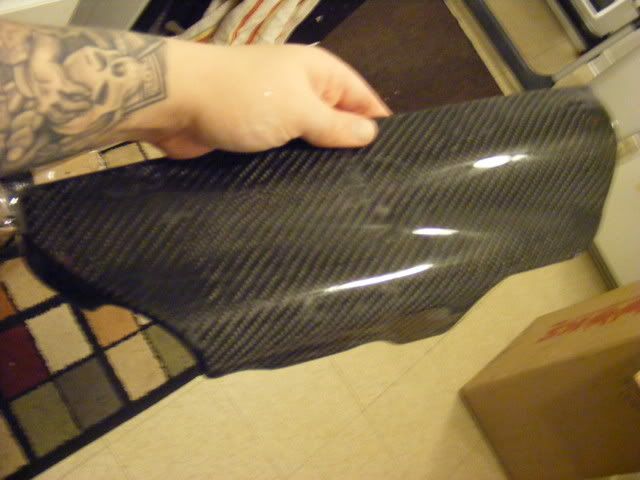
all that it needs now is a coat of clear coat. when the clearcoat dries i will use a plastic polishing or automotive clearcoat polishing product such as "Plast-X". after that it will be UBER glossy!!!!!!!!!
this is the process i use to make ALL my CF parts......
i will add a polishing write up soon (as i have another part to polish soon).
i will update this often.....


 Reply With Quote


 -
-  Nice work sir


Bookmarks