The B6 A4/S4 hitch install is not difficult, but it is a bit time consuming if you want to be OCD like me and demand that it be perfectly aligned with extra rustproofing and maximum beer drinking time while working.
That being said, here is the disclaimer: I am NOT a mechanic, trusting my instructions for something that is even as harmless as installing a solid metal bar onto a non-running car could cost you your life, limbs, eyes, dignity, manhood (or womanhood), and can definitely cause injury to pets and children. This install requires the use of several complicated techniques such as using a BFH, pipes, jacks, spraypaint, wrenches, a rubber BFH, a power drill, sealant, alcohol, and more spraypaint. The wiring of the trailer lighting system is not complex but it does require the "audi touch" to know the difference between when you are about to pop off an interior panel in once graceful motion and when you are about to break the damn think in half, gouge your hand and/or rip off a fingernail, and devolve into symphony of cuss words.
That being said: Attempt at your own risk, don't blame me if you mess it up!
Ok the hitch used for this install is the Curt Manufucturing 2002-2005 A4/S4 bolt on hitch, Model number 11164. $145 from etrailer.com. This hitch comes with the following:
-1 Hitch
-4 bolts/nuts/BIG fender washers/lock washers to attach through the tire well
-1 bolt/nut/washer/steel plate to attach through the tow loop
-1 ball mount, custom made for the A4
-1 hitch pin/clip
In addition to the parts listed above, you will need:
-Spraypaint of some kind, I used flat black rustoleum and Plasti-Dip
-2 addition washers big enough to fit the tow loop bolt (3/8" maybe?)
-a silicon sealant of some sort.
-jack, jackstands, etc
-rubber hammer
-metal hammer
-some various SAE wrenches, as Curt provides SAE mounting hardware

-power drill and some drill bits. 1/8", 1/4", 3/8"
-a center punch to mark the drilling location
-a little patience and probably a couple beers
-help is not really necessary, but as Morgan would say, it's nice to have someone sitting around to not help and to poke fun at you while you slave away.
The total cost for the hitch, wiring, stainless locking pin, Masterlock trailer lock, ball, and shipping (free) was $237. Not too bad!
Ok, now for the writeup:

The hitch will look like this out of the box:

Jack up the rear of the car (I used a lift, b/c I happen to have access to one), and mock up the hitch above the loop. You will need to loosen the two plastic lower bumper valance supports. One of mine was broken, so I only had to loosen one and saved myself at least a minute in labor.
Initial mock up:

Go to your jar of miscellaneous nuts/bolts/washers and find the two that will fit on your tow loop bolt:

And put it all together like so:

Now tighten it down pretty snug (not super snug) and see how she sits. On my car, the drivers side was a little lower than the passenger side, and the hitch receiver itself was pointing downwards a bit. Now its time to journey into the world of shade tree solutions 101:
First, we need to get the receiver nice and level, so grab some angle iron (or whatever you have aroun, a small diameter (<1.25") pipe would work), and set up like so:

Now Aristotle himself would be proud, you have made yourself a LEVER! Like I said, my receiver was pointing down a bit, so just lift up a bit! Problem solved? Not quite, as the drivers side was still hanging a bit low. Enter the pipe and jack: Get a pipe, 2x4, cinder block, etc and apply pressure to the drivers side edge of the hitch to get it level, as shown here:

Now that I had it level side to side, and could press the receiver up and level with the angle iron, I was almost set to mark my centers and drill. Except I was working alone, and had nobody to hold the angle iron up to get the whole hitch level. Enter jack # 2, plus the handle from jack # 1, plus a shaky cell phone camera, and you get:

Thats right, you level it side to side first, then cannibalize the first jack's handle b/c you have no more pipes or angle irons, then use that to press on the angle iron using jack # 2. Genious, I know!
Now that its all level and in place, you are ready to mark the drill centers with a center punch and the BFH. You do this from the outside of the car, and must start drilling from the outside in with the 1/8" bit. disassemble the ingenious jack on jack leveling Rube-Goldberg (after lamenting its genious one last time), and remove the hitch from the car completely. Once the holes are piloted, then you open the trunk and drill them bigger from the inside out. Get it? No pics for help on this, if you cant figure out how to drill, you are truly mechanically retarded.
I suggest that before you punch the marks, take a good long look to make sure the hitch is where you want it, above the tow loop (I have seen it installed below it by U-Haul in a post here on AZ!). This is the point of NO RETURN.
Ok, now that its all drilled and ready to go you should have four little holes that you purposely put directly though the unit body of your precious Audi. Yikes! Better hit them with some spraypaint (inside and outside, make sure t wipe off dirt/grime before painting) to prevent corrosion, and it'll look like this:


As I was waiting for the rustoleum to dry, I decided to peel off the Curt stickets, scuff up the powdercoat and repaint it with Plasti-Dip to get a matte finish. I also painted the steel plate that used in the tow loop. I applied several coats and the finished this install the following weekend.

When you are ready to put in on the car for good, start by again placing it over the tow loop and snugging it down. You'll want (IMO) to use some silicone to seal the holes, etc. I started by applying a ring of sealant to the outside of the drilled holes from beneath the car, then mocked up the newly painted hitch, and started placing the bolts through from the inside. It looked like this:

You can easily get one side all together, but of course it wont line up perfectly on the other side and you'll have this:

Apply the angle iron for leverage and slide the fouth bolt into place:

And it'll look like this:

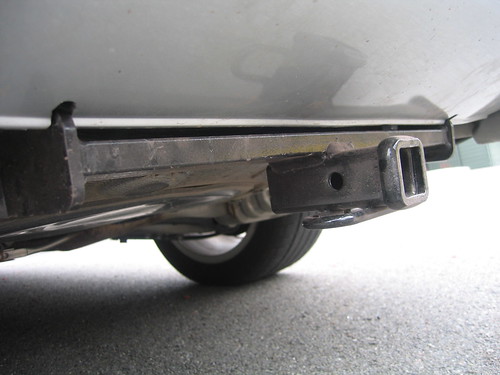
And like this from below, after you apply some more sealant:

Inside:

All tightened up, pre-final spraypaint:

Spraypaint over the bolts/sealant etc once its dry, and do what you can to make it as corrosion resistant as possible.
And the final product:


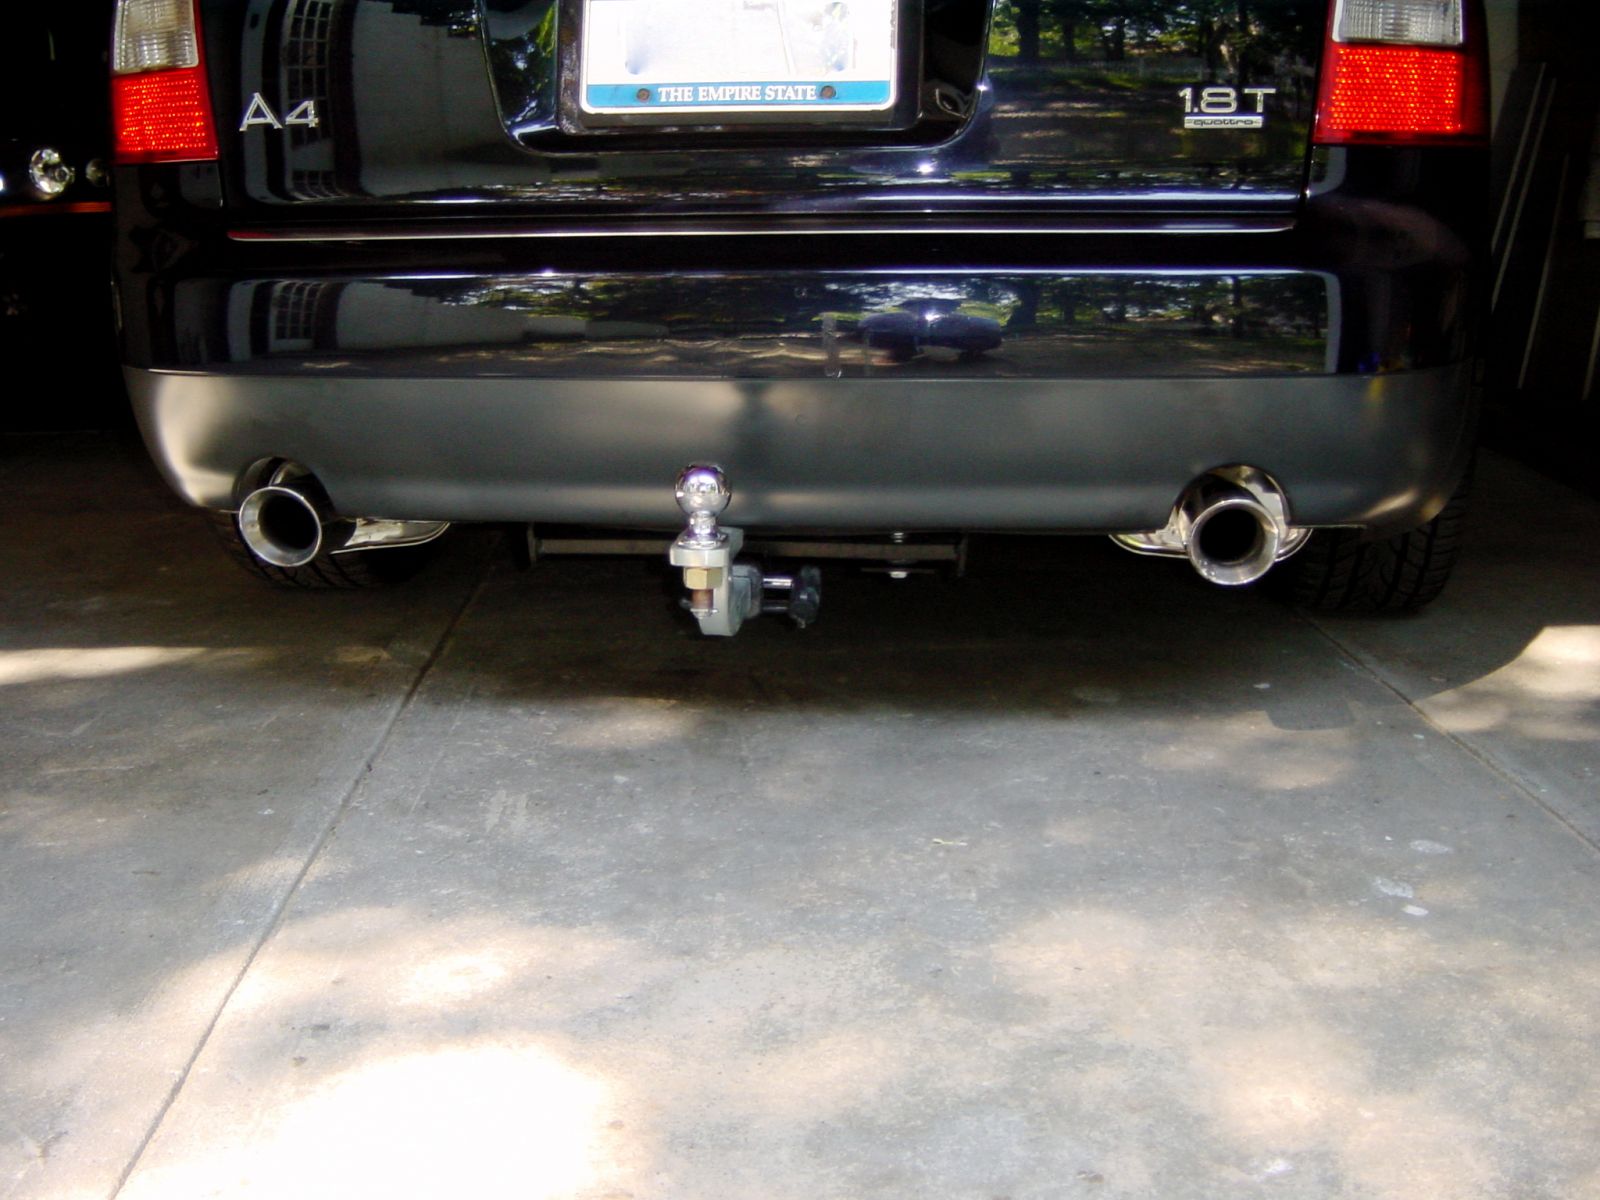
No, its not the prettiest thing, it is probably somewhere behind an Oetty front bumper in terms of adding aesthetics to the car, but it does allow you to do this!

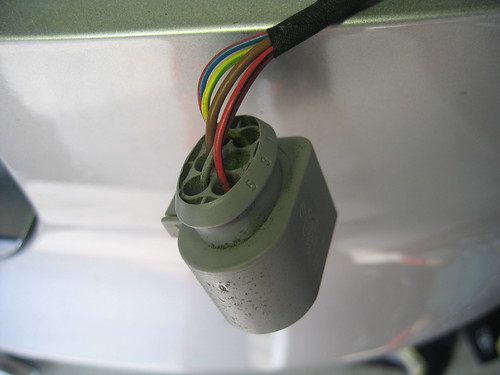
Im going to do the writeup for the wiring installation sometime soon, once I find the pics. It does involve removing a lot of the trim in the rear (at least in an avant) and tapping some wires, as well as running a power cable to the battery through the firewall.

PM with questions. Given the amount of pics and explaination for a really simple install, I expect that install will be a breeze. Once you're done, go crack that eighth cold beer of the afternoon and marvel at your beautiful (in the eye of the slightly intoxicated beholder, of course) new hitch. Then sober up and go tow something.


 Reply With Quote


 )
)


 and not like this


Bookmarks