It was not as hard as I thought it would be, but lets start with the basics. I didn't take photos of the valve cover removal because one, it has been written about enough so no need to rehash, and two, if you can't figure that part out you should not be trying this.
I have a 2000 Audi A4 Quattro with the engine code or ATW so this might not be the same for all applications and I don't know enough about the differences to do a write up for all but being that mine has a secondary smog pump, this works a lot easier if you disconnect both steel pipes running along side the valve cover.
You can do this with basic tools but you will need an Audi cam tensioner tool or you will not be able to do this unless you are very creative ........

Since I did not remove the cams I did not put the engine to TDC as recommended in most write ups. I did take the precaution of marking the sprocket and and link closets to the TDC marks and counted 16 links between the marks just in case it was able to jump a tooth but since I only released the tension it was not able to move.
Here are the pictures I took and I will let them do the rest of the talking and I hope this is able to help someone else.


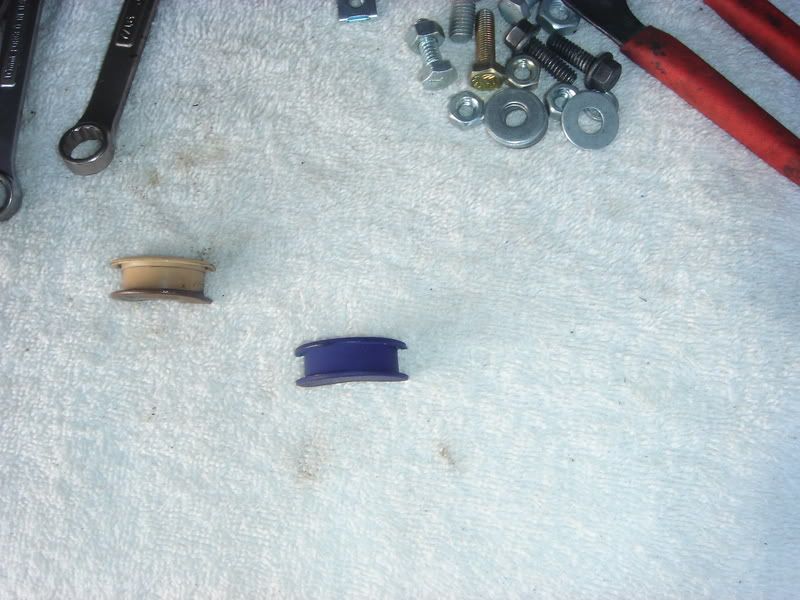
Here is a picture of the two seals side by side and I think you can figure out which one is bad ......


Here is the metal gasket that goes between the cam tensioner and the head.
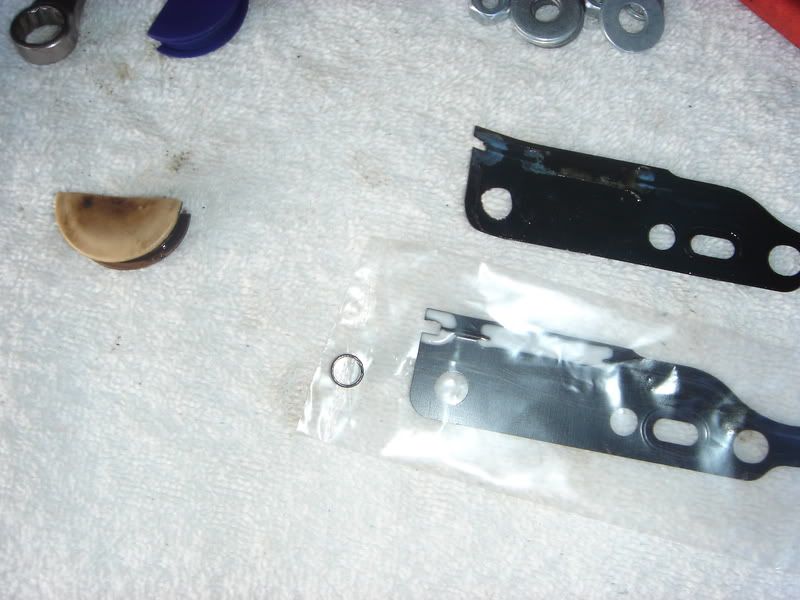
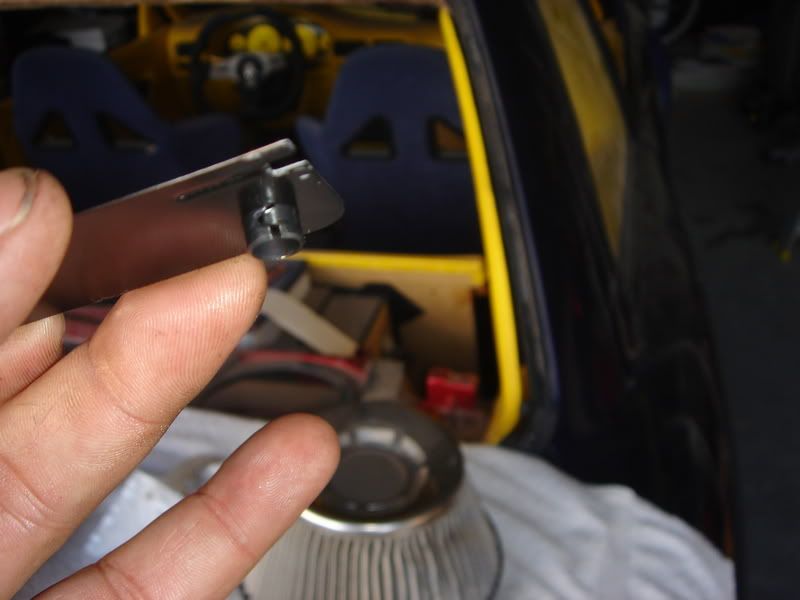
Notice there is a round retaining clip that has to be reused from the old seal. All you do is squeeze it with some pliers to remove and then put it in the new seal and let go as it's compression fitted. It goes into the first bolt hole.
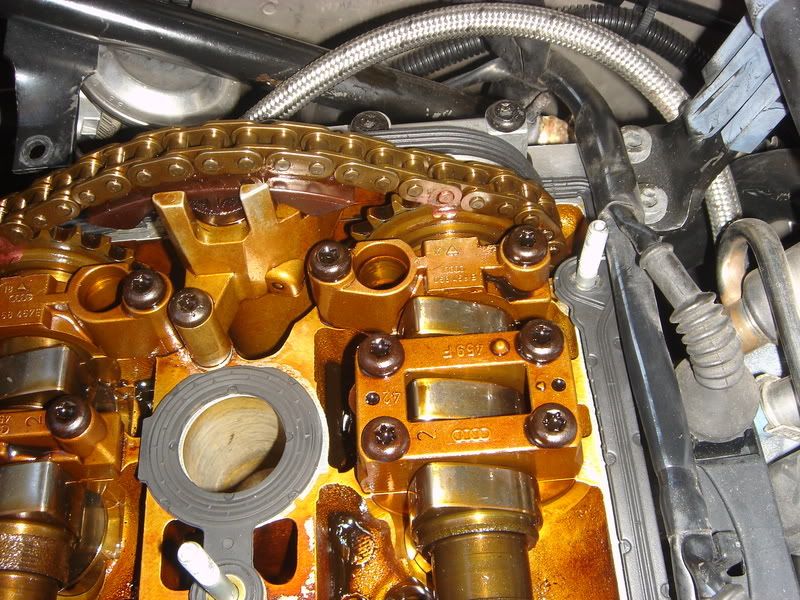
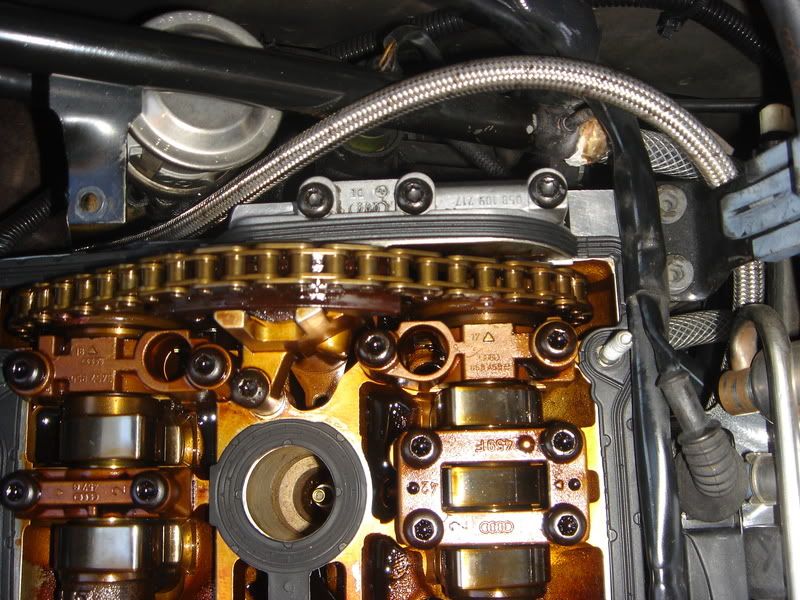
Here I marked the cam and chain to make sure everything went back into place the same way it came out. I used my wifes nail polish so that will be our little secret ....

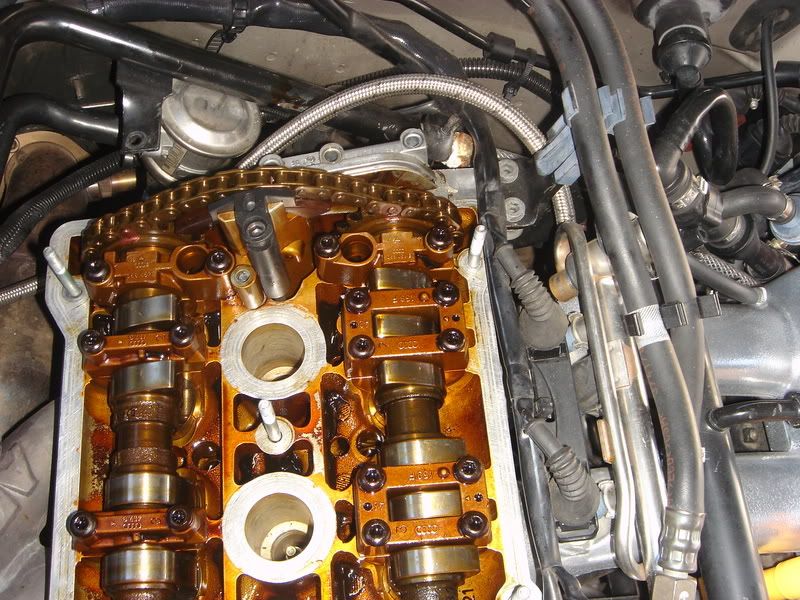
There are four bolts that need to be removed in order to get the wiggle room needed to replace the seal. There are three on the outside of the valve cover and one inside the valve cover directly to the left of the cam tensioner tool.
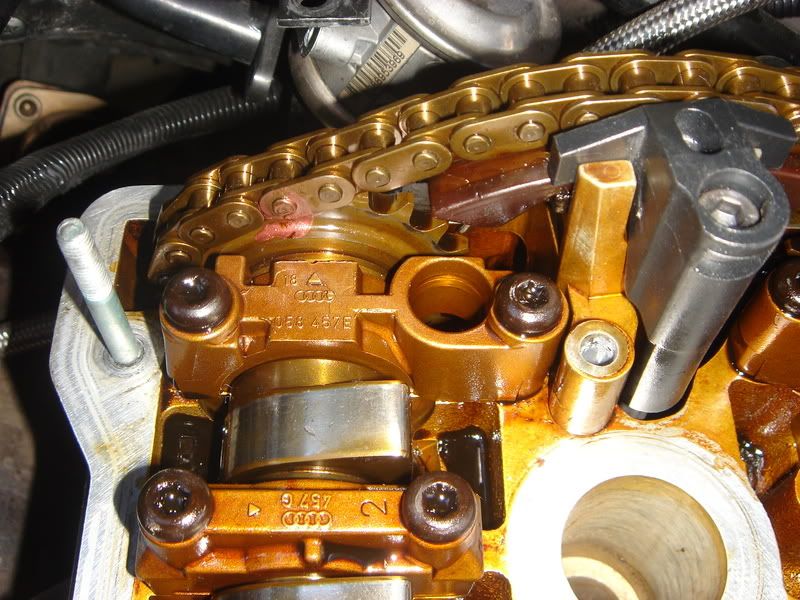
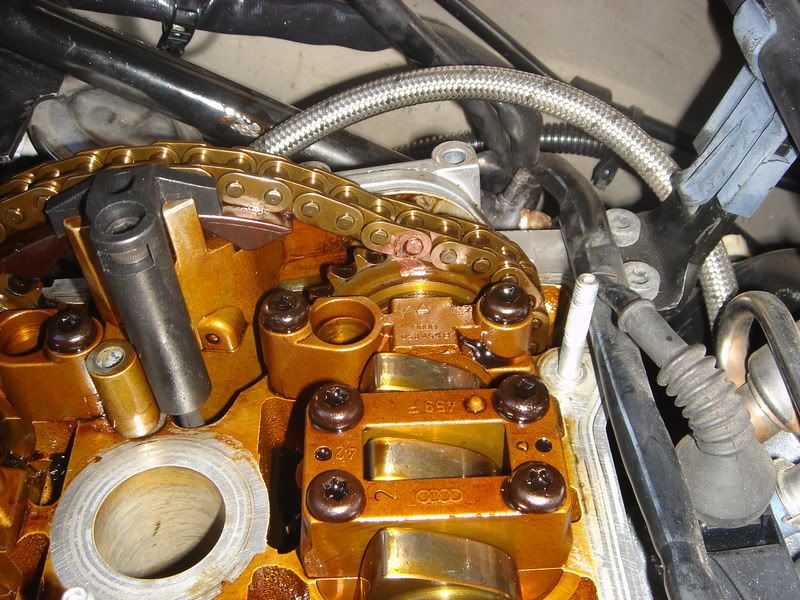
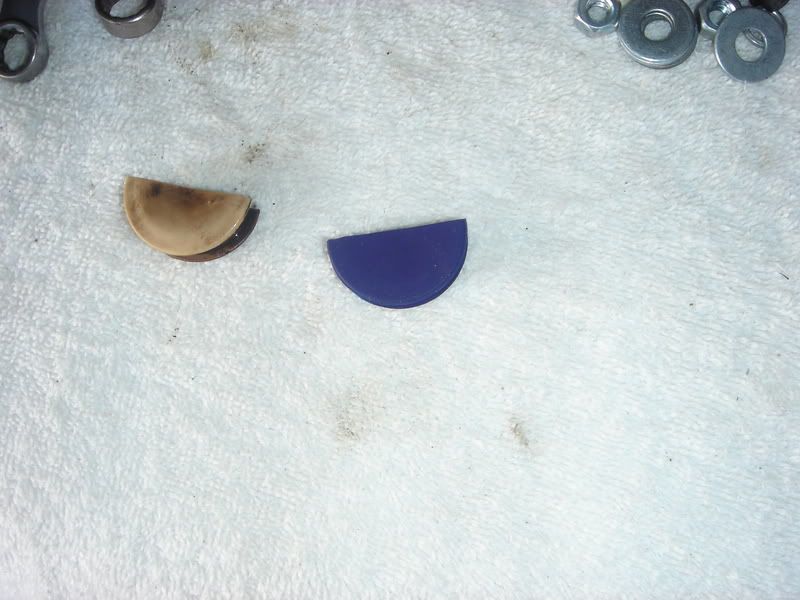
With the cam tensioner free and the bad seal removed. You can tell with the amount of oil sitting in the half moon seal pathway that a lot of oil was getting by as it was literally dripping through the seal.
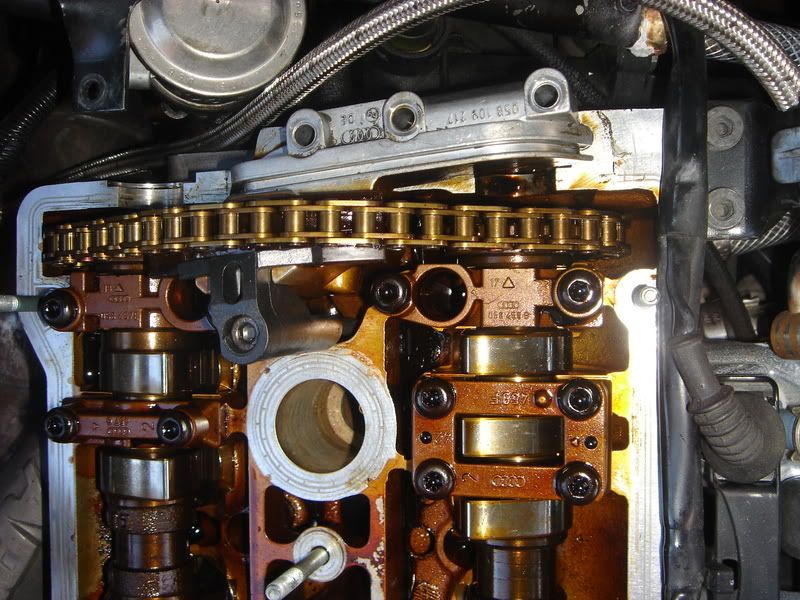
Once I cleaned up the oily surface, I replaced both seals in the reverse order. When I did my research it was recommended that both seals be put in dry so after cleaning I put the half moon seal in first and then the metal gasket. The retaining clip guides it into the first bolt hole on the right hand side and then I alternated bolts as I tightened them down so as to get a good even seal.
Here is the finished job with the new valve gaskets ready to get put back together. I would say the entire job took me about an hour.
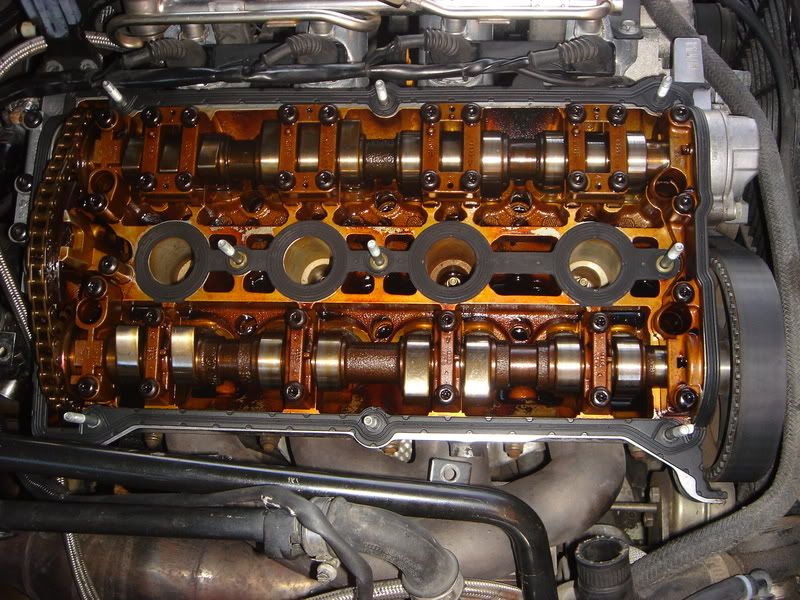
Of course I double checked everything to make sure that nothing had changed from when I first took it apart. I put this off because I thought it was going to be harder but it ended up going pretty smooth.


 Reply With Quote


Bookmarks