


I had a few left over pieces of 3/8" copper fittings and elbows laying around from a big project I had to do on my sweeper trucks watering system a while back so all I had to purchase was the filter and some high pressure line.
The filter is from Lowes and was $20 while the high pressure 3/8" ID line was .60 a foot, and I purchased 3ft worth.
Here is a list of the items needed for this install but this may vary depending on how you install your filter.
1) Kobalt (or other brand) compressor filter
2) 3/8" threaded to barbed adapters (4)
3) 3/8" threaded male to female elbows (2)
4) thread seal tape.
5) High pressure hose 3/8" ID (how much depends on where you mount you filter, but I purchased 3ft.)
6) hose clamps
EDIT: Updated pics on post #20 & #23

First I had to modify the filter bottle. It was meant for 150psi (10 bar) and 125 F (51 C) operation so this application should be ok. There is a brass pressure relief valve on the bottom of the glass that automatically relieves pressure and liquid once pressure has been lost. I did not want oil dripping out once the car was turned off so I removed the spring which is really easy. I just remove the C clip and pushed the barbed fitting out and removed the spring and then put it back together. With the spring removed the plunger always stays down, sealing the glass jar, but can still be pushed up to release pressure and oil.
Here are a few pictures of the glass bowl and the brass plunger.

Plunger down (sealed)

Plunger up (release oil and pressure)

I am going to add a length of hose to mine so that I can drain it from under the car and direct where it will empty into.
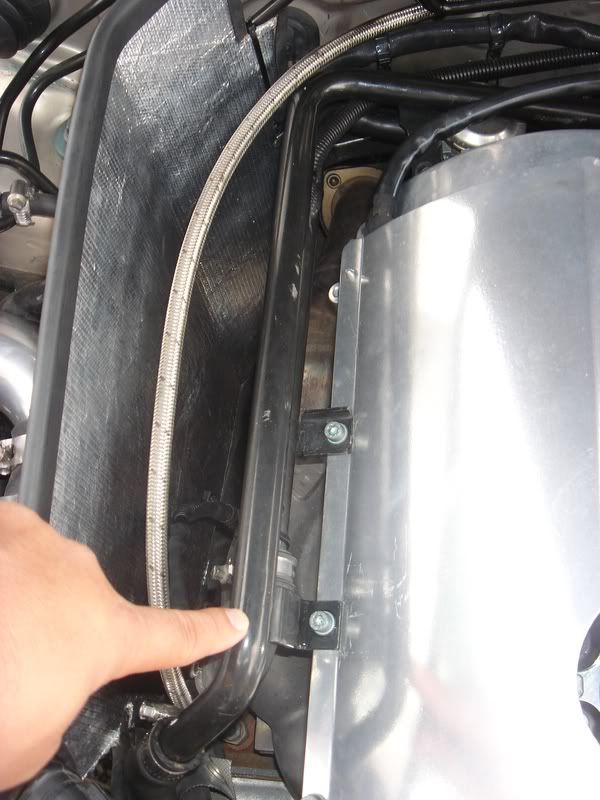
The filter will install under my coolant reservoir, which seems to be a popular choice for Audi's, so I installed the elbows so that the flow will come from in front of the filter.

Direction of flow.

The filter has little angled channels that force oil vapor down at an angle and to the edge of the bowl. As the vapor tries to rise there is another baffle to break the vapor up before it goes through a metal filter so the design seems good.


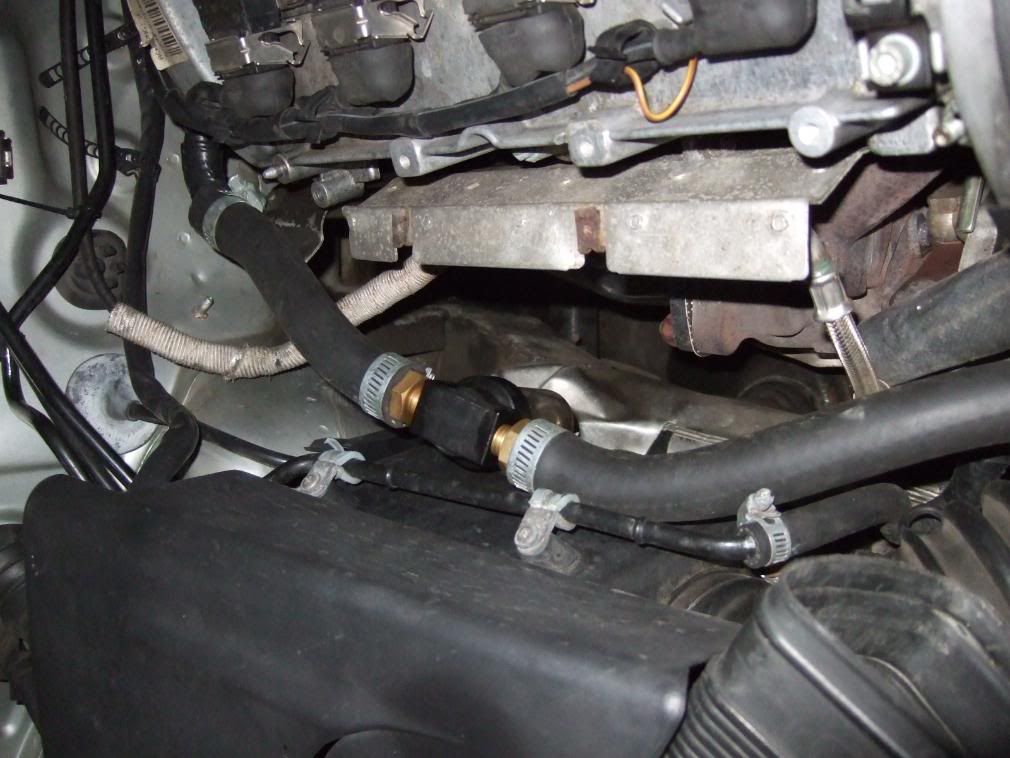
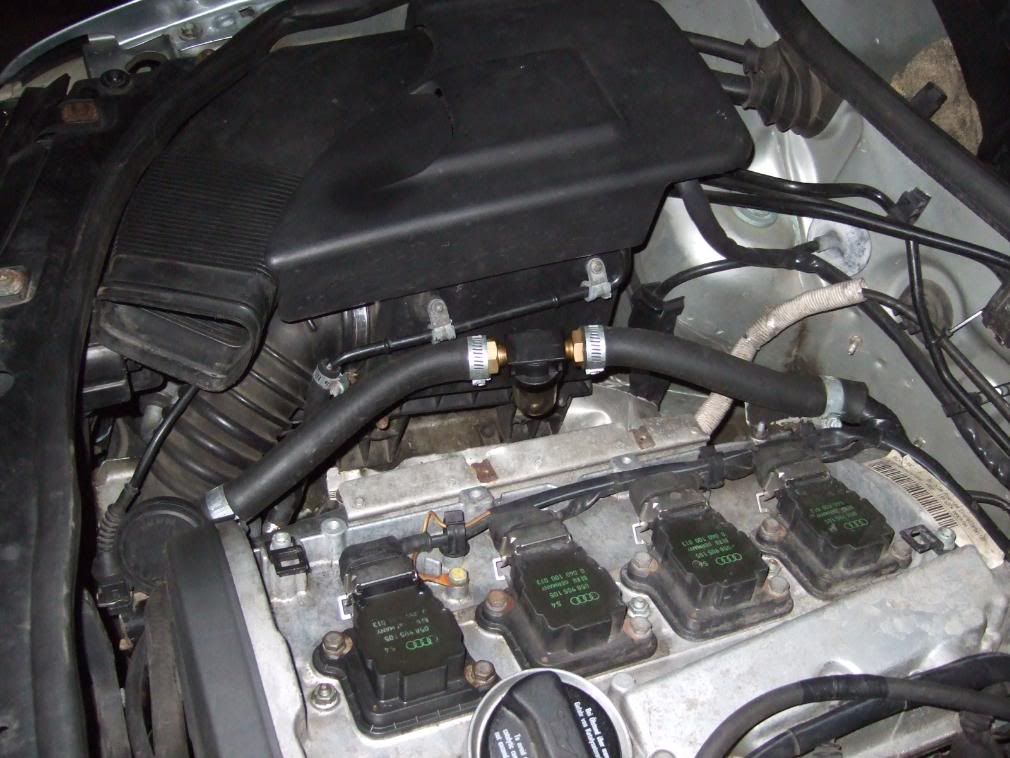
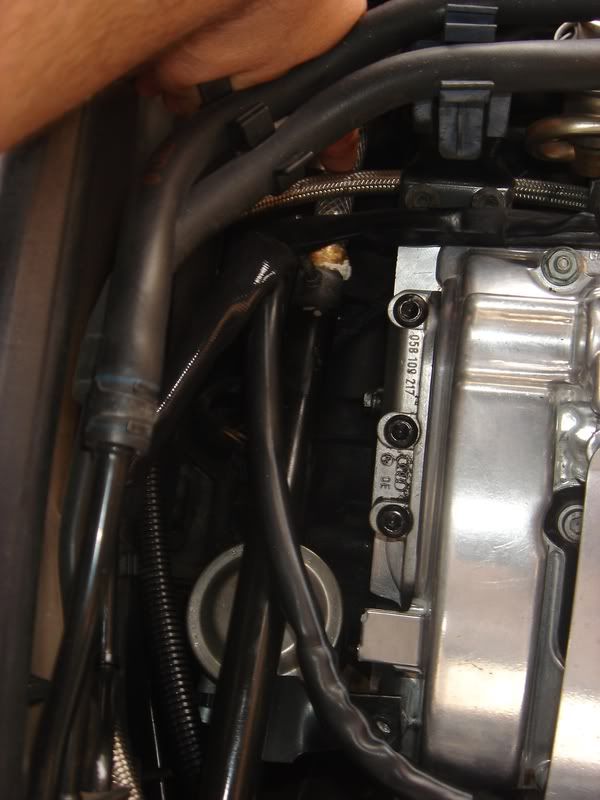
I remove the hard pipe that goes from the block to the pancake valve as it is going to be modified for this application, which I will post as soon as it is done. The pipe will have to be cut and the two adapter fittings will be welded into the places indicated by my fingers.


The first picture is where the pipe mounts to the back of the block by the fire wall and goes to the pancake valve. The second picture is where the line comes off of the block from underneath the intake manifold and will go to the filter.
I like the fact that the glass bowl is removable for cleaning as well as access to the metal filter, and I also like the fact that the oil level can be seen so that you know when to empty is as opposed to guessing.

I don't know how much oil will accumulate in what amount of time but I have four fingers before I reach the bottom of the first baffle and about four and a half before the maximum level is reached.

This is all I have so far but more pictures will be added as soon as it is completed in a day or two. Your input and opinions are welcome but don't be to hard .......


 Reply With Quote


")


Bookmarks