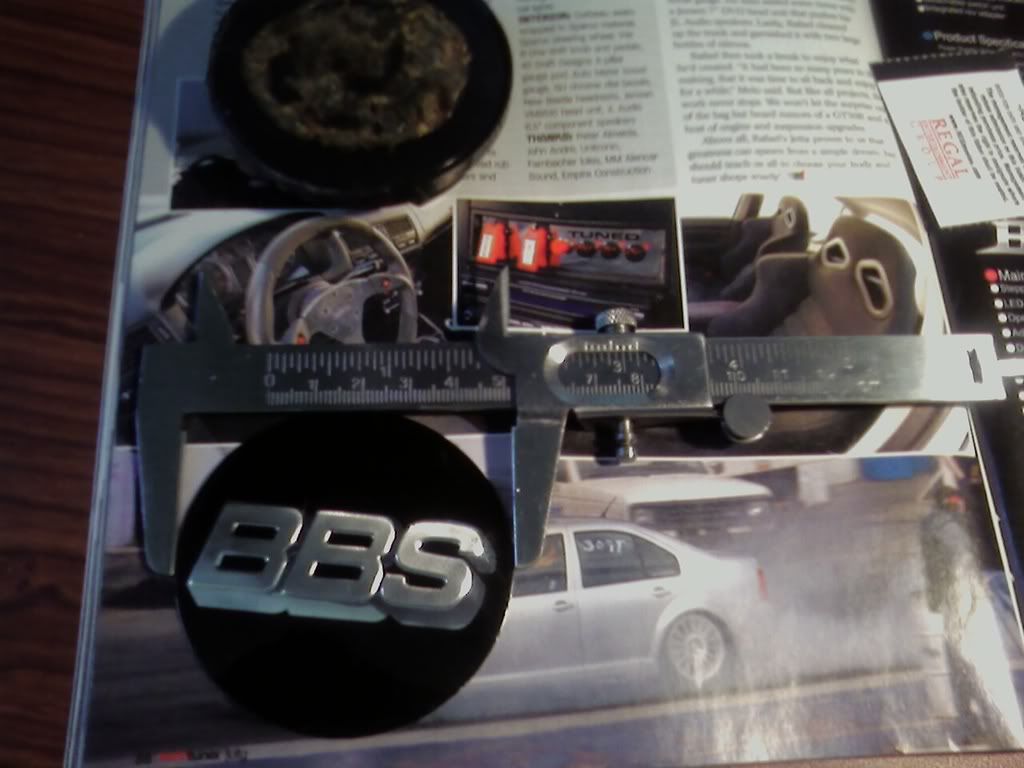
Supplies:
4 - POS LM Replica center caps
1 - can of Krylon Fusion for Plastic spray-paint (I chose Red Pepper/Safety Red) #2328
1 - can of Krylon primer
1 - can Krylon Crystal Clear Gloss - #1301
1 - set of printed BBS logos of your choosing (google FTW!)
1 - various grits of sandpaper (course, medium, smooth) *note: i found that sanding sponges work wonders due to their flexibility
1 - pair of scissors or x-acto knife
1 - pair of tweezers
1 - heat gun or hairdryer
1 - saran wrap
Step #1:
Remove center caps from vehicle (duh)

Step #2:
Beginning with your most course sandpaper and working down to smooth, sand off the existing logo (if applicable) until the logo is gone and your cap is relatively smooth. Don't worry too much about surface scratches as this will be filled in with primer. Once the center caps are prep'd, give them a nice soapy bath with liquid detergent to clean them off. Set aside to dry.

Step #3:
Once the caps are clean, give them a nice even coat of primer and set aside to dry.

Step #4:
Once the primer has dried, give your center caps a light dusting of your selected color. As with anytime you are dealing with spray-paint; work in layers. Start with a light coat and then gradually build up from there; allowing time to dry between coats.

Step #5:
While your caps are drying, take the logos that you printed out (stickers would work here too) and cut around the logo so you have acheived your desired result.

Step #6:
Now comes the fun part! Once your caps have completely dried, and working one cap at a time, lightly.....LIGHTLY, give them a dusting of the Krylon Clear gloss (the cap will look dull when properly done). The purpose of this is to give the surface of the cap just a little bit of 'tact' in order to attach the logo. Using your tweezers, center your logo onto the cap and lightly press down using your finger to ensure all edges of the logo are seated. You can also use the blunt end of the tweezers to help you out. Don't rub too hard or you'll be printing out new logos (found out the hard way)
Step#7:
Once you have the logos where you want them, and they are seated correctly, give them a nice light coat of the clear gloss. Again, work in layers here. The key here is to build it up enough to protect the newly applied logo. You MUST let each layer dry completely before moving on to the next. If you put too much gloss on during the first pass, you will soak the logo and it will look like @$$ (trust me - again, found out the hard way).
Step #8:
After my caps had dried, i noticed that they just didn't have that sheen to them that i thought the clear gloss would achieve. It was at that moment, i had an epiphany......saran wrap! I took a small piece of saran wrap (about 6"x6") and carefully laid it over the center cap and pulled the edges taunt. I then twisted the saran wrap behind the cap and cut off the excess. I then used a heat gun to gently warm the saran wrap and used my t-shirt to gently rub the cap to seat the saran wrap.

Step#9:
Re-install center caps and admire your ghetto-fab make-over.
Before:

After:

Front Close-up:

Rear Close-up:

Since i had some paint left over, i decided to spray my lug caps as well. Opinions welcomed - let me know what you think (good or bad)


 Reply With Quote


 Looks good.


Bookmarks