I opted for the H7 55w 5000K kit to get that crisp, white light while losing as little light output as possible. Turns out it worked pretty well. What didn't turn out so well was my write up... more or less just took some pics along the way and had a nice photoshoot at the end to show off the goodies. So, here we go.
Below, you will see where I started... with my crap-tastic OEM halogens with their yellow, dead-toenail hue shown here contrasting against the Hoen Xenon Match Fogs [which, side note, turned out to be a spot on match w/the new HIDs... go figure.]
I pulled the headlights out and brought em in to get the harnesses installed. No big deal. Par for the course, my left hand sprung a leak and I kept my streak alive of adding my blood to each mod. Nice. I'm a bleeder.
Keep in mind that the rear torx bolts on the light housings do not need to be removed, just loosened... and mind the metal guides that sit in these holes when pulling each housing out. The driver's side requires nothing more than moving some wires around and the pass side will require removal of the OEM air intake. There is a plastic barb that attaches a bundle of wires to each housing as well. You'll need to use a bit of force to pull these free.
Here's the pass side, the driver's is pretty much the same.
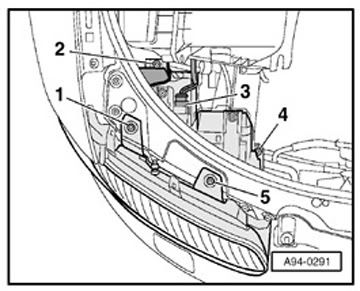
I was planning on clearing my corners but was having serious issues getting the lens housing out so I skipped it for later. And yes, that is a framed, signed picture of Billy Dee Williams. He advised me to pass on the clear corners as my hangover was surely impeding my ability to be more mechanically inclined. Good lookin out Billy. You're the man.
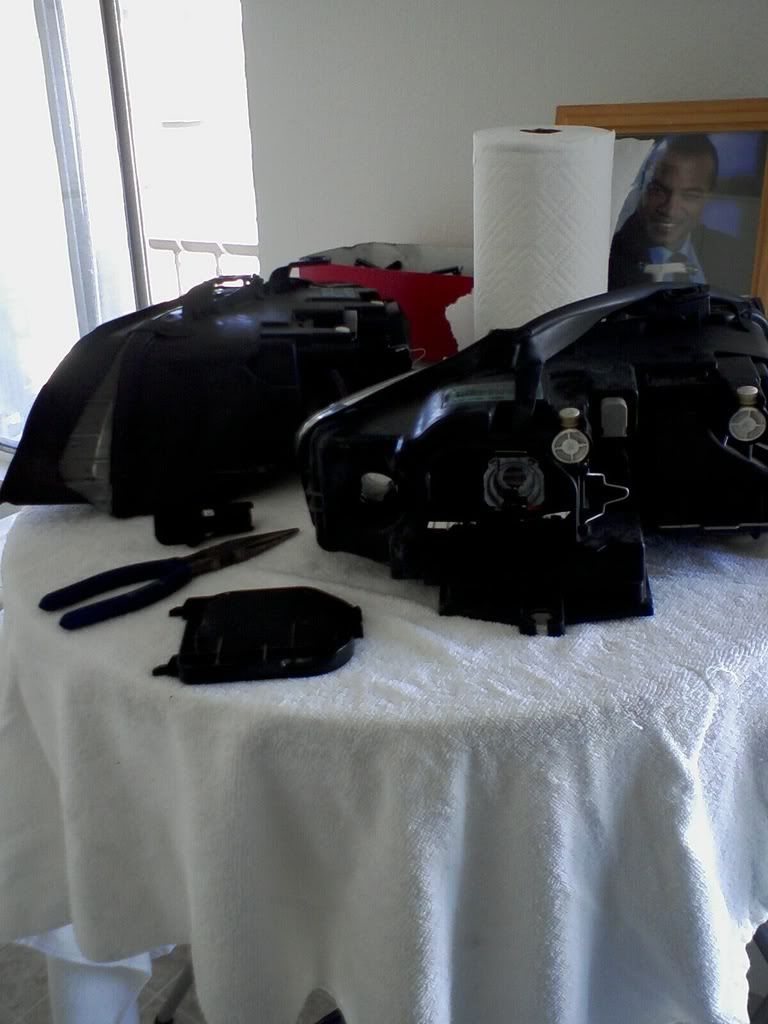
Drilling the holes and feeding the wiring harnesses in thru the rear light housing doors was cake... you will need to pull the rubber insulators much further back than shown here to allow for enough for enough slack to make the connections. Basically, slide the wires in till the labels / plugs are just about touching the rubber insulator. [You'll see it in the pic after this one.]
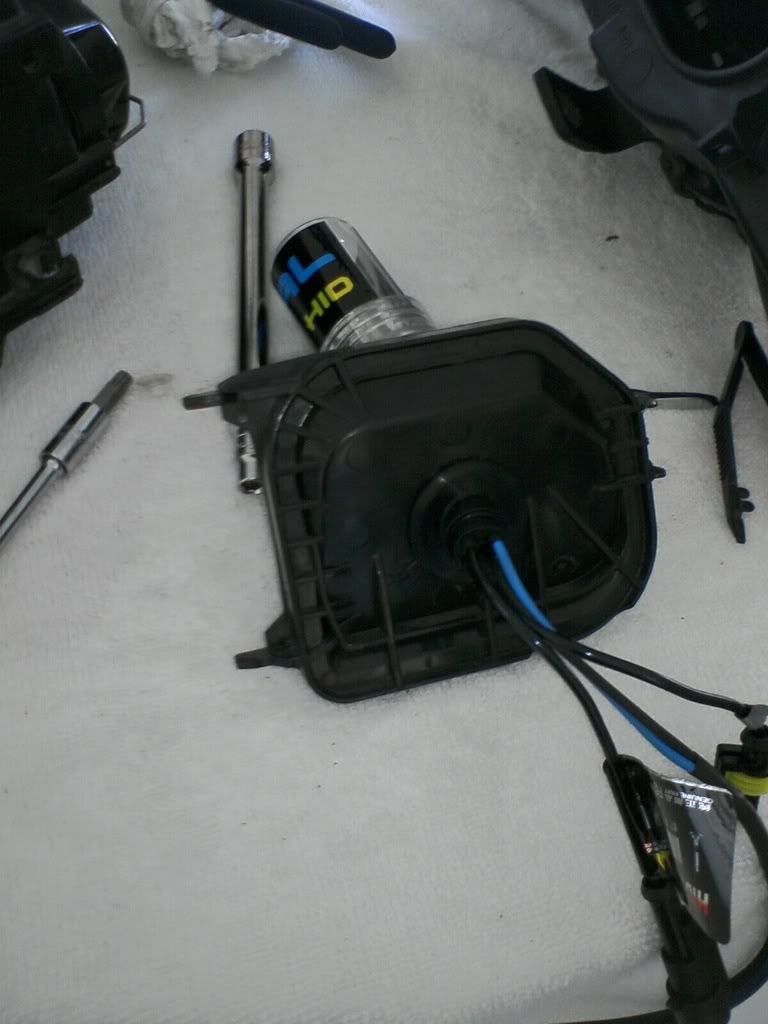
Take note of the proper wiring as shown here. There's nothing quite like hooking everything up backwards and getting the infamous "Dipped Head Light" warning for BOTH sides... or so I hear. Hypothetically speaking of course. Take note of the amount of slack taken in on the wires... the clips are just shy of the back of the housing door.

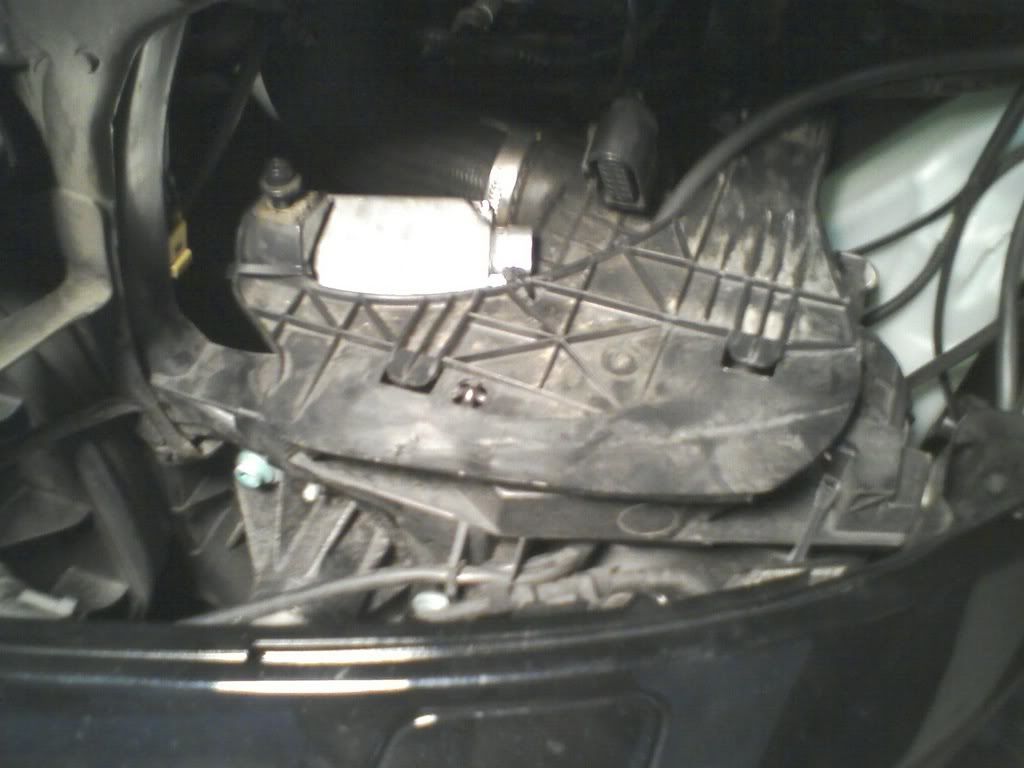
I opted for the zip-tie mounting method and chose to locate each ballast directly under the light housing guide. It worked very well. It's hard to see in these pics, but there are actually multiple ties that I ran thru small, drilled holes in the plastic and then clipped off the excess tie.
Here's the pass side...
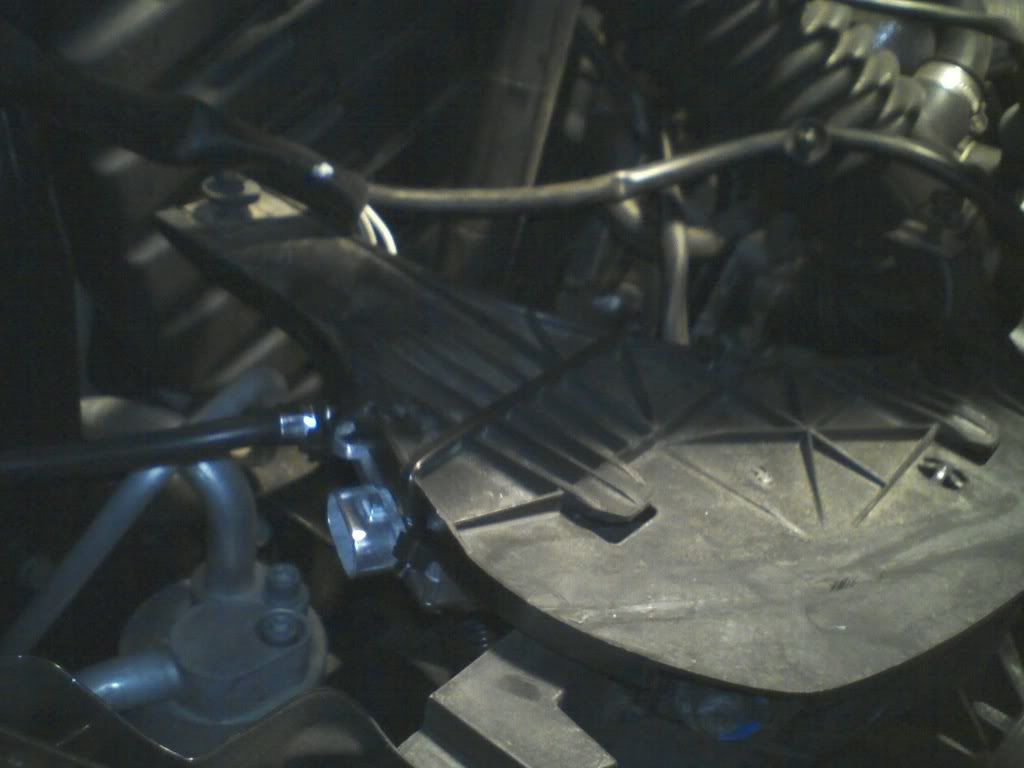
And here's the driver's side. I would have mounted them in the exact same spot, but the driver's side was a bit tight. I had to place it here which worked out fine anyway.
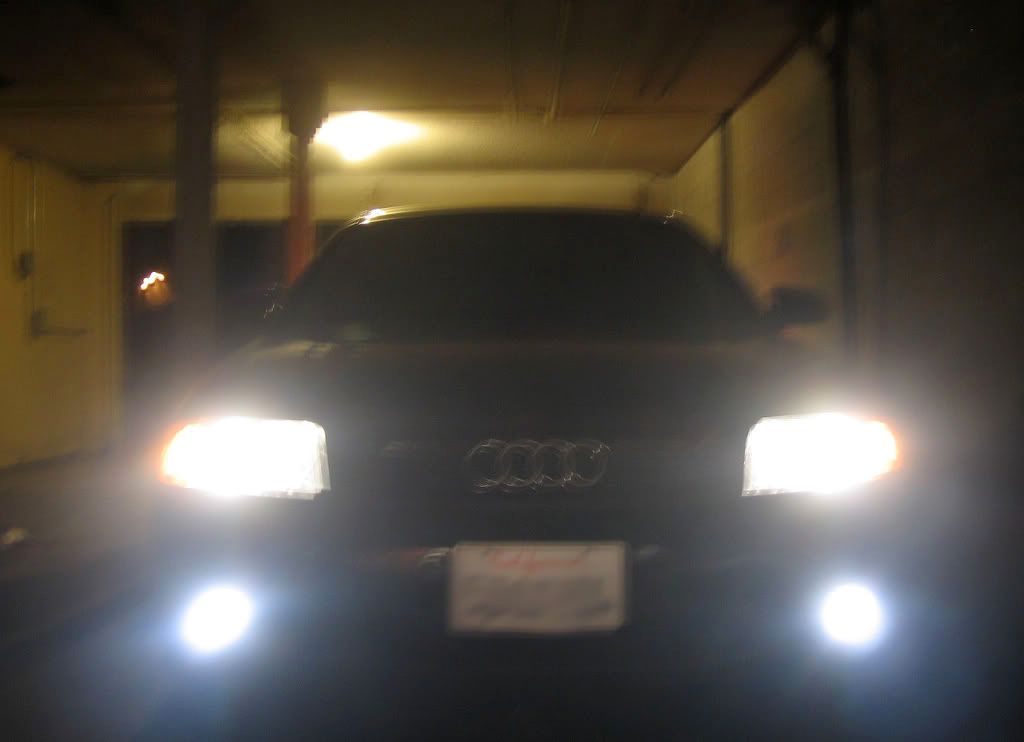
Okay, so I got everything hooked up correctly, did some balancing and was ready to take some pics. In comparison to the halogen setup, it's like twin white suns bellowing out hot death rays into the night. And I love it.
Outside...
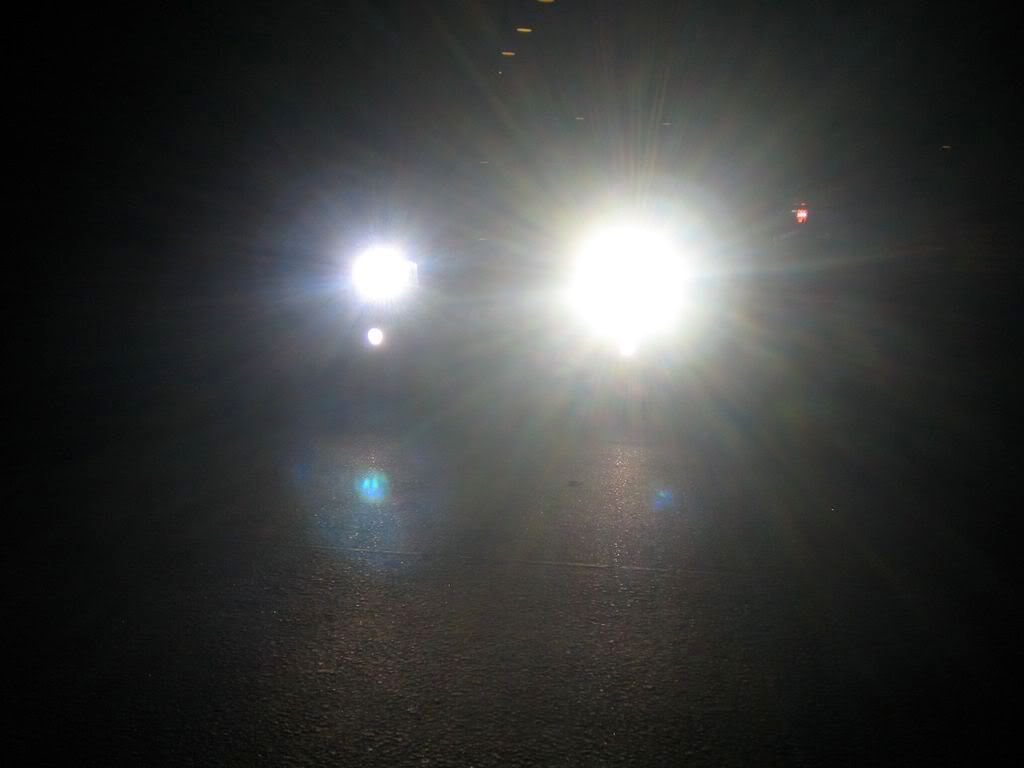
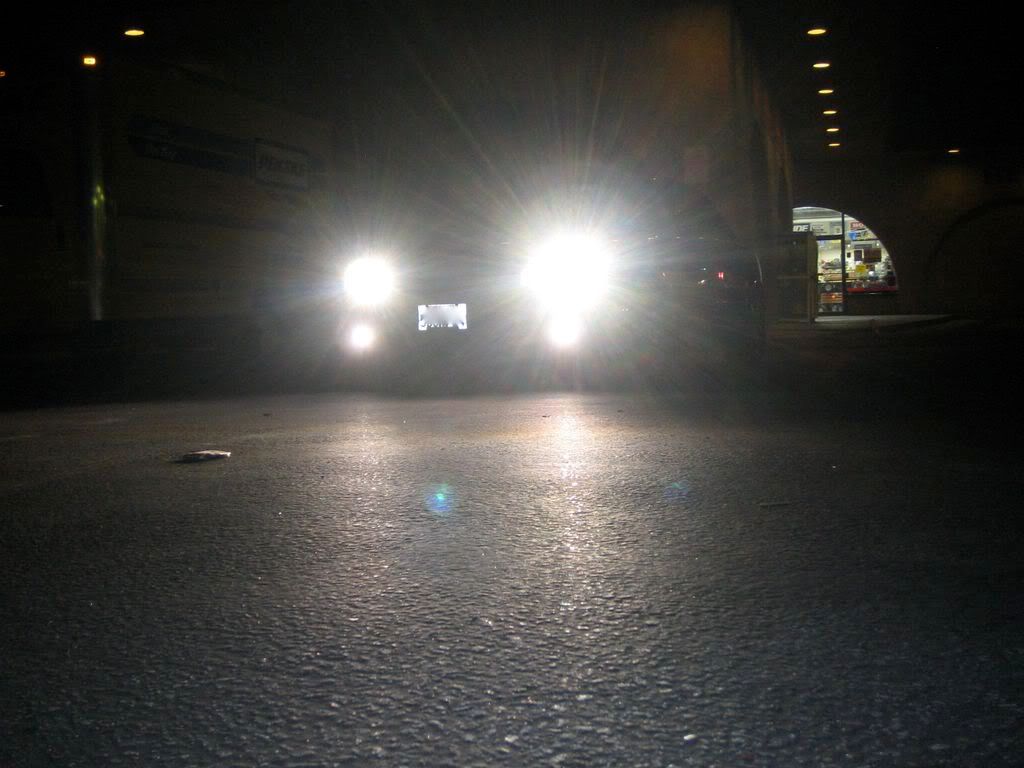
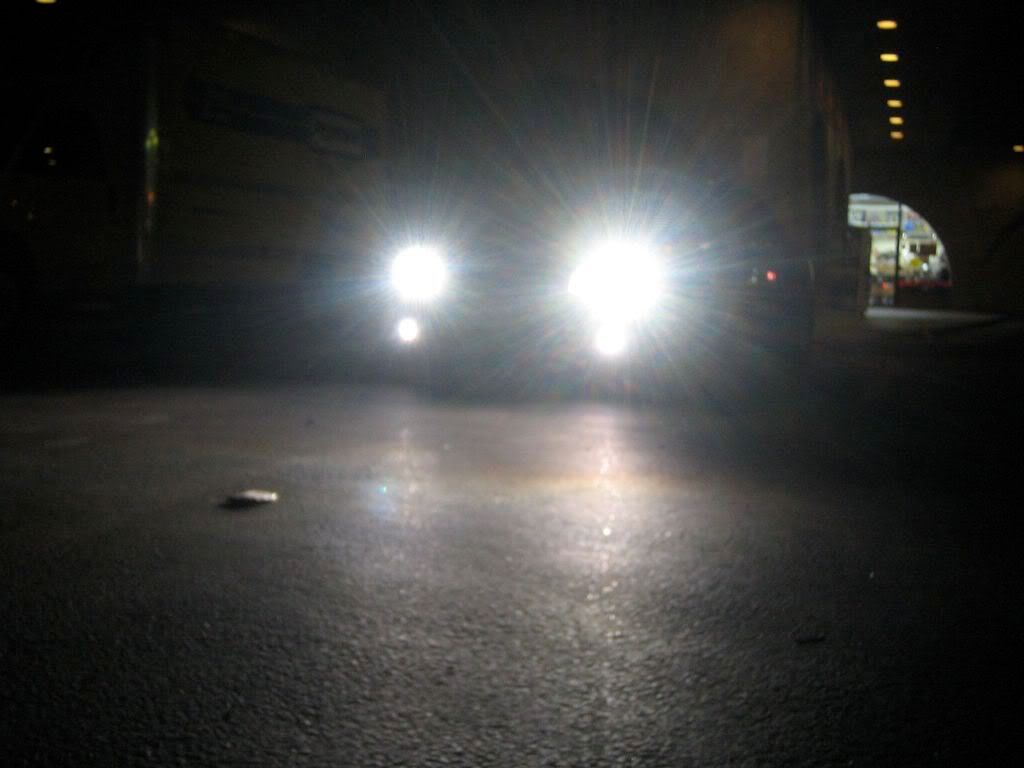
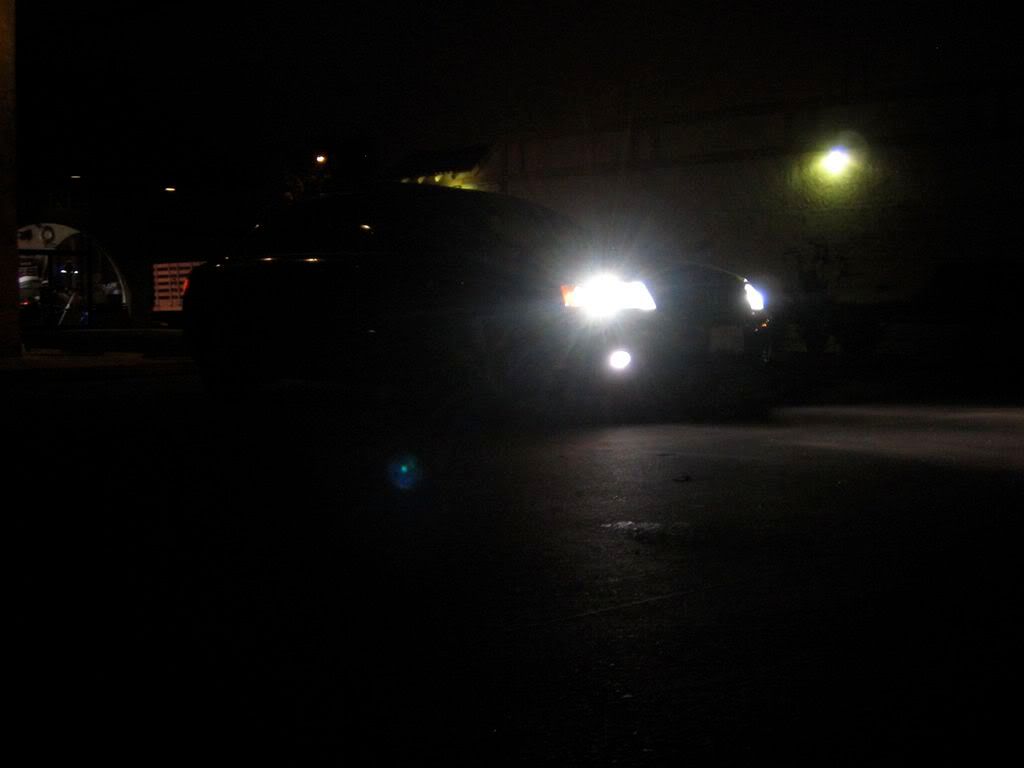
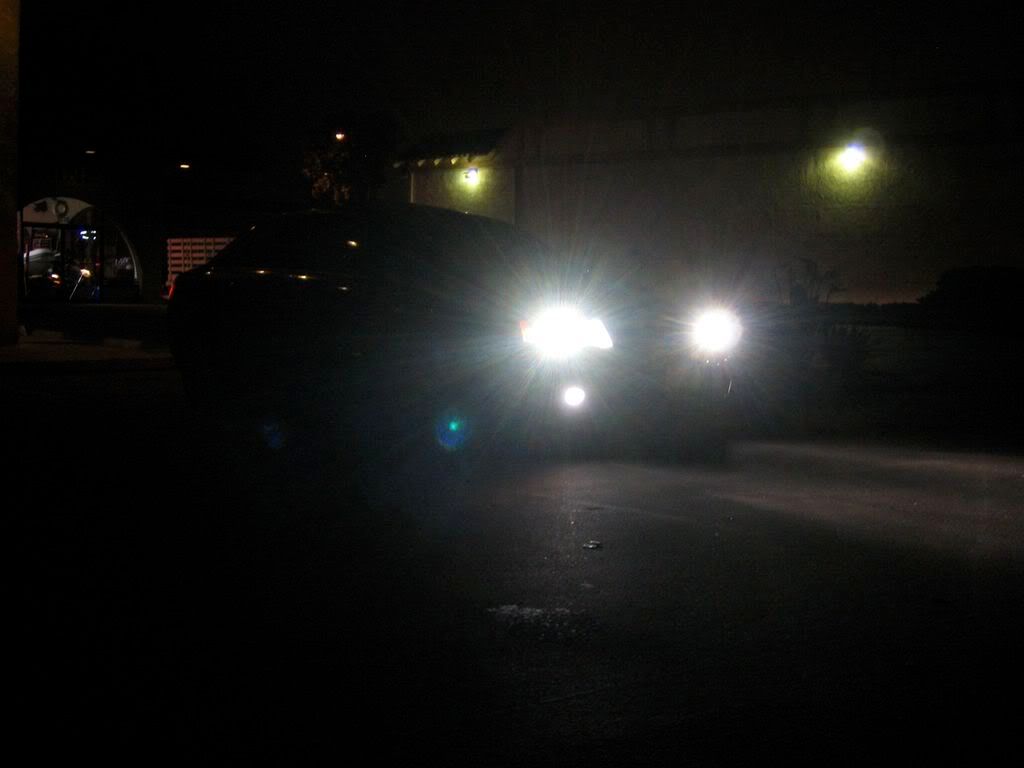
Okay, okay. Jokes aside... this is a solid and worthy upgrade as the ability to see at night is dramatically improved. For the most part, I'm driving on decently well lit streets in SoCal, but the real advantage is on the highway at night. Now, I can see much further ahead than I used to. A extra second or three makes the difference between avoiding or smacking that recently discarded Sentra bumper, road cone or burnt out oil drum on the 405 freeway.
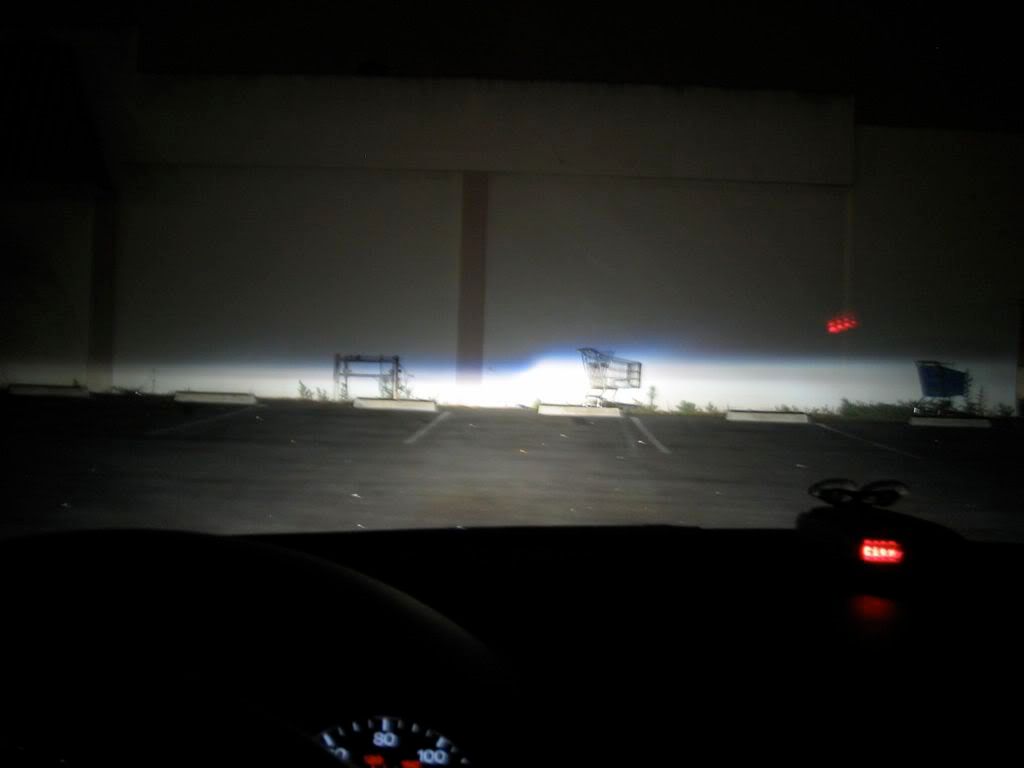
Now for some pics from the interior. I chased down and cornered this hapless shopping cart and pinned it to a wall. While it begged for it's life, I snapped off a pic for a reference point. This was a few feet from the wall.
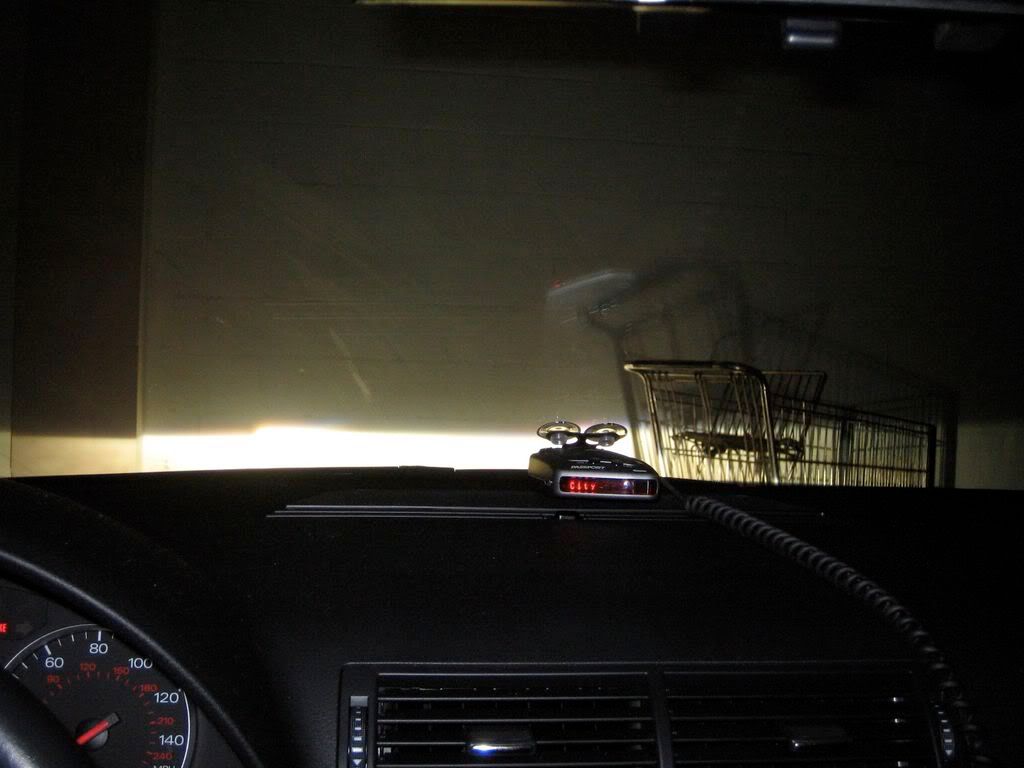
And here's about 50 feet back. The line remains pretty crisp and the beam is clean and strong... even w/my halogen housings. [Yes, I'm already contemplating E-codes... blackout of course. But not quite yet.]
Bottom line, I am very pleased with this mod. Regardless if you opt for OEM or Retro Solutions, it's really worth the effort.
Reference links:
Retro Solutions [AW Group Buy Page]
http://www.retro-solutions.com/audiworldGB.html
HID Install Links
http://www.audizine.com/forum/showth...&highlight=hid
http://www.audizine.com/forum/showth...highlight=VVME
http://forums.audiworld.com/a4gen2/msgs/748989.phtml
http://forums.audiworld.com/a4gen2/msgs/162512.phtml


 Reply With Quote


Bookmarks