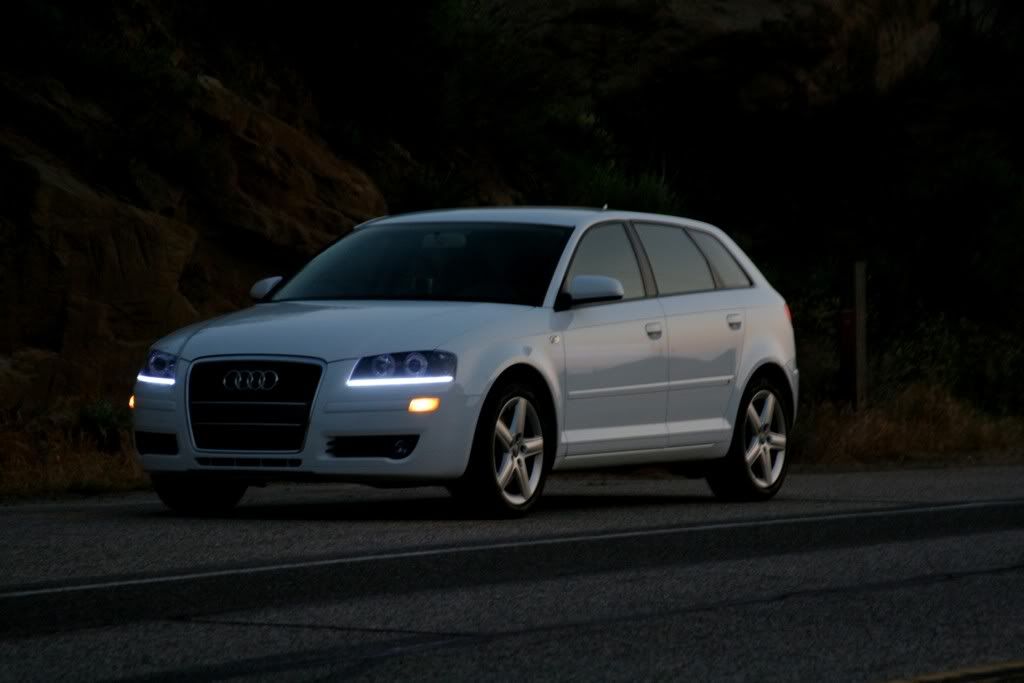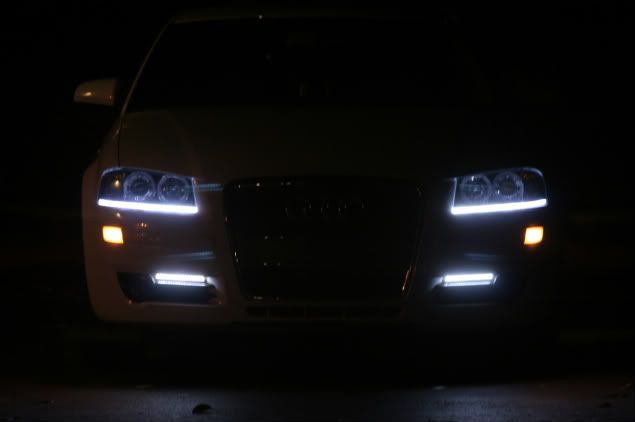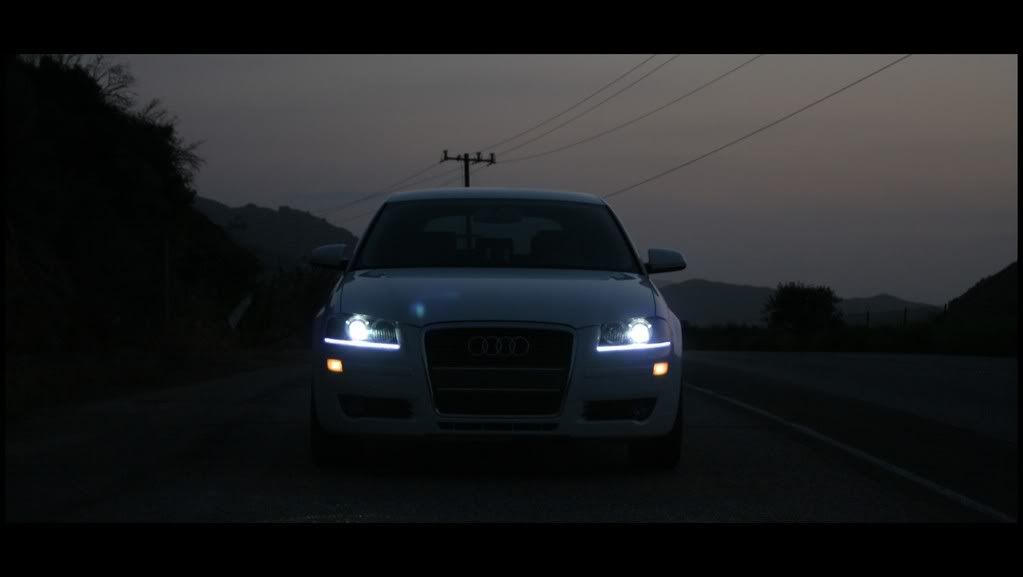
This MOD is a simple, but a very tedious project. Have patience, time and good music to keep you entertained.
I would have opted for OEM parts, but just like most, I tried to do this at best at lowest budget possible.
This mod may not be for all, so please keep negative comments to yourself.
Thanks foremost for those who gave me thumbs up on this project and those who have helped me give the suggestions and instructions of how to remove bumper, and headlights and also install HIDs.
Used FK projections with Angel eyes: $225.00 (I disabled the halos)
Oznium Flexible LED strips 19"x3 : $ 60.00
VVME H7 6000k HID kit : $42.00 (x2 -got a set for my passat too-plus ridicilous shipping ($106.00total)
Heat Gun: $10.00!
I already have all the other tools, parts i need in the garage:
Silicone, 3m double sided mounting tape, pliers, cleaning stuff, etc.
Pictures of FKs, LEDs, heat gun,


There are many websites offering LEDs- but I found Oznium to be reasonable and so far good products. I ordered previously from them- same type of LEDs for my FOG grills. They were on my car almost 3 months- unprotected other than it's own encasing and it has survived rain, heat, cold, carwash, 100+mph speeds. see older photo below with the LOWER LEDS... I have since disconnected them..well, not really- I am adding a switch for the lower LEDs - as auxilliary lighting when the need arises...

The inside area where the LEDs will be placed is about 18". Oznium sells them at different sizes, one being 19". But it can be cut (there is mark where you can cut it w/out affecting powersource)
I tried the oven but ended up using the heatgun which i found a lot easier to work with (I've reopened these lamps for 3 times already..dont ask me why--it was my own faults- errors-- but i'll try to save you all from making the mistakes i made)
Start heating the seams between the lens and the housing. Give a distance of about 6" as you dont want to melt your lenses. About 10" of continuous blast of heat gun, going round and round and round....
The picture below shows i'm holding the Lamp, but in actuality, i had it sitting on a plastic crate most of the time im blasting it with the heat gun.

HAVE PATIENCE! When you start prying it.. You can use a flat wide screwdriver to pry it AT THE BOTTOM to loosen up the seams..BUT- dont over do it!!! that was one of my mistakes... USE gloves, or be stupid like me as in the photos. At any rate, keep blasting it with the heat gun if you feel that it is still very difficult..IT WILL EVENTUALLY PRY OFF! AND WATCH FOR THE STICKY GLUE/TAR LIKE SUBSTANCE THEY USE. Once off, clean the lens off with all the crud stuck to it. As for the glue in the housing--- leave it!!! you will use that later to re-seal the lamps.


Once apart, you will see a black piece trim attached to the lens. It is secured with 2 screws at the bottom.. remove them!

Once they're separated. You can start installing the LEDs- I used a clear 3m double sided tape to secure the bottom of the LEDs. Then used a
black sturdy foam pieces also secured with a double side tape to keep them in place. You don't have to go all out with securing them with glue or otherstuff.. the black trim that you have temporarily removed will press it down securely once in place.


By the way, there is a built in wire for the LED and I opted to have the wires on the inside end of the lamp (underneath the high beam area) But again, the wires will be hidden under the black trim piece once put back together.

**The LED strip is abuot 1/4 in height. So as you can see on the following photos- the black trim will be raised of that same height, and you will notice that the black side trim will no longer fit. YOU have to cut it off from the main lower black piece- and then you are going to cut the lower black trim to accomodate a big enough gap for that side trim to fit.
see pic:


Once you have it all trimmed (i had to use a black marker to hide the scratches i created trimming the piece) you should be able to secure the black lower trim to press down on the LEDs, screw them back in there, and also add the now separated side trim- which should fit properly with the little cut you had to make. (see picture above again!) It should hold itself up since there's a small intrusion on the top of the lens to "hook" it too.. you'll see it.. MAKE SURE THAT SIDE TRIM is properly set in its area or otherwise it may block the movement of the inside housing (for beam adjusting) That was my other mistake...
The lower black trim now also acts as a hood/shade for the LEDs So they can be seen during the day and also minimizes any light spill into the housing.
Now you're ready to heat up the glue that was left in the main housing.
Once they're soft and gooey-- you can them add the lens back and press them really good! I used a big plier with paddings to press the seams together.. I did this all myself--BUT IT WILL BE EASIER IF YOU HAVE ANOTHER SET OF HANDS HELPING YOU.
I used silicone to fill the seams to ensure water tightness (fingers crossed). Mind you, putting it back together may not be as clean/perfect as it was before you started working on it.. That's why use silicone to just fill in any gaps. DO NOT USE SILICONE TO REPLACE THE GLUE THAT HOLDS THESE LENSES. SILICONE ARE HEAT RESISTANT AND DOES NOT MELT WITH HEAT GUN- in the event that you have to reopen the headlamps..IF EVER...
The wires are then routed through the lamp- and exited via a small rubber tube- its the actual 'vent' for condensation heat-- you'll see at the back of the headlamp unit. The wires are then tapped in to the parking lamp wires. I ran a wire from the passenger side LED- (hidden under the engine bay weather strip- then connected with the driver side LED wires- tapped into the driver side parking lamp. The LEDs turns on with the parking lamps.
AND HERE YA GO..


Bookmarks