So if you want to clean up you rims or are sick of bright silver like me, here is the first installment of my How-To Rattle Can Rims:
Materials:
Spot Filler
500 grit sandpaper
Masking tape
Matte Black Paint for interior (1 can)
New sexy Paint for exterior (2 cans)
Solvent for cleaning (acetone, lacquer thinner...)
Tools:
Sander. Nice, but not required.
Time:
Easily accomplished in a weekend with weather favorable for painting. If you rushed you could likely do it in a day. I worked on this for an afternoon, but was only planning to try one wheel because I was still unsure on color. The other three will be pretty quick.
Total cost:
Well under $30 for all paint, filler, tape and sand paper. Cheaper if you have materials on hand from past projects.
Before we get started, I'd like to say that a rattle can finish can only be so good. It is NOT a professional powdercoat finish. That said, if you take your time you can end up with something pretty nice.
My rims had only a few little nicks. If you have curb rash you will have more work in filling and sanding than I had to do. If you do it right, no one will ever be able to tell.
I used a Dupli-color paint from Kragen that is supposedly made special for wheels. I was skeptical, but it had the color I was after so I picked it up. $7 a can, but worth it!! after trying to clean up the centercaps I used for my color tests, this paint it really tough!! Even with soaking with acetone (very harsh solvent) it was hard to scrub/wash/scrape off!! I think it will hold up nicely.
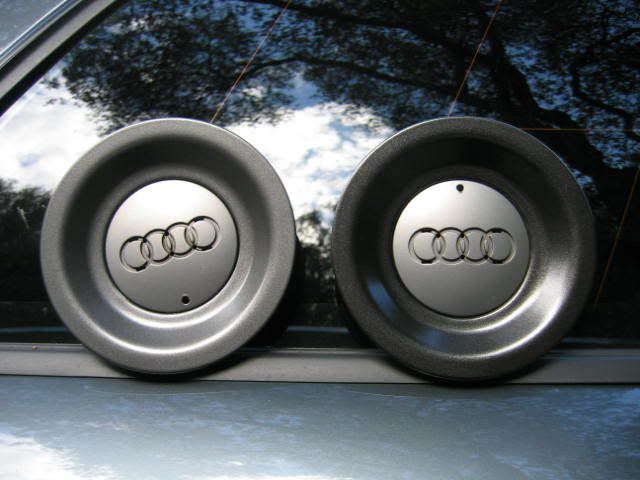
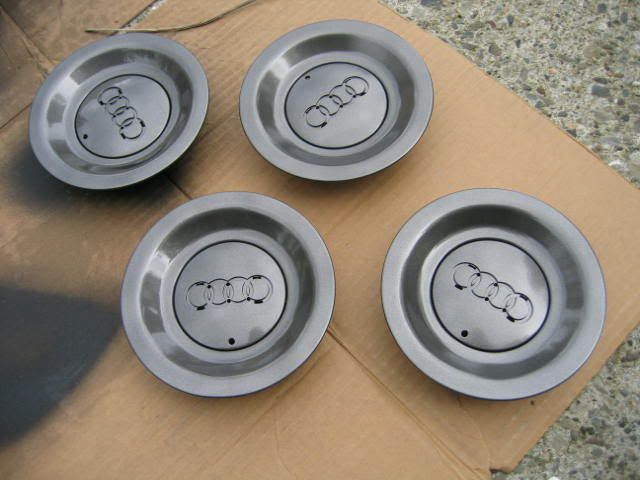
Here are my centercaps that I used for color testing. I pulled the rings out so I could paint them (pain in the @$$) but I am liking the old school audi logo!! I may fill the holes and run them with just the debossed logo... I ended up picking the lighter of the two colors to use.
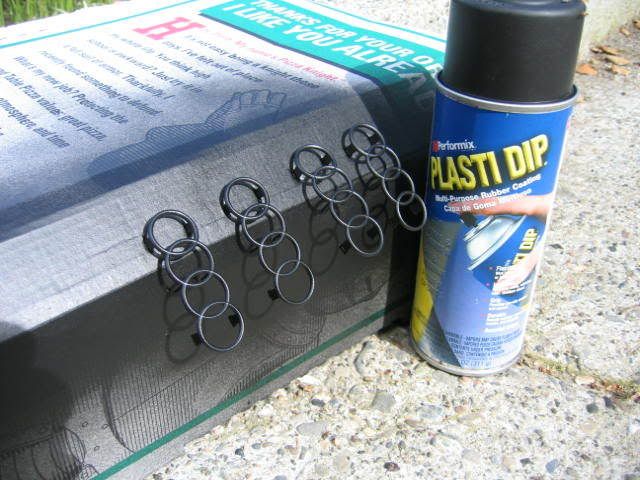
Sprayed the rings black first. Figured the plastidip would be fine in this small application...
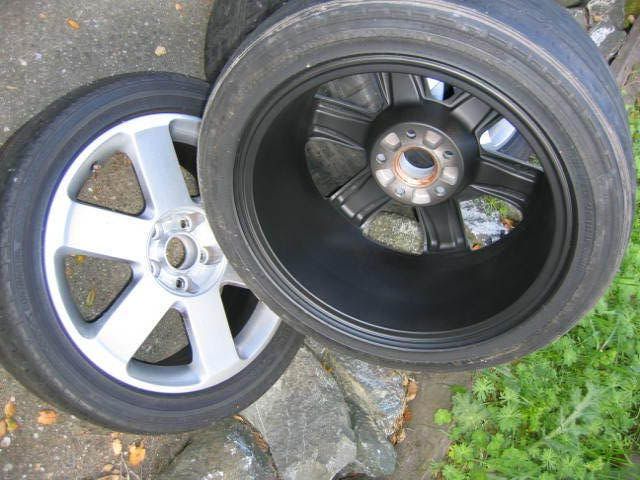
Used some rough-ish sandpaper to provide some tooth on the interior. I only did this step to that I wouldn't see light colored interior though the spokes on my newly darkened wheels... If I were just refinishing to the same color I wouldn't even do this.
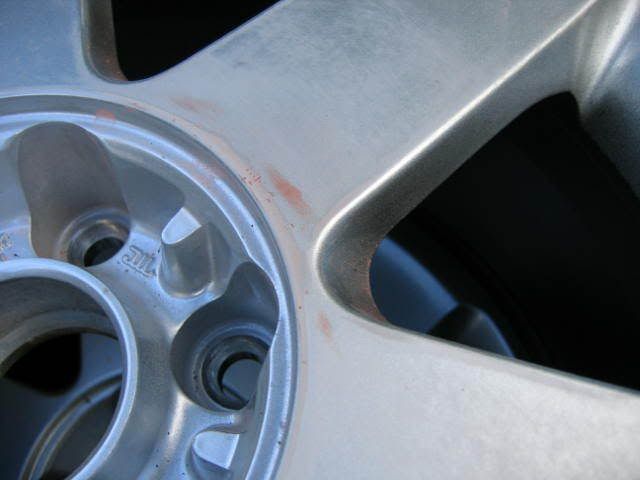
Spot filled and sanded down my little knicks and chips
Scuffed the area to be painted with 500 grit sandpaper. It adds tooth for better paint adhesion.
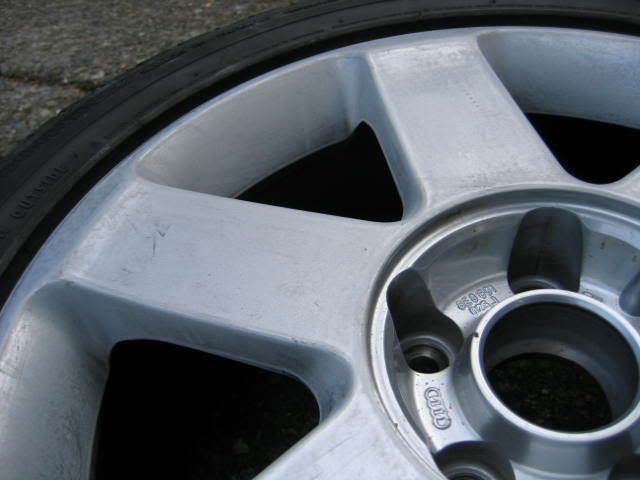
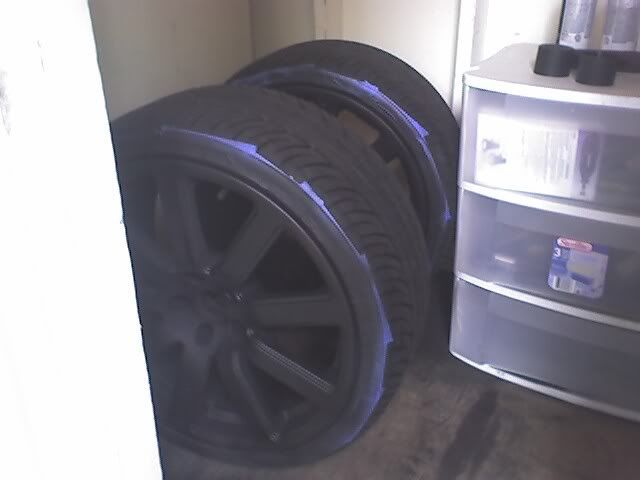
Right before paint.
Note: I will be immediately replacing this tire so I did not mask it off before painting. If you plan on keeping the tire, MASK IT OFF!! You will not be able to clean the paint off the tire. Ever.
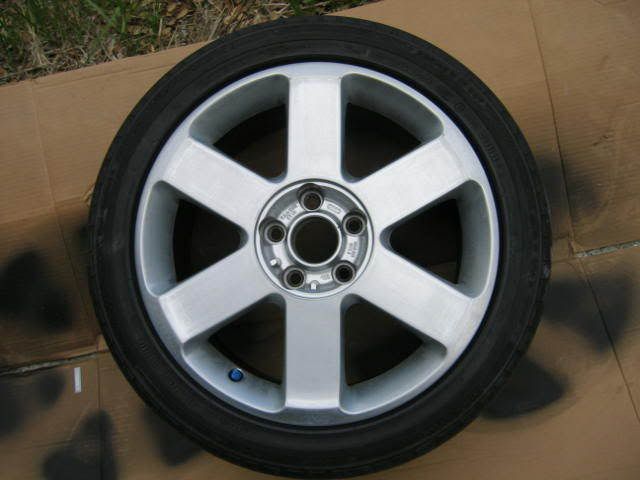
After.
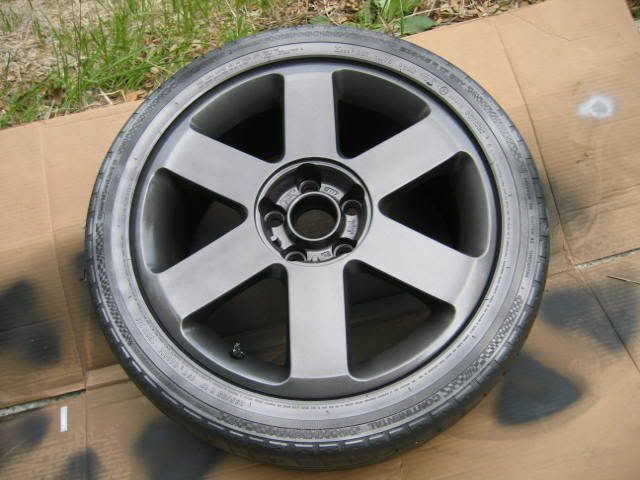
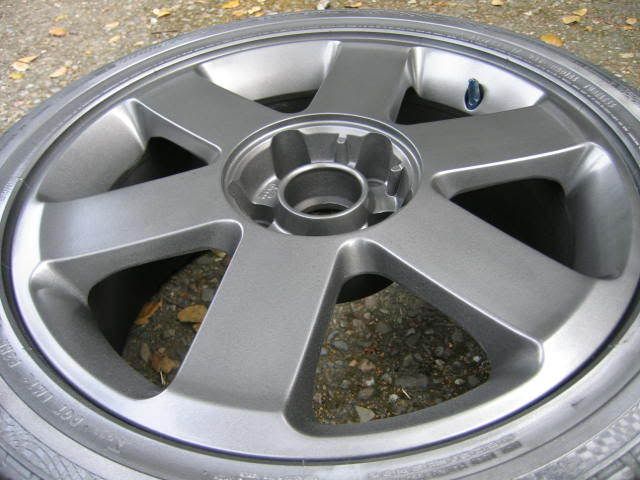
Centercaps all painted up
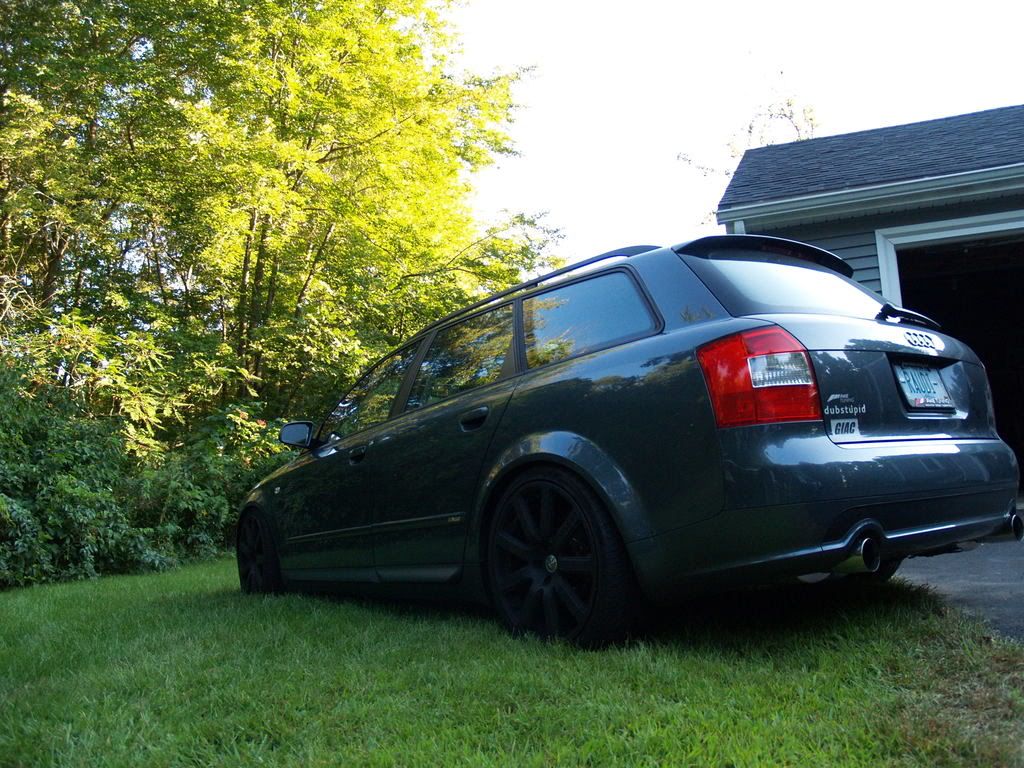
and finally, wheel propped up against my car.
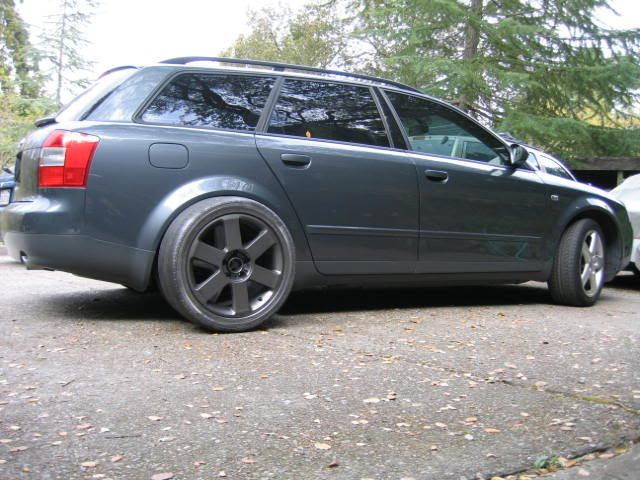
It was getting late in the day and the weather was turning cold and windy. I am going to try and finish up this weekend, but I don't expect to get these on my car for a few weeks. I'll update when I can...


 Reply With Quote



 Built by RavenMS. Powered by PSI Concepts & GIAC


Bookmarks